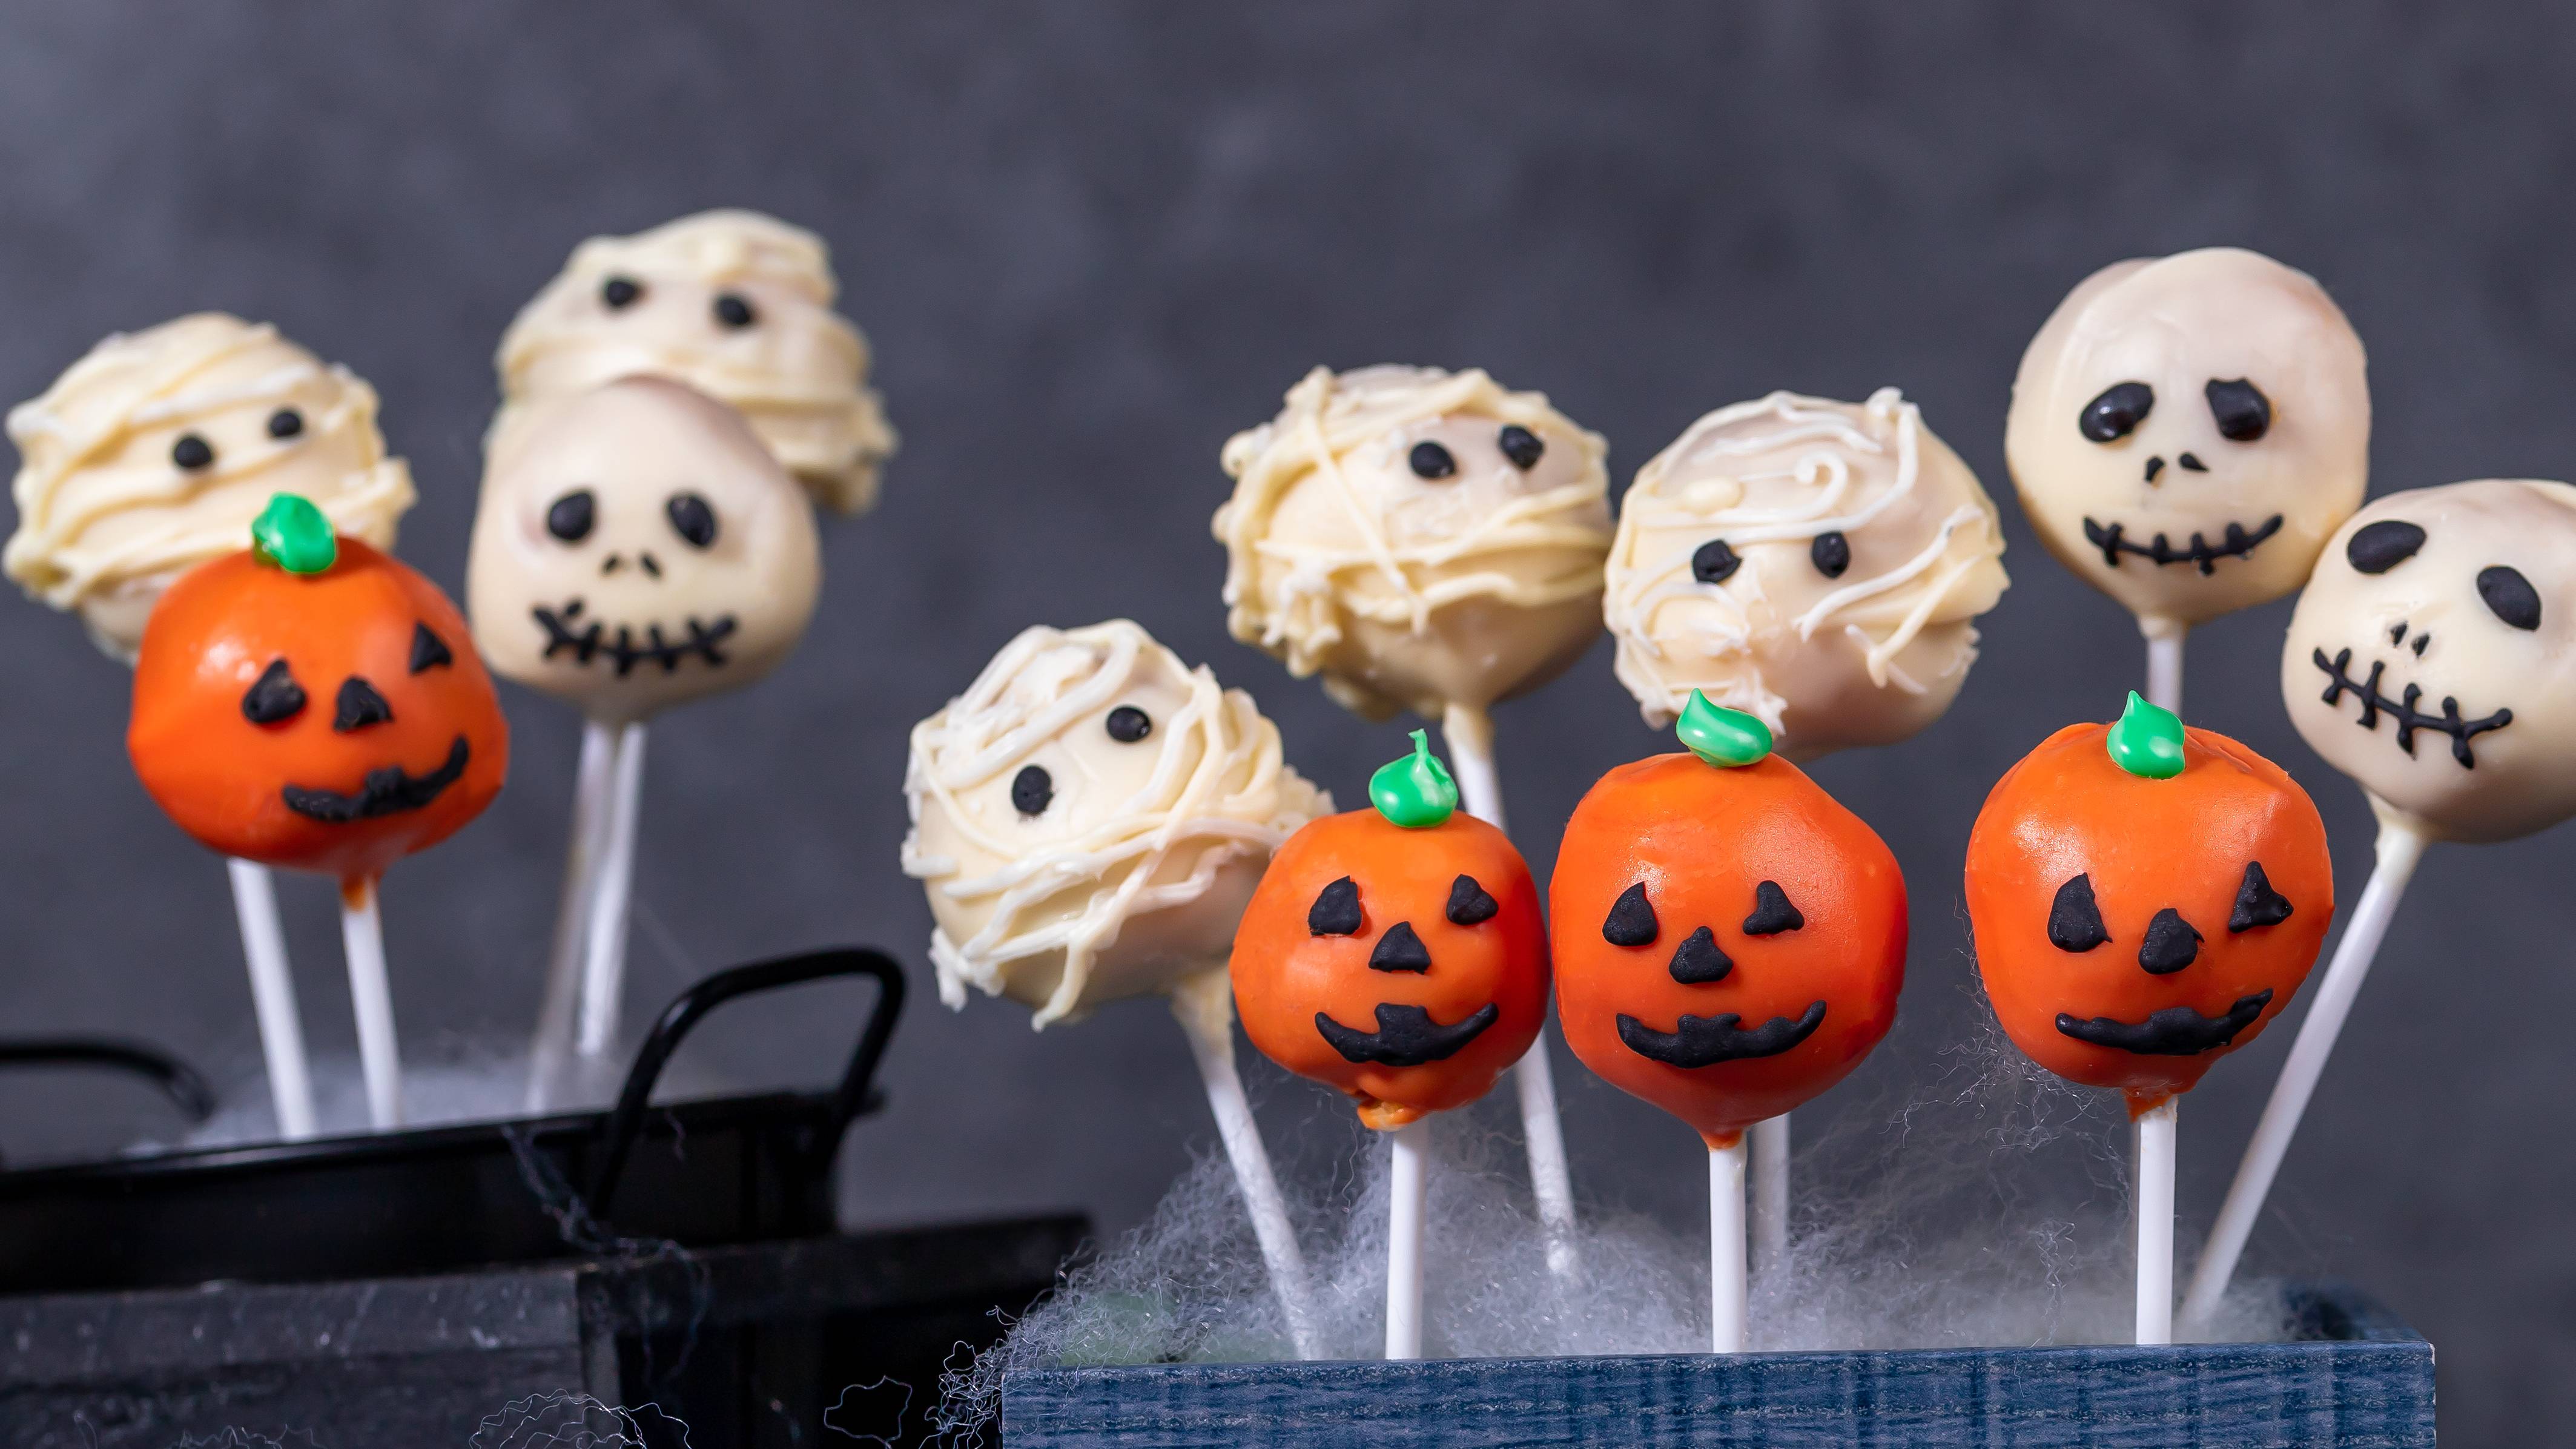
These Halloween cake pops are a brilliant bake to prepare for spooky parties and are only 310 calories per cake.
We've made the sponge from scratch for our cake pops but you can use shop bought cake to save time. This recipe also a great way to use up leftover cake, even if it's turning a little dry or stale. In fact, whenever you have a lonely slice of cake left languishing in the tin, it's worth sticking it in a tub in the freezer until you have enough to make cake pops.
Ingredients
- 3 large eggs
- 175g (6oz) self-raising flour, sifted
- 175g (6oz) caster sugar
- 175g (6oz) softened butter
- 1½ level tsp baking powder
- 40g (1½oz) cocoa powder
For the cake pops filling:
- 3tbsp cocoa powder
- 6tbsp boiling water
- 200g icing sugar
To decorate:
- Black, yellow and green fondant icing
- Black writing icing
- 1 x 400g white or orange Wilton candy melts or 400g white chocolate and some orange food colouring if you'd like to make pumpkins
- 3 tbsp vegetable oil
- 20 lollipop sticks
WEIGHT CONVERTER
Method
- Heat the oven to 180C (160C fan, Gas 4). Line a cake tin of your choice with baking paper.
- For the cake pops: In a large mixing bowl, beat together the eggs, flour, caster sugar, butter and baking powder until smooth.
- Put the cocoa powder in a separate smaller mixing bowl, and add up to 4 tbsp boiling water, a little at a time, to make a stiff paste. Stir the cocoa paste into the cake mixture.
- Turn the cake mixture into the prepared tins, level the top and bake in the preheated oven for about 20-25 minutes, or until shrinking away from the sides of the tin and springy to the touch. Remove the cake from the oven and leave to cool on a wire rack.
- Once the cake is cooled, break it up into fine crumbs in a large mixing bowl.
- For the cake pops filling: In a separate, clean mixing bowl mix together 3tbsp of cocoa powder with about 6 tbsp boiling water and mix into a paste, it should be quite watery, then mix in 200g of icing sugar, it should still be quite watery. If it’s too stiff just add a bit more water.
- Add the icing mixture gradually into the cake crumb mixture, mixing after each addition, until the consistency changes to something you could make balls from without them falling apart. You may not need to add all of the icing.
- Roll all of the cake pop mixture into balls of equal size making sure they don't fall apart or crack (this ensures they will keep their shape once on the sticks and won’t fall off).
- Put all the balls on to a tray and transfer them to the freezer for at least two hours to firm. Ideally, freeze overnight.
- Take the balls out of the freezer to defrost fully.
- Meanwhile, if you’re using fondant to create the eyes for your skeleton and mummies and pumpkin faces, roll it out and cut into small triangles or little balls. Shape the green fondant into stems for the top of your pumpkins.
- For the mummies you might like to cut small rectangles of black fondant and still on small balls of yellow icing as the eye balls.
- For the Halloween cake pops coating: Melt the candy melts or white chocolate in a large heat-proof bowl over a pan of hot water and dip the end of the lollipop stick into the melts before inserting them into the cake ball. This will secure the sticks in place.
- Put them in the fridge to firm up for about 30 minutes.
- By this time the candy melts might be too firm for dipping the cake pops into, so to get a good consistency and a smooth coating you'll need to add a fair amount of vegetable oil to loosen them up. If the mixture is too firm it will be too heavy for the cake pop and it will fall off its stick. Add in 3 tbsp of vegetable oil to the candy melts mixture gradually, stirring well after each addition.
- Holding a cake pop with its lollipop stick, dip the cake pop all the way into the candy melts mixture and then hold the cake ball over the bowl and gently tap its sticks on the side of the bowl whilst twisting to remove any excess. Repeat with the rest of the cake pops.
- For the mummies, once you have a base coat of chocolate, carefully drizzle lines of melted candy melt over to replicate bandages for your mummies.
- Add on any decorations before they dry. Use icing pens to draw the mouths and noses for your skeletons and to add details to your pumpkins and mummies.
- Stand the Halloween cake pops in some styrofoam to dry. They will set at room temperature.
Top tips for making Halloween cake pops
If you're making these for trick or treaters, allow them to set fully then cover the cake end of the stick with a small polythene bag and tie around the stick using a black or orange ribbon.
How far in advance can I make the cake pops?
You can make the pops themselves, un-iced, up to two months in advance and store them in the freezer. A couple of days before you wish to eat them, defrost them thoroughly and decorate them. If you are bagging them individually, they will be good for 2-3 days. Otherwise it's best to make them the day before, as they can be hard to store in a sealed container without them touch each other and spoiling.
Why do I need to freeze the cake pops before icing them?
Freezing helps ensure you have a nice solid shape that will hold when you come to dip them in the coating. The pops also need to be absolute cold before you ice them to help it stick. We also think that freezing gives the cake pops the best texture - not too heavy but with a little stodginess and bite, so don't skip this step!
What do I do if my cake pops keep falling off the stick?
If the pops are too heavy or have too much icing on them, you may find they fall off the lolly sticks. You can help to prevent this by dipping the end of the stick into the icing candy before you put it into the cake pop. It helps glue the cake pops in place a little better.
What is the secret to coating cake pops?
Work quickly and efficiently. If you don't have a good success rate dipping the cake pops into the chocolate or melted candy melts, instead you could hold the pop over the bowl and spoon some of the chocolate over with one hand and twisting the cake pop in the other to achieve an even layer.
It's important to get the right consistency of chocolate too. If you have any scraps of cake you could test on this before sacrificing any of your chilled cake pops.
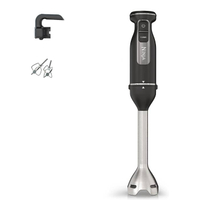
Using an electric mixer makes baking cakes a much quicker task and get better, more consistent results.
Ninja Foodi 2-in-1 Hand Blender & Hand Mixer - View at Amazon
If you’re not sure you need another appliance in your kitchen, we think this Nina 2-in-1 should be an exception because it’s both a stick blender and an electric mixer. Two very versatile and useful tools whether you are making soup, whipping cream, baking cakes and so much more.
You might also like our Halloween cookies as part of your party buffet. Explore our Halloween food ideas if you’d like some savoury options too. We also have plenty of ideas on what to do with leftover pumpkin.
Halloween cookies / Halloween food ideas / What to do with leftover pumpkin

Victoria Threader is 'the queen of cupcakes' and a contributing Recipe Writer at GoodTo. Not only can she bake delicious cupcakes, she can decorate them too - with each of Victoria’s cupcakes topped with handmade edible toppers. Some of her most popular cupcakes include: rainbow cupcakes, hidden shape cupcakes and even giant cupcakes.
-
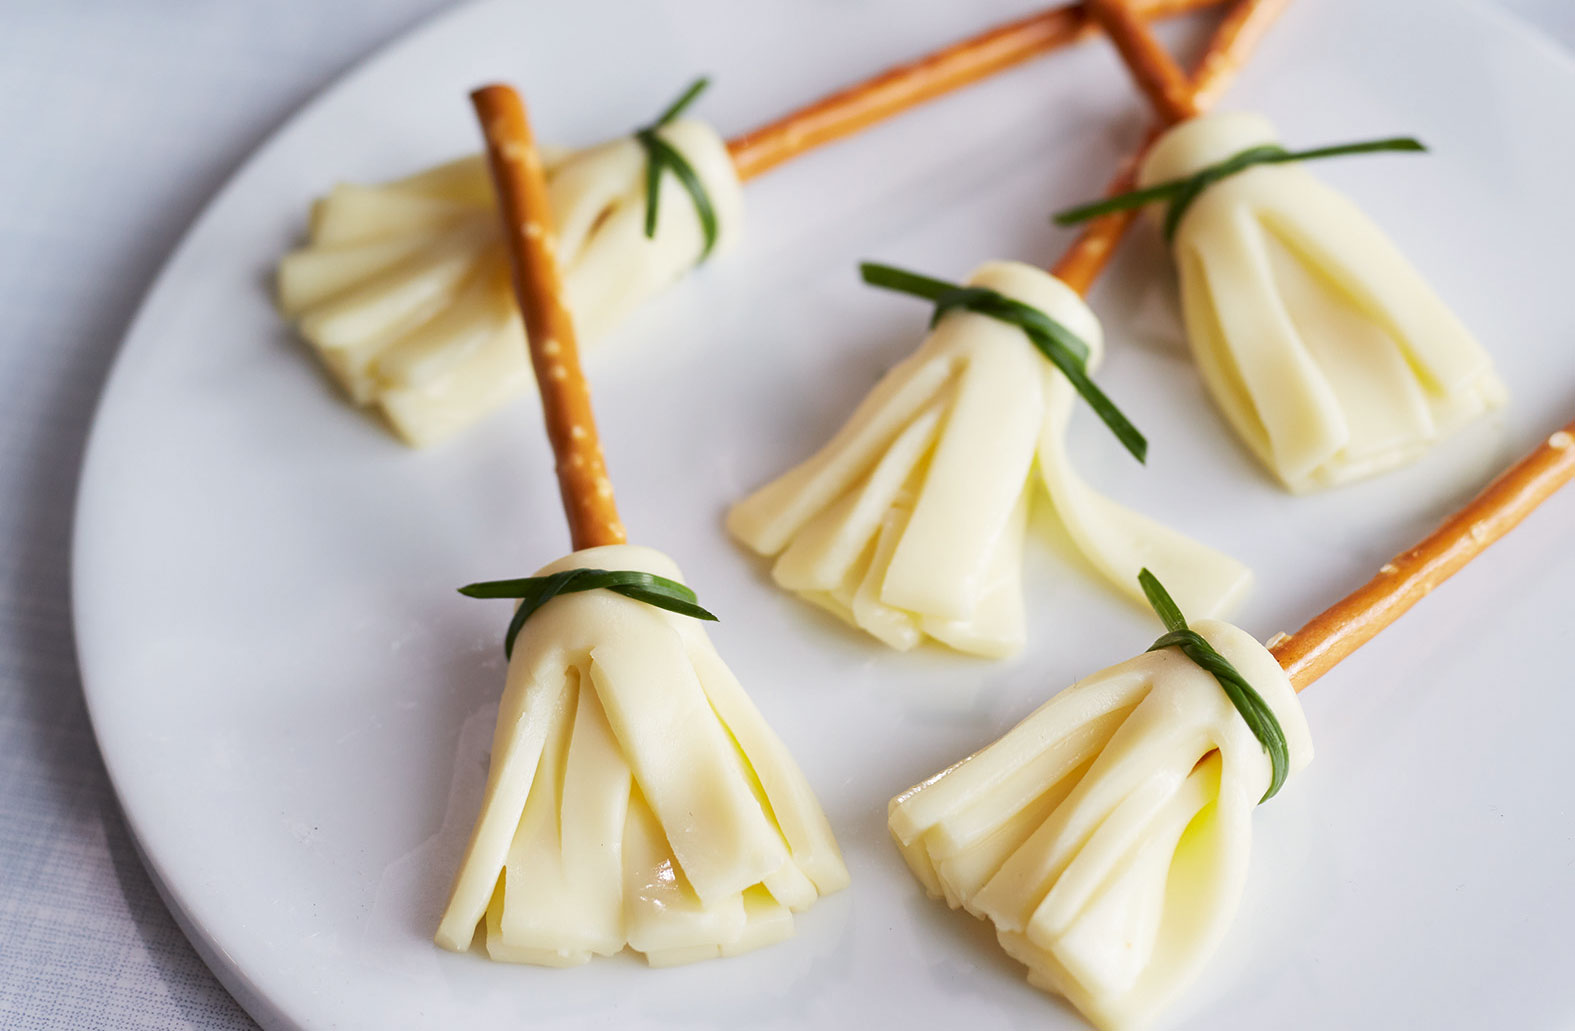 Cheesy broomsticks
Cheesy broomsticks make a fan savoury snack for Halloween celebrations. Made with only 3 ingredients, these clever little treats are so easy to create.
By Jessica Dady Published
-
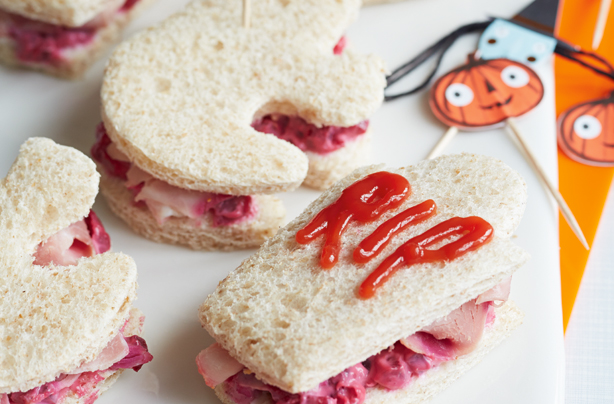 Spooky sandwiches
Spooky sandwiches are so simple to make with ham, beetroot coleslaw and ketchup and shaped into coffins. Perfect as part of a Halloween buffet spread.
By Octavia Lillywhite Published
-
 Halloween biscuits
Our Halloween biscuits are creepy, kooky almond cookies. The kids will love making these biscuits - at Halloween or any time.
By Emily Stedman Published
-
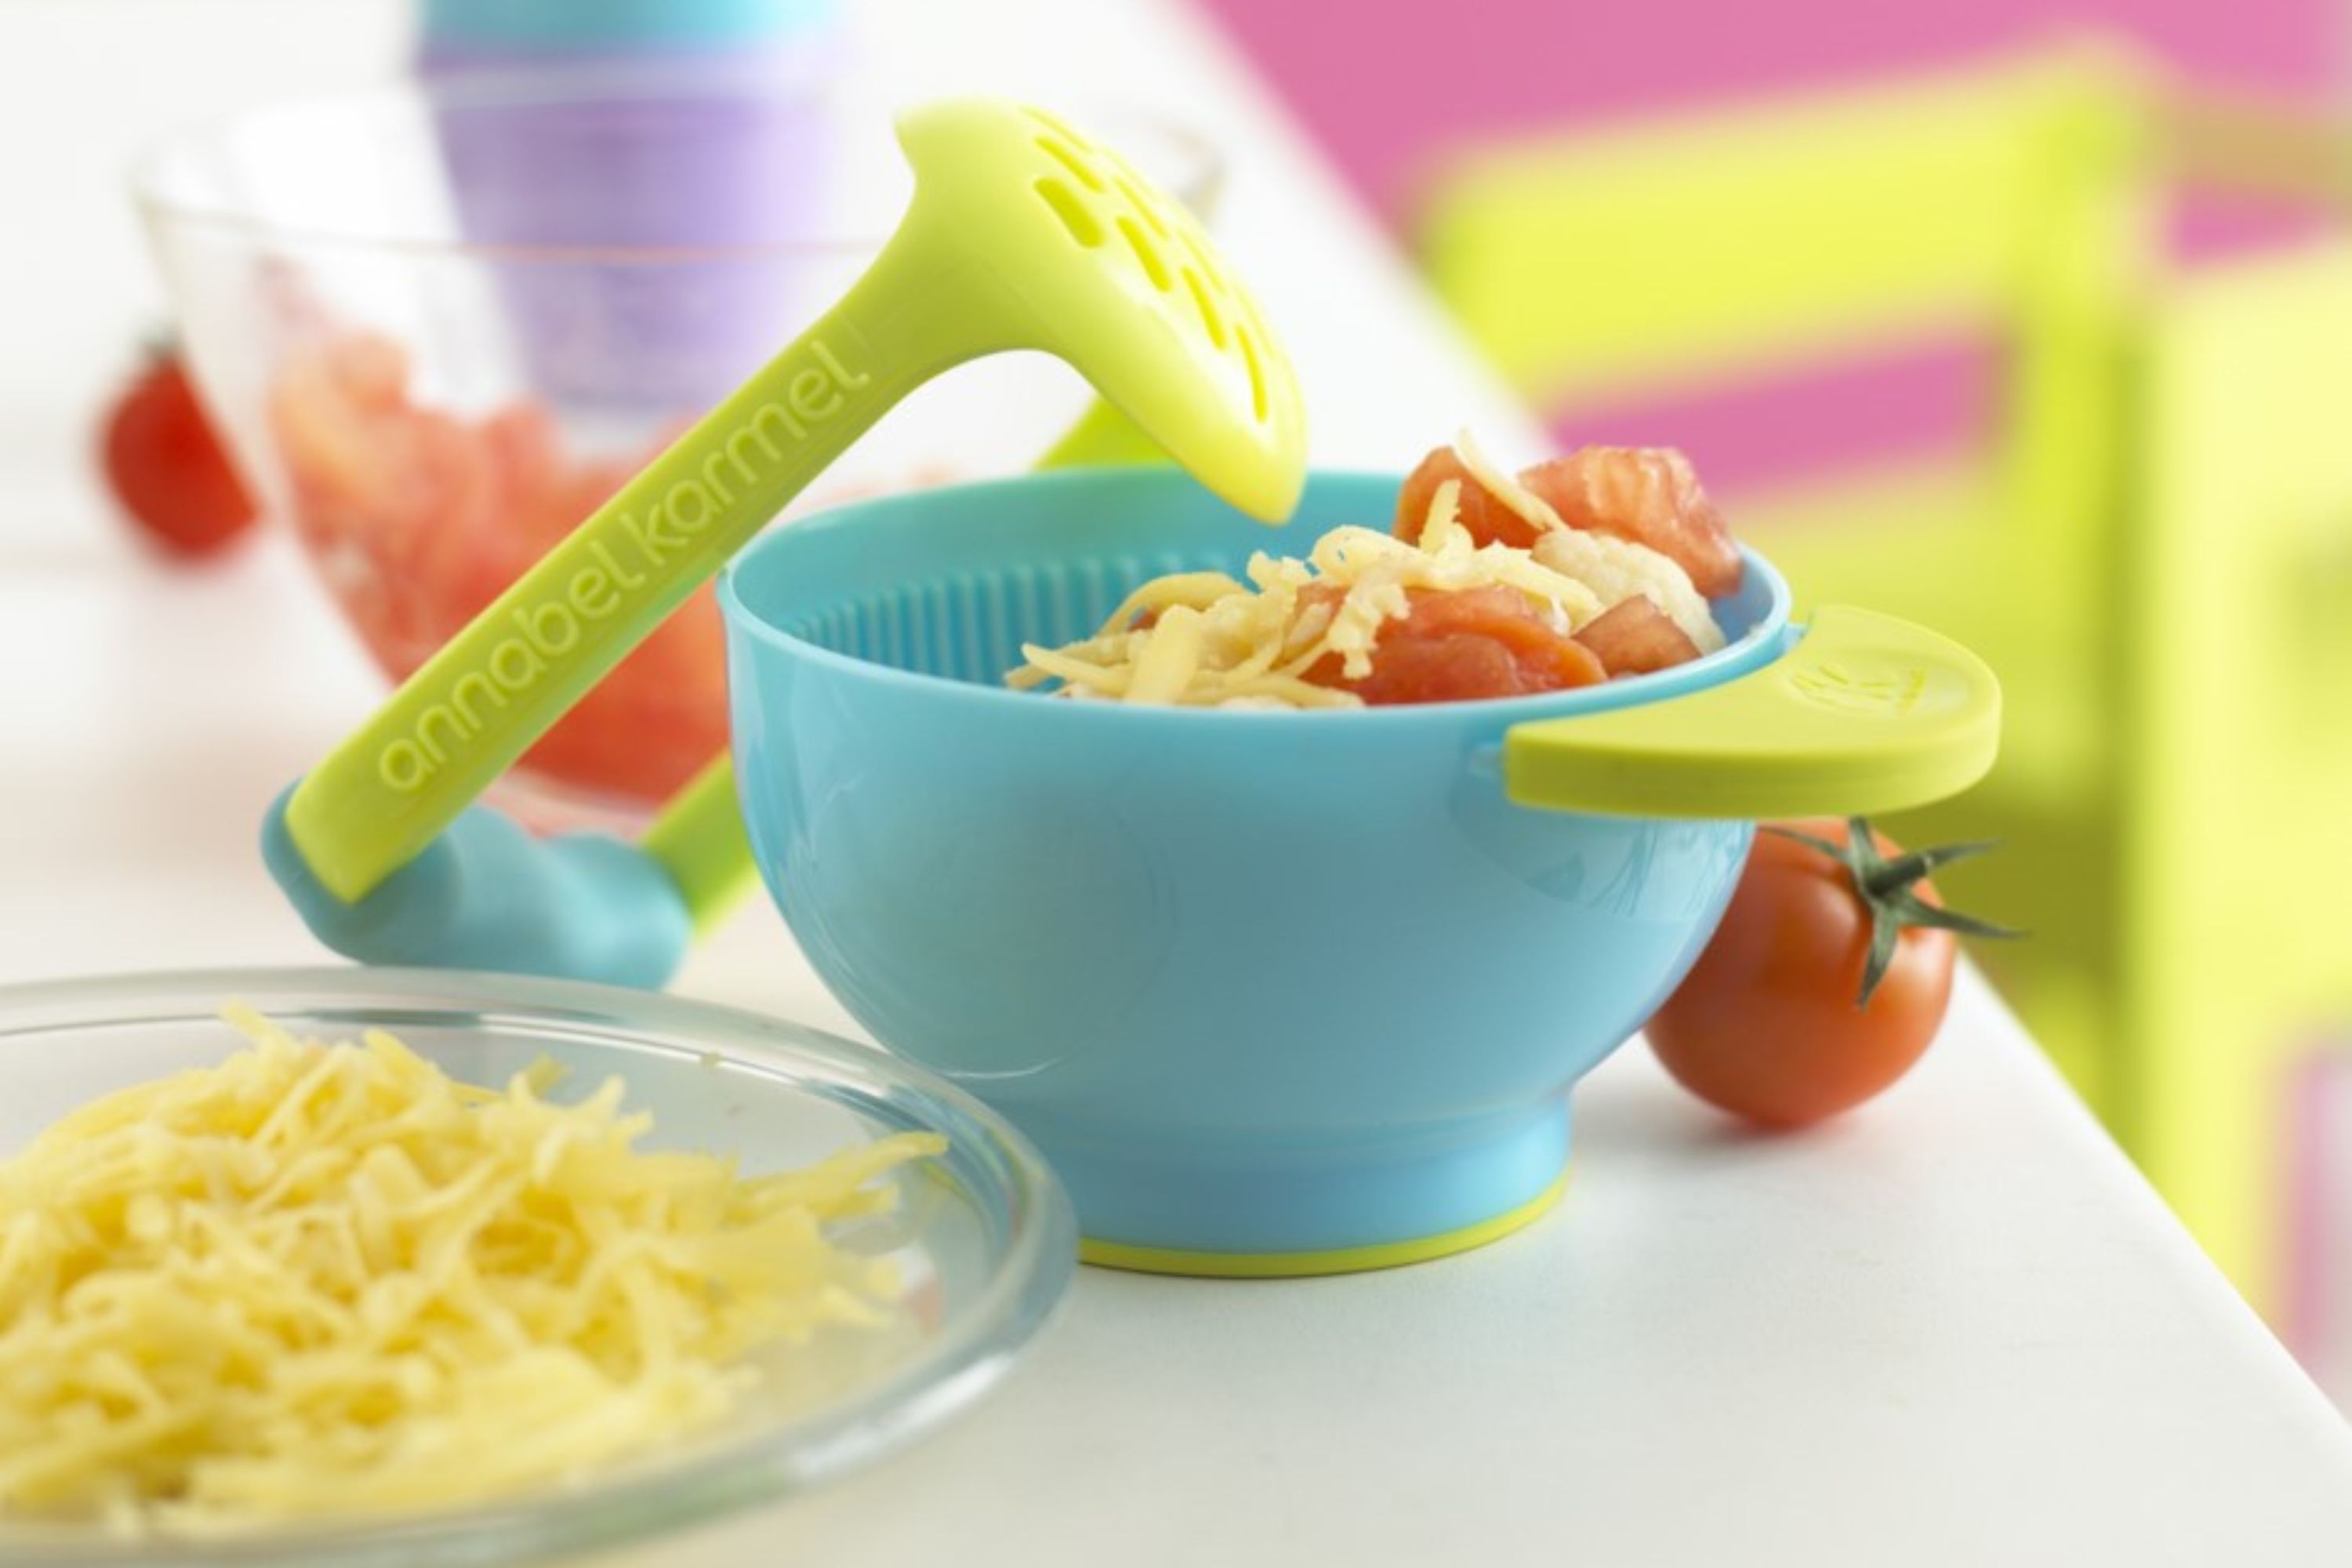 Annabel Karmel's trio of vegetables with tomato and basil
Suitable for six months plus, this baby food by nutritional expert Annabel Karmel is made with a whole heap of veggies...
By Annabel Karmel Published
-
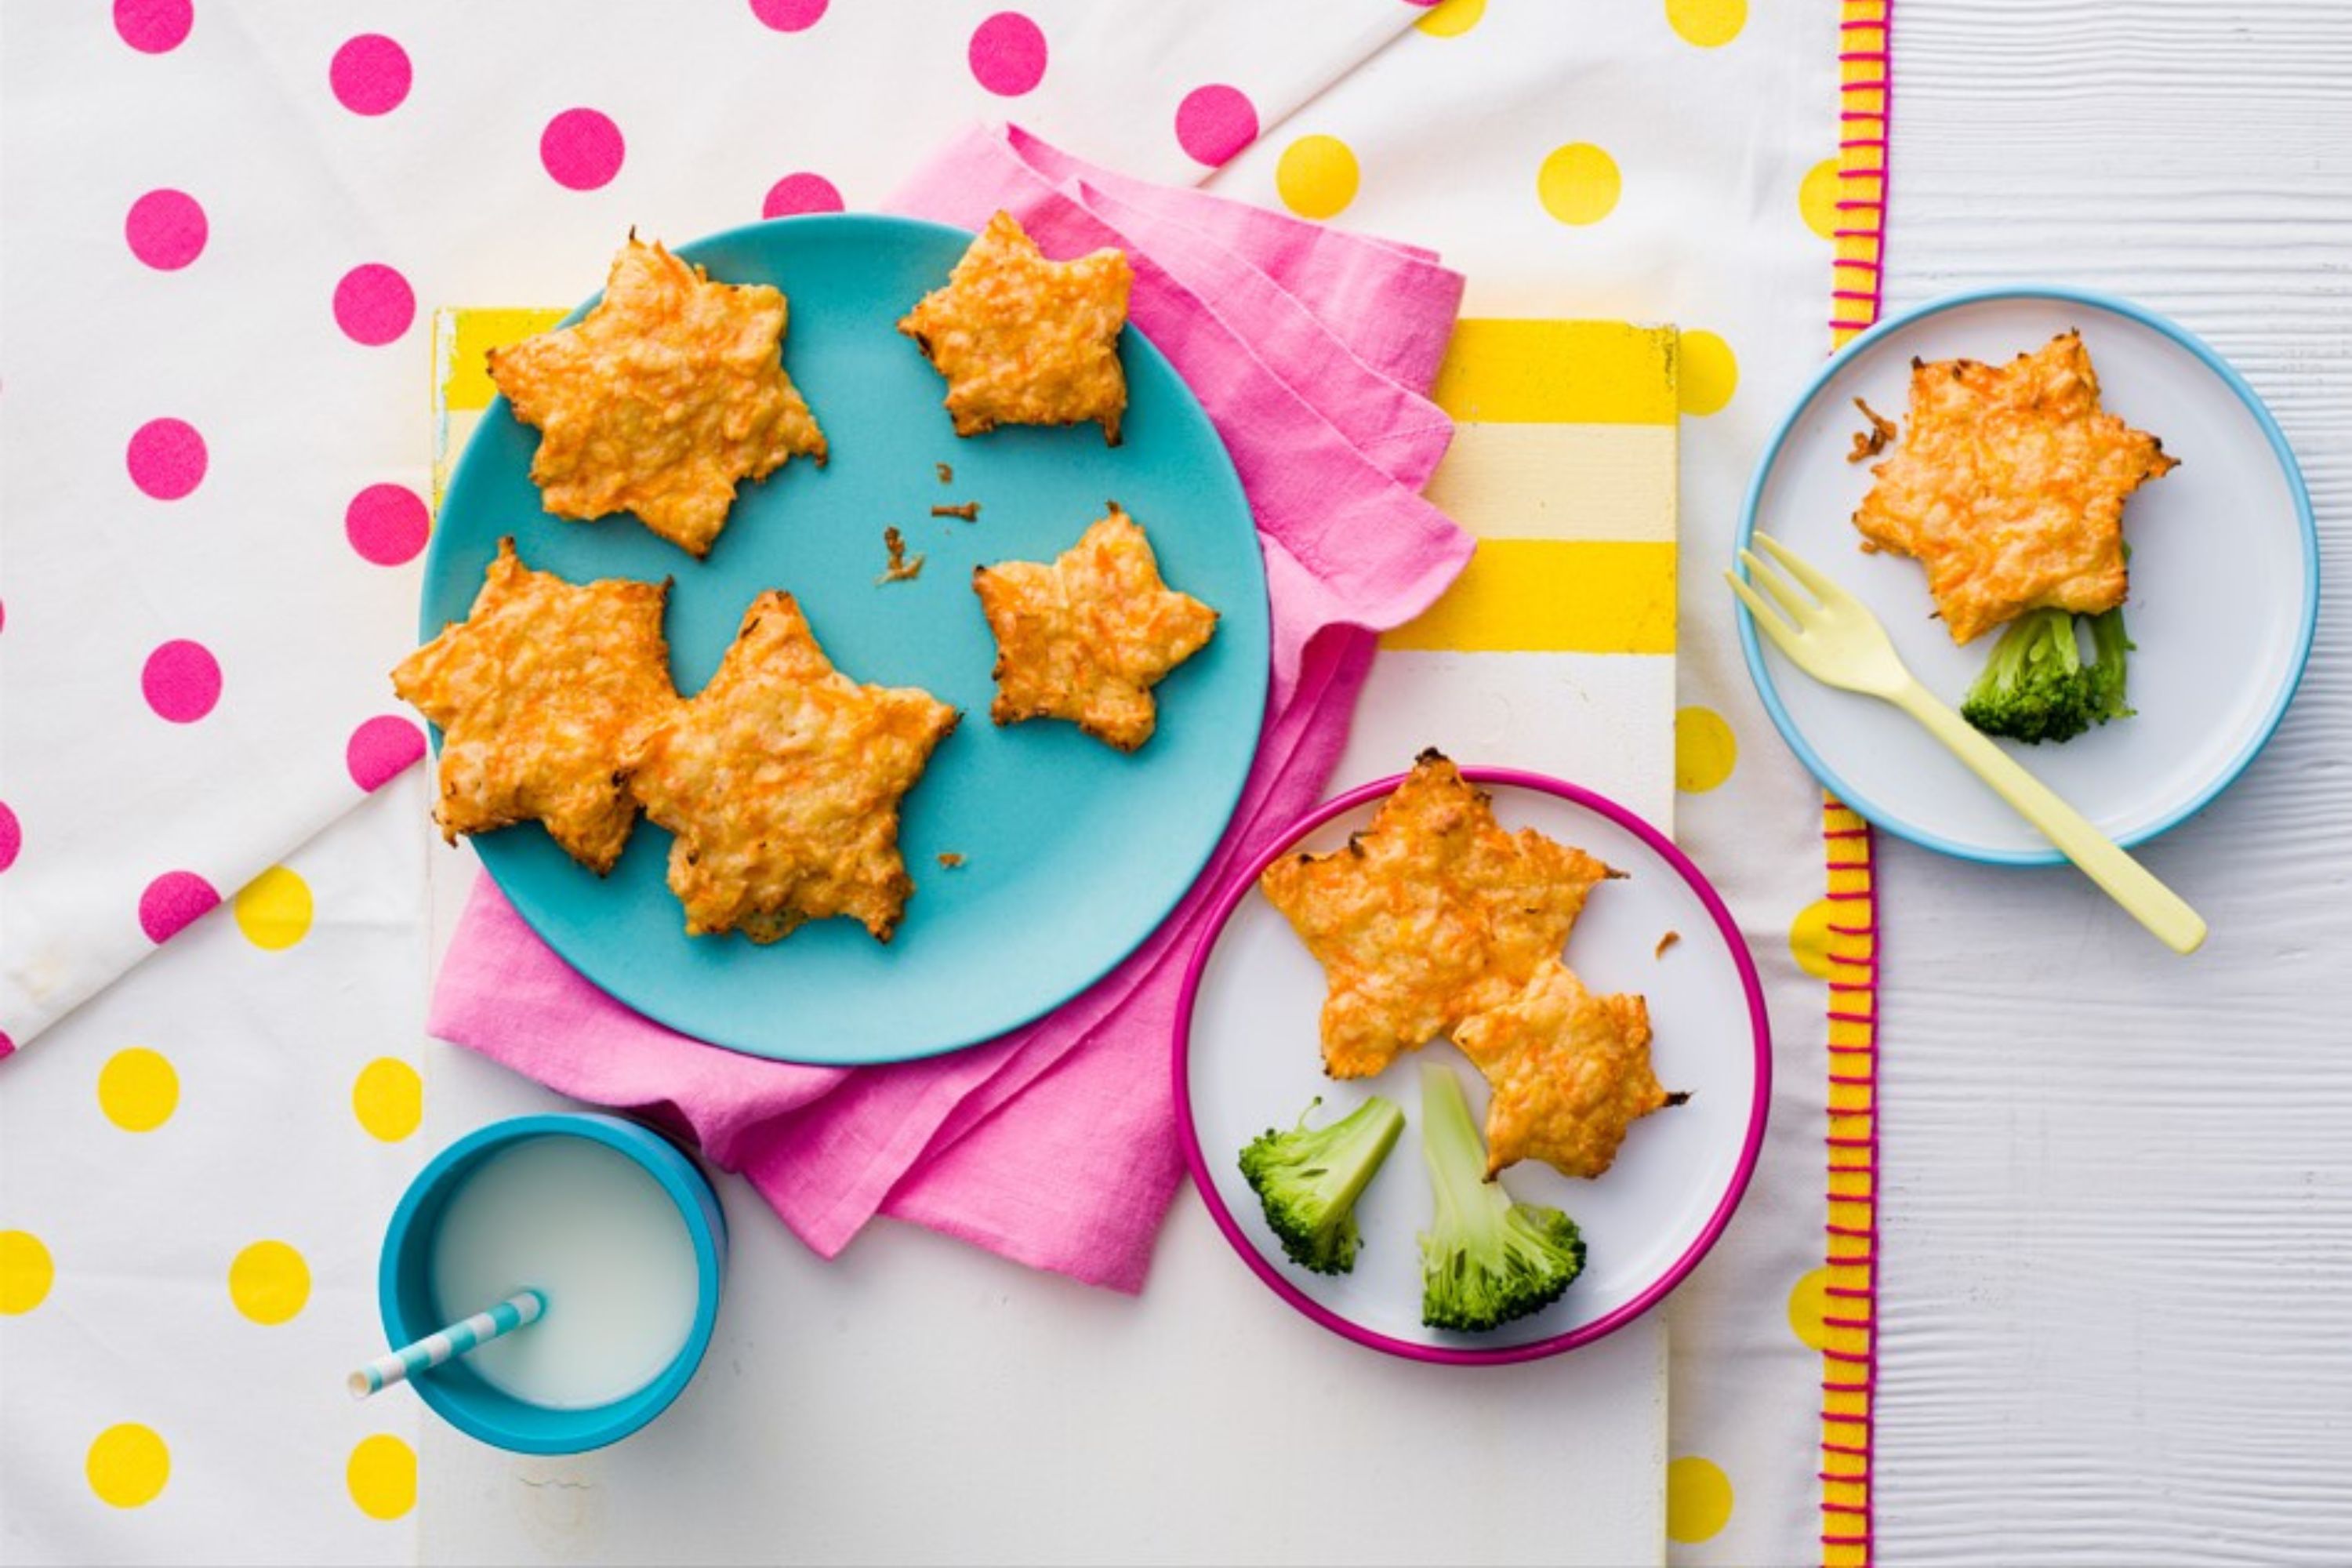 Annabel Karmel's cheesy carrot stars
These flavour-packed cheesy carrot stars by Annabel Karmel are perfect for introducing finger foods to your little one...
By Annabel Karmel Published
-
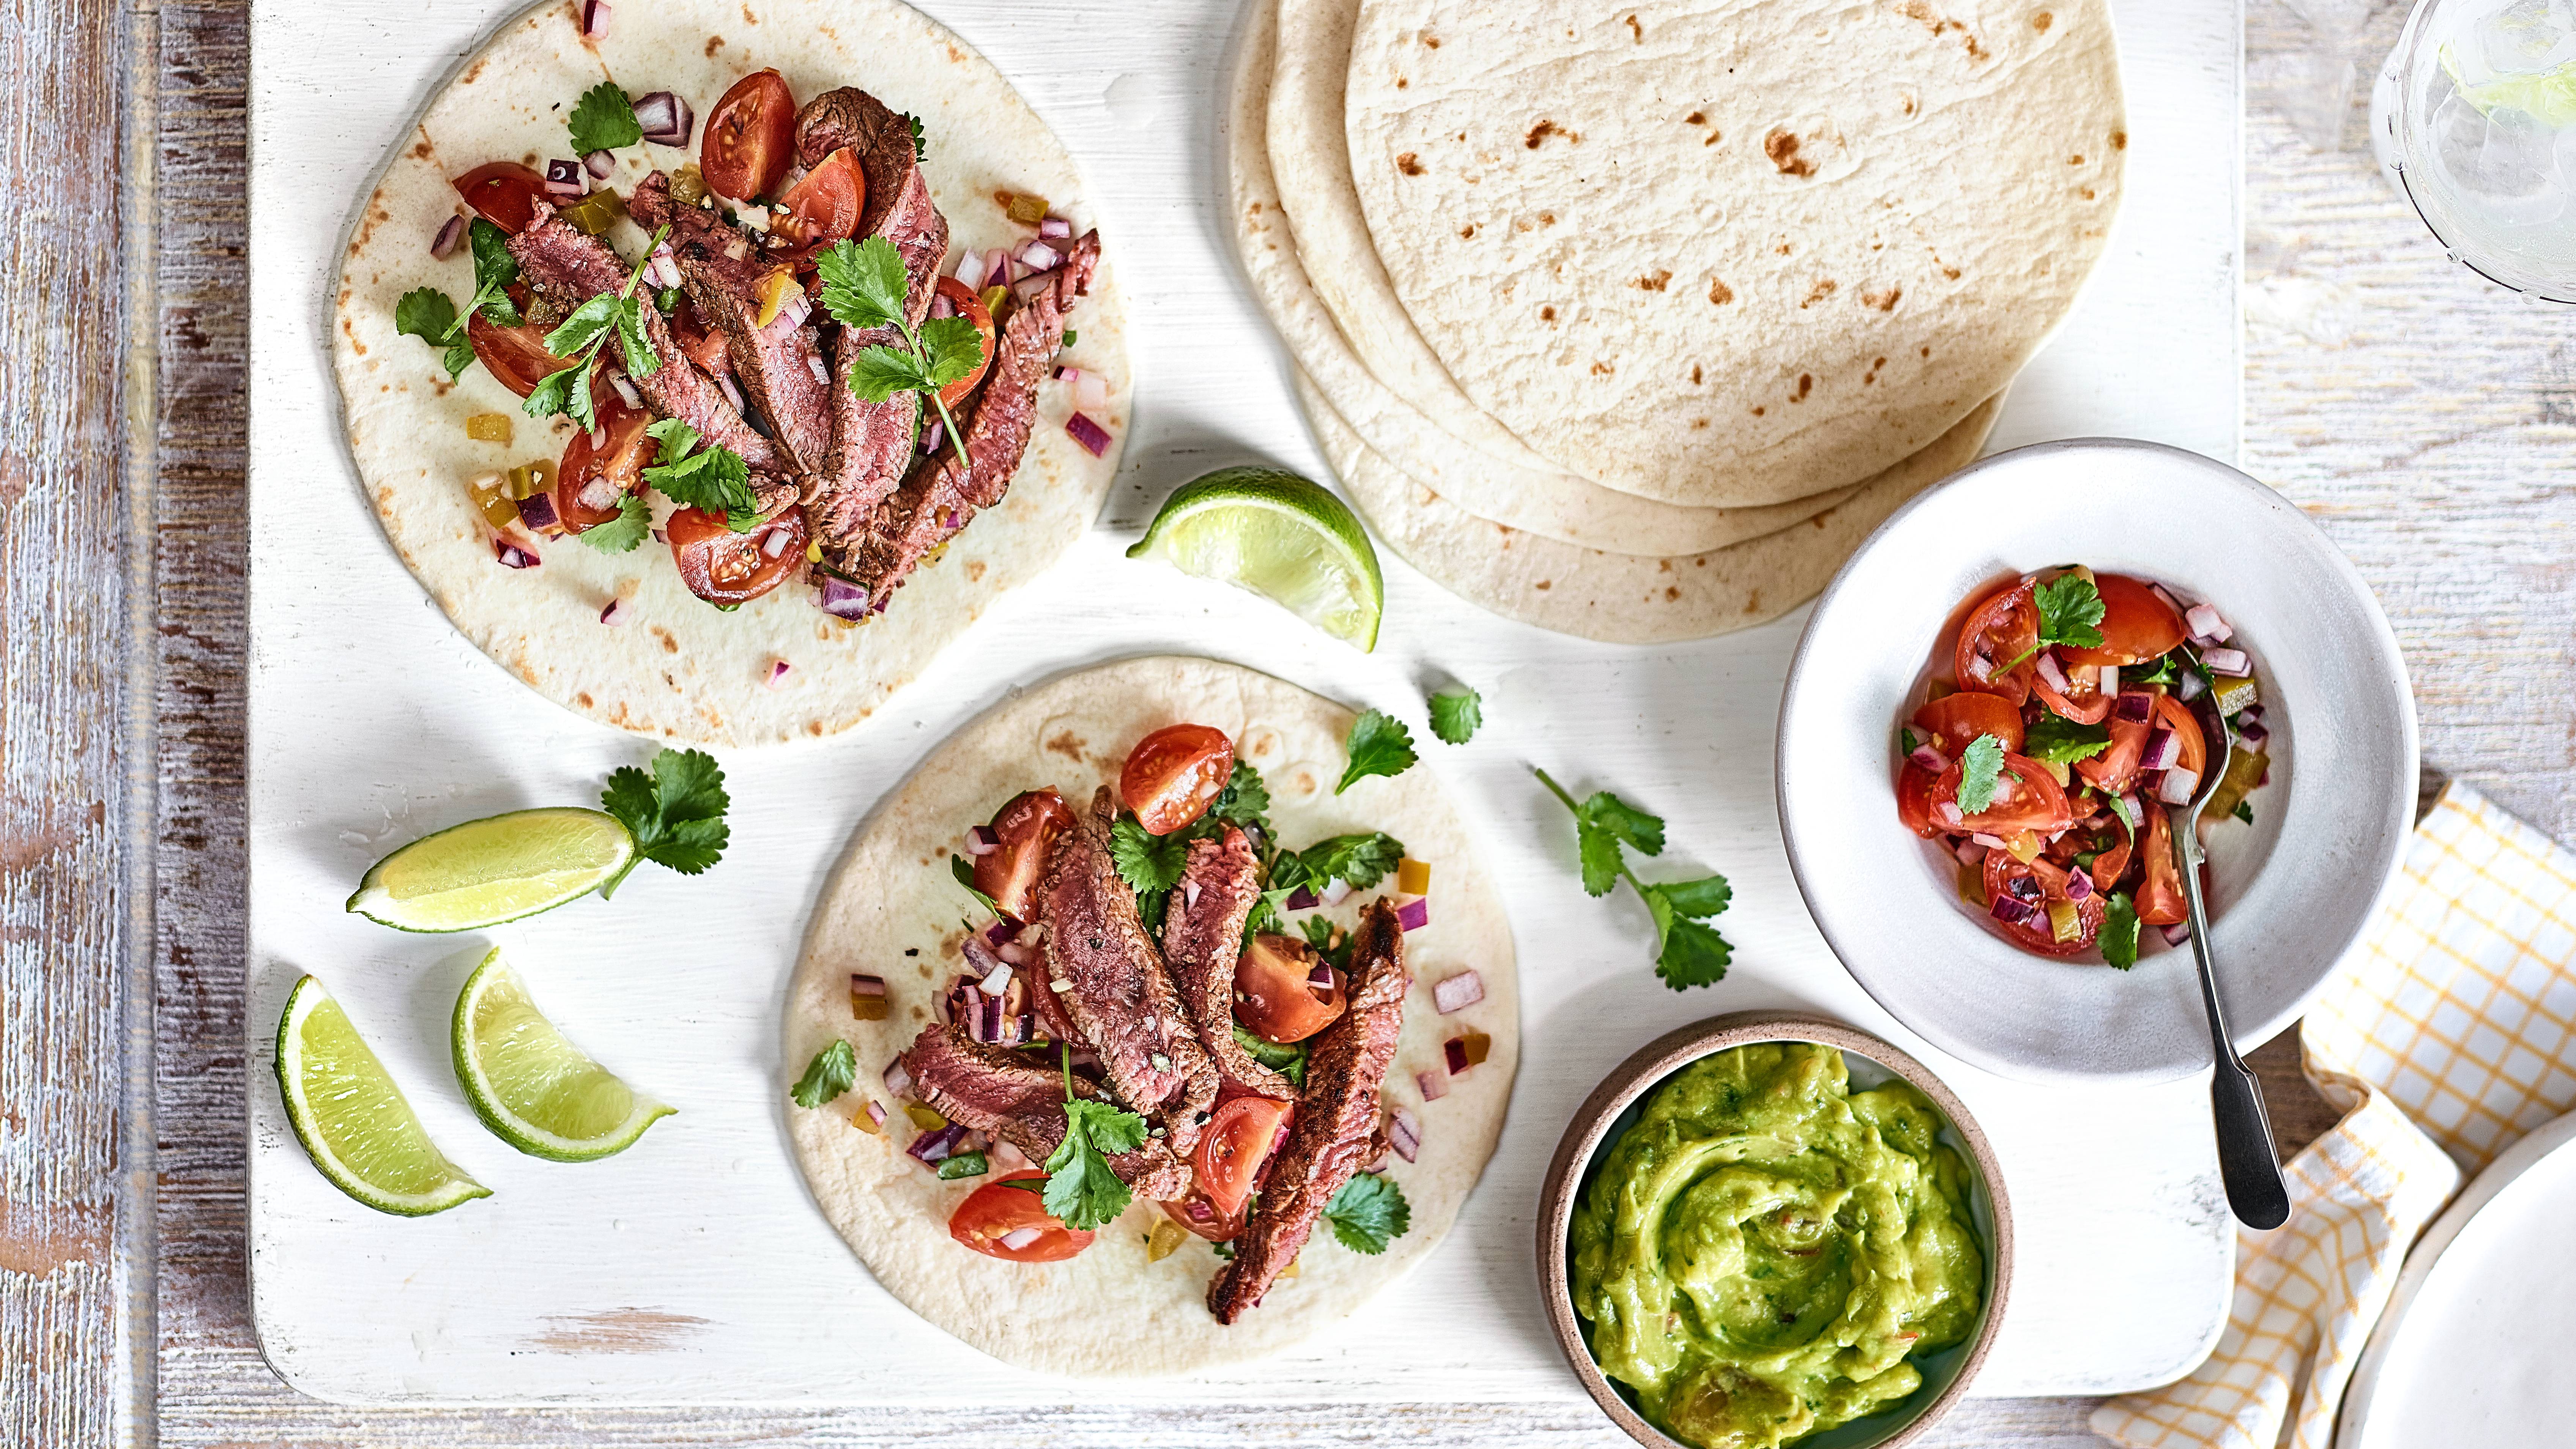 Steak and salsa wraps
Our steak and salsa wraps are one of those build-you-own suppers the teens in your house will love...
By Jessica Ransom Published
-
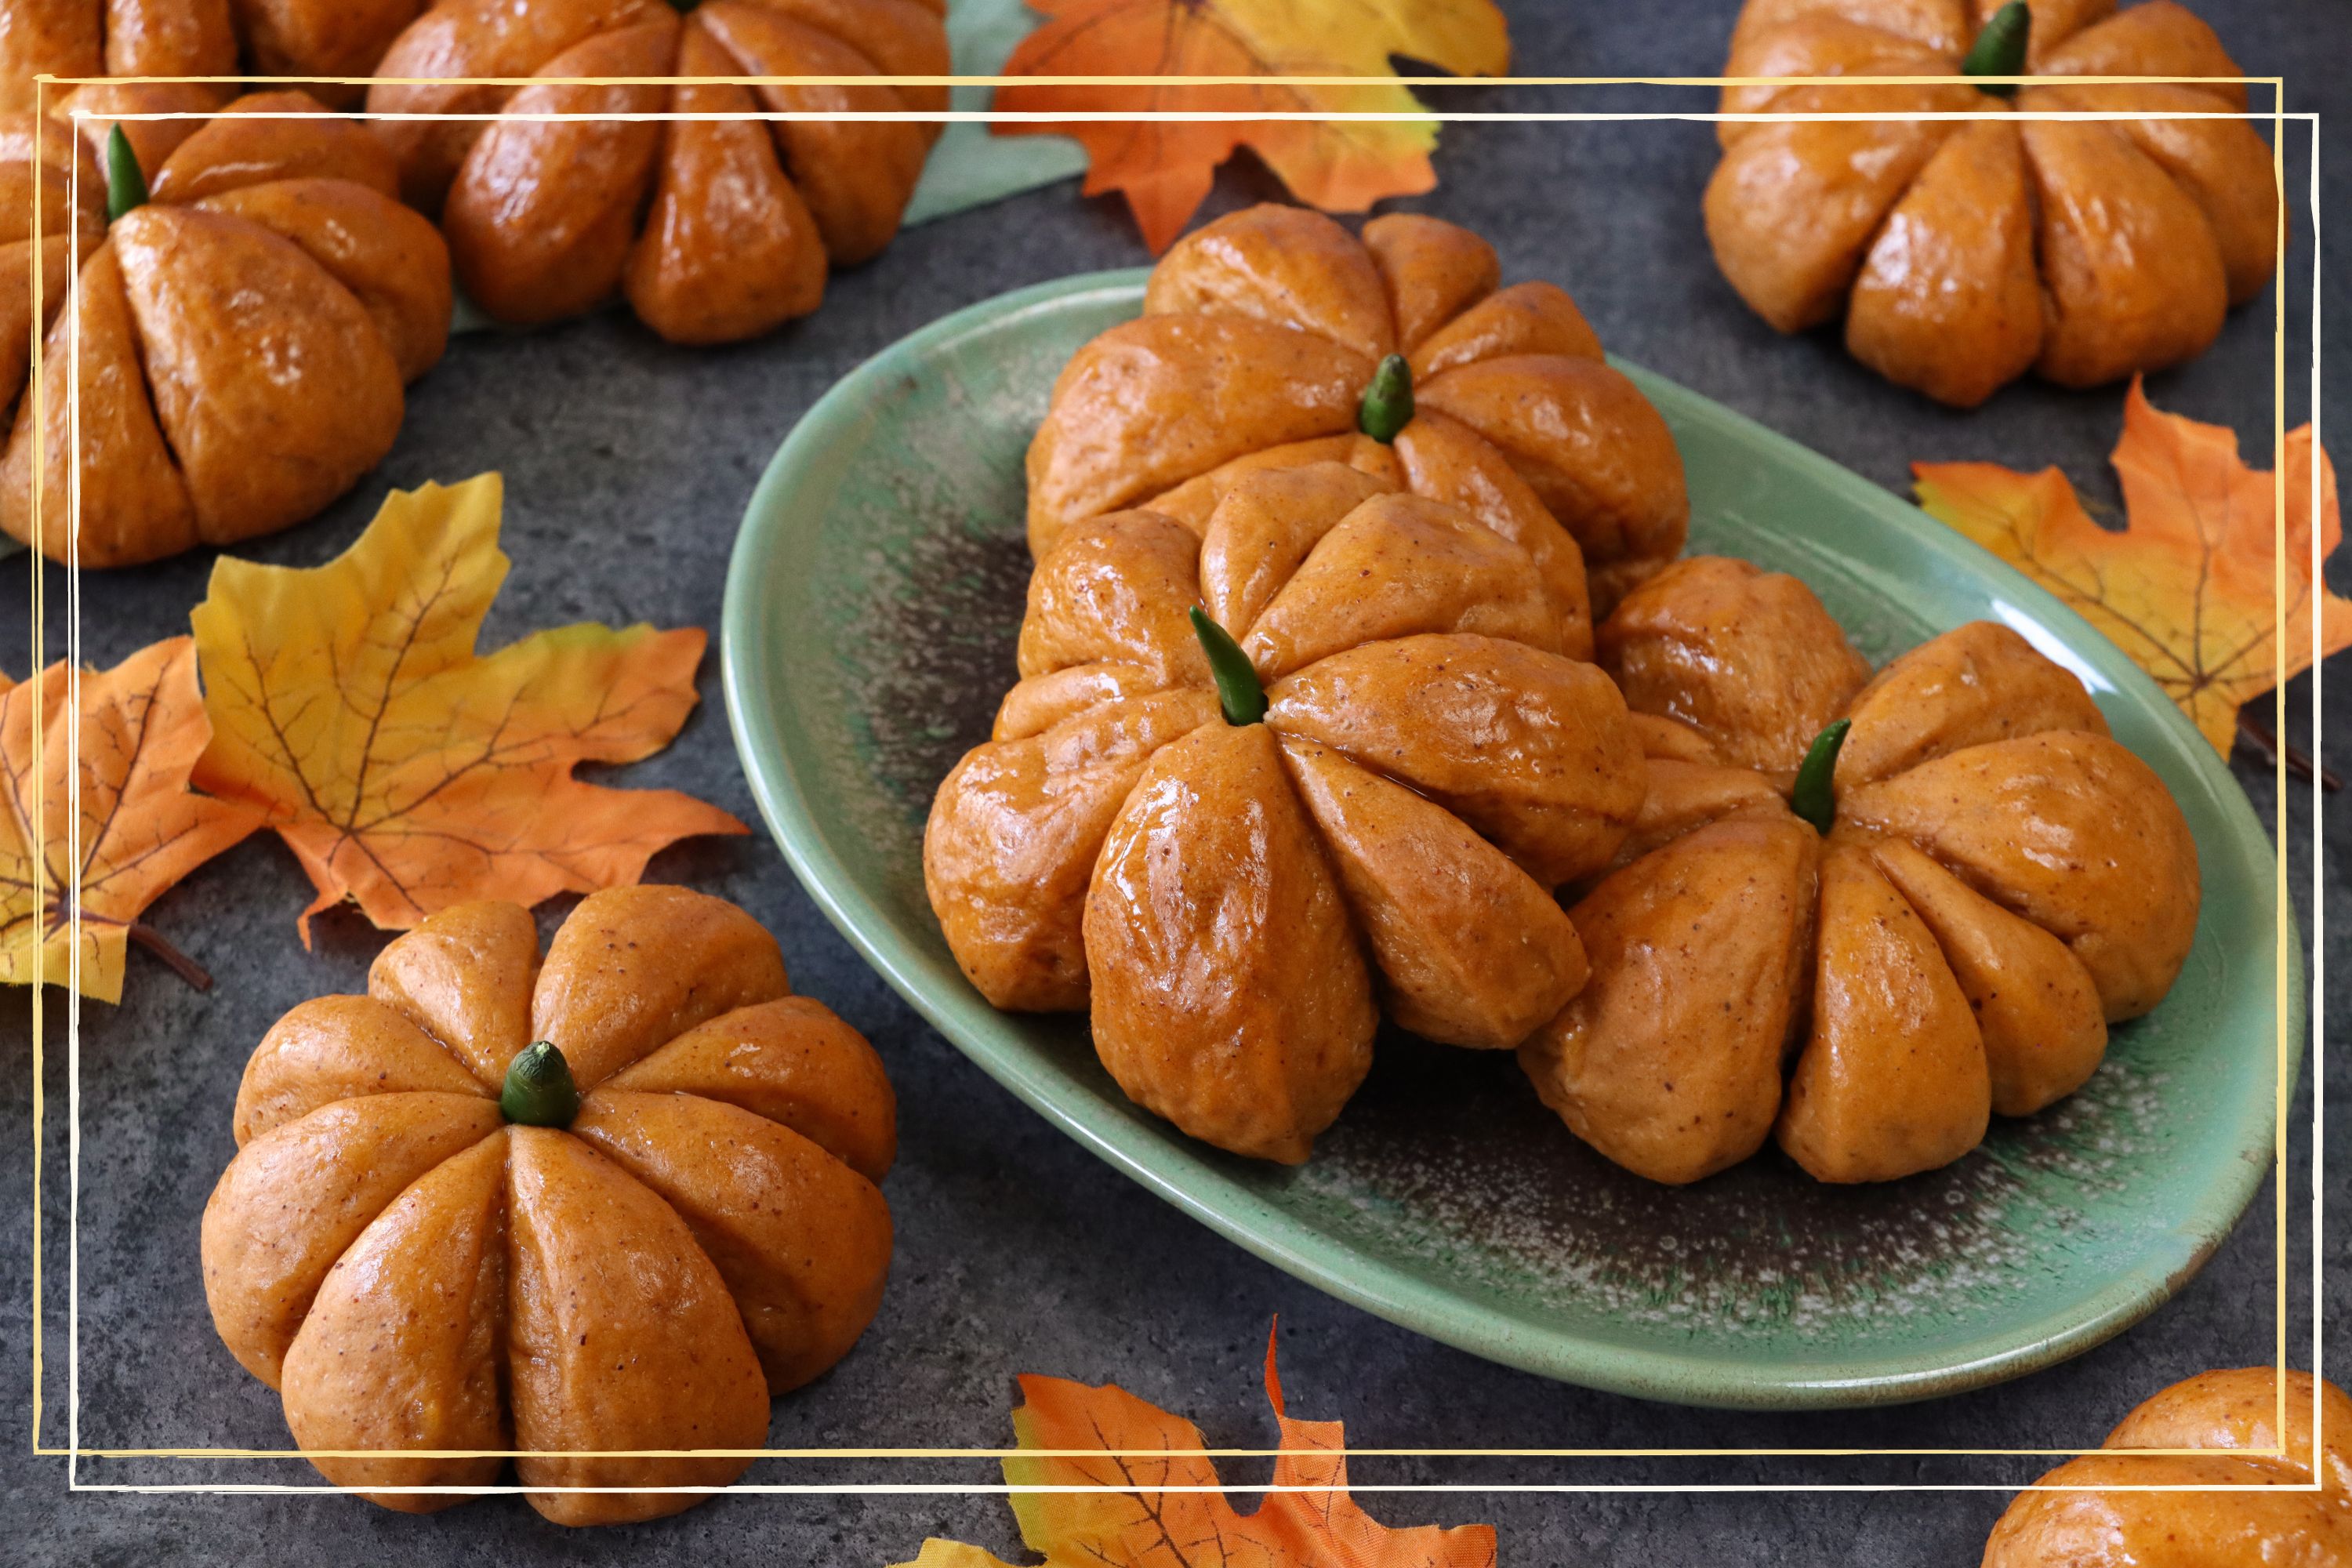 These pumpkin-shaped pizza pockets are the perfect Halloween-themed snack - and you only need 4 ingredients to make them
4 ingredients and 20 minutes to make these pumpkin-shaped pizza pockets - just in time for Halloween!
By Ellie Hutchings Published
-
 Halloween inspired baby names - perfect for autumn newborns
Trick or treat? These Halloween inspired baby names might be right up your street...
By Selina Maycock Published
-
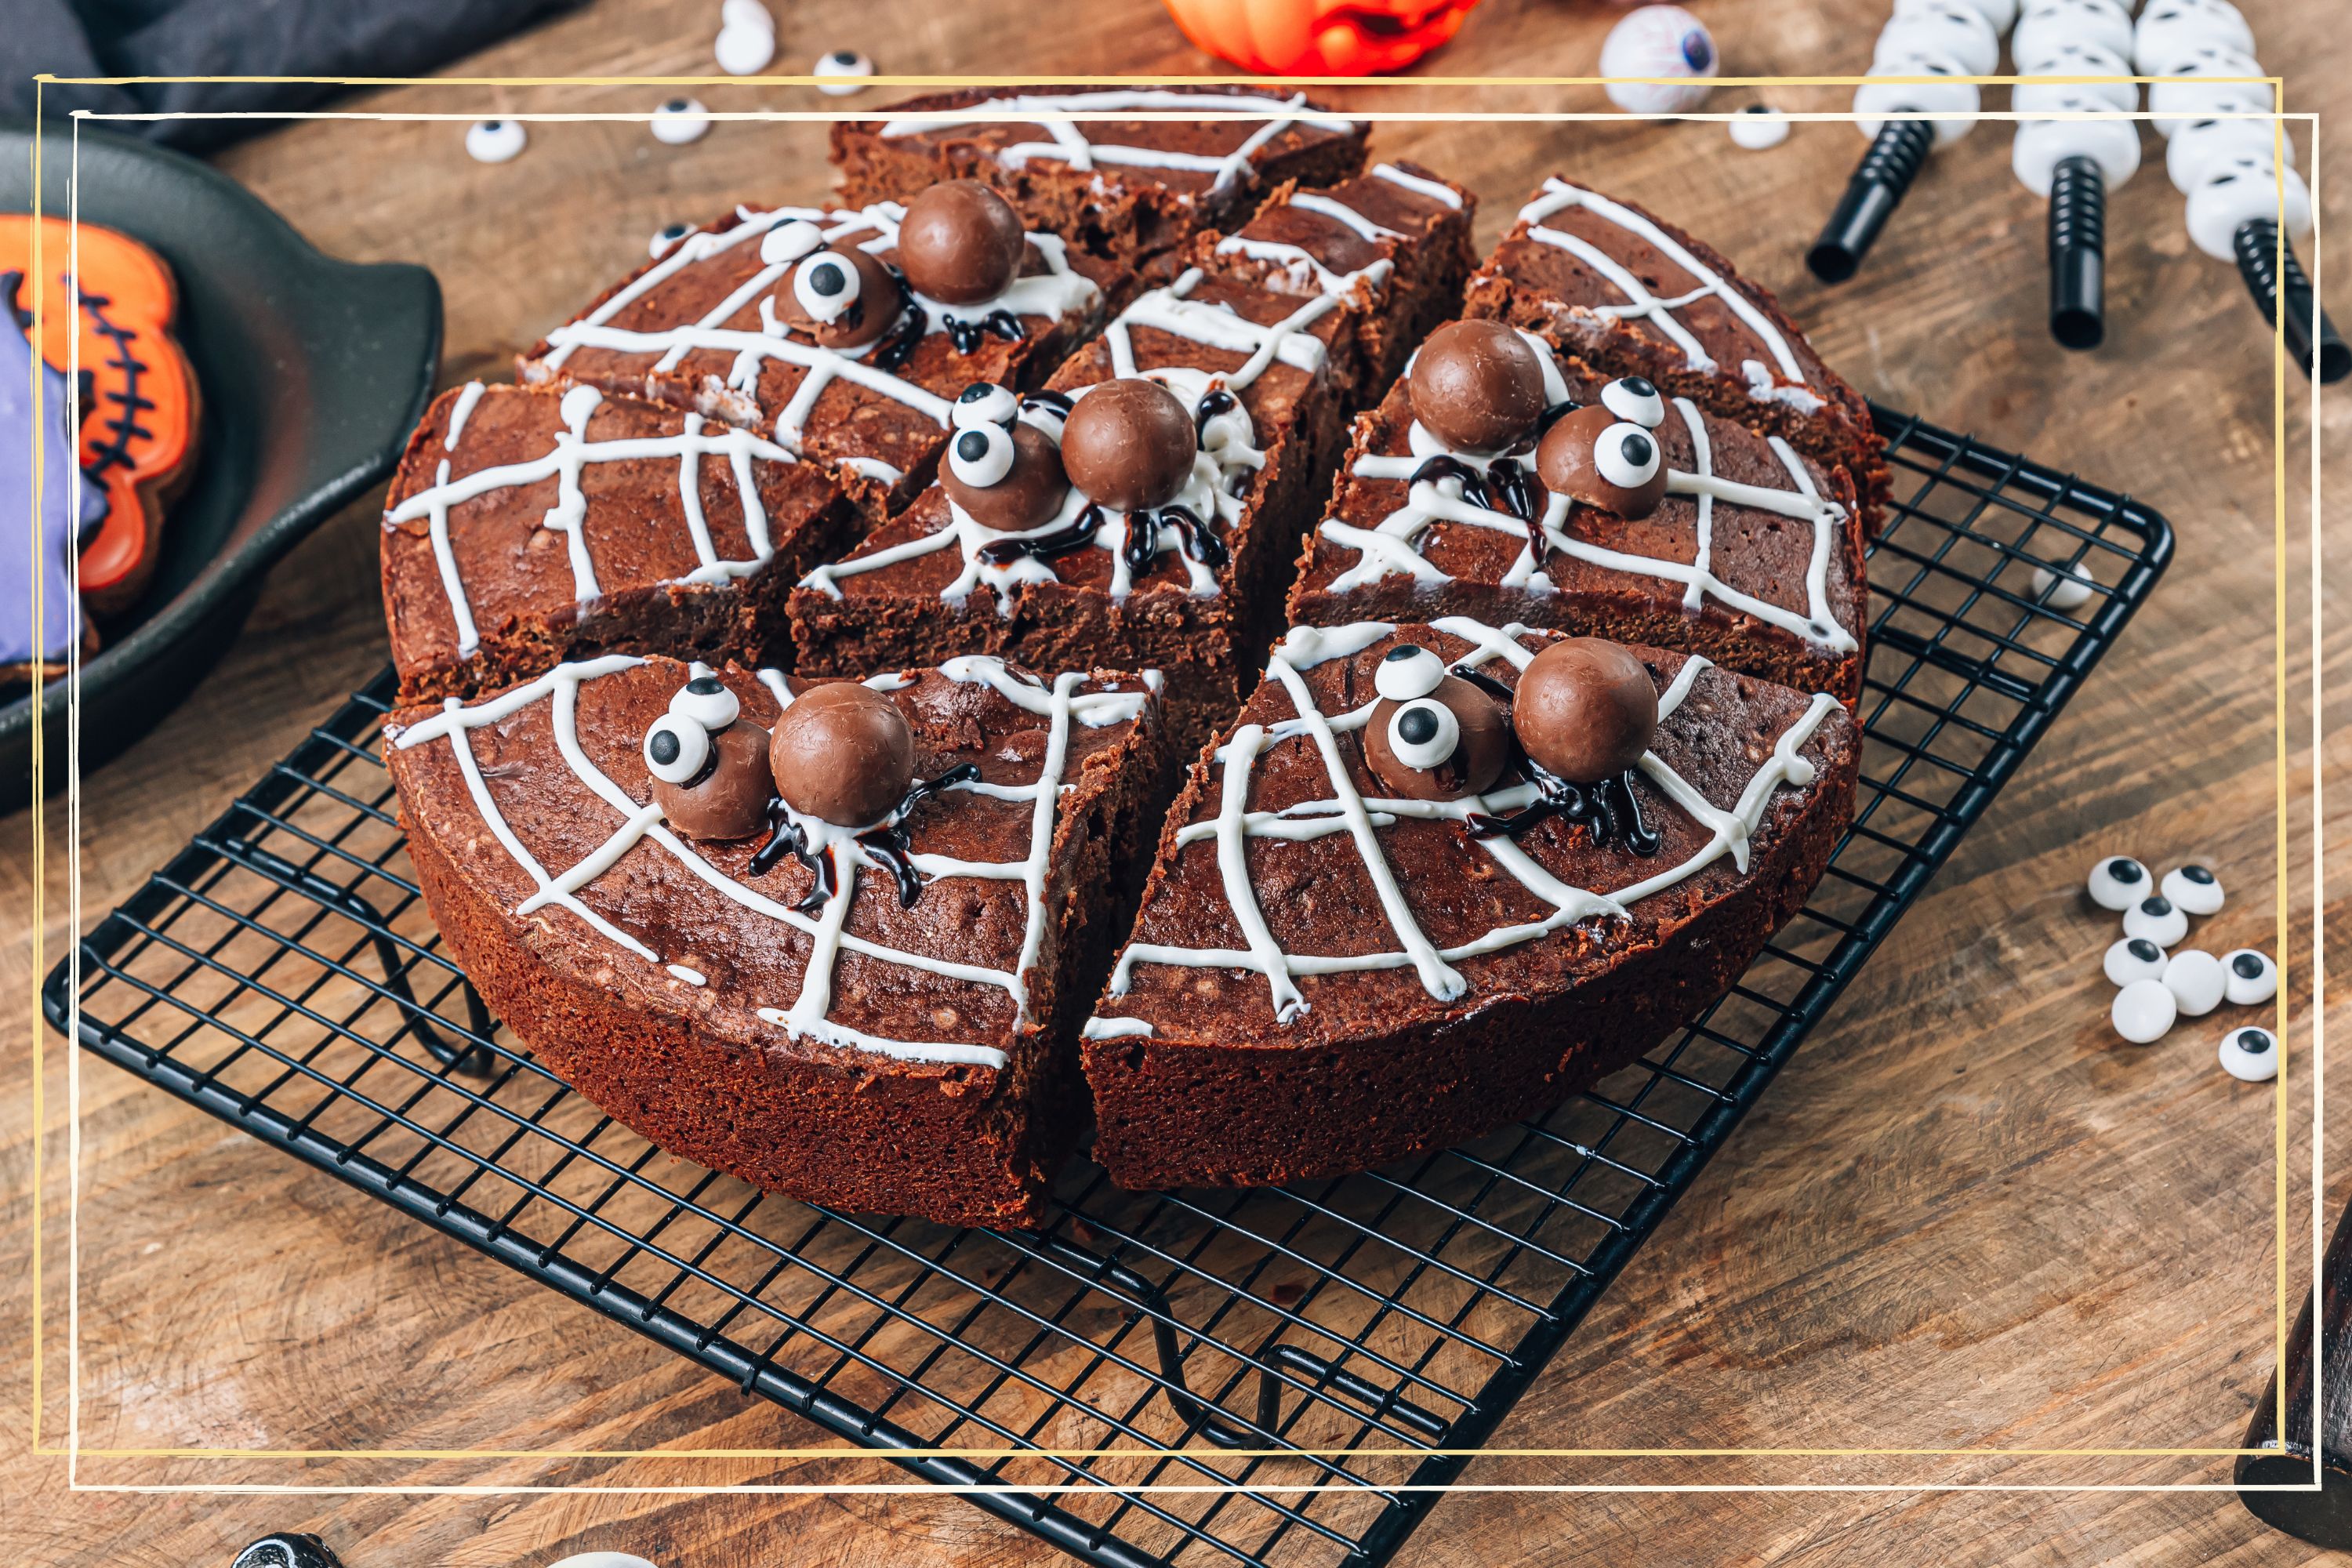 This 30-second trick will transform your Halloween bakes - and you only need one ingredient
This viral trick is sure to impress any Halloween party guests
By Ellie Hutchings Published
