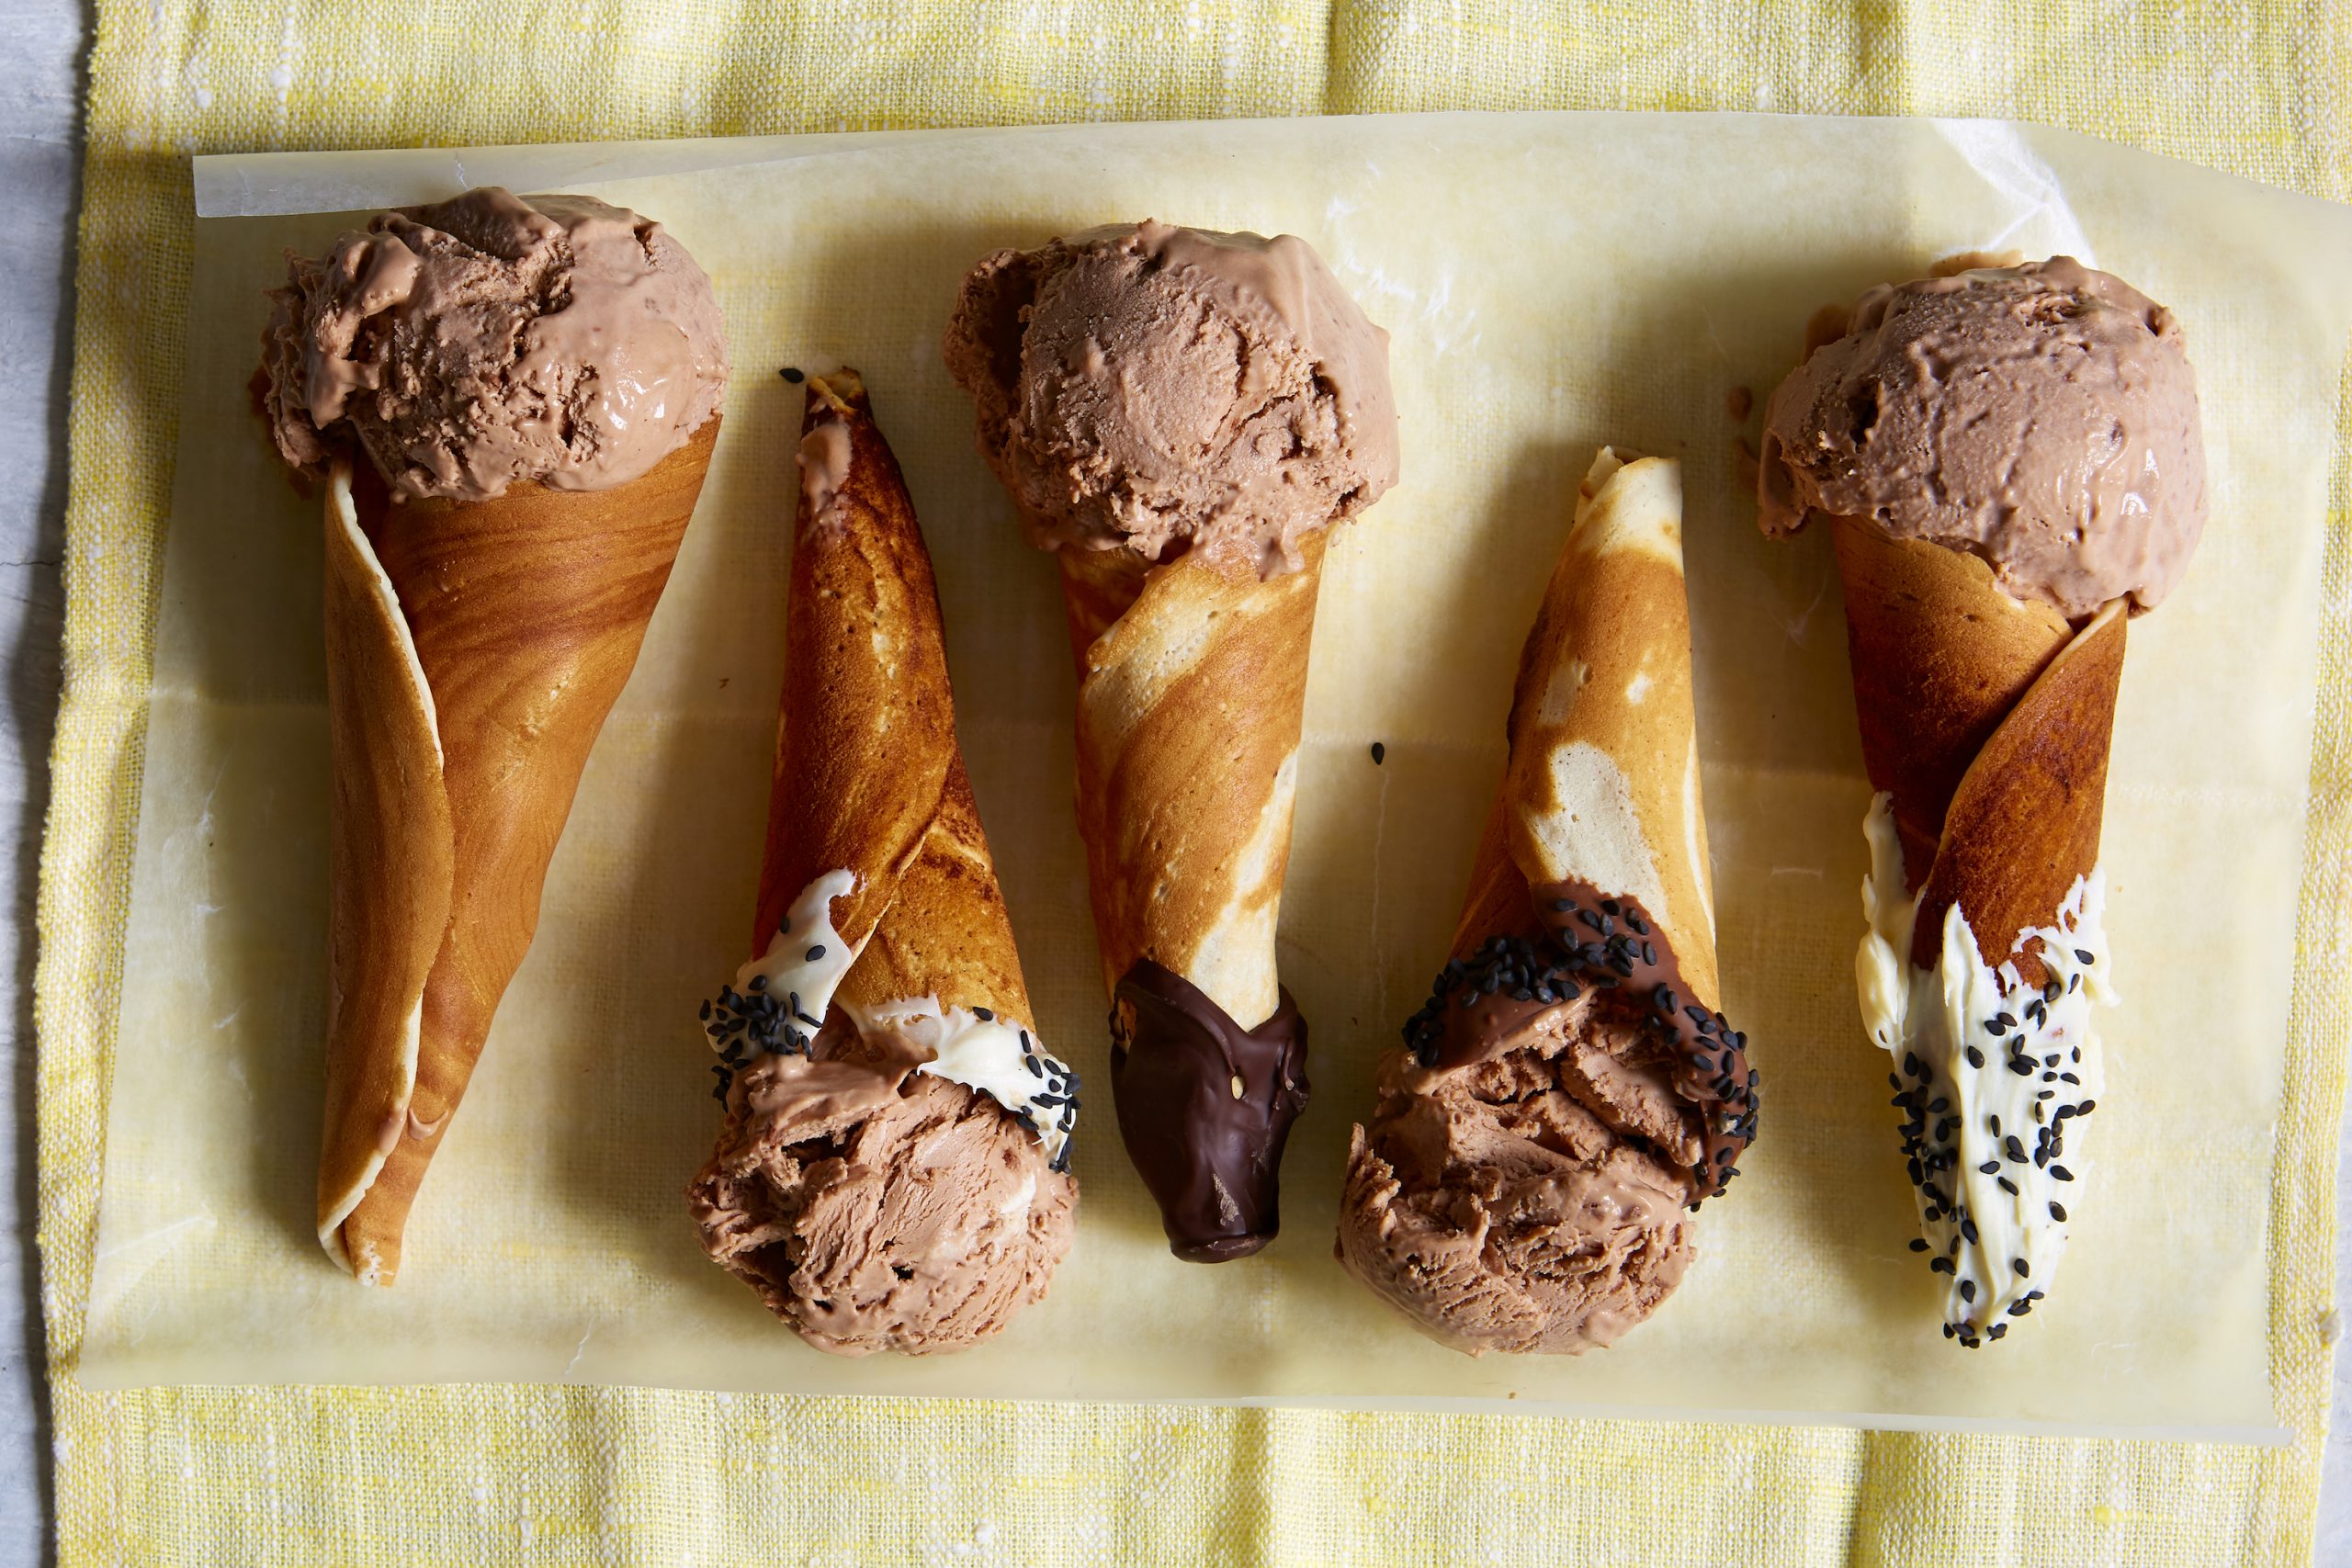
Mini ice cream cones are so easy to make and are the perfect fun summer treat. We’ve made a super simple custard based ice cream to serve in our mini ice cream cones. Using shop-bought custard is a quick ice cream hack, which gives you time to spend playing with your home made cones! Make sure you use a good quality custard for your ice cream in order to get the best results. The whole family will love getting hands on and making these mini ice cream cones. This recipe makes a litre of ice cream so you can keep any extra that you don't use for your cones in the freezer and enjoy later!
Ingredients
- 1 x 500ml tub best quality store bought vanilla custard
- 300ml double cream
- 300g milk chocolate
For the cones
- 2 large, free range egg whites
- 90g icing sugar
- 3tbsp milk
- 1tsp vanilla
- 120g plain flour
- 30g melted unsalted butter
For the dippings
- 100g of each milk and white chocolate, melted
- 5tbsp sesame seeds or finely chopped nuts – your personal preference
WEIGHT CONVERTER
Method
- To make the ice cream, pour the custard into a large bowl. Whip the double cream until light and fluffy. Melt the chocolate in the microwave until just softened, stir to melt completely. Fold the cream into the custard mix, then fold a little of this mixture into the cooled chocolate, then add the remainder and mix well. Pour into a container and allow to set in the freezer for about 4-5 hours.
- For the cones: combine the egg whites, icing sugar, milk and vanilla with a pinch of salt. Whisk to combine well, then add the flour and whisk again until smooth, then stir in the melted butter. Heat a non stick frying pan to a medium heat (we also used cooking spray), pour spoonfuls of the mixture into the pan, spreading it out with the back of the spoon, and fry for 3-4mins until the edges turn caramel colour. Flip and cook for another minute on the other side. Remove from pan and mould into a cone shape, using a tea towel if it’s too hot, leave to cool and set on a wire rack.
- Once the cones are cool, dip them into the melted chocolate and sprinkle with seeds or nuts of your choice (we used black sesame seeds). Keep the cones upside down whilst the chocolate sets (we put the cones on bottles). Serve scoops of the ice cream in the cones.

Jules is a creative and talented Food Editor with over 12 years' experience in the food industry across brands and magazine titles. Jules' experience is cast and varied, from food Editor to food writing. She is also passionate about food sustainability and has an amazing talent for food Styling.
-
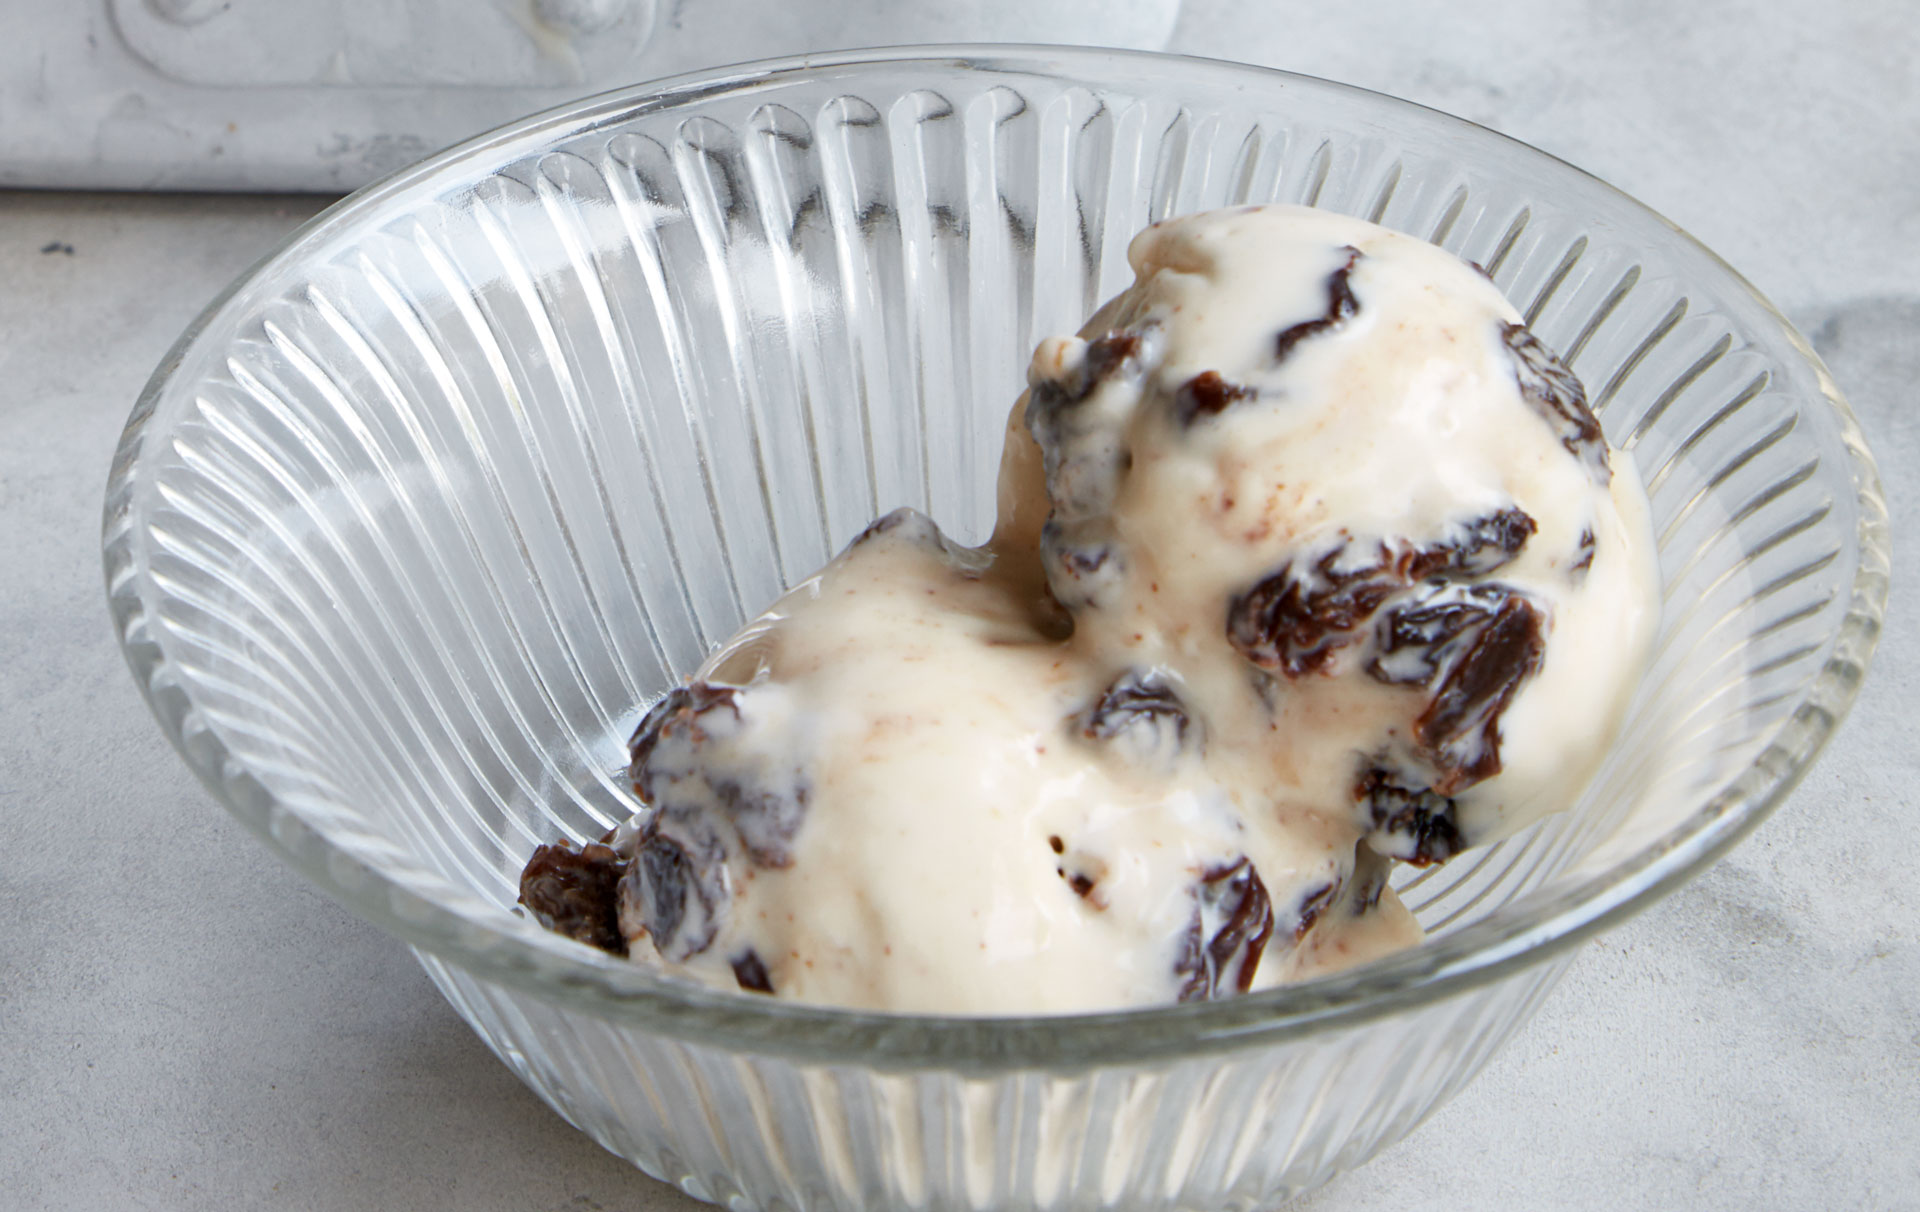 Mary Berry’s rum and raisin ice cream
Mary Berry's rum and raisin ice cream recipe uses four ingredients and requires no churning!
By Mary Berry Last updated
-
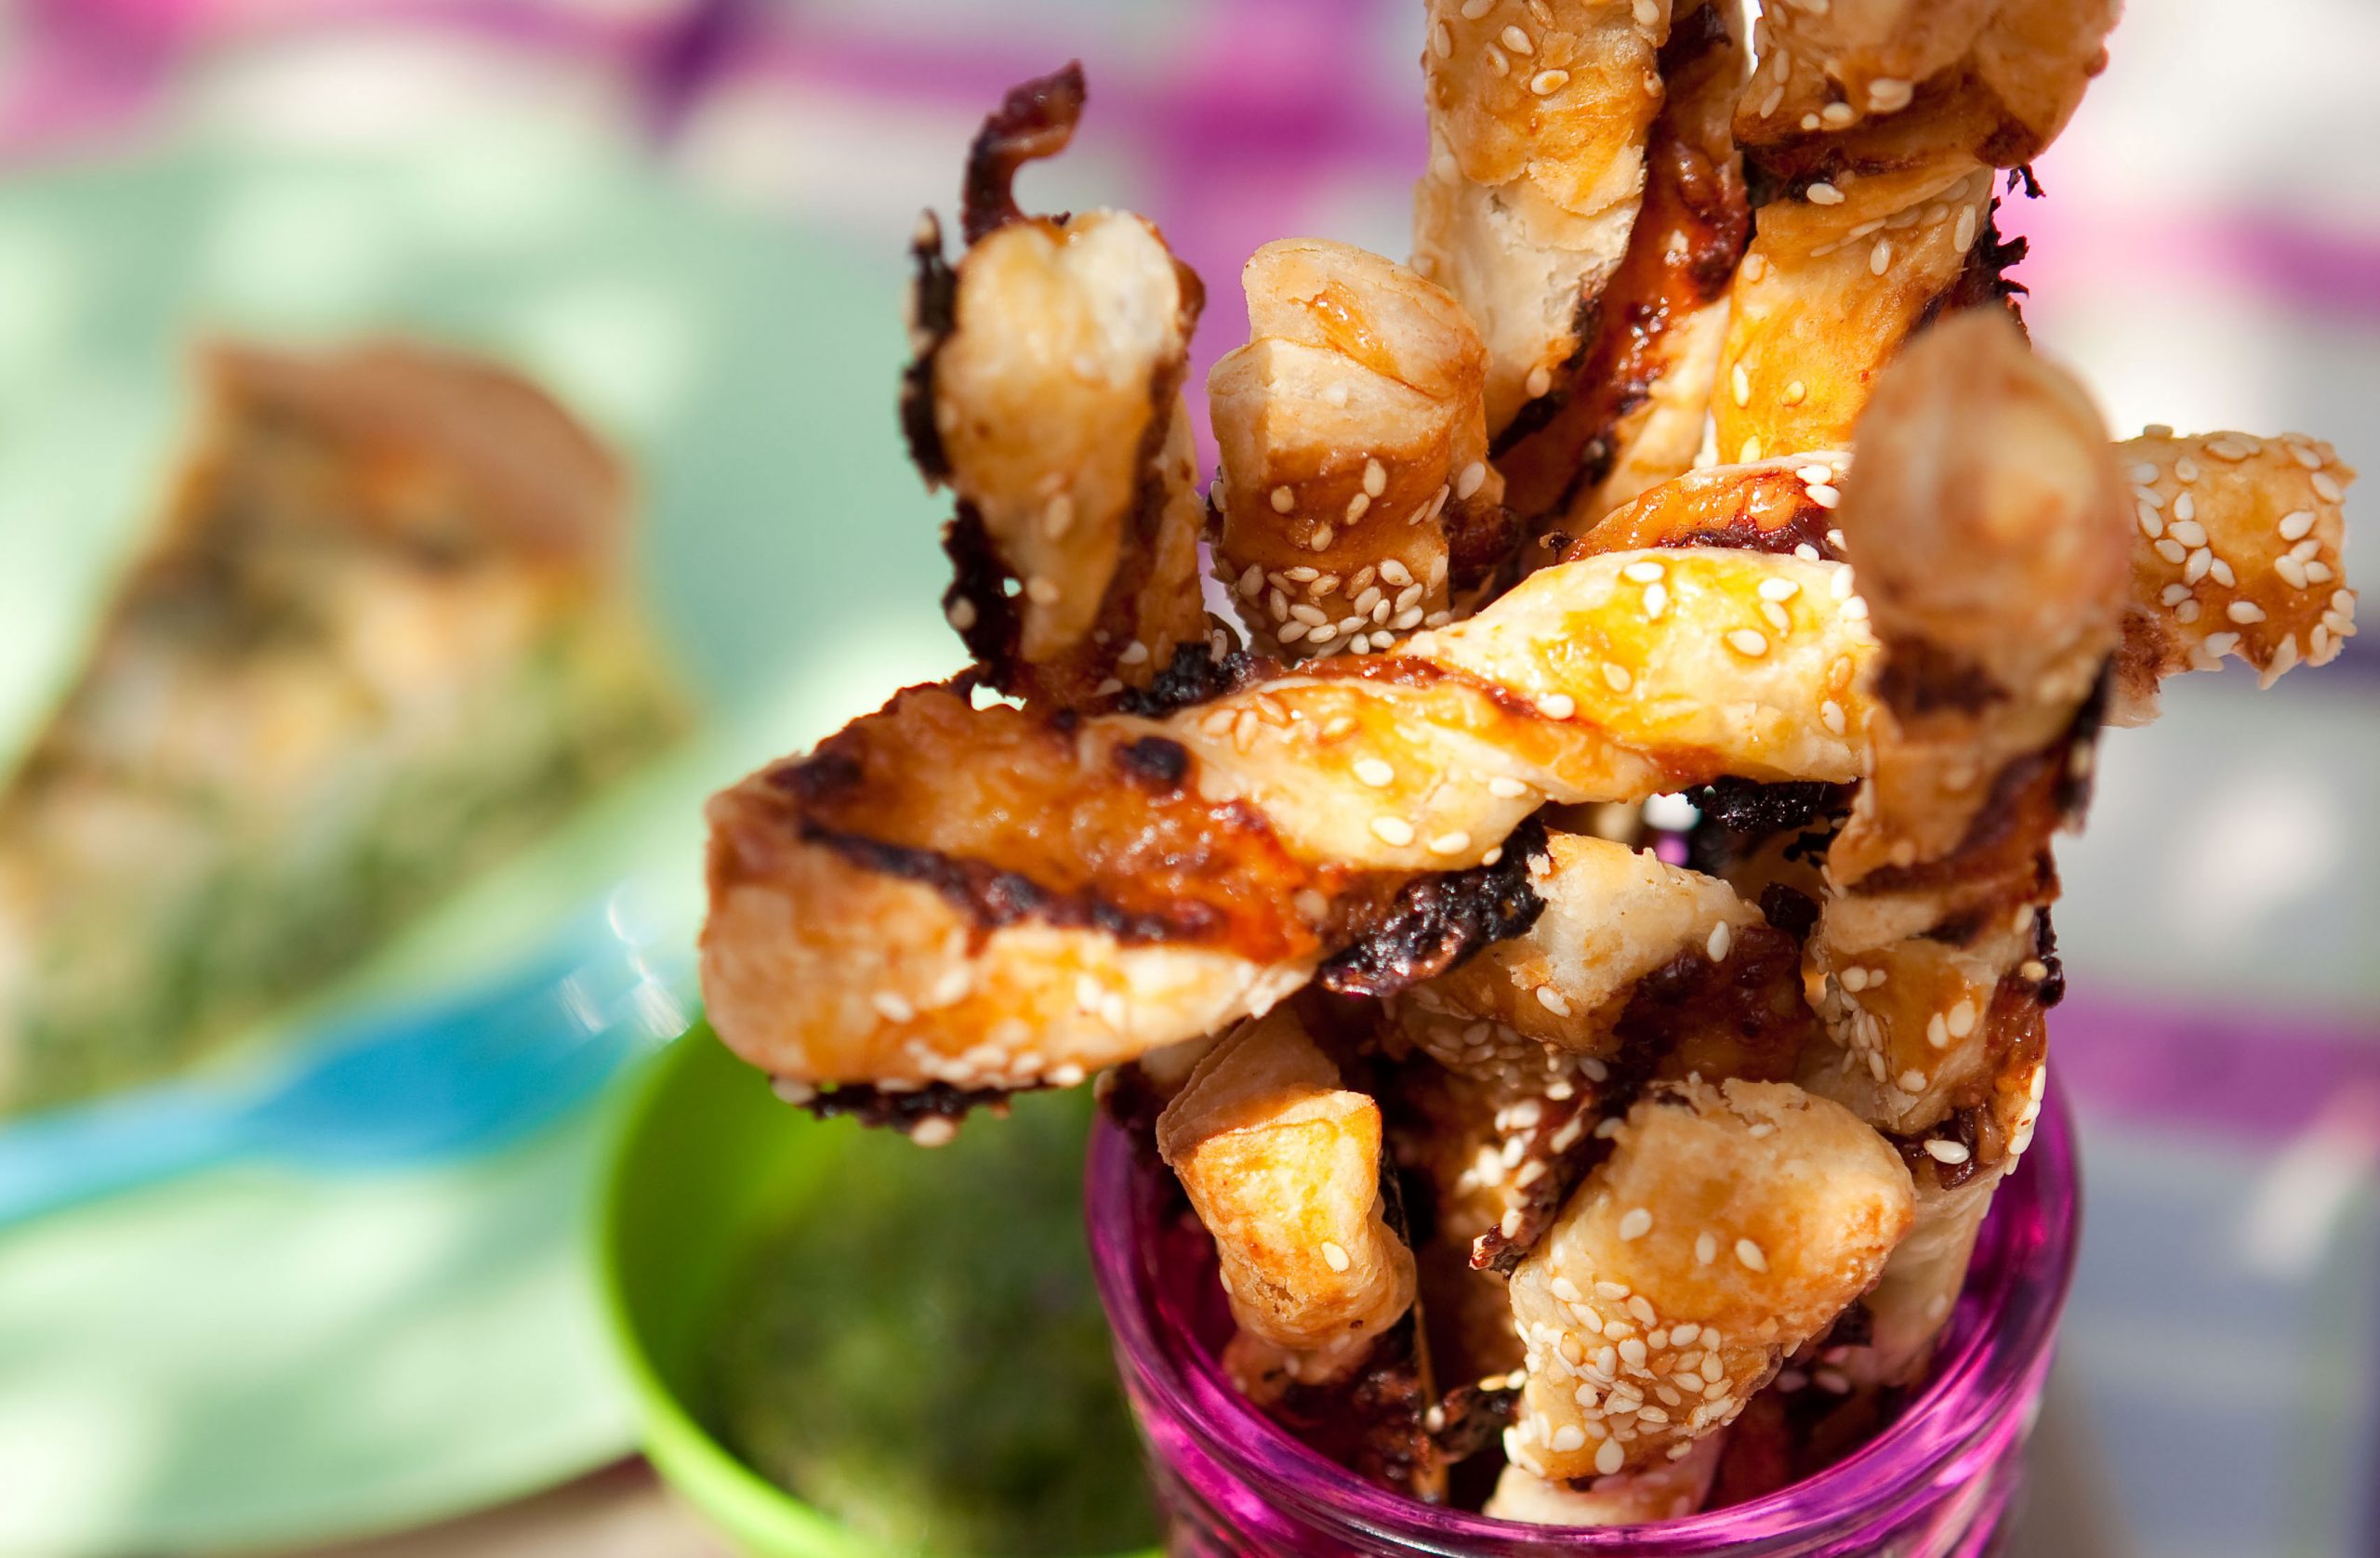 Cheese and pickle straws
This cheese and pickle straws takes a simple party staple and ramps it up a level by adding a twist of tangy pickle to the mix.
By Octavia Lillywhite Published
-
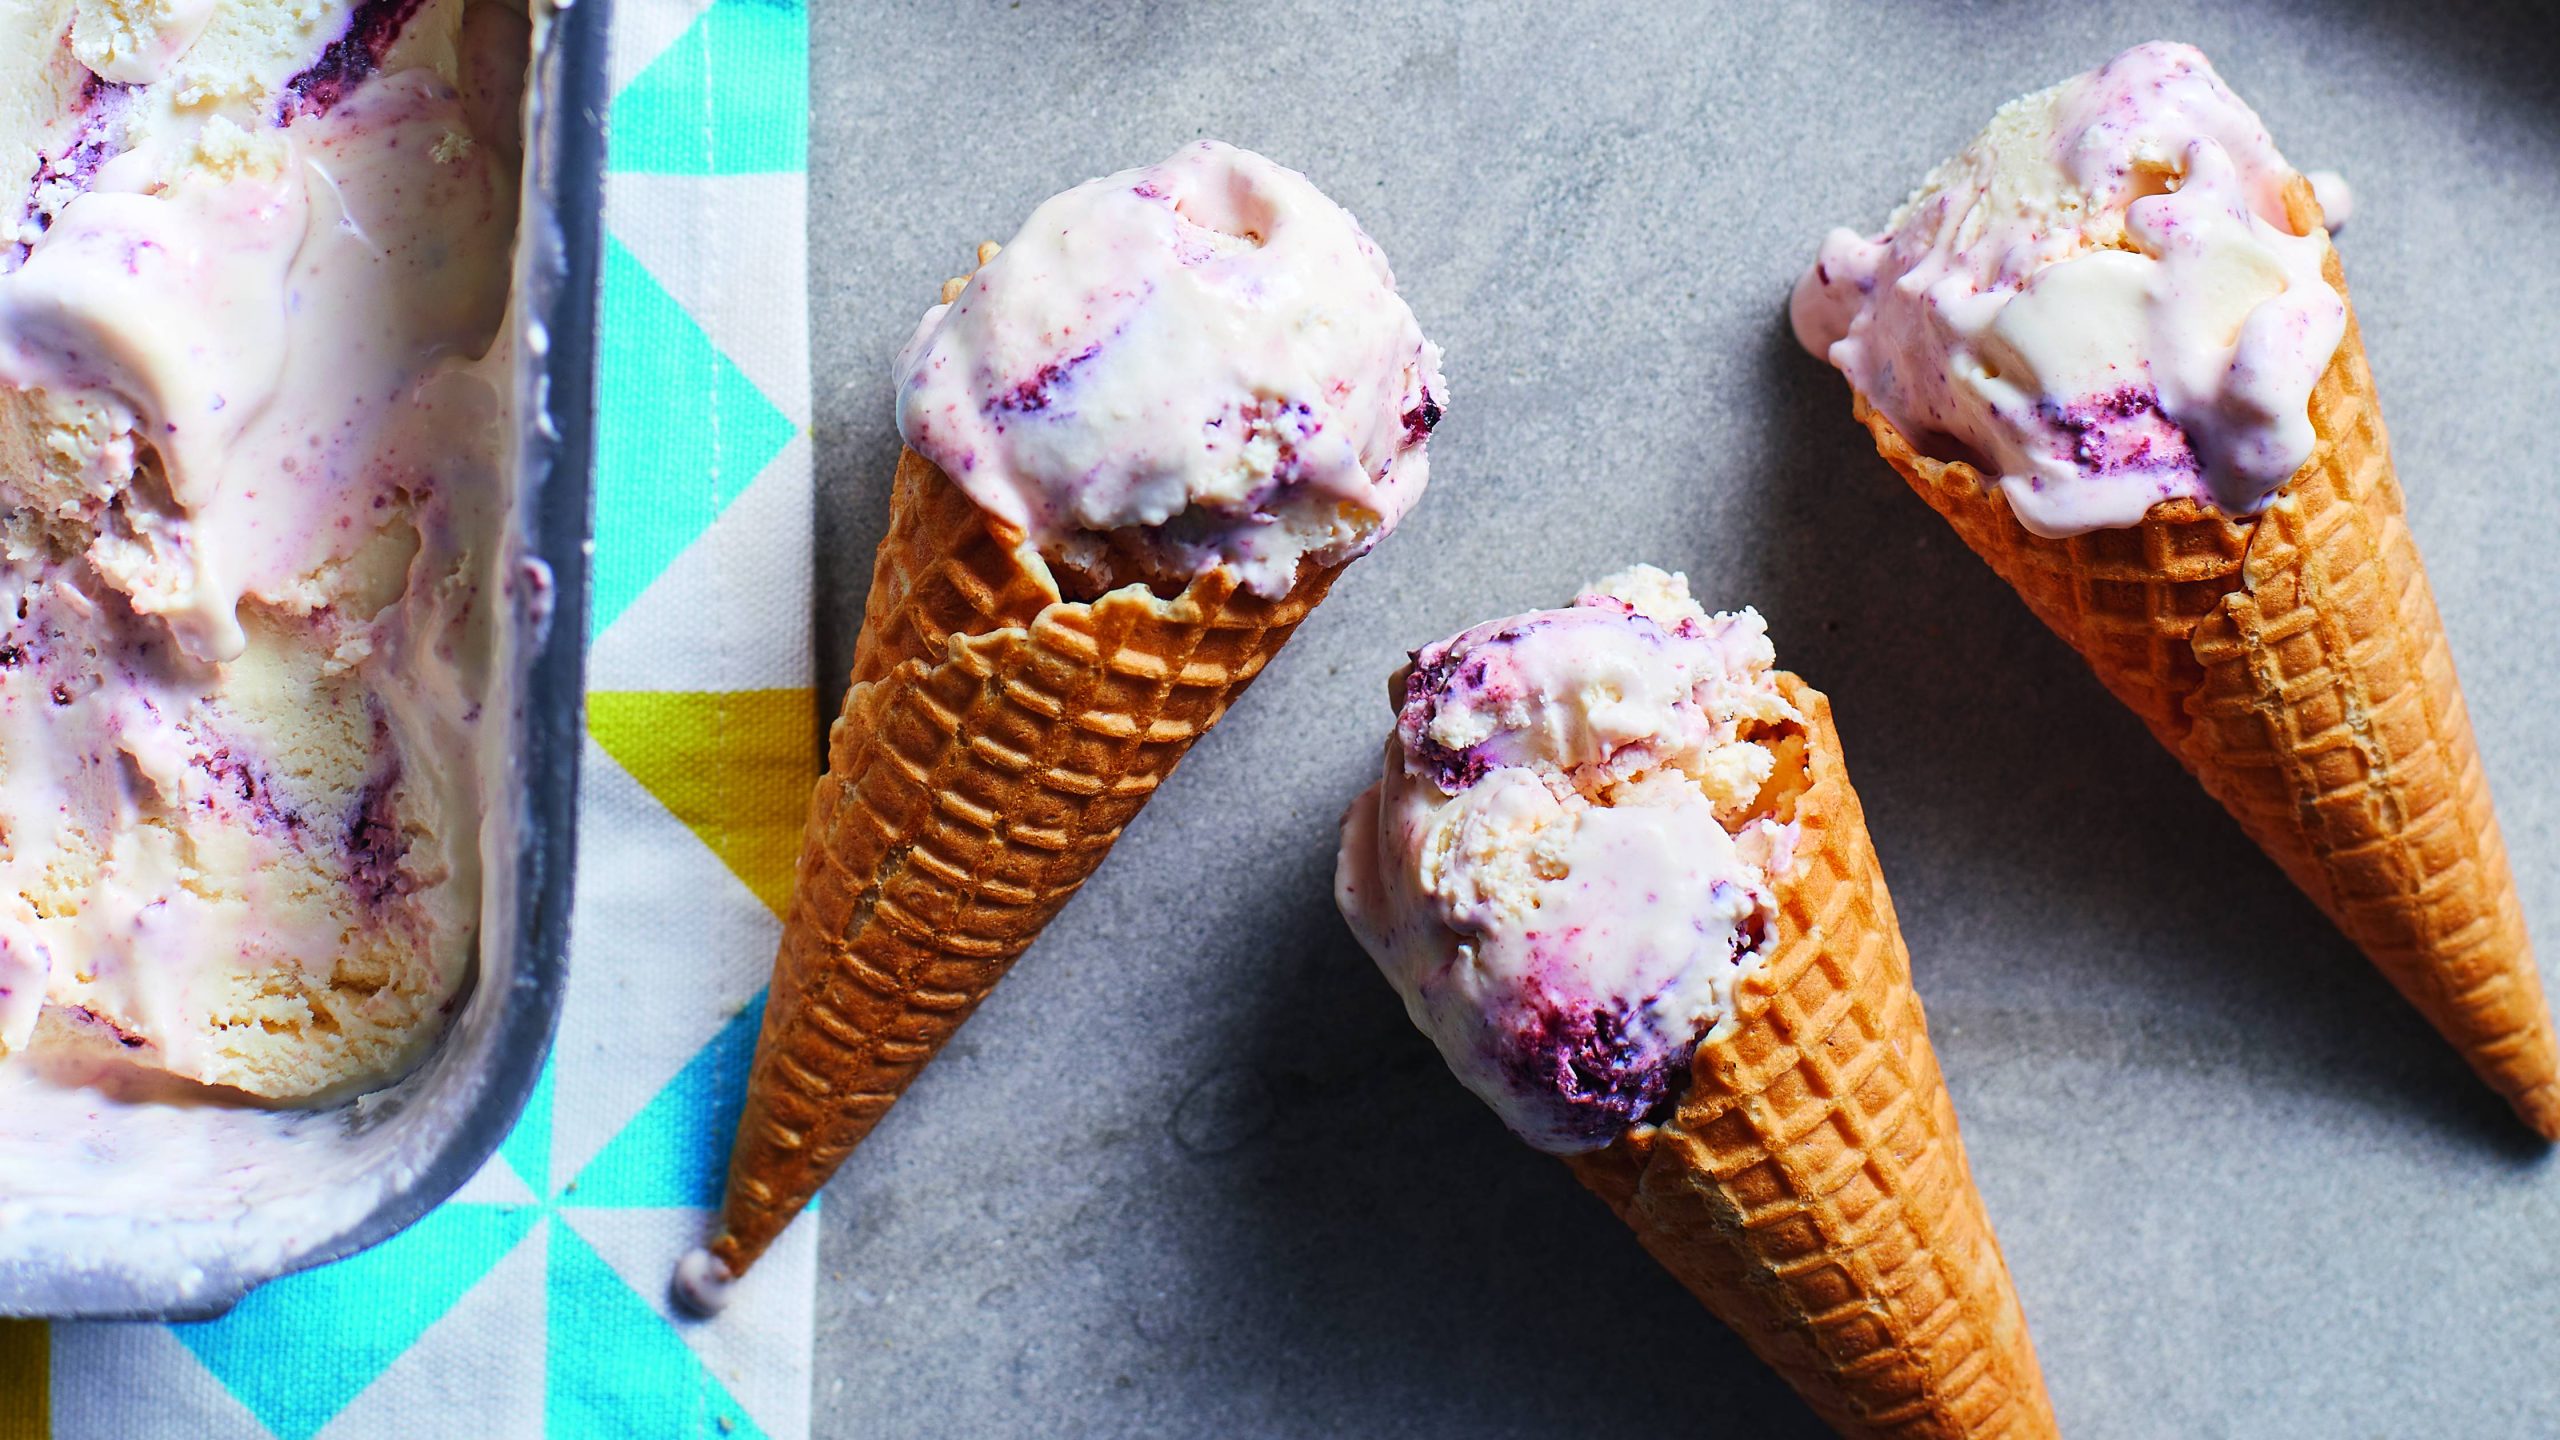 Joe Wicks' black cherry and yogurt ripple ice cream
By Joe Wicks Published
-
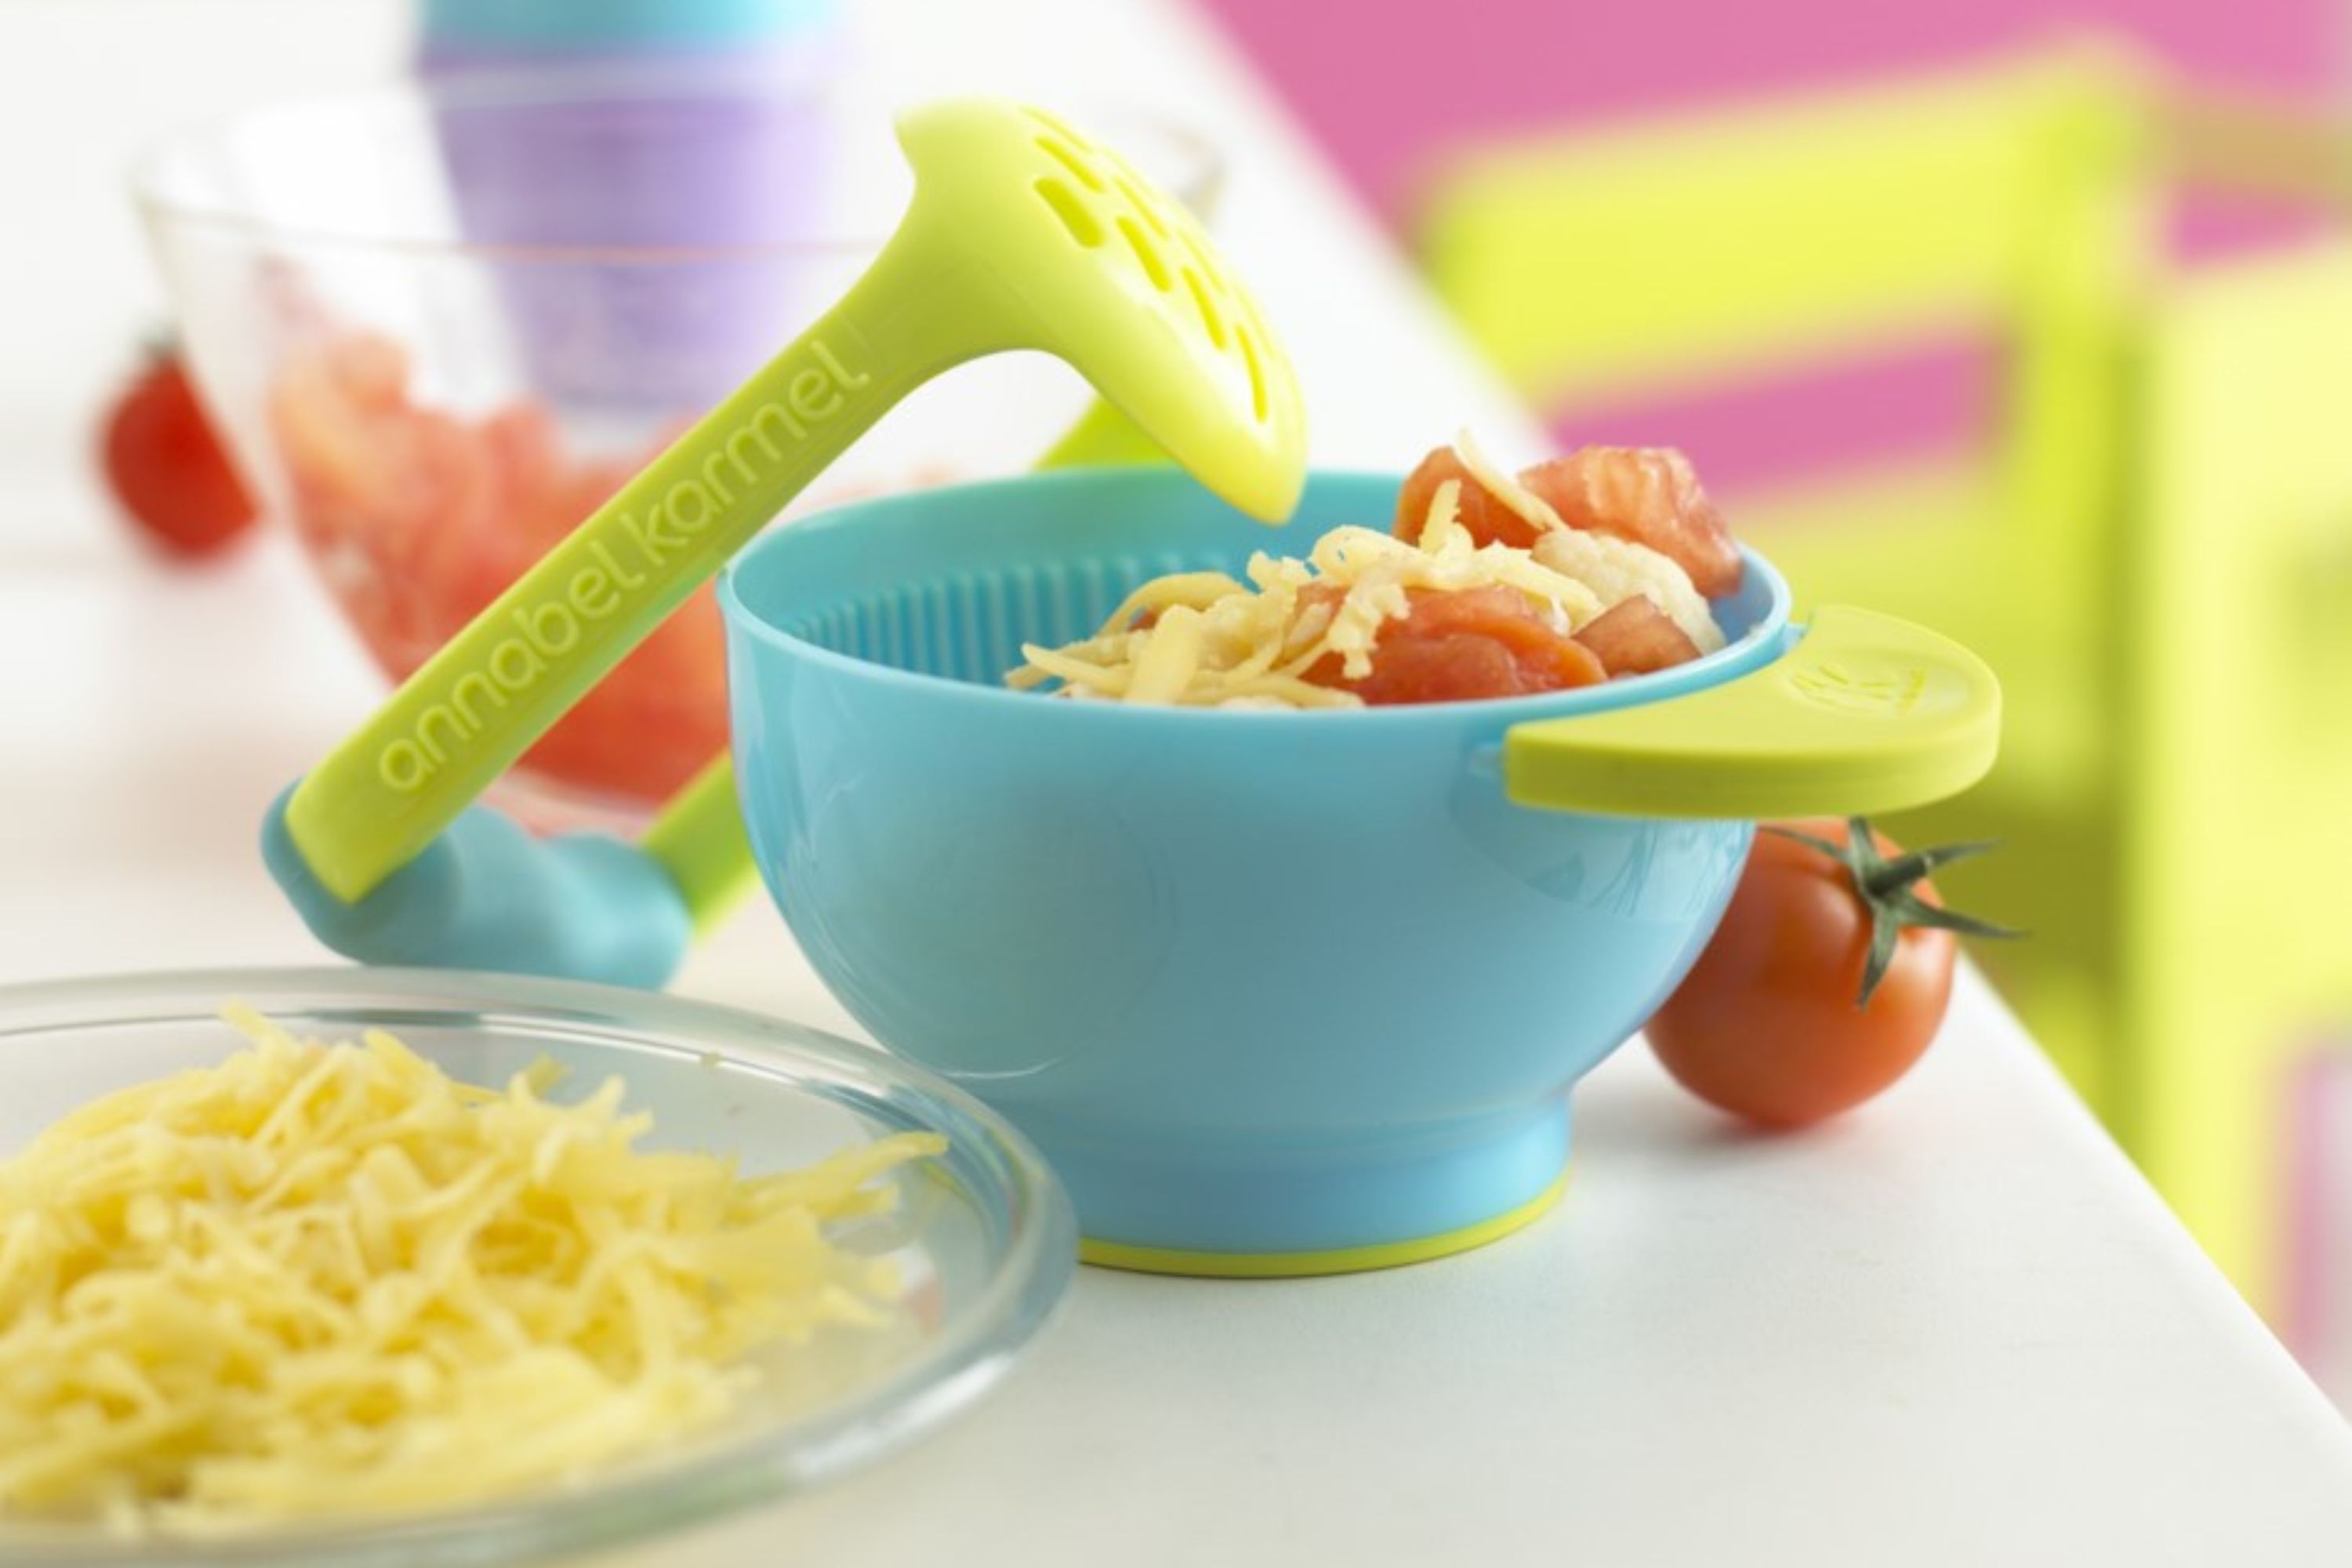 Annabel Karmel's trio of vegetables with tomato and basil
Suitable for six months plus, this baby food by nutritional expert Annabel Karmel is made with a whole heap of veggies...
By Annabel Karmel Published
-
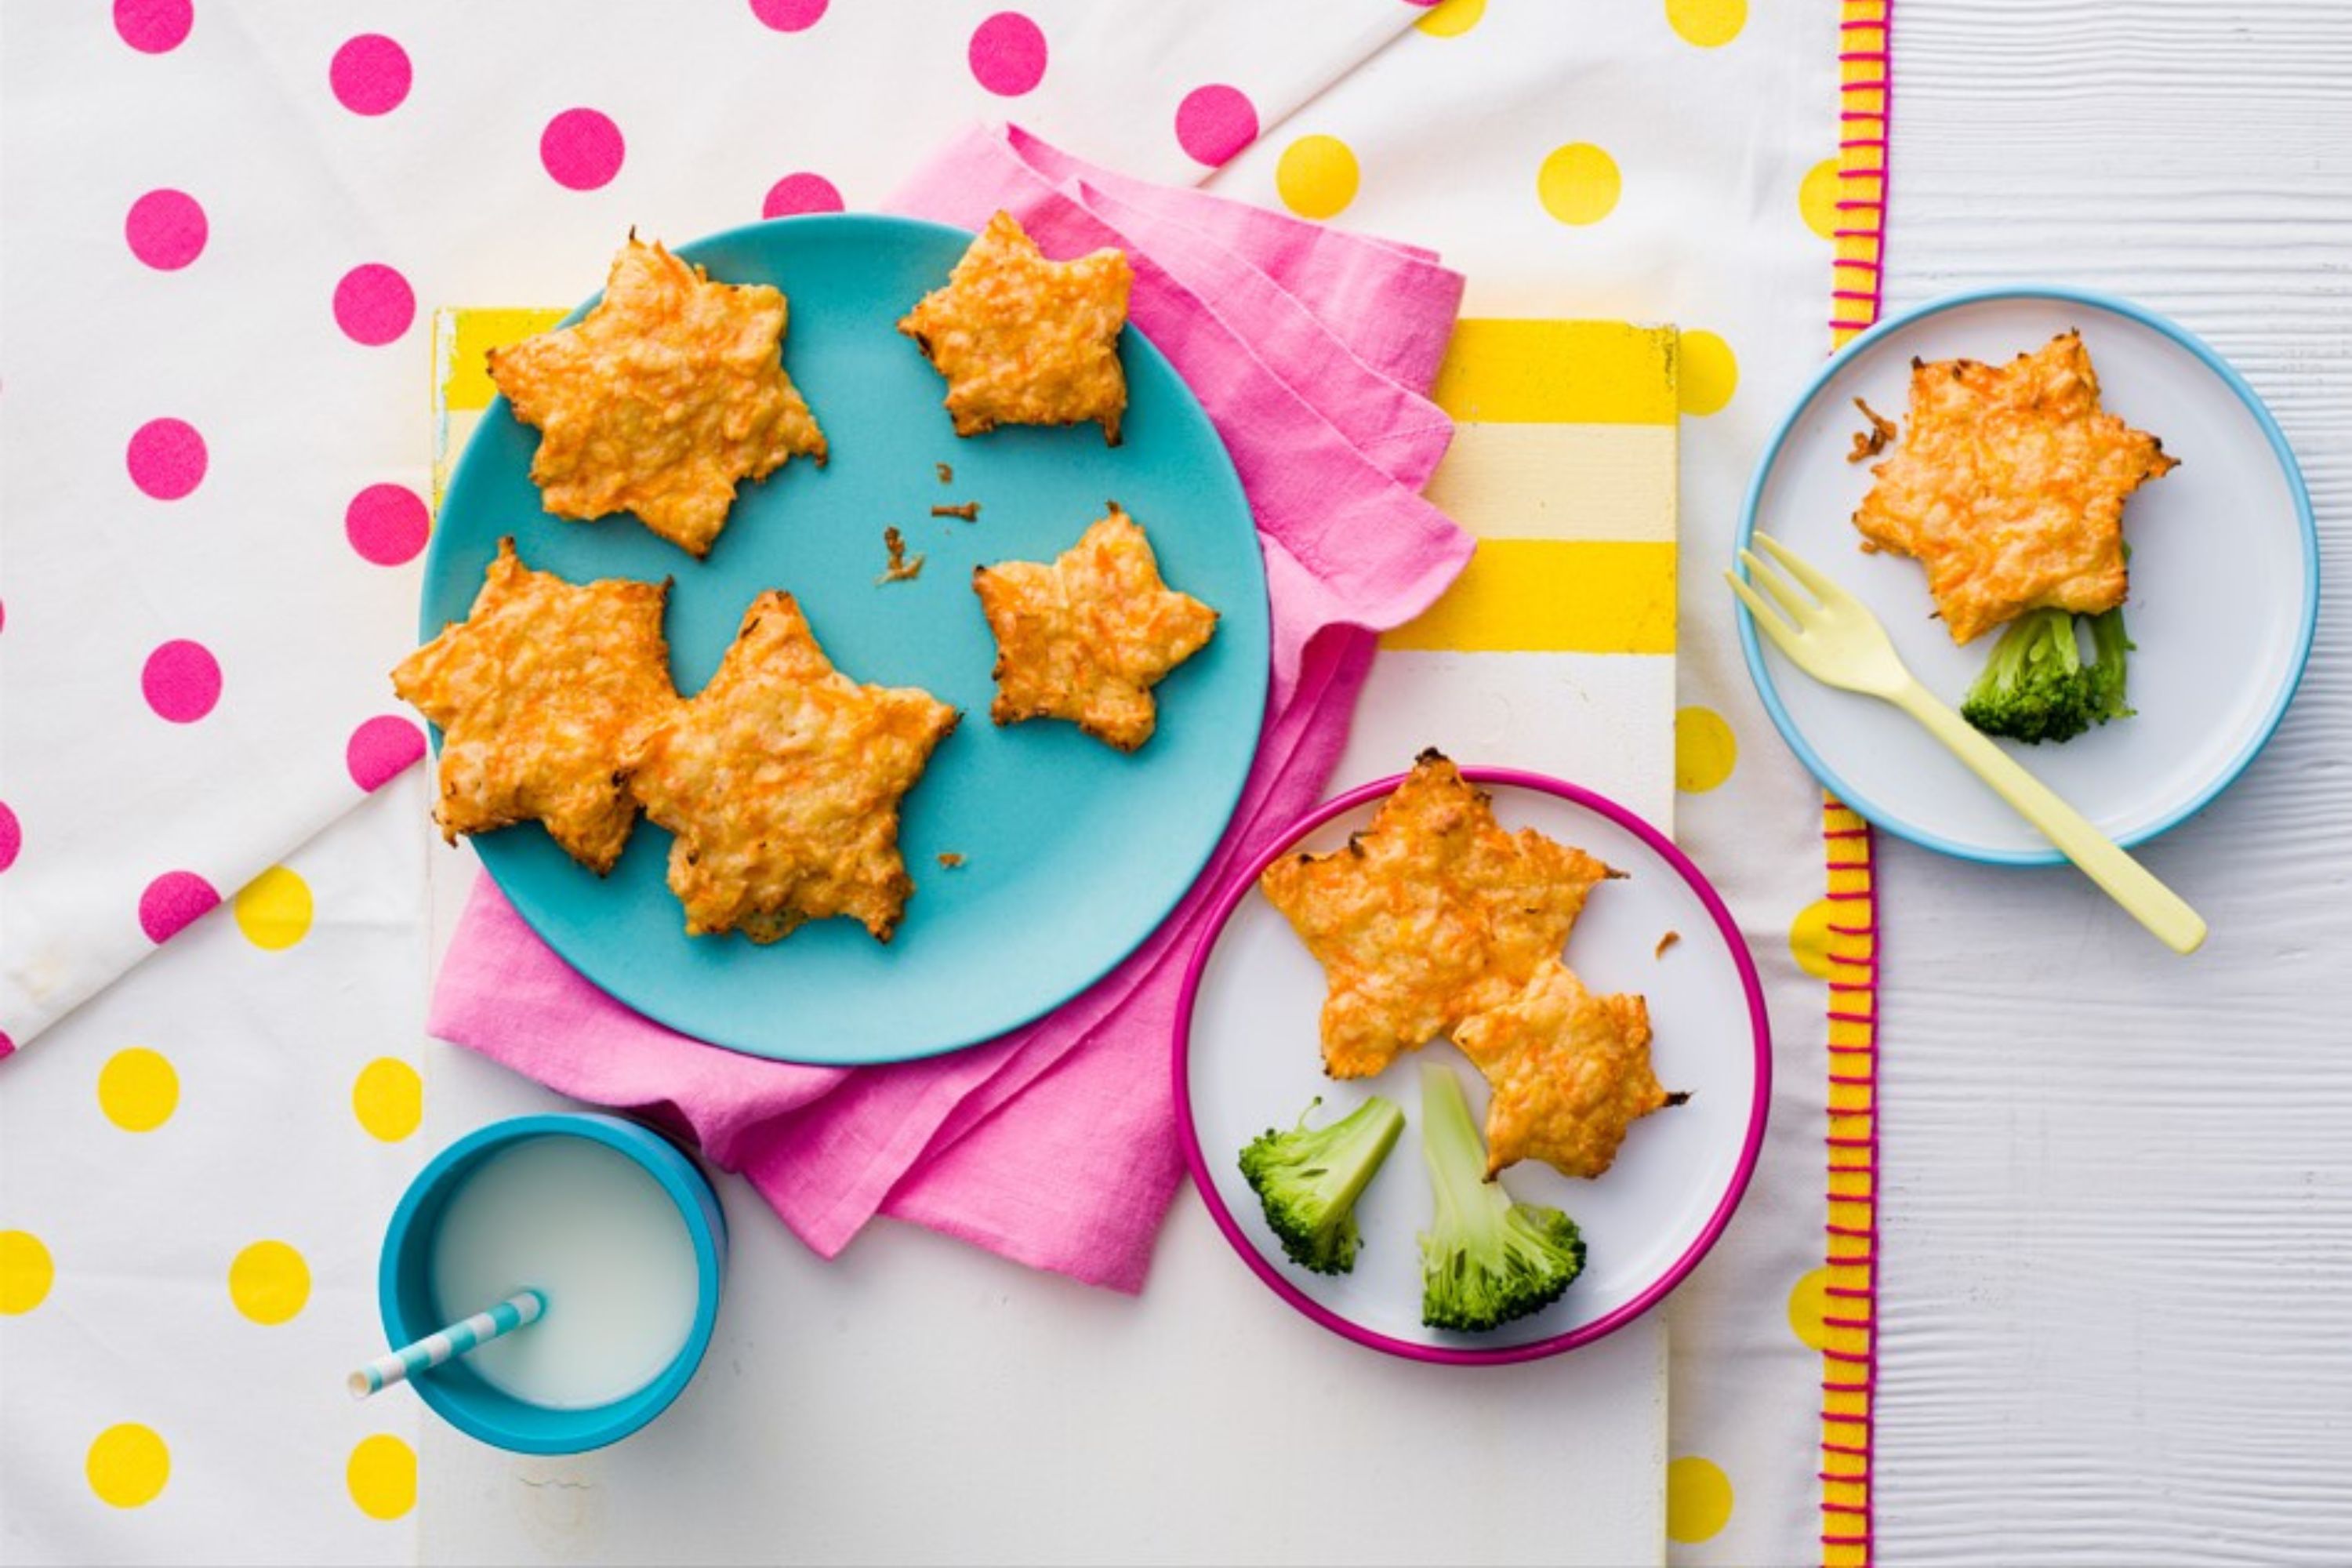 Annabel Karmel's cheesy carrot stars
These flavour-packed cheesy carrot stars by Annabel Karmel are perfect for introducing finger foods to your little one...
By Annabel Karmel Published
-
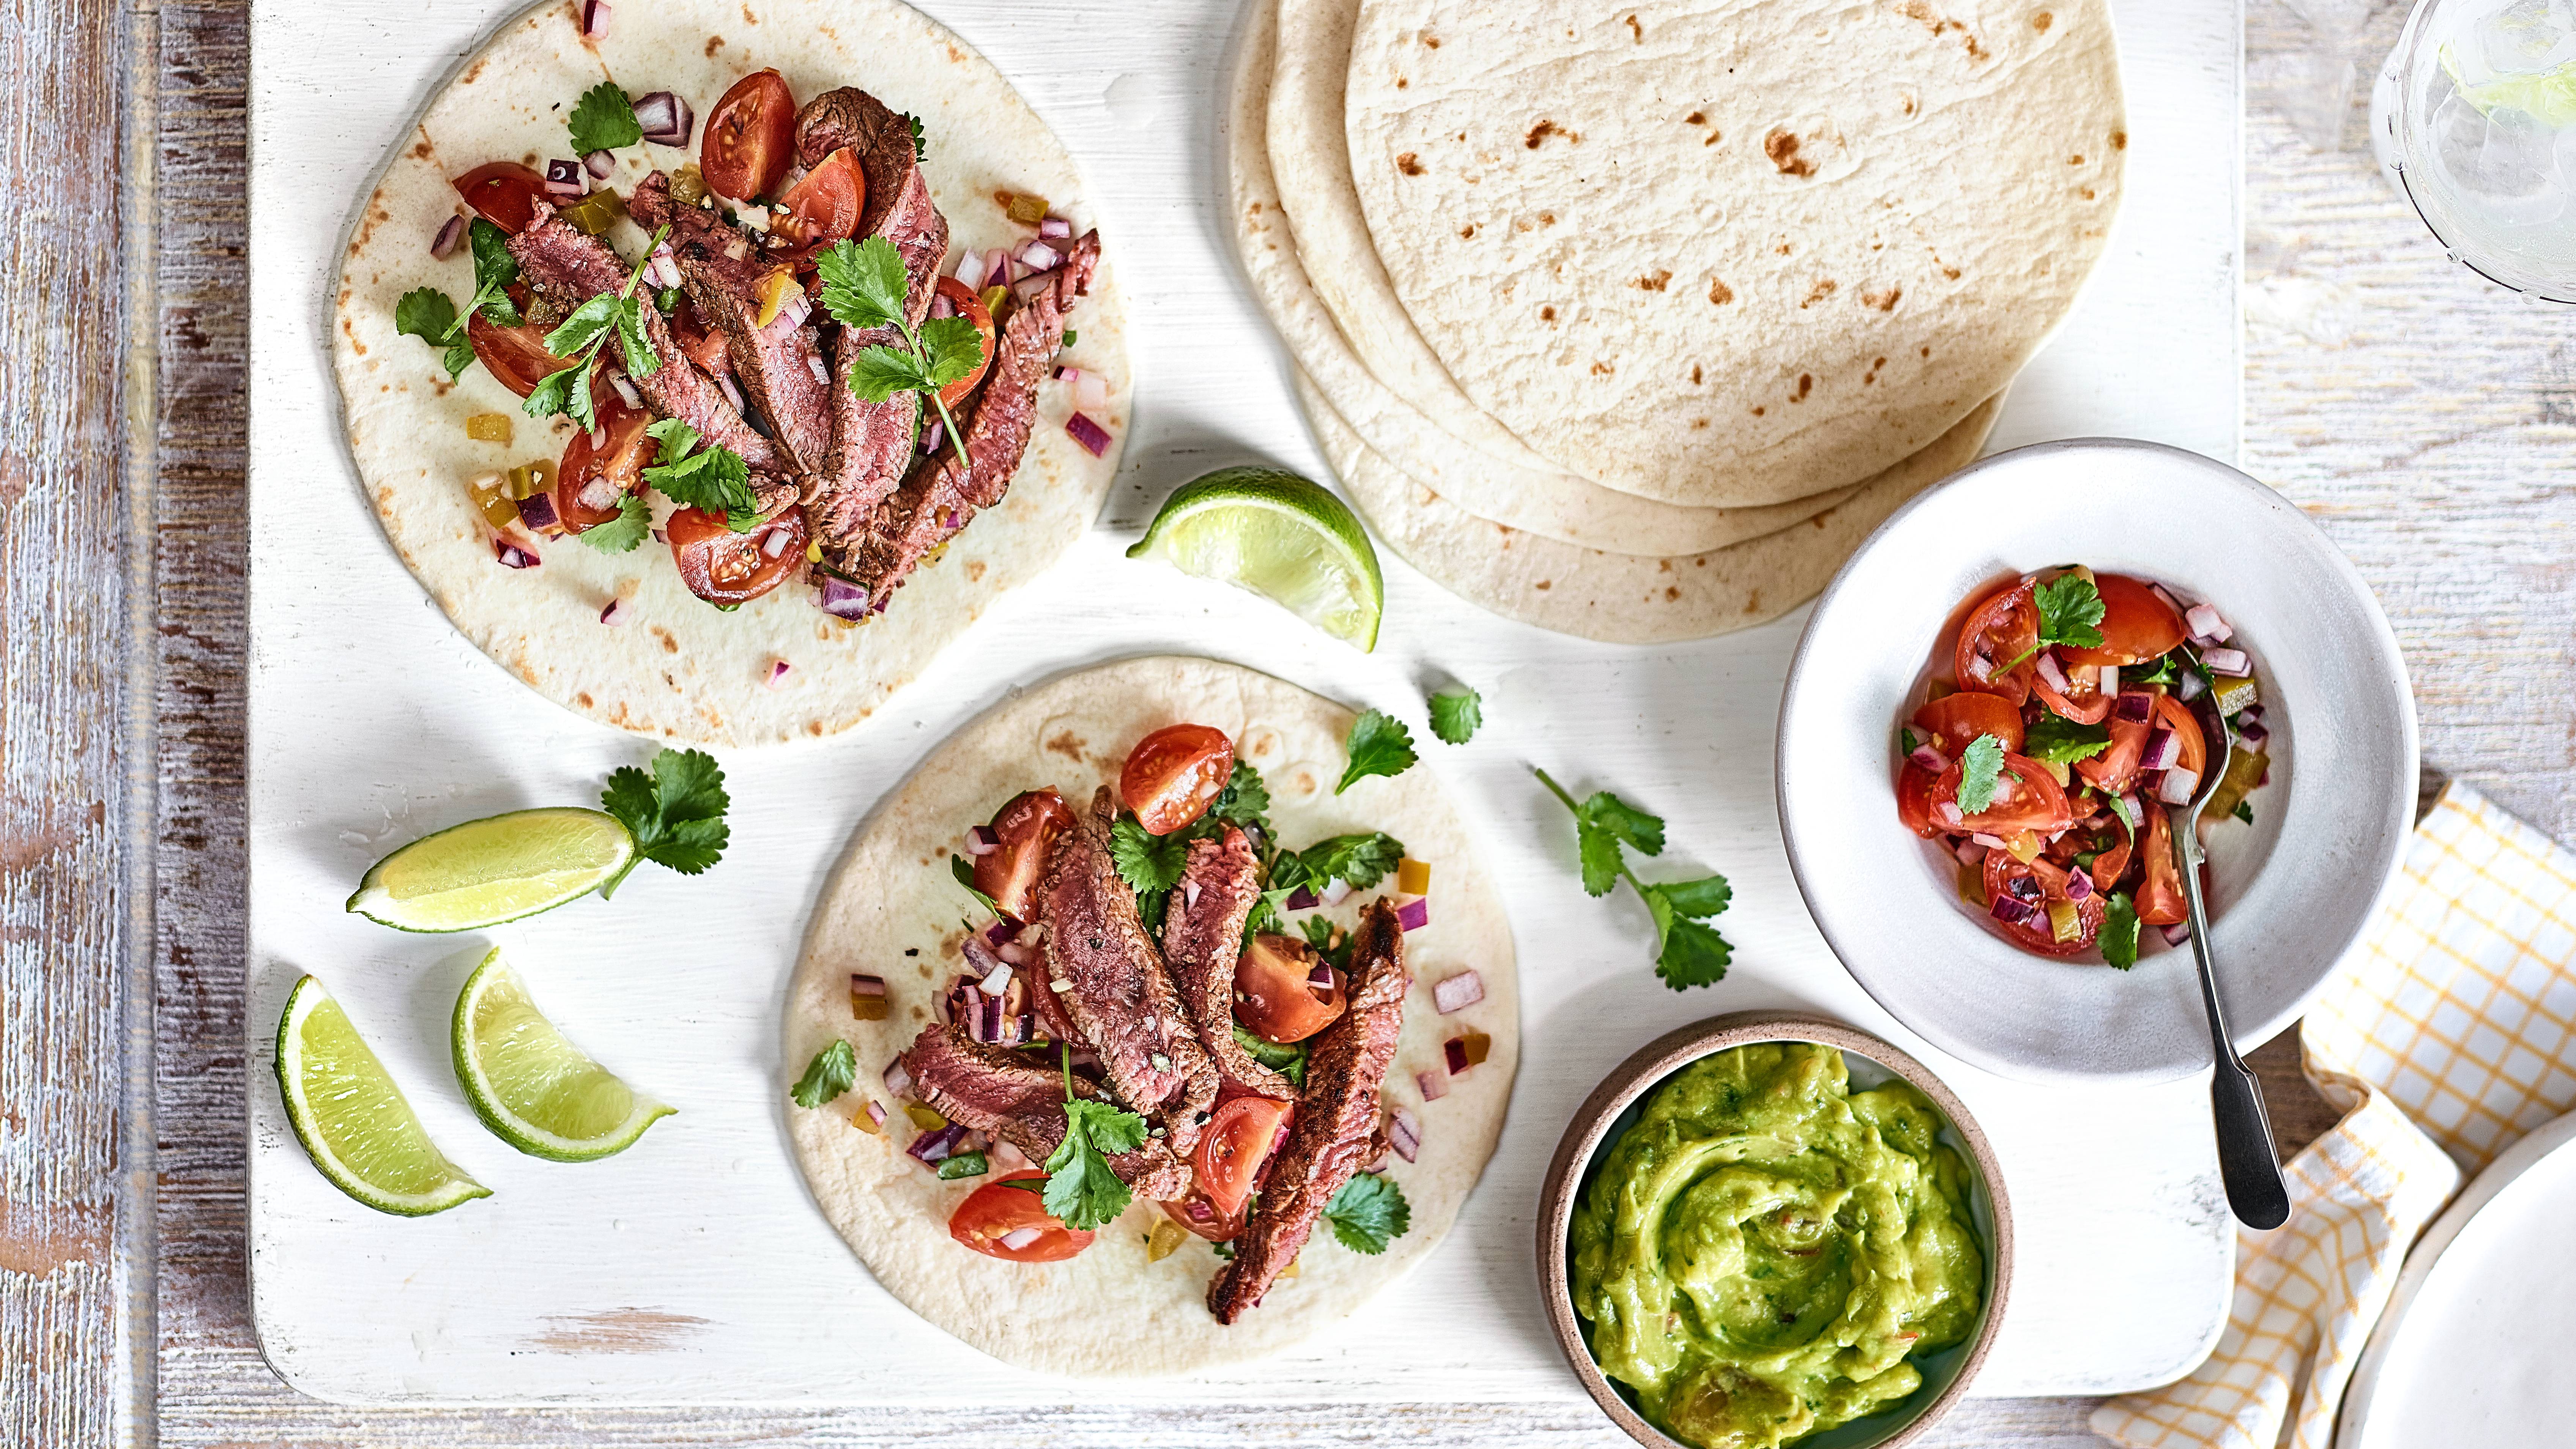 Steak and salsa wraps
Our steak and salsa wraps are one of those build-you-own suppers the teens in your house will love...
By Jessica Ransom Published
-
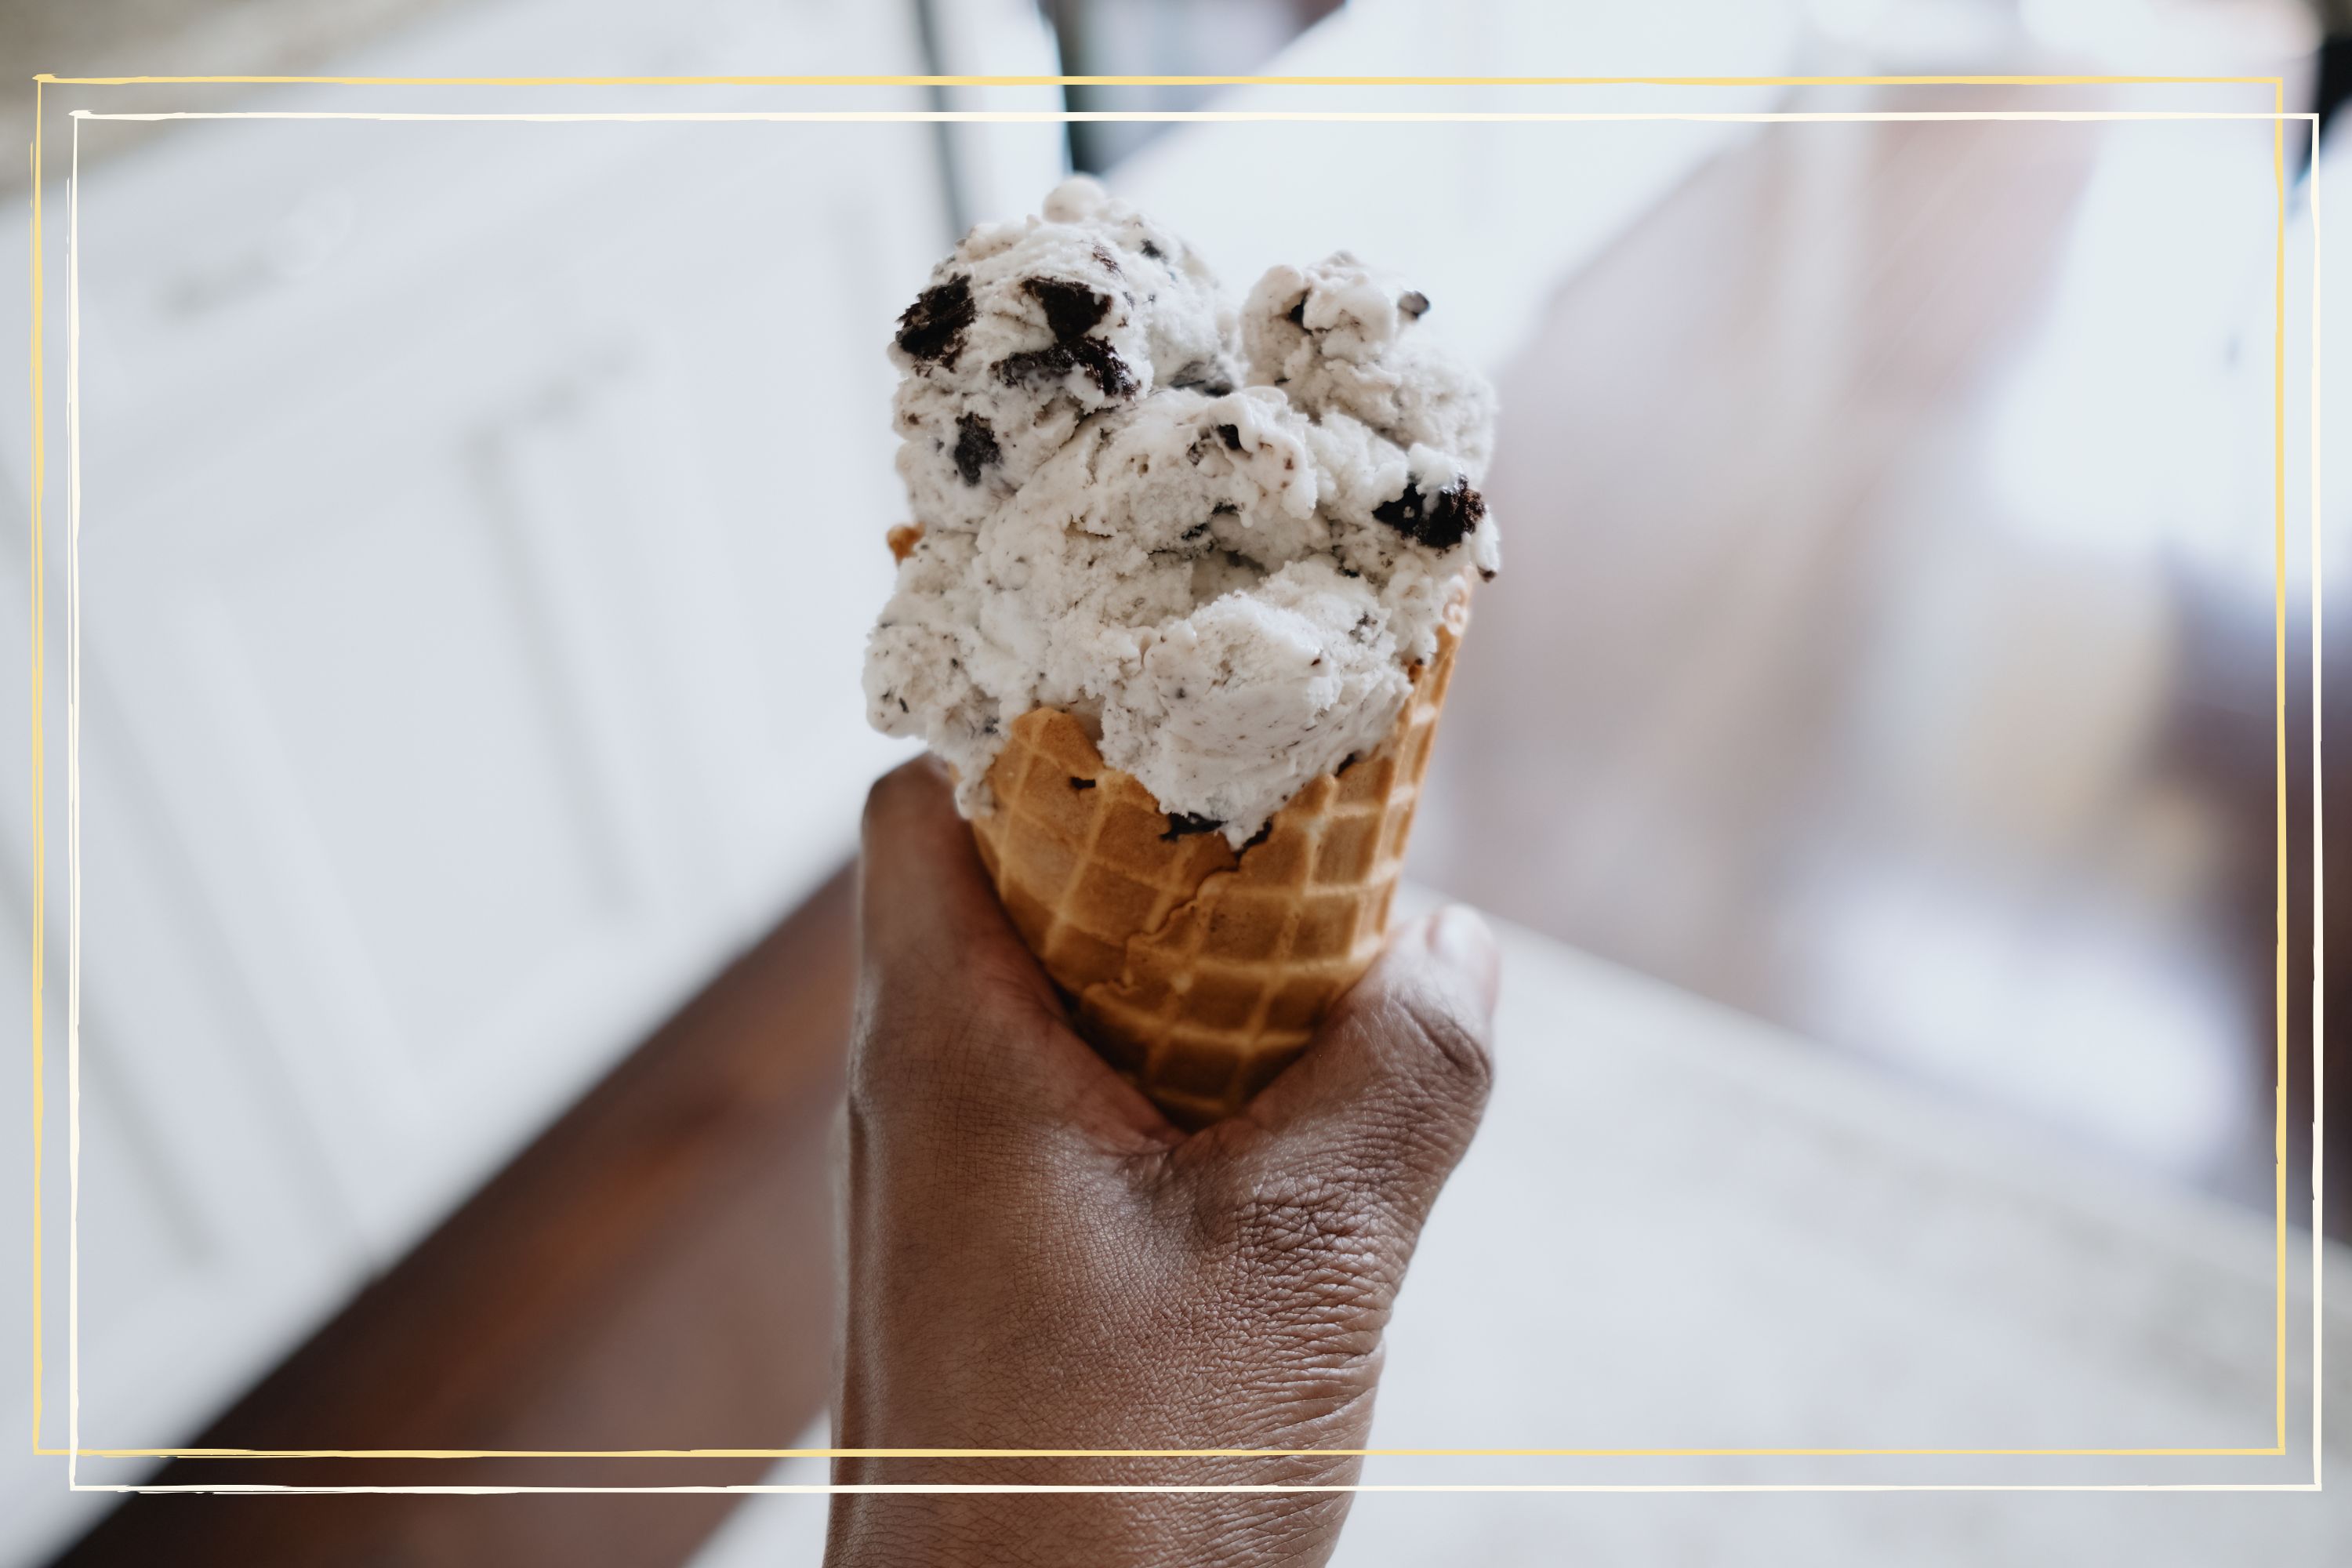 Here's how to make 3-ingredient Oreo ice cream - no ice cream maker required!
You don't need a fancy ice cream maker to whip up Oreo ice cream this summer - just 3 ingredients and a cake tin.
By Ellie Hutchings Published
-
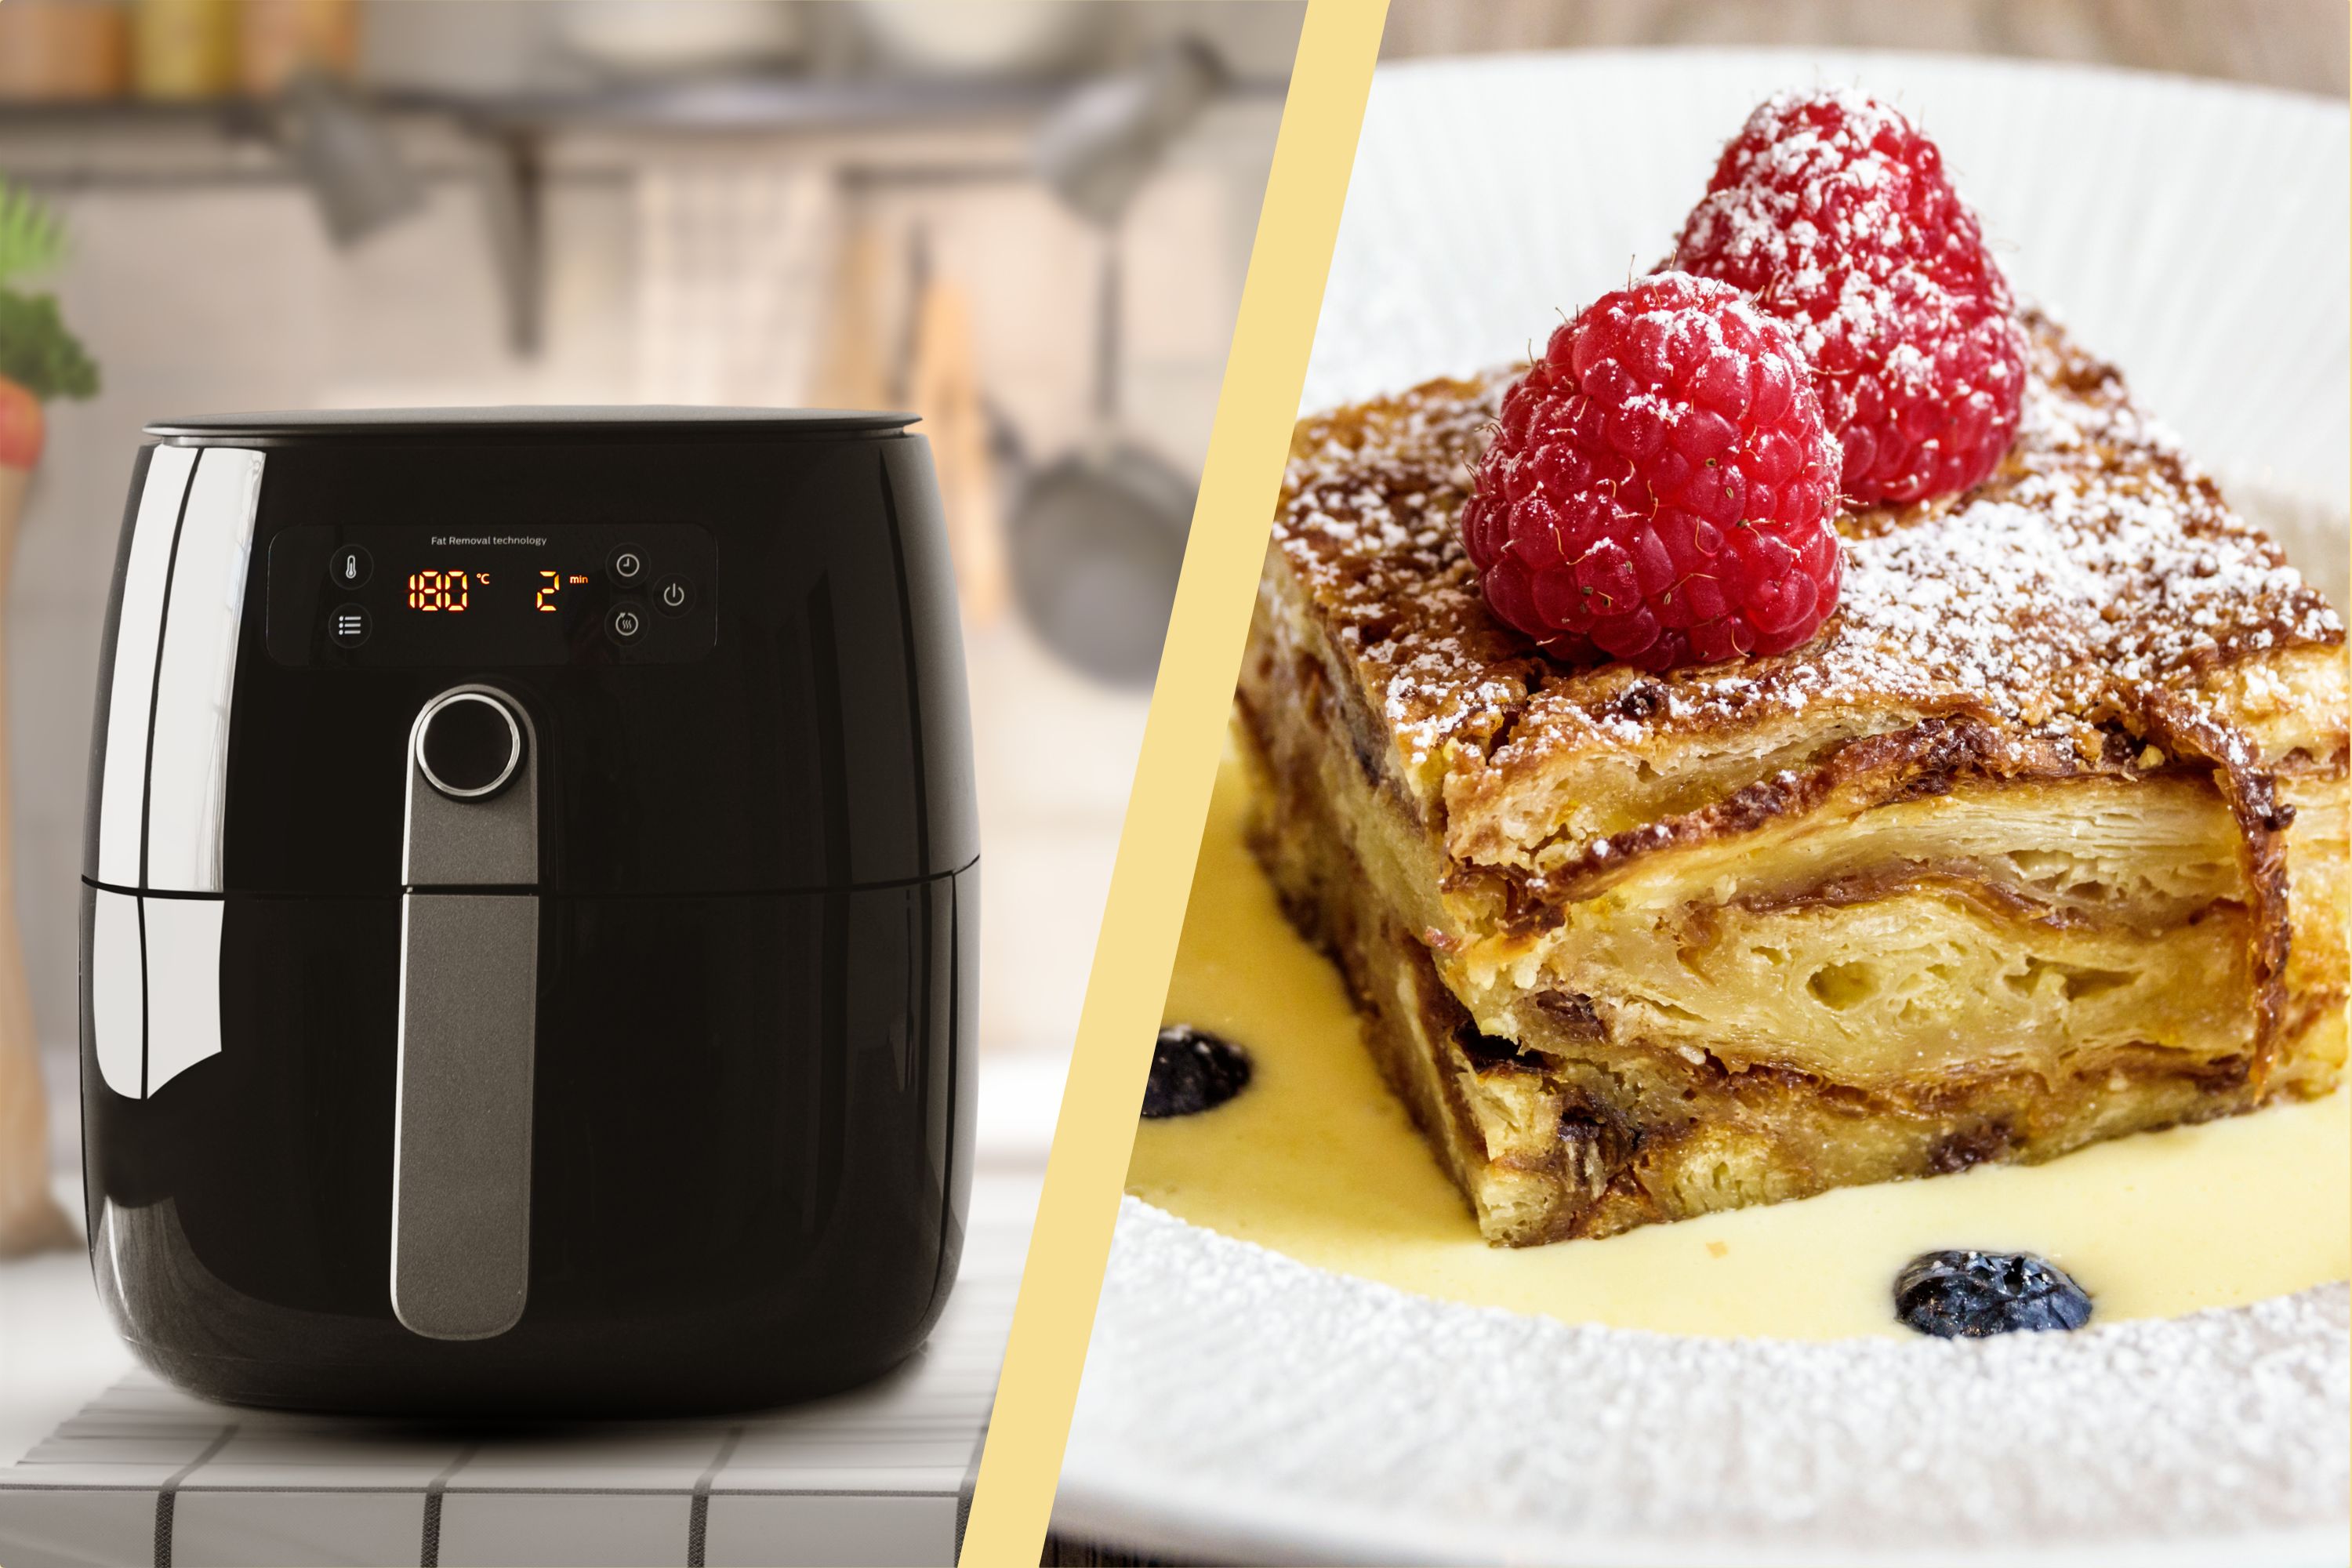 4 ingredients and 15 minutes to make this classic British dessert in your air fryer
You can make bread and butter pudding in an air fryer using just four basic store cupboard ingredients, thanks to one TikTok influencer's recipe.
By Ellie Hutchings Published
-
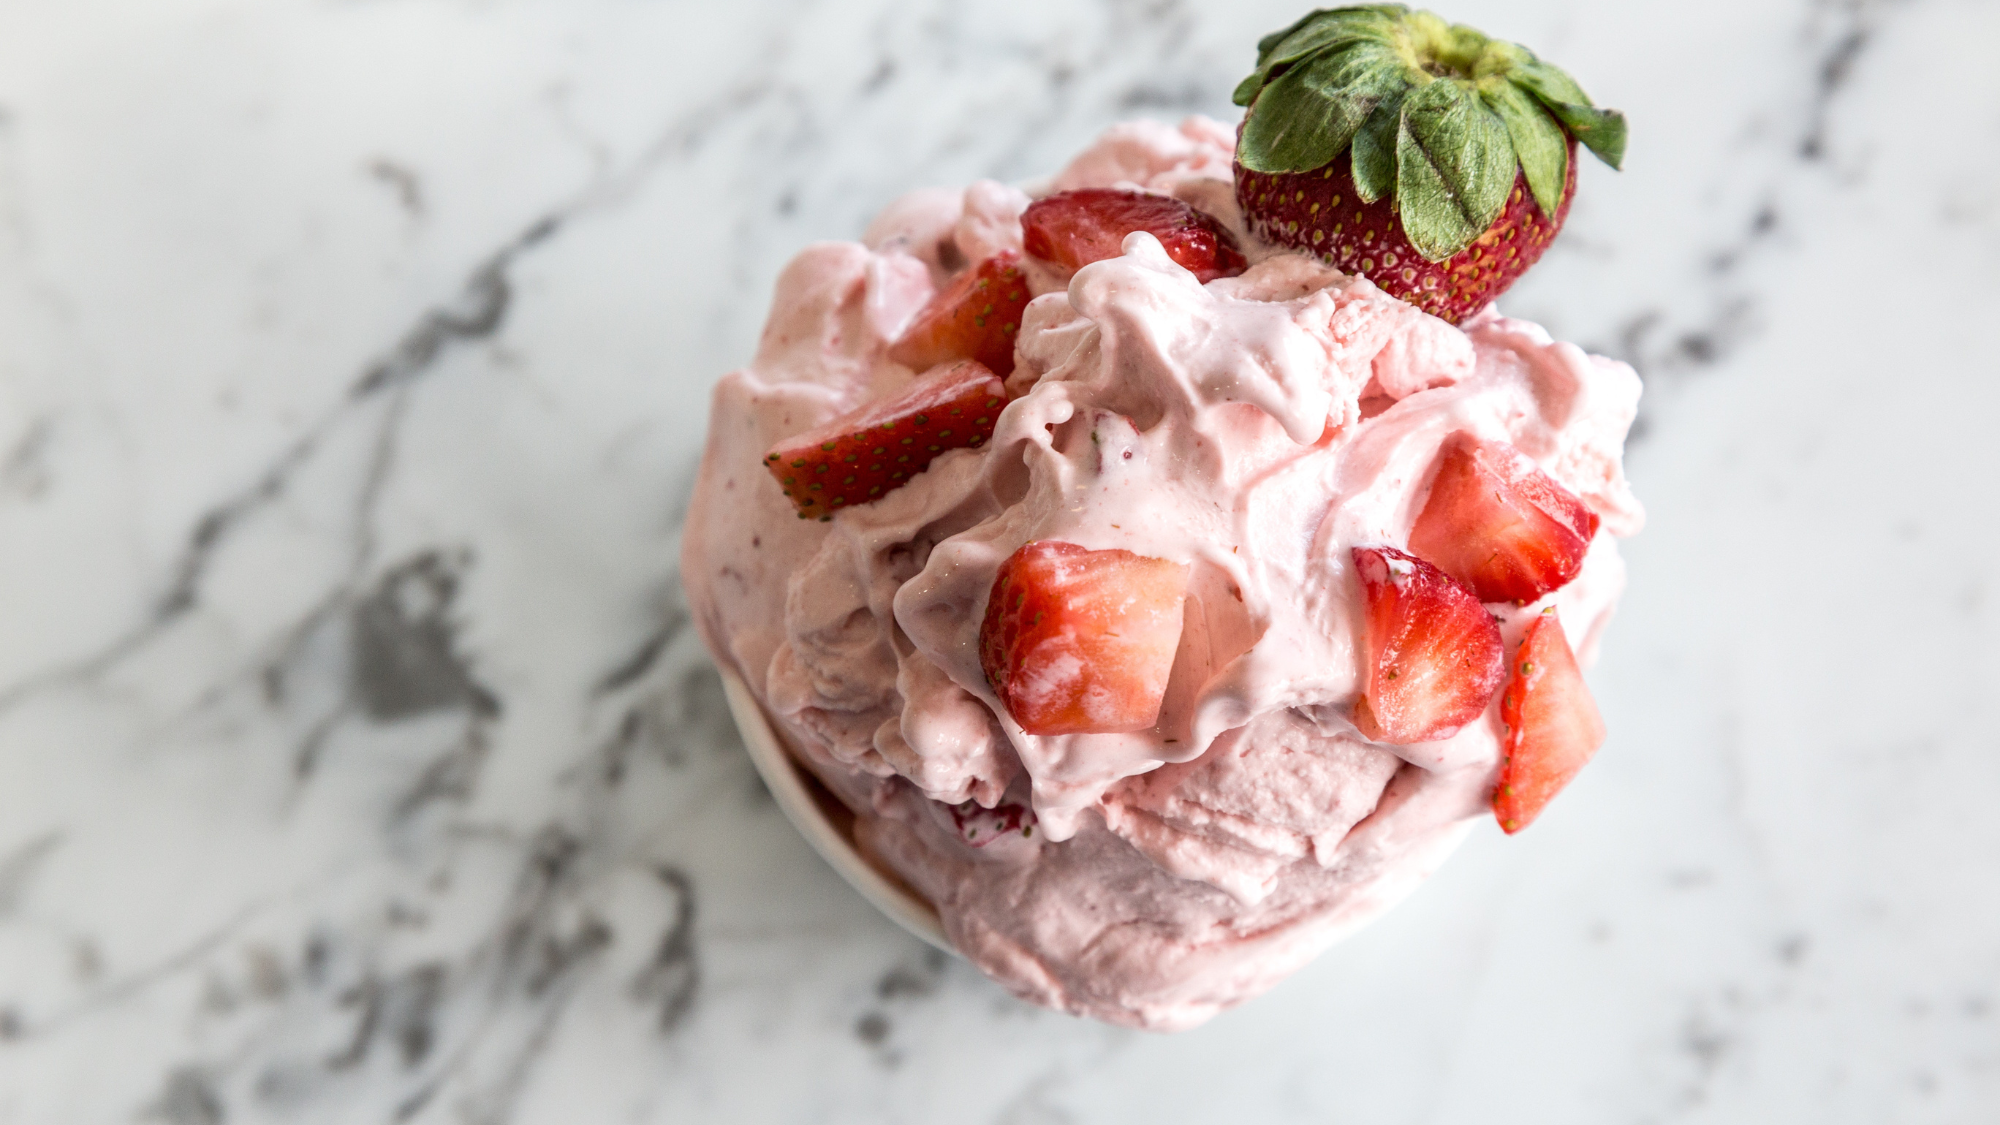 2 ingredients, just minutes of prep, and this tip for a healthy, protein ice cream
Parents and kids alike will love this tasty and filling strawberry cheesecake ice cream
By Maddy Biddulph Published
