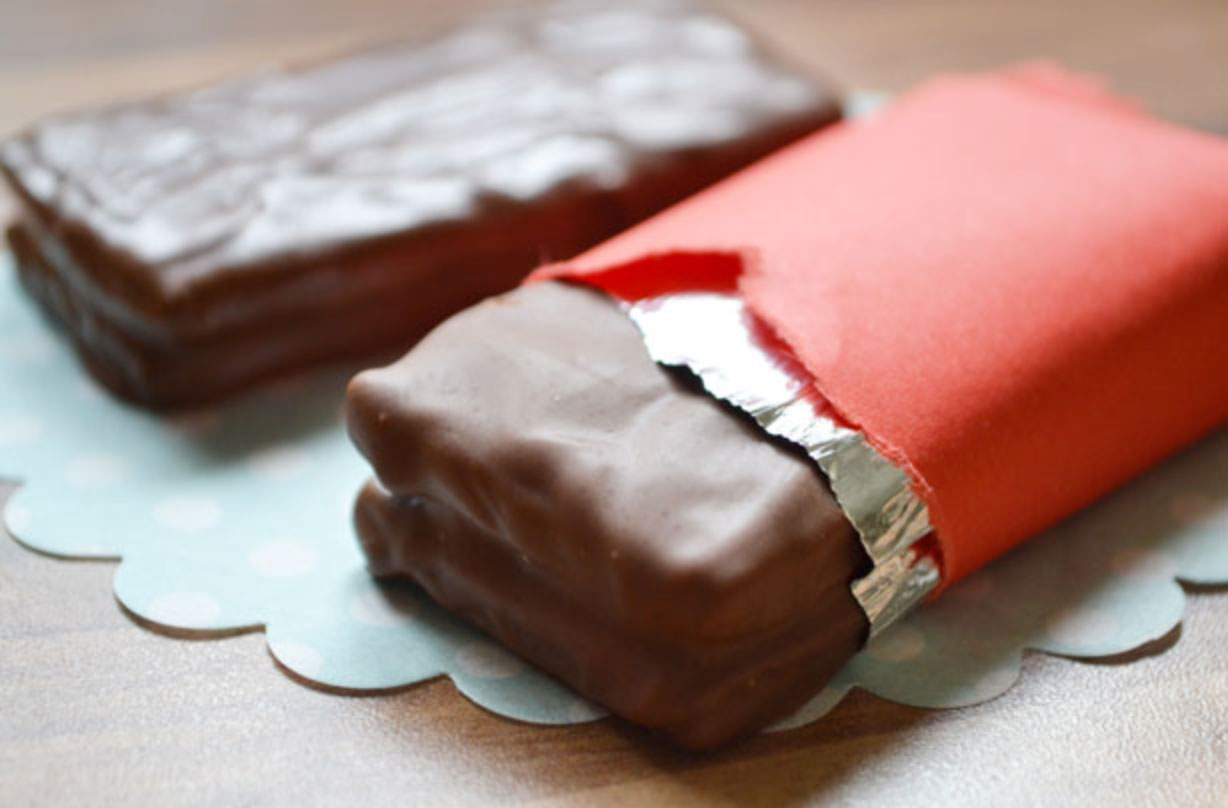
Make your own Penguin bars with this biscuit recipe from mummy blogger Anneliese, who says: 'Children will love finding one of these chocolate homemade Penguin bars tucked into their lunchbox or when they arrive home from school. Crisp chocolate biscuits sandwiched with Nutella and coated in smooth milk chocolate.'
Ingredients
For the biscuits:
- 50g unsalted butter, softened
- 50g light brown sugar
- 1tbsp golden syrup
- 100g plain flour
- 25g cocoa powder
- 1/2tsp bicarbonate of soda
- 2 to 3tsp milk
For the filling:
- 75g Nutella
For the chocolate coating:
- 125g milk chocolate
WEIGHT CONVERTER
Method
- Preheat your oven to 150°C/300°F/Gas Mark 3. Cut to size a piece of greaseproof paper/baking parchment and use it to line a baking tray.
- Now the soft butter and light brown sugar can be weighed into your mixing bowl. Your little helper can get busy creaming the two together until light and fluffy. It does take a little bit of muscle, so don't be surprised if your biceps are called to the rescue!
- Once the butter and sugar are beautifully combined, beat in the golden syrup. Not only will it add more sweetness but it will loosen up the mixture a little bit too.
- It's time to weigh out the dry ingredients. Grab another mixing bowl and weigh in the plain flour, cocoa powder and bicarbonate of soda. Your child will no doubt be keen to get sifting, so let them sift the dry ingredients in to join the butter, sugar and golden syrup. Help them out by adding the floury mixture to their sieve a spoonful at a time.
- Give the mixture a bit of a mix and then add the little bit of milk. The mixture will look dry and you may doubt it will ever come together; don't panic! Your child can get stuck in with their little hands; they will love to pretend it's mud! It will take about a minute before it comes together and forms into a smooth ball of dough.
- Dig out your trusty rolling pin. If you have baking paper or cling film going spare use that to line your worktop. This will save you using too much flour, which can make the biscuits a little dry.
- Ask your little one if they would like to roll out the dough. It needs to be rolled out to about a ¼ inch thick so you can use a ruler to show them how thick it needs to be.
- I don't have a rectangular cutter, so I used my ruler once more to mark out the rectangle shapes that measured approximately 1¼ in across and 3in long, then cut to size with a table knife. You could of course use a sharp knife if your child isn't around!
- Carefully transfer from worktop to the lined baking tray. This could be a stressful experience if your little helper is keen to grab up the dough and shove it on the tray. My three year old (bless him) picks his biscuit dough up in a precarious fashion and they can end up a bit squished! I quickly put the dough onto the tray, but he has his own few to do and it doesn't matter if those end up in interesting shapes!
- Leave the biscuits to cook in the oven for 8-10 minutes. Once cooked, place onto a wire rack to cool. They will still feel soft when you take them from the oven. Do not fear they crisp up whilst they cool!
- When the biscuits are cold, they can be sandwiched together with the Nutella. You could warm the Nutella in the microwave for a few seconds to make it easier for your child to spread on the biscuits.
- Find a microwaveable bowl, one that isn't too deep for children to reach into. Ask your helper to break up the bar of milk chocolate into it. Place into the microwave and melt on a medium to high heat in a short blast of about 10 to 20 seconds. Keep a close eye as burnt chocolate is vile!
- Carefully roll each sandwiched biscuit around in the melted chocolate. Prepare yourself for an almost unrecognisable child as chocolate appears over not only their hands but also all over their face, arms and quite probably hair!
- Leave the biscuits to dry on a sheet of greaseproof paper/baking parchment. Enjoy!
Top Tip for making Homemade Penguin bars
You could swap the milk chocolate for white chocolate instead - whichever is your child's favourite

Author, writer and Mum of three, Anneliese Giggins has been creating recipes for Goodto.com for the past 9 years. She has also created food-related content for household names such as Daily Mail, Daily Express and Goodto.com. Her most successful to date was how to feed a family of 4 on £20 a week.
-
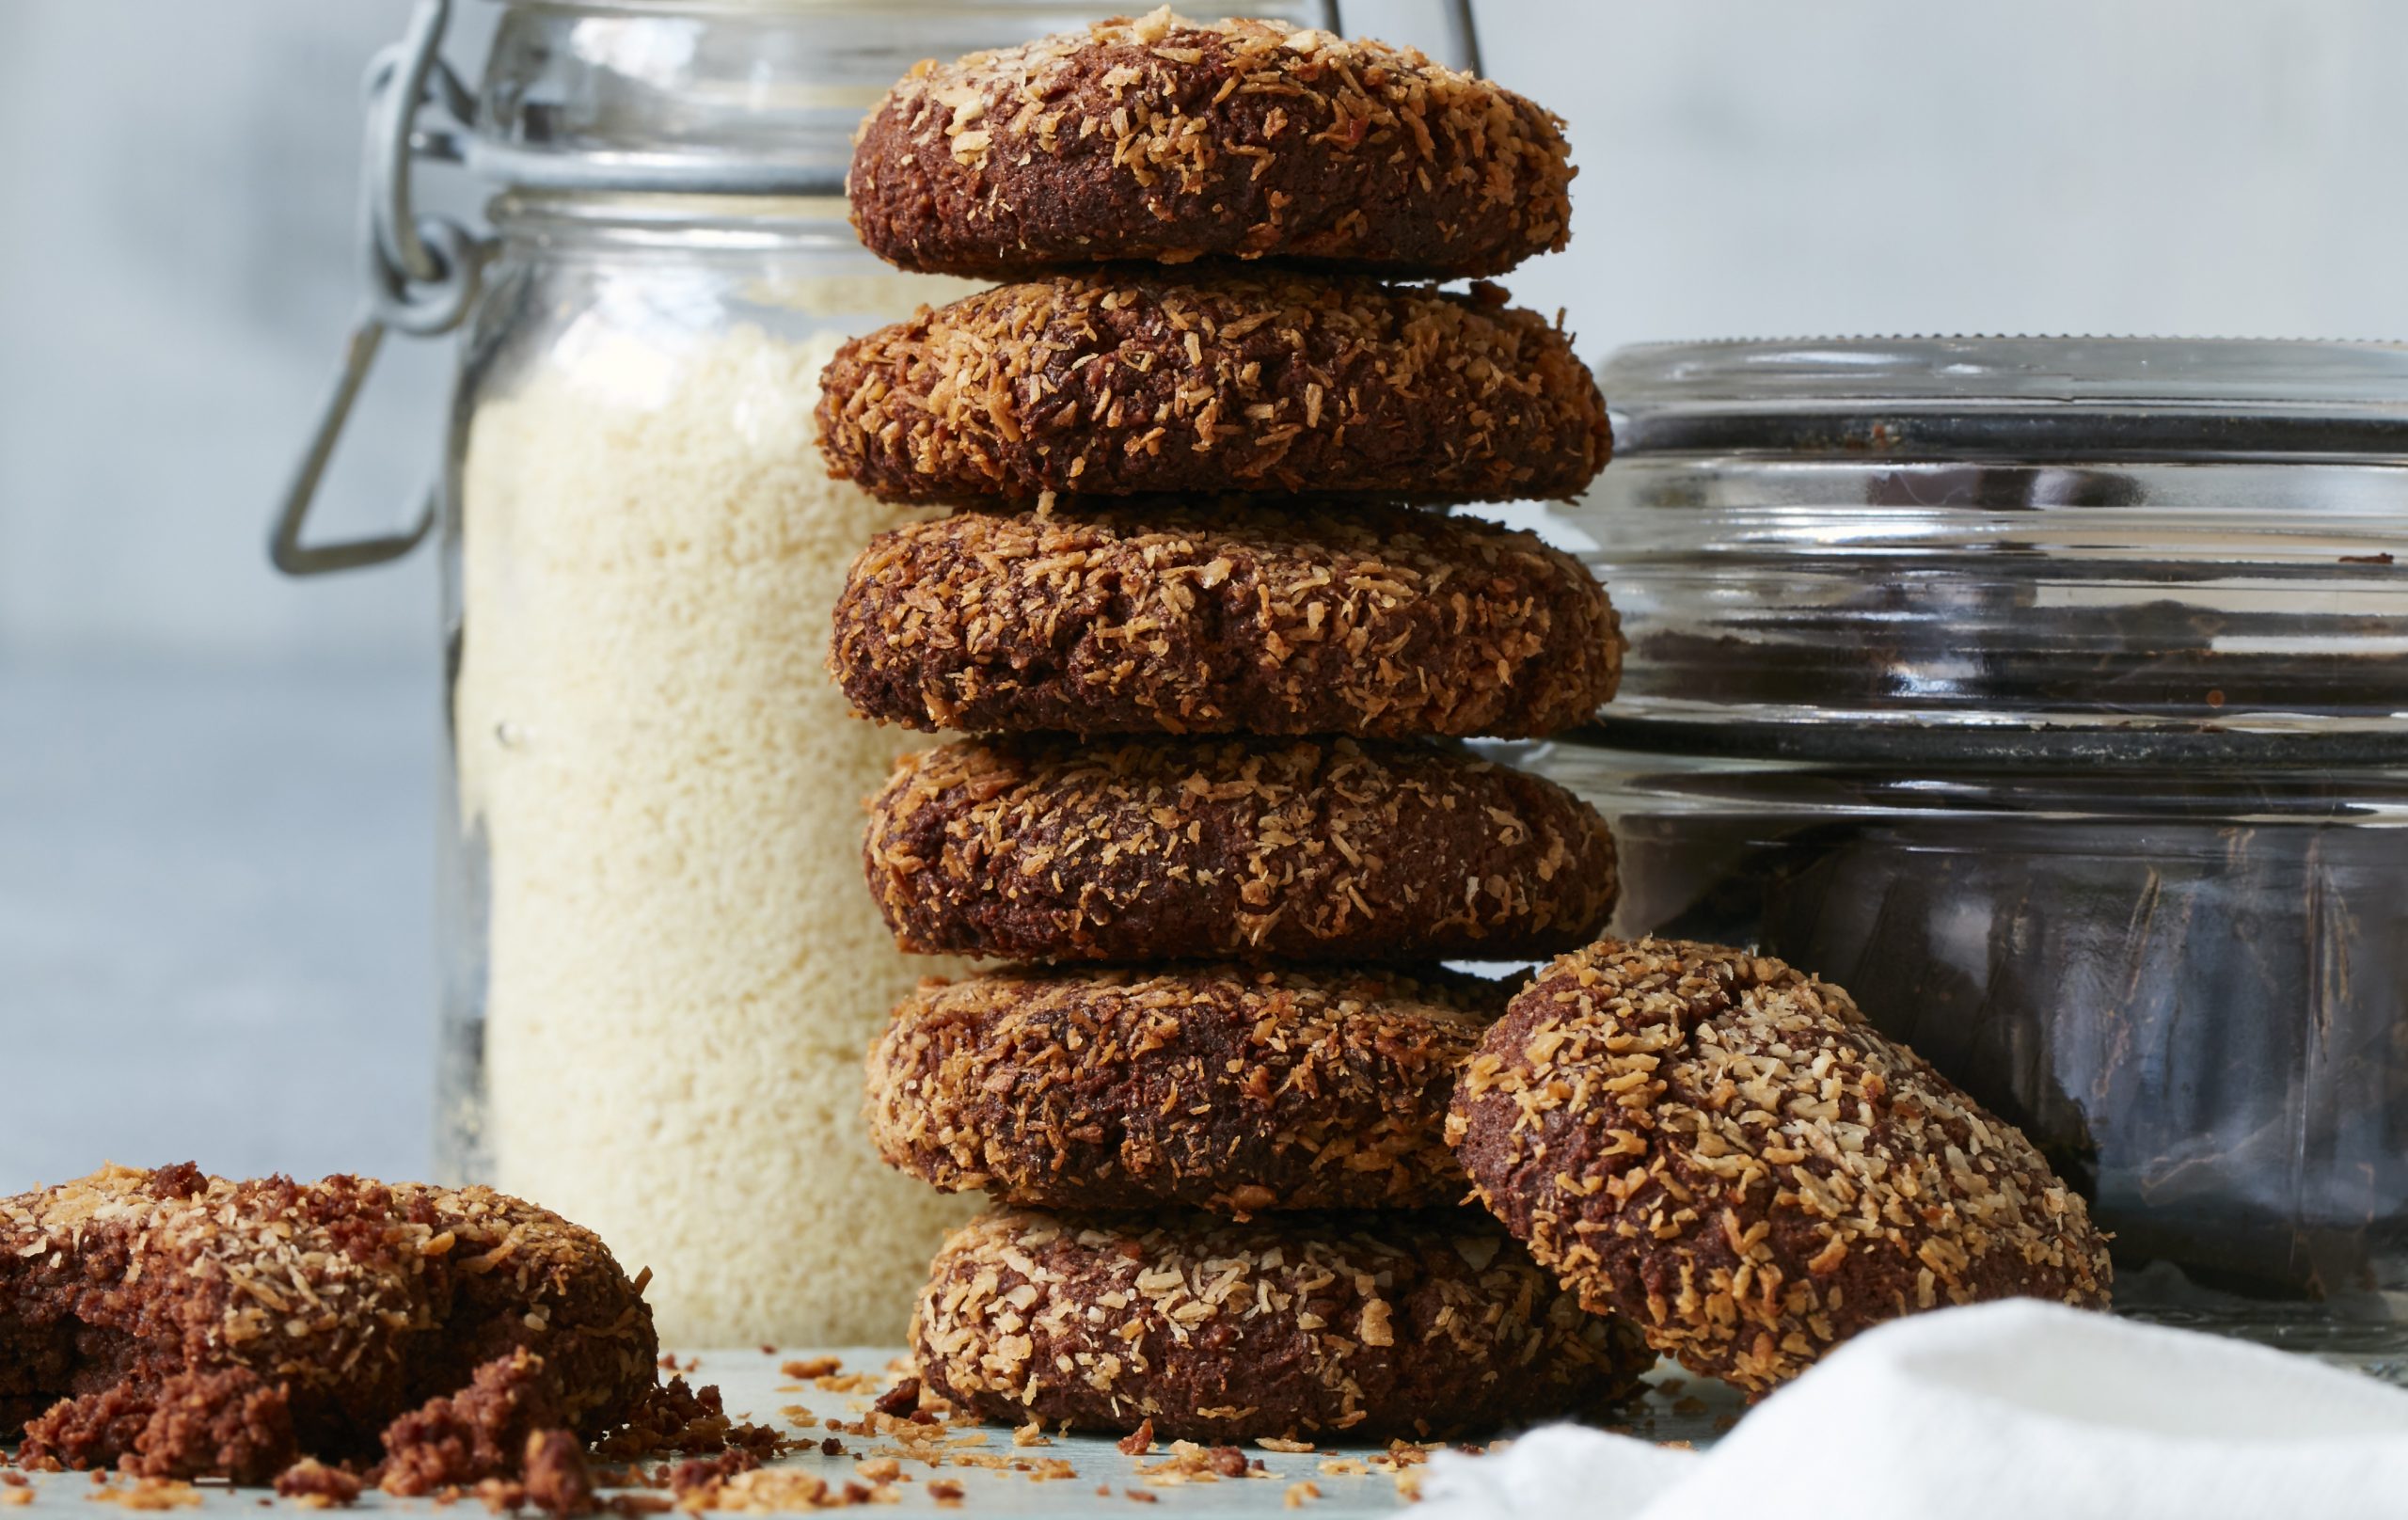 Gluten free biscuit recipe with no added sugar
Our gluten free biscuit recipe uses chocolate as the sweetener making them deliicous and squidgy.
By Jessica Dady Published
-
 Baileys hot chocolate
This Baileys hot chocolate recipe is 418 calories per portion and has six core ingredients.
By Rosie Conroy Last updated
-
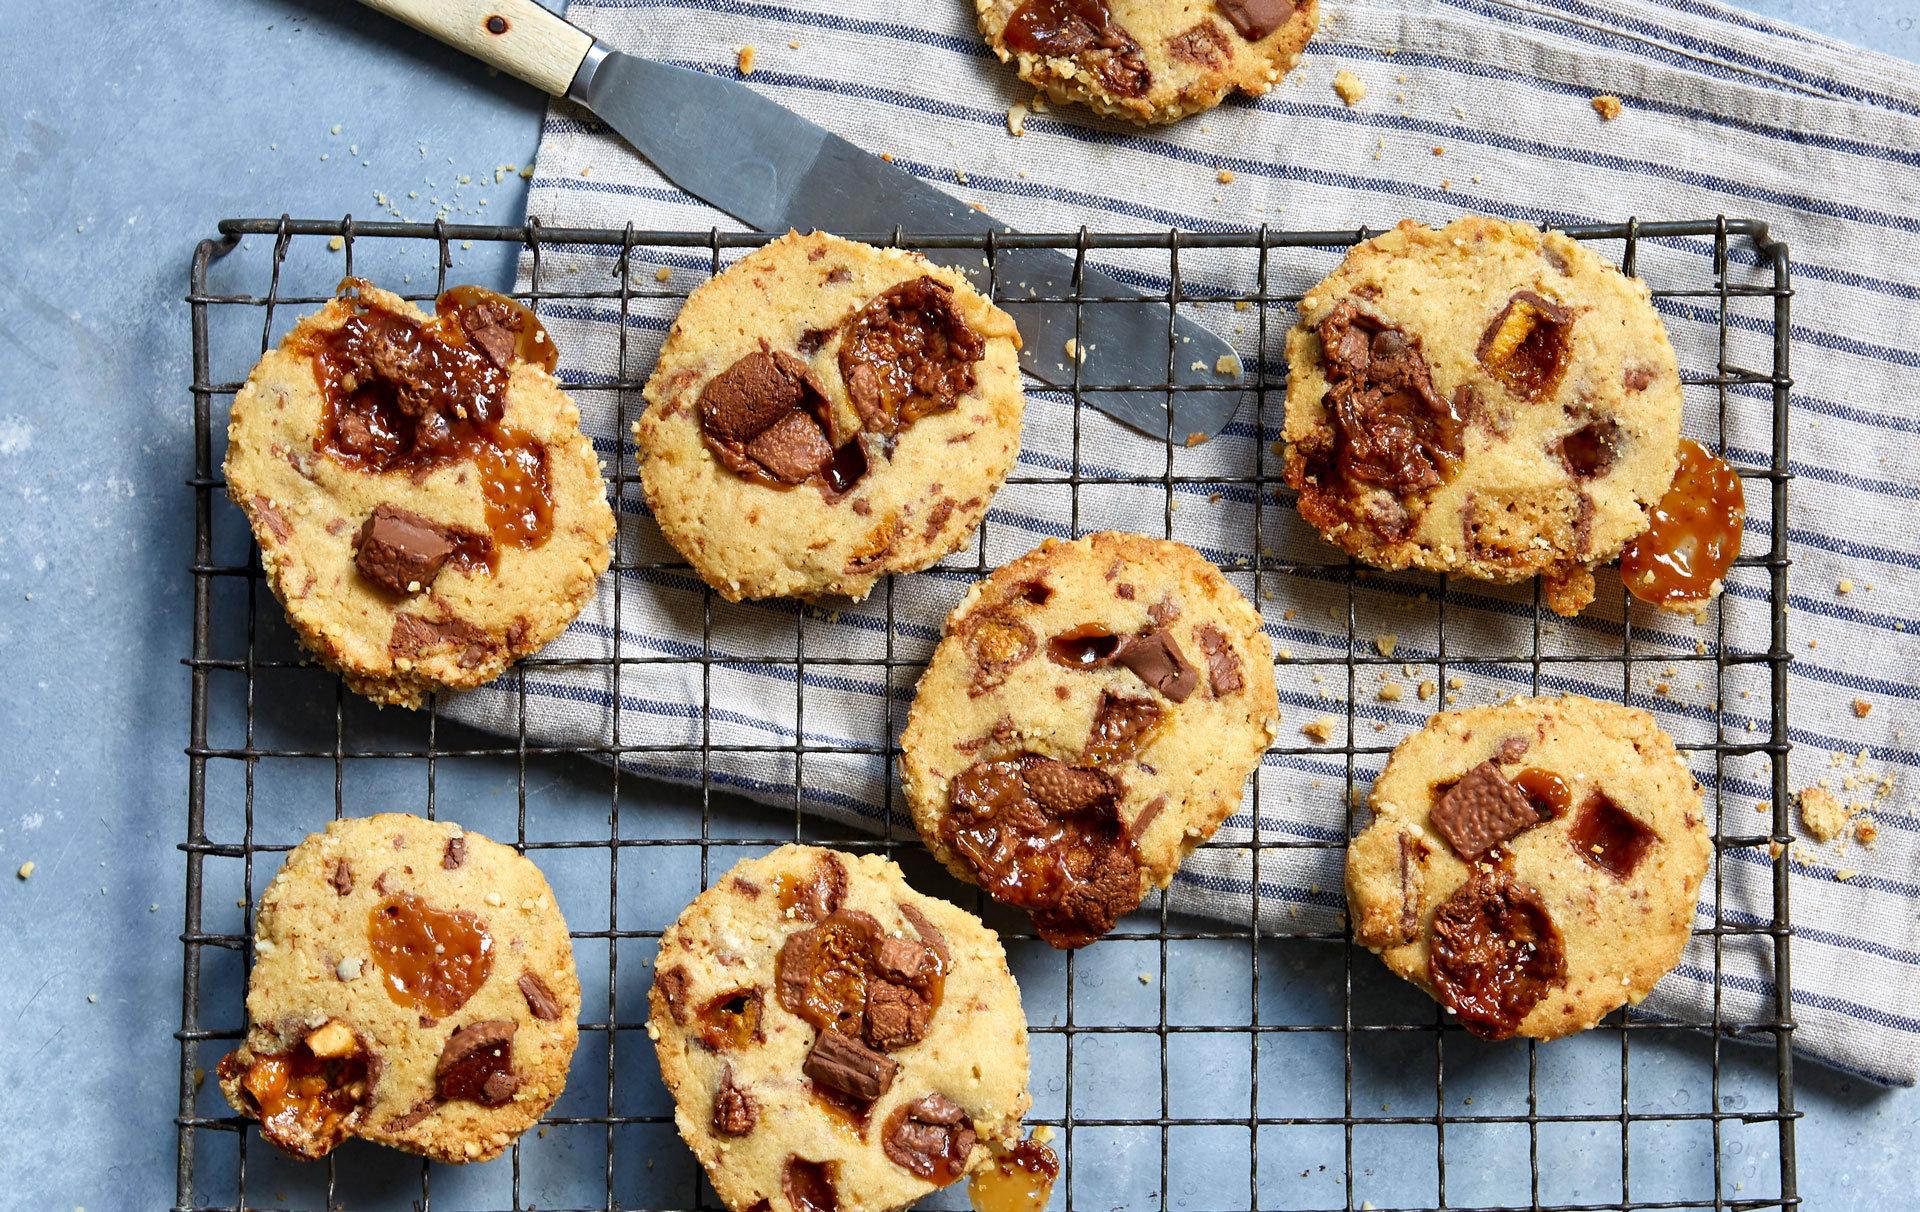 Chocolate bar cookies
Leftover nuts and selection box chocs both get a purpose in this straightforward cookie recipe – great for the kids (big or little) in the family.
By Rose Fooks Published
-
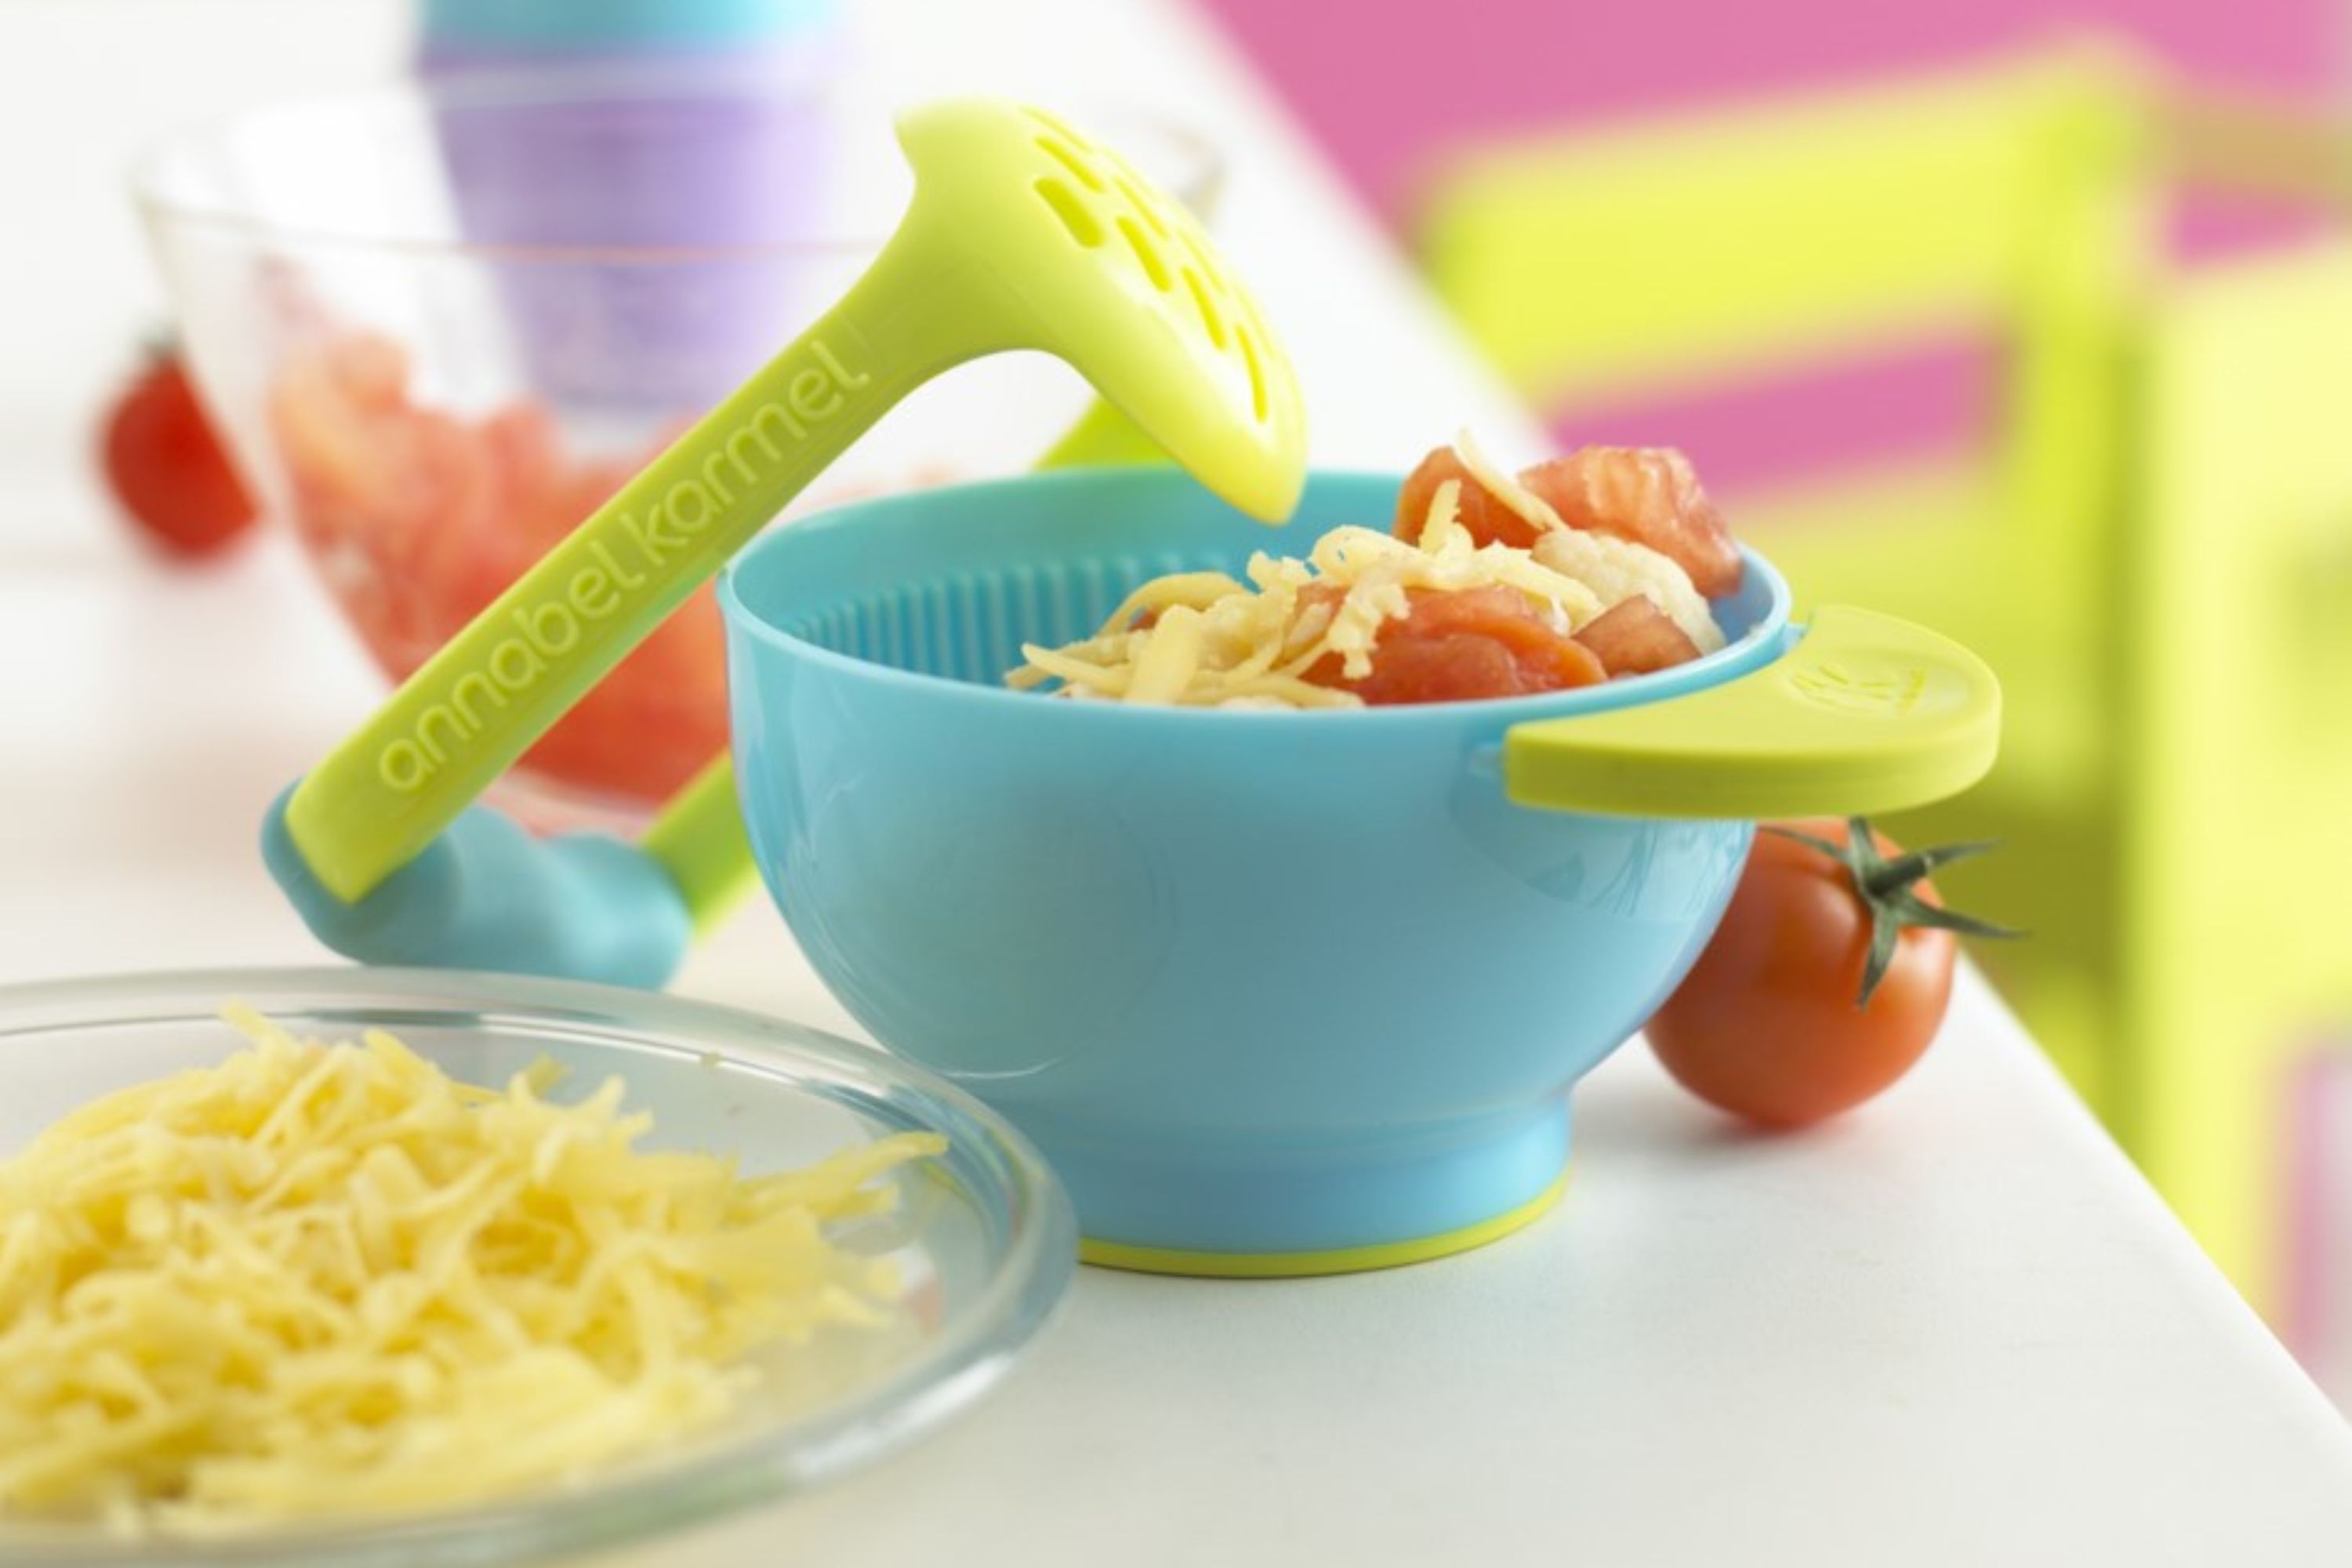 Annabel Karmel's trio of vegetables with tomato and basil
Suitable for six months plus, this baby food by nutritional expert Annabel Karmel is made with a whole heap of veggies...
By Annabel Karmel Published
-
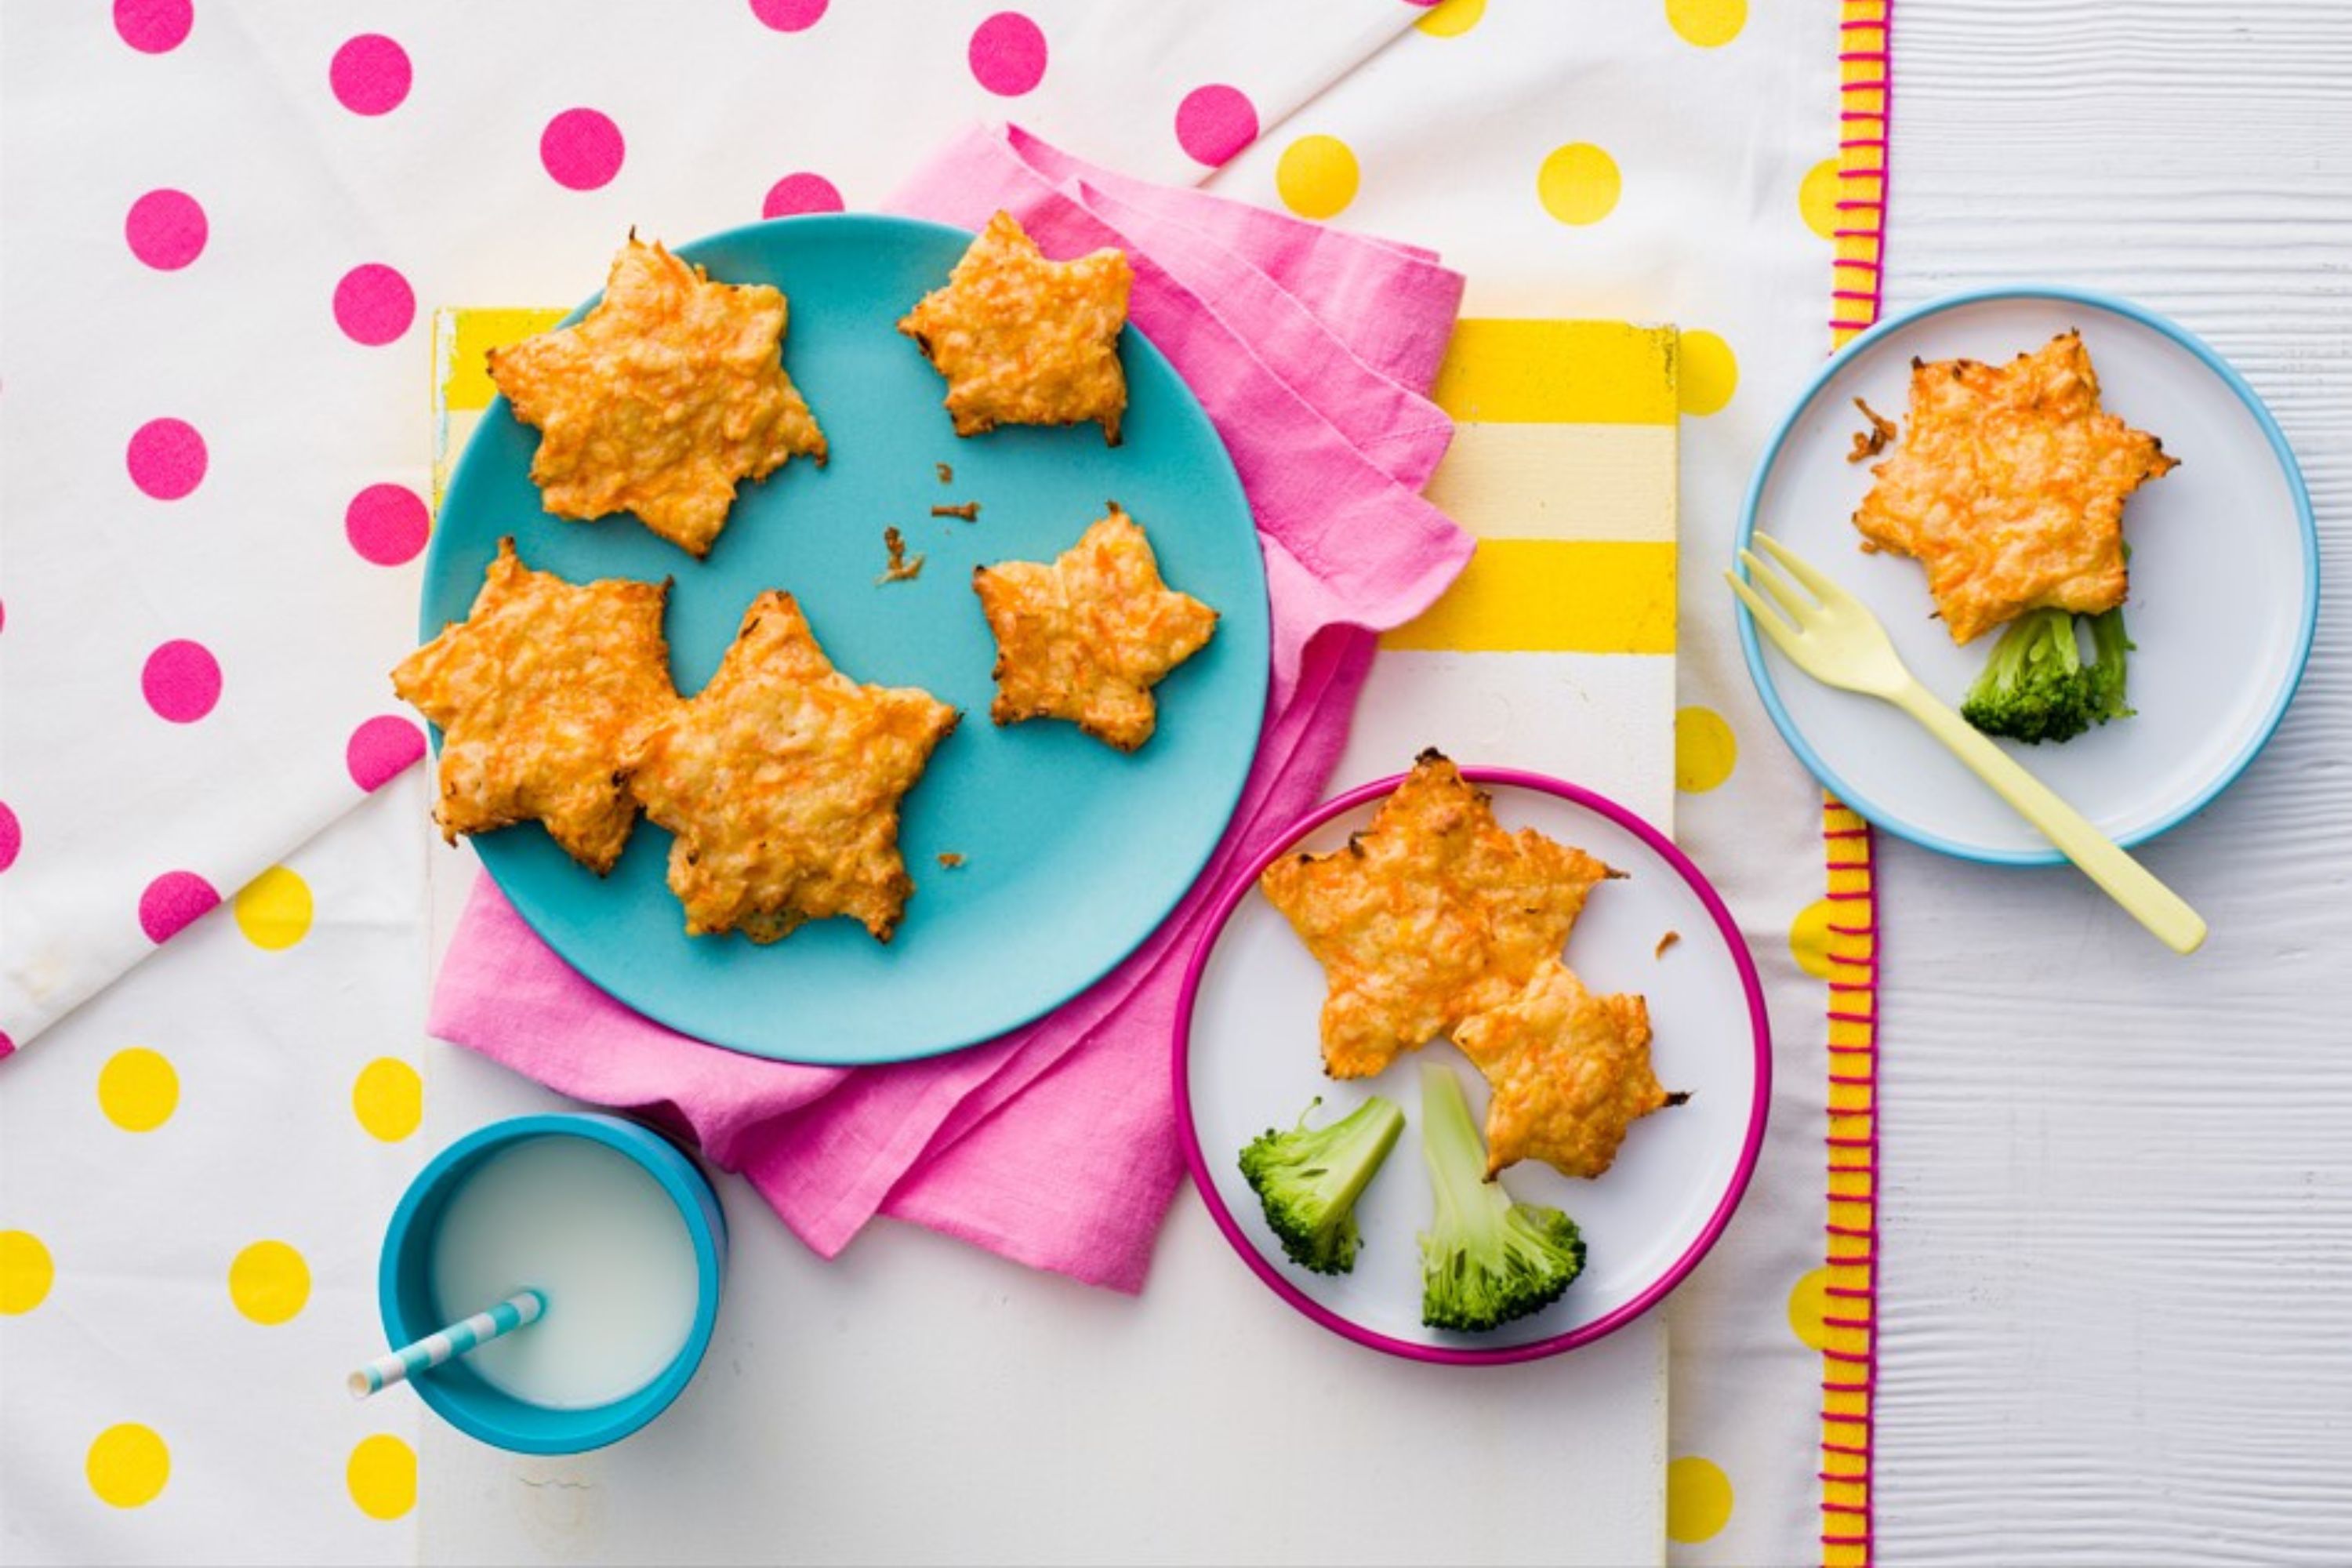 Annabel Karmel's cheesy carrot stars
These flavour-packed cheesy carrot stars by Annabel Karmel are perfect for introducing finger foods to your little one...
By Annabel Karmel Published
-
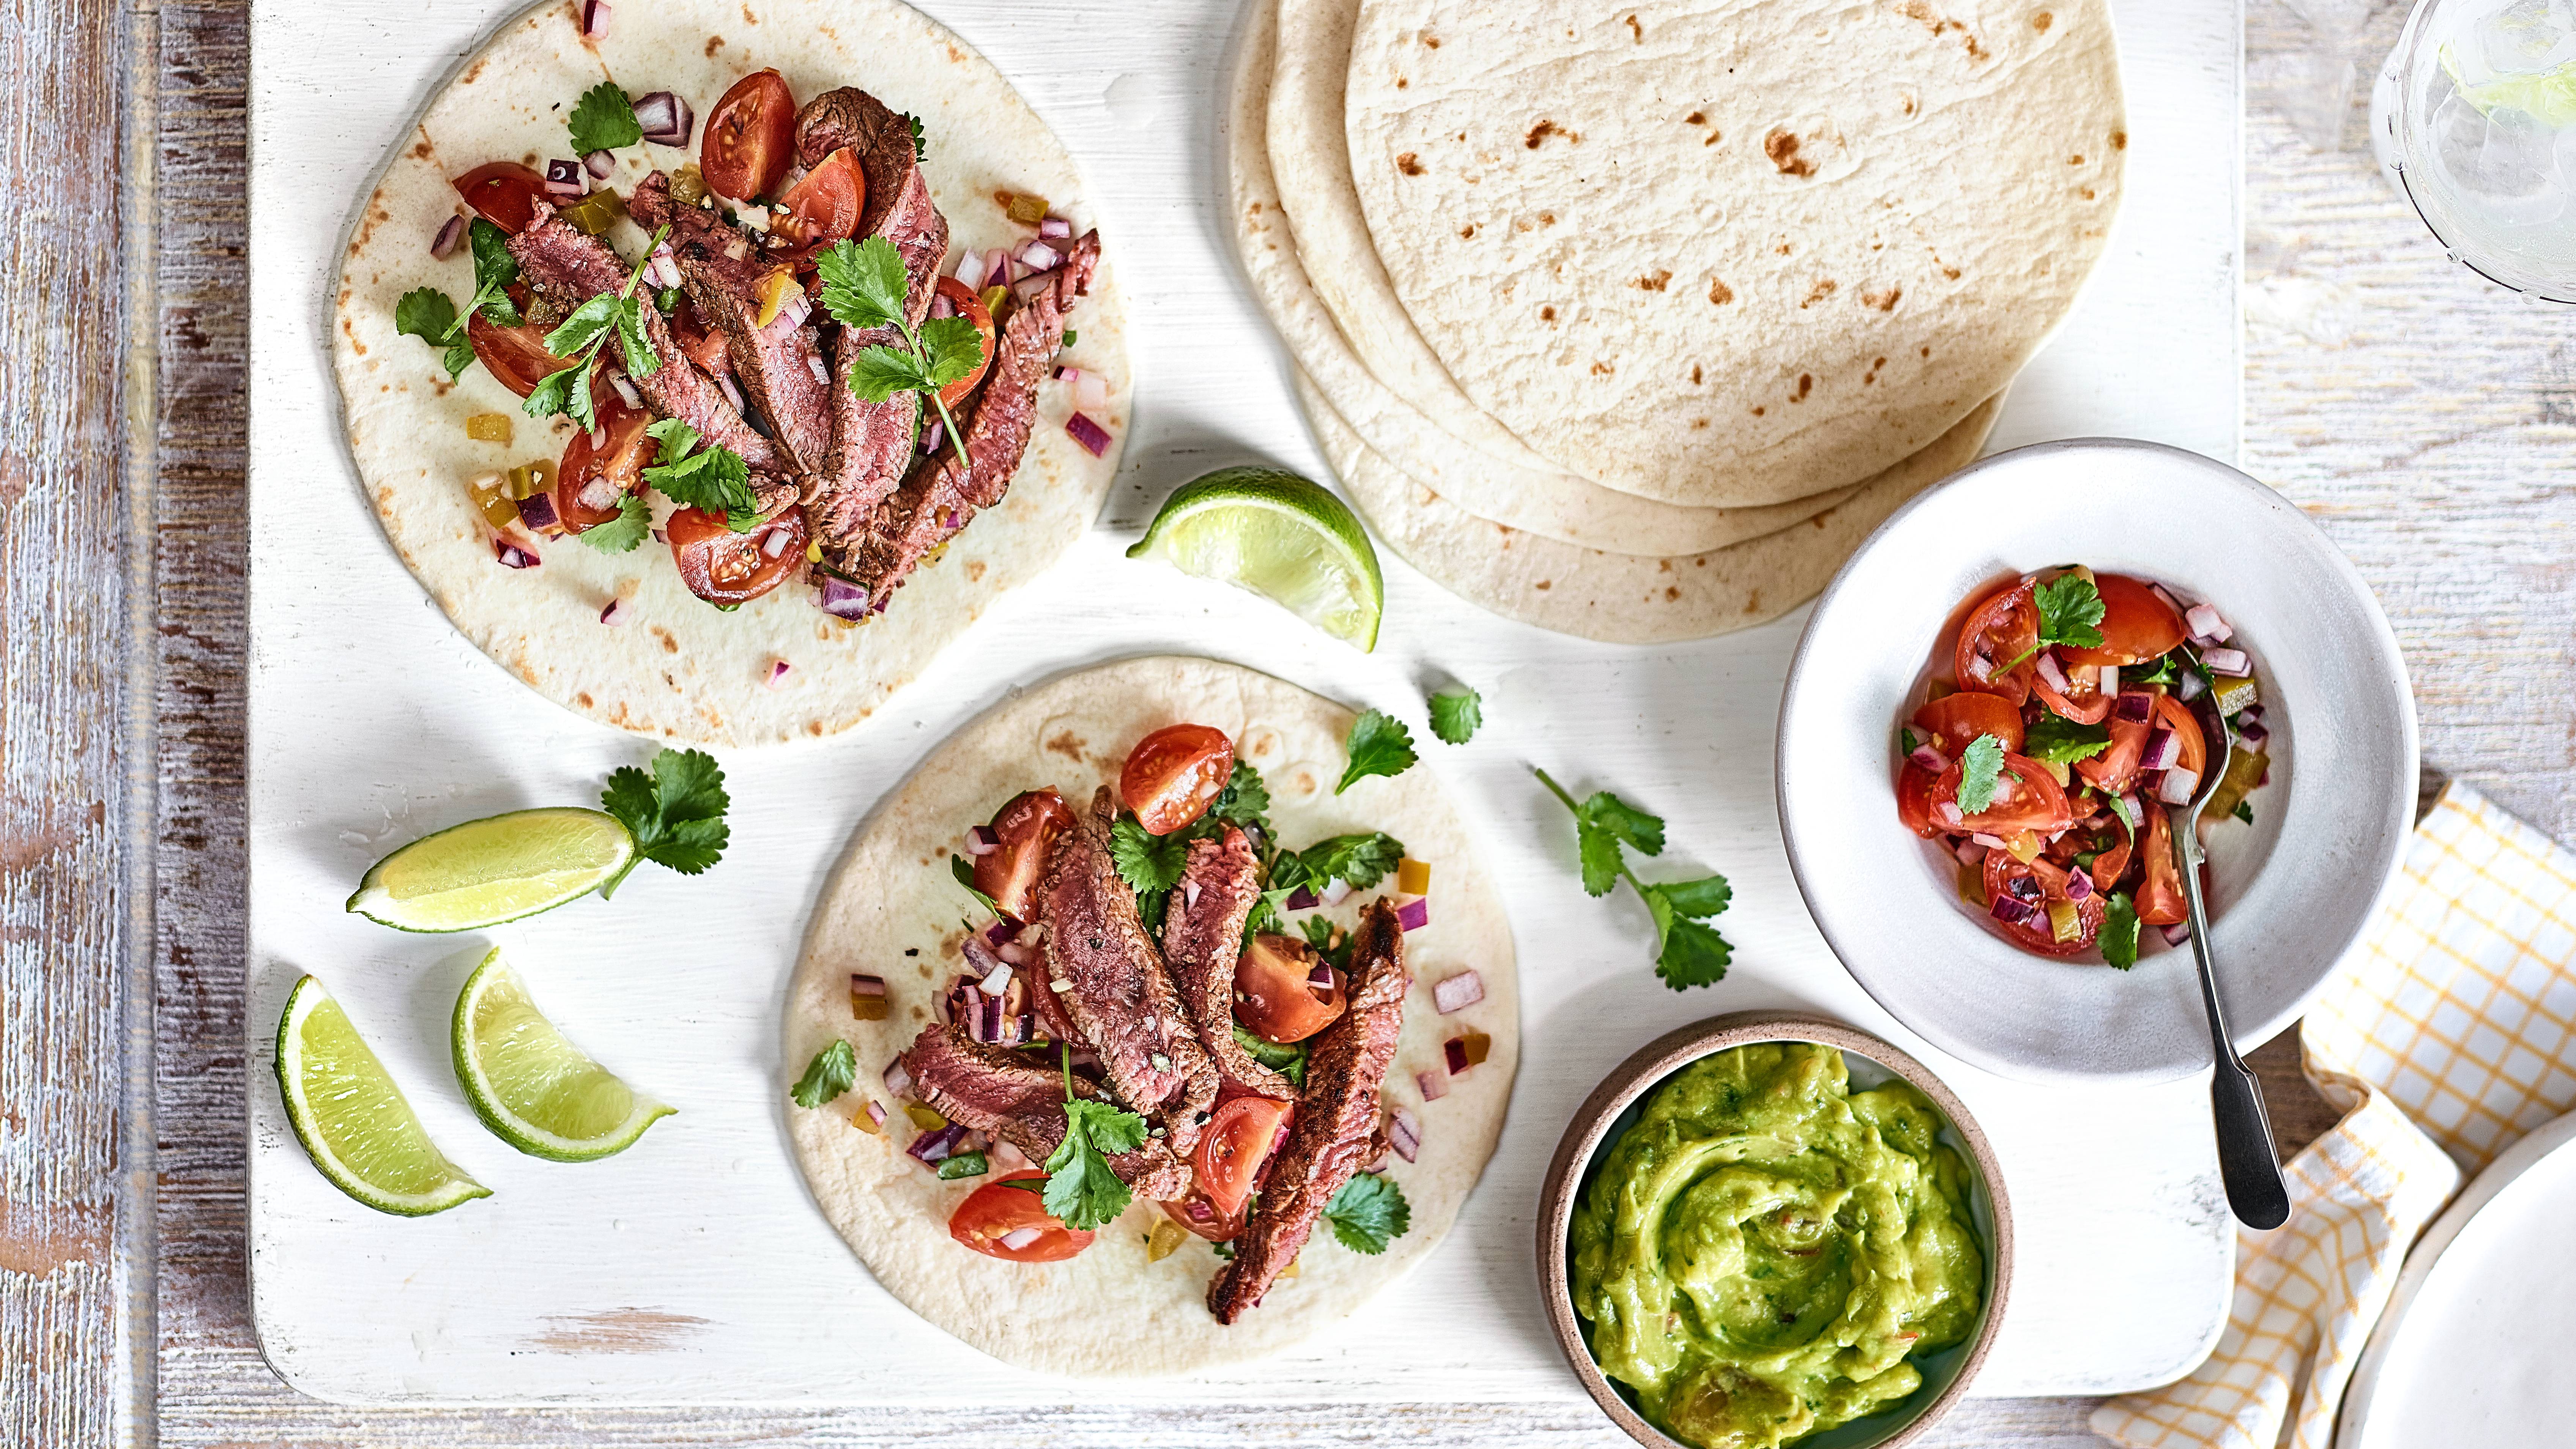 Steak and salsa wraps
Our steak and salsa wraps are one of those build-you-own suppers the teens in your house will love...
By Jessica Ransom Published
-
 Surprisingly cheap Mother's Day gift mums ACTUALLY want as chocolate and jewellery drop in popularity
New research has found that many mums in the UK have a very simple wish list this Mother's Day
By Emma Dooney Published
-
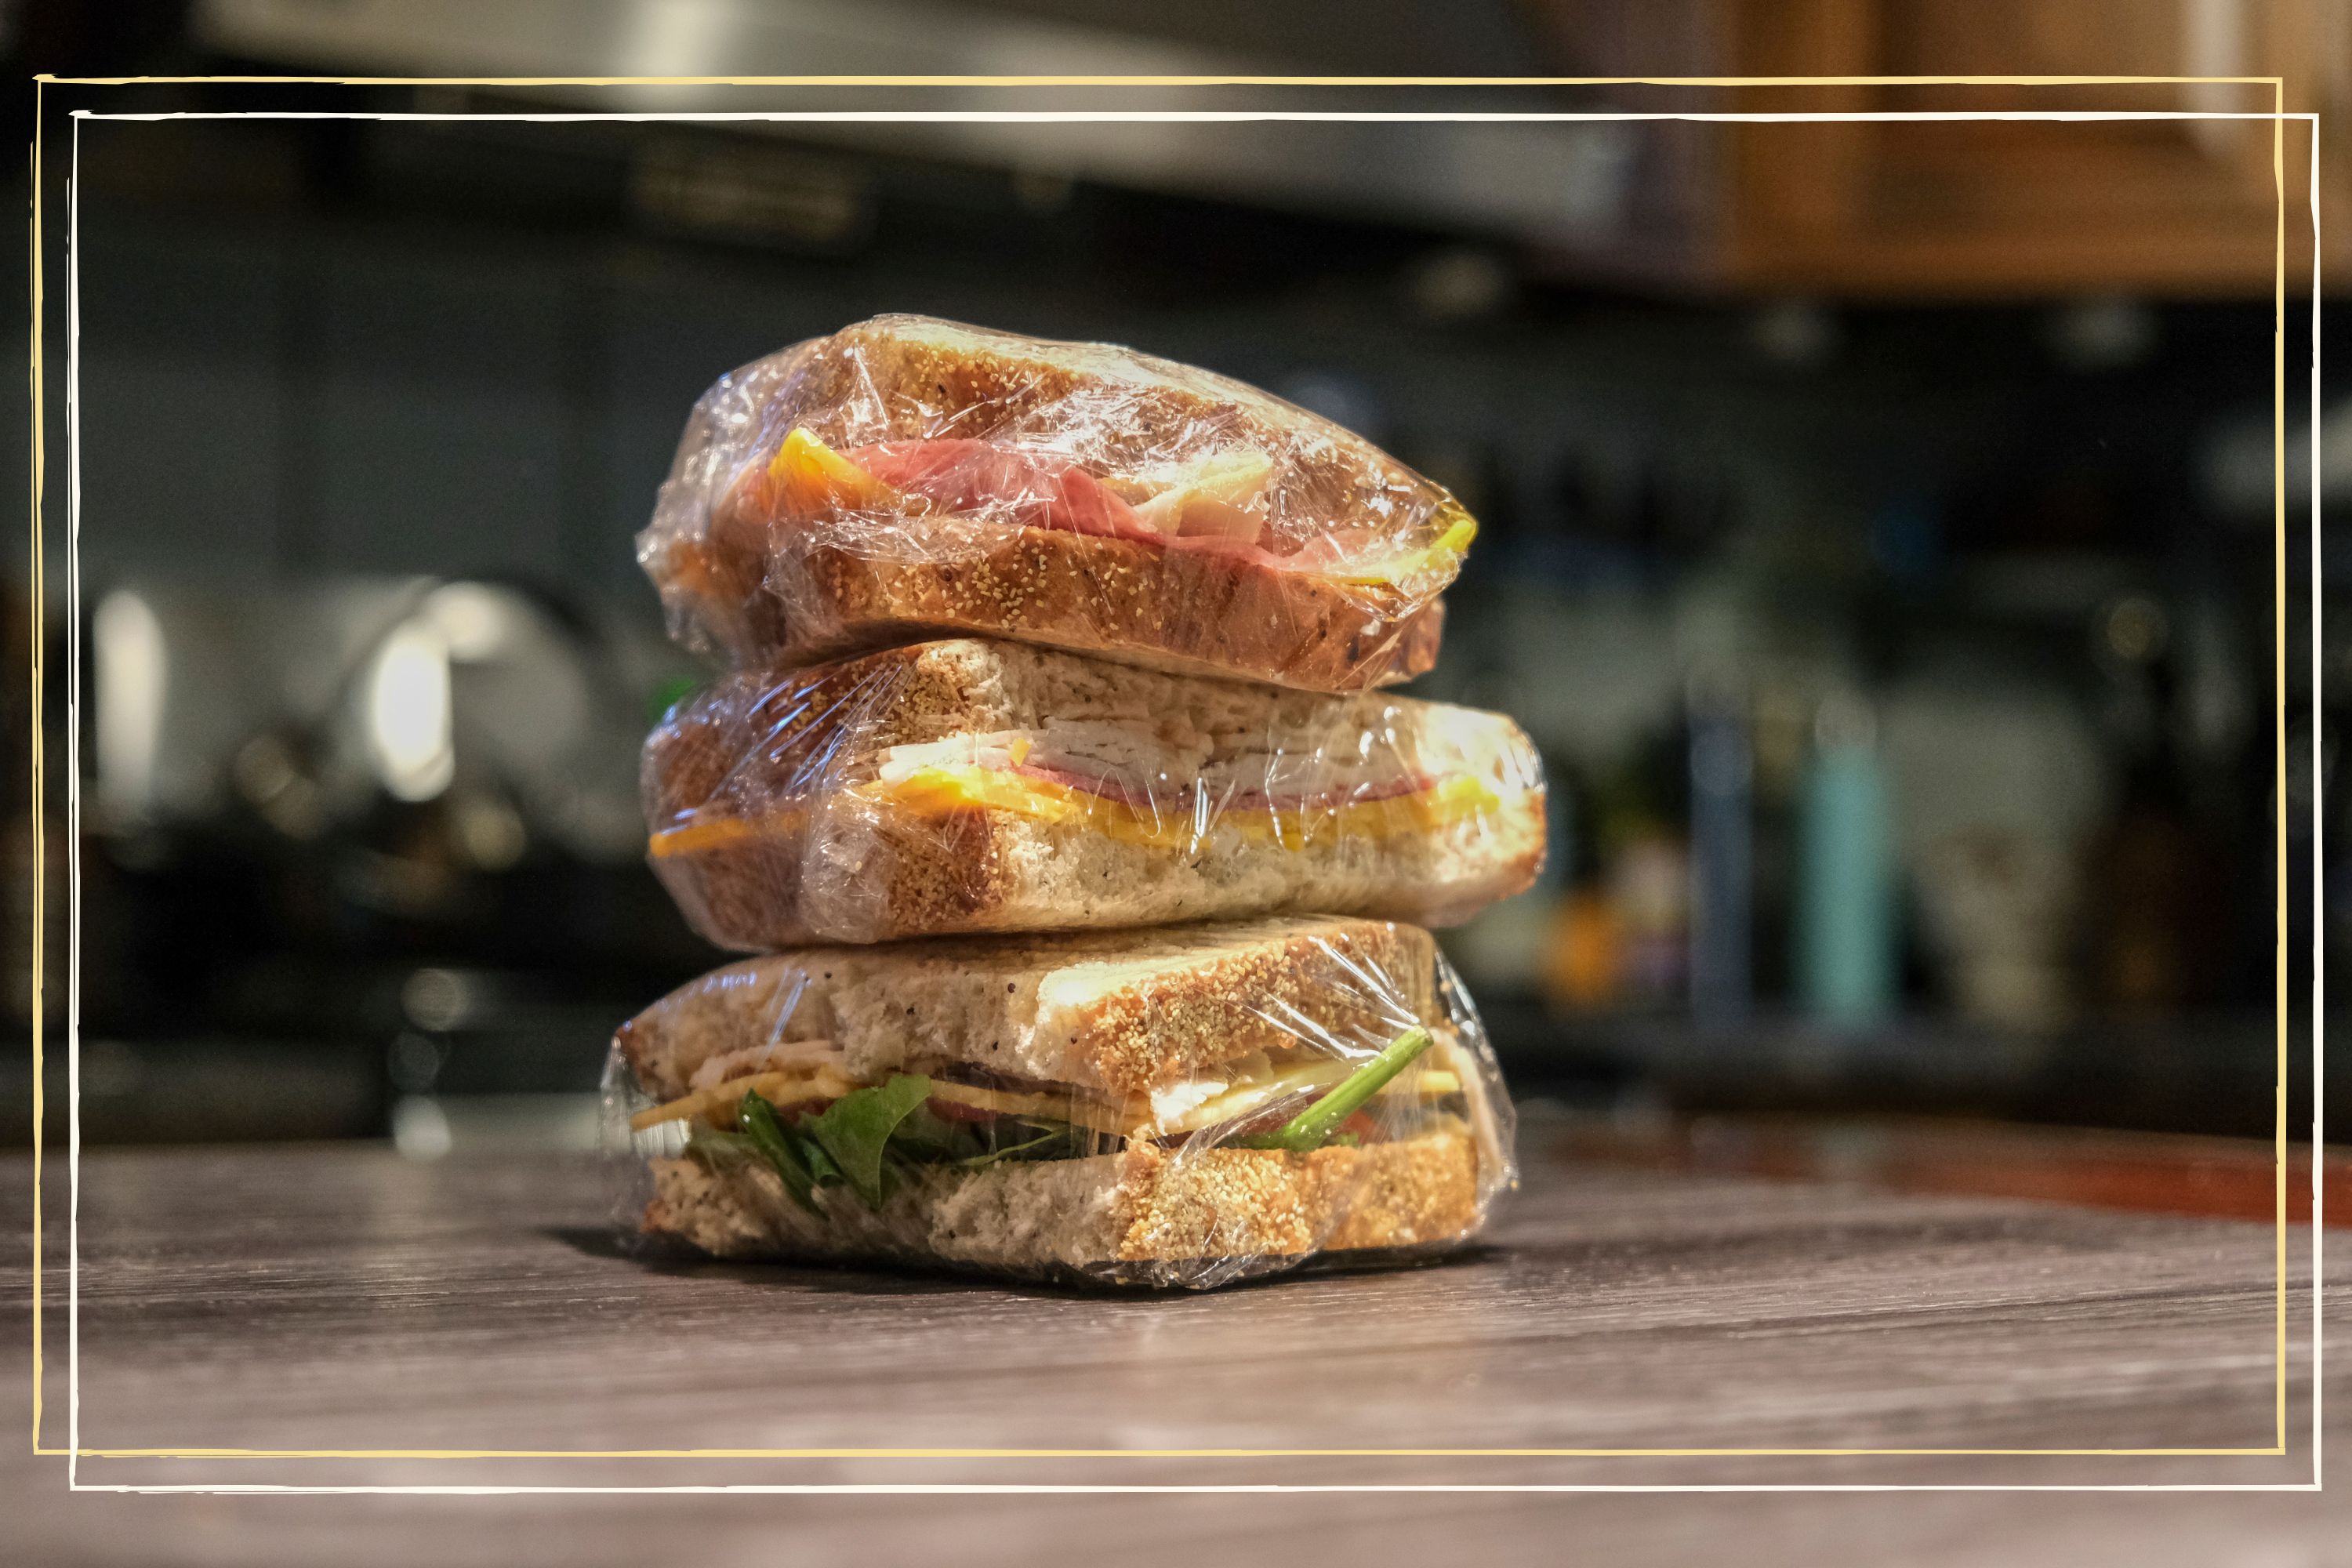 This cling film freezer hack is the packed lunch time-saver we all need
Apparently, we've all been storing our clingfilm wrong...
By Emma Dooney Published
-
 Princess Charlotte's favourite snack usually requires a 'refined palate' - would your kids choose it?
Princess Charlotte has inherited her love for this grown-up from her mum Kate Middleton
By Charlie Elizabeth Culverhouse Published
