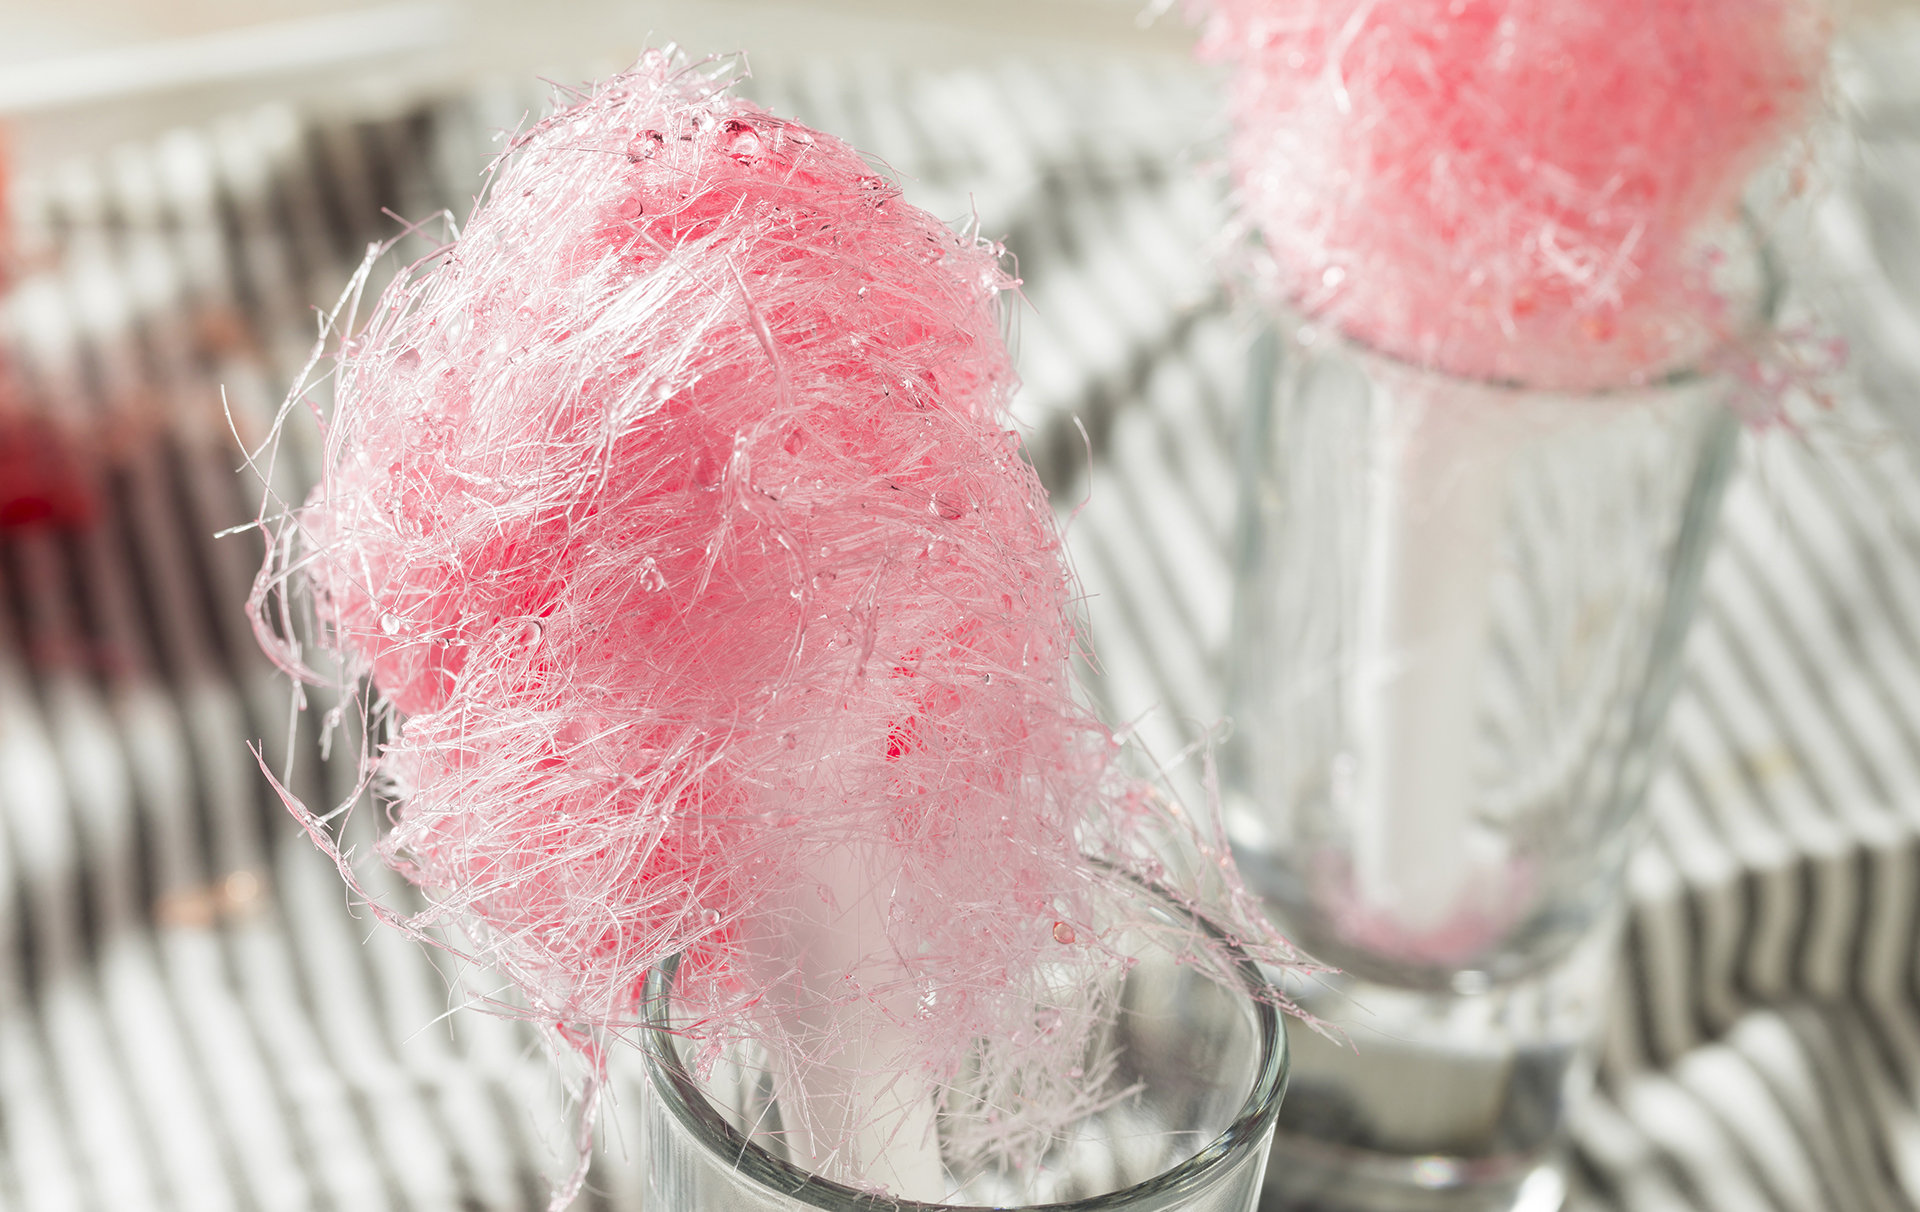
Our candy floss recipe is fluffy, sweet, and fuss-free.
If you thought you couldn't make your own candy floss at home without a machine, think again. Make your own at home with sugar, corn syrup, and your chosen flavouring - raspberry, orange, mint - whatever you fancy.
The firm fairground favourite was first invented - funnily enough - by dentist William Morrison (hence Floss) and confectioner John C Wharton in 1897. And it’s safe to say this is one popping pink treat that has stood the test of time, with candy floss stands still going strong today. Now you can make it yourself in just five steps.
Ingredients
- 800g sugar
- 240ml corn syrup
- 240ml water
- ¼ tsp salt
- 1 tsp raspberry extract (or any flavour you like)
- 2 drops pink (or any colour) food colouring (optional)
You will also need:
- A 'decapitated’ whisk - see the tip
- 6 lolly sticks
WEIGHT CONVERTER
Method
- In a large, heavy saucepan over medium heat, combine the sugar, corn syrup, water, and salt. Stir until the sugar is melted.
- Clip on a candy thermometer, stop stirring, and heat to 160°C (320°F). Pour the molten liquid into a shallow heatproof container. Add the extract and food colouring (if using) and stir well.
- Line your work table with parchment. You might also want to spread parchment or old newspaper on the floor around the table to catch any stray bits of flying sugar.
- Dip your decapitated whisk into the sugar syrup and hold it over the pot to let the sugar drip back into container for a couple of seconds. Holding the whisk a foot (30 cm) above the parchment, swing the whisk back and forth so that thin strands of sugar fall on the paper. Repeat this a few more times until you have a nice nest of spun sugar.
- Poke a lollypop stick into the middle of the nest and gently shape the spun sugar around to create a candy floss ball.
Top tips for making candy floss:
To make a decapitated whisk, snip the tines at the end of a wire whisk with a wire cutter so you have straight metal branches.
What flavourings can I use for my candy floss
Look in the baking aisle of larger supermarkets for flavours and colours to add to your candy floss. Vanilla, peppermint, orange and lemon are all widely available. If you want something more fruity you might have to visit a dedicated cooking shop or look online. We have found strawberry, raspberry, apple and melon. If you're serving your floss as a fancy extra at tea party or with after dinner coffees, try flavouring with it rosewater.
How long will my candy floss last?
While candy floss doesn't go 'off' it will spoil very quickly if you keep it in hot or moist areas. It's best to eat it straight after you've made it or within the next 30 minutes. Keep it in a cool, dry place (not the fridge!), somewhere where it won't get shaken or vibrated - for instance, it doesn't survive a car journey well.
You might also like…

Jessica Dady is Food Editor at GoodtoKnow and has over 12 years of experience as a digital editor, specialising in all things food, recipes, and SEO. From the must-buy seasonal food hampers and advent calendars for Christmas to the family-friendly air fryers that’ll make dinner time a breeze, Jessica loves trying and testing various food products to find the best of the best for the busy parents among us. Over the years of working with GoodtoKnow, Jessica has had the privilege of working alongside Future’s Test Kitchen to create exclusive videos - as well as writing, testing, and shooting her own recipes. When she’s not embracing the great outdoors with her family at the weekends, Jessica enjoys baking up a storm in the kitchen with her favourite bakes being chocolate chip cookies, cupcakes, and a tray of gooey chocolate brownies.
-
 Cheese and pickle straws
This cheese and pickle straws takes a simple party staple and ramps it up a level by adding a twist of tangy pickle to the mix.
By Octavia Lillywhite Published
-
 Mini quiches
Learn how to make bite-sized mini quiches with this easy recipe. Our quiches come with a bacon and cheese filling but you can experiment with flavours, too.
By Nichola Palmer Last updated
-
 Joe Wicks breakfast muffins
By Joe Wicks Published
-
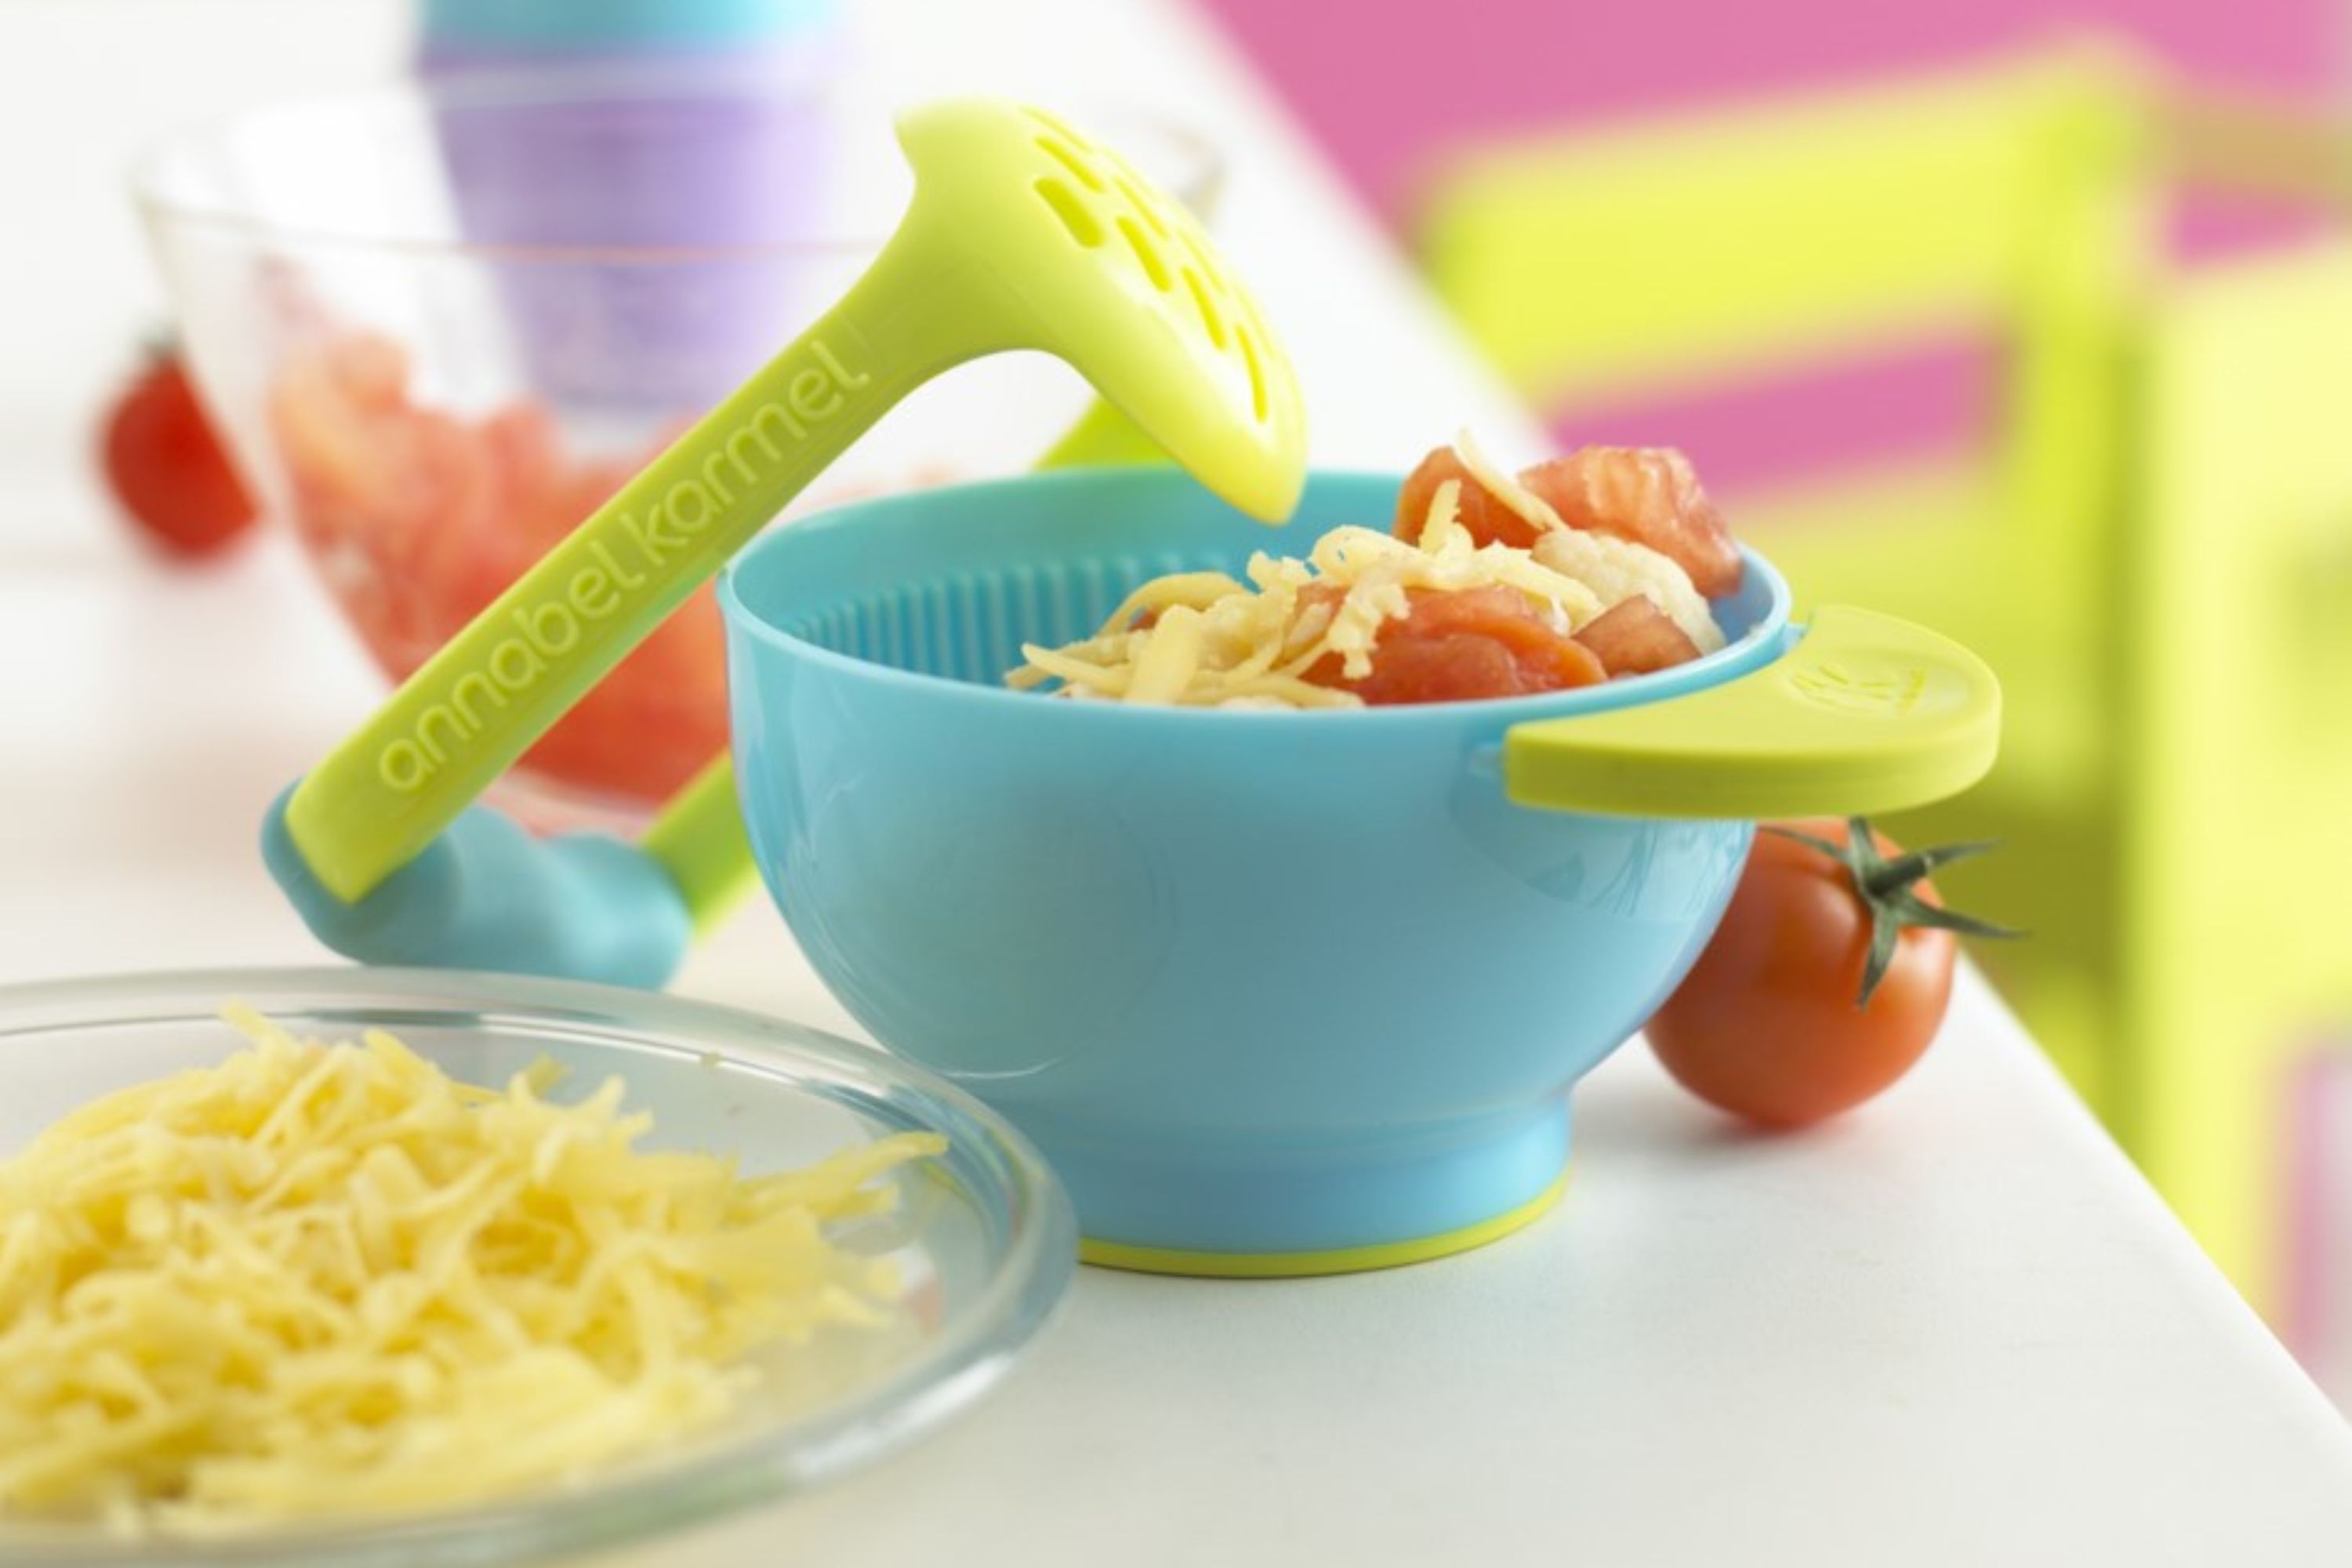 Annabel Karmel's trio of vegetables with tomato and basil
Suitable for six months plus, this baby food by nutritional expert Annabel Karmel is made with a whole heap of veggies...
By Annabel Karmel Published
-
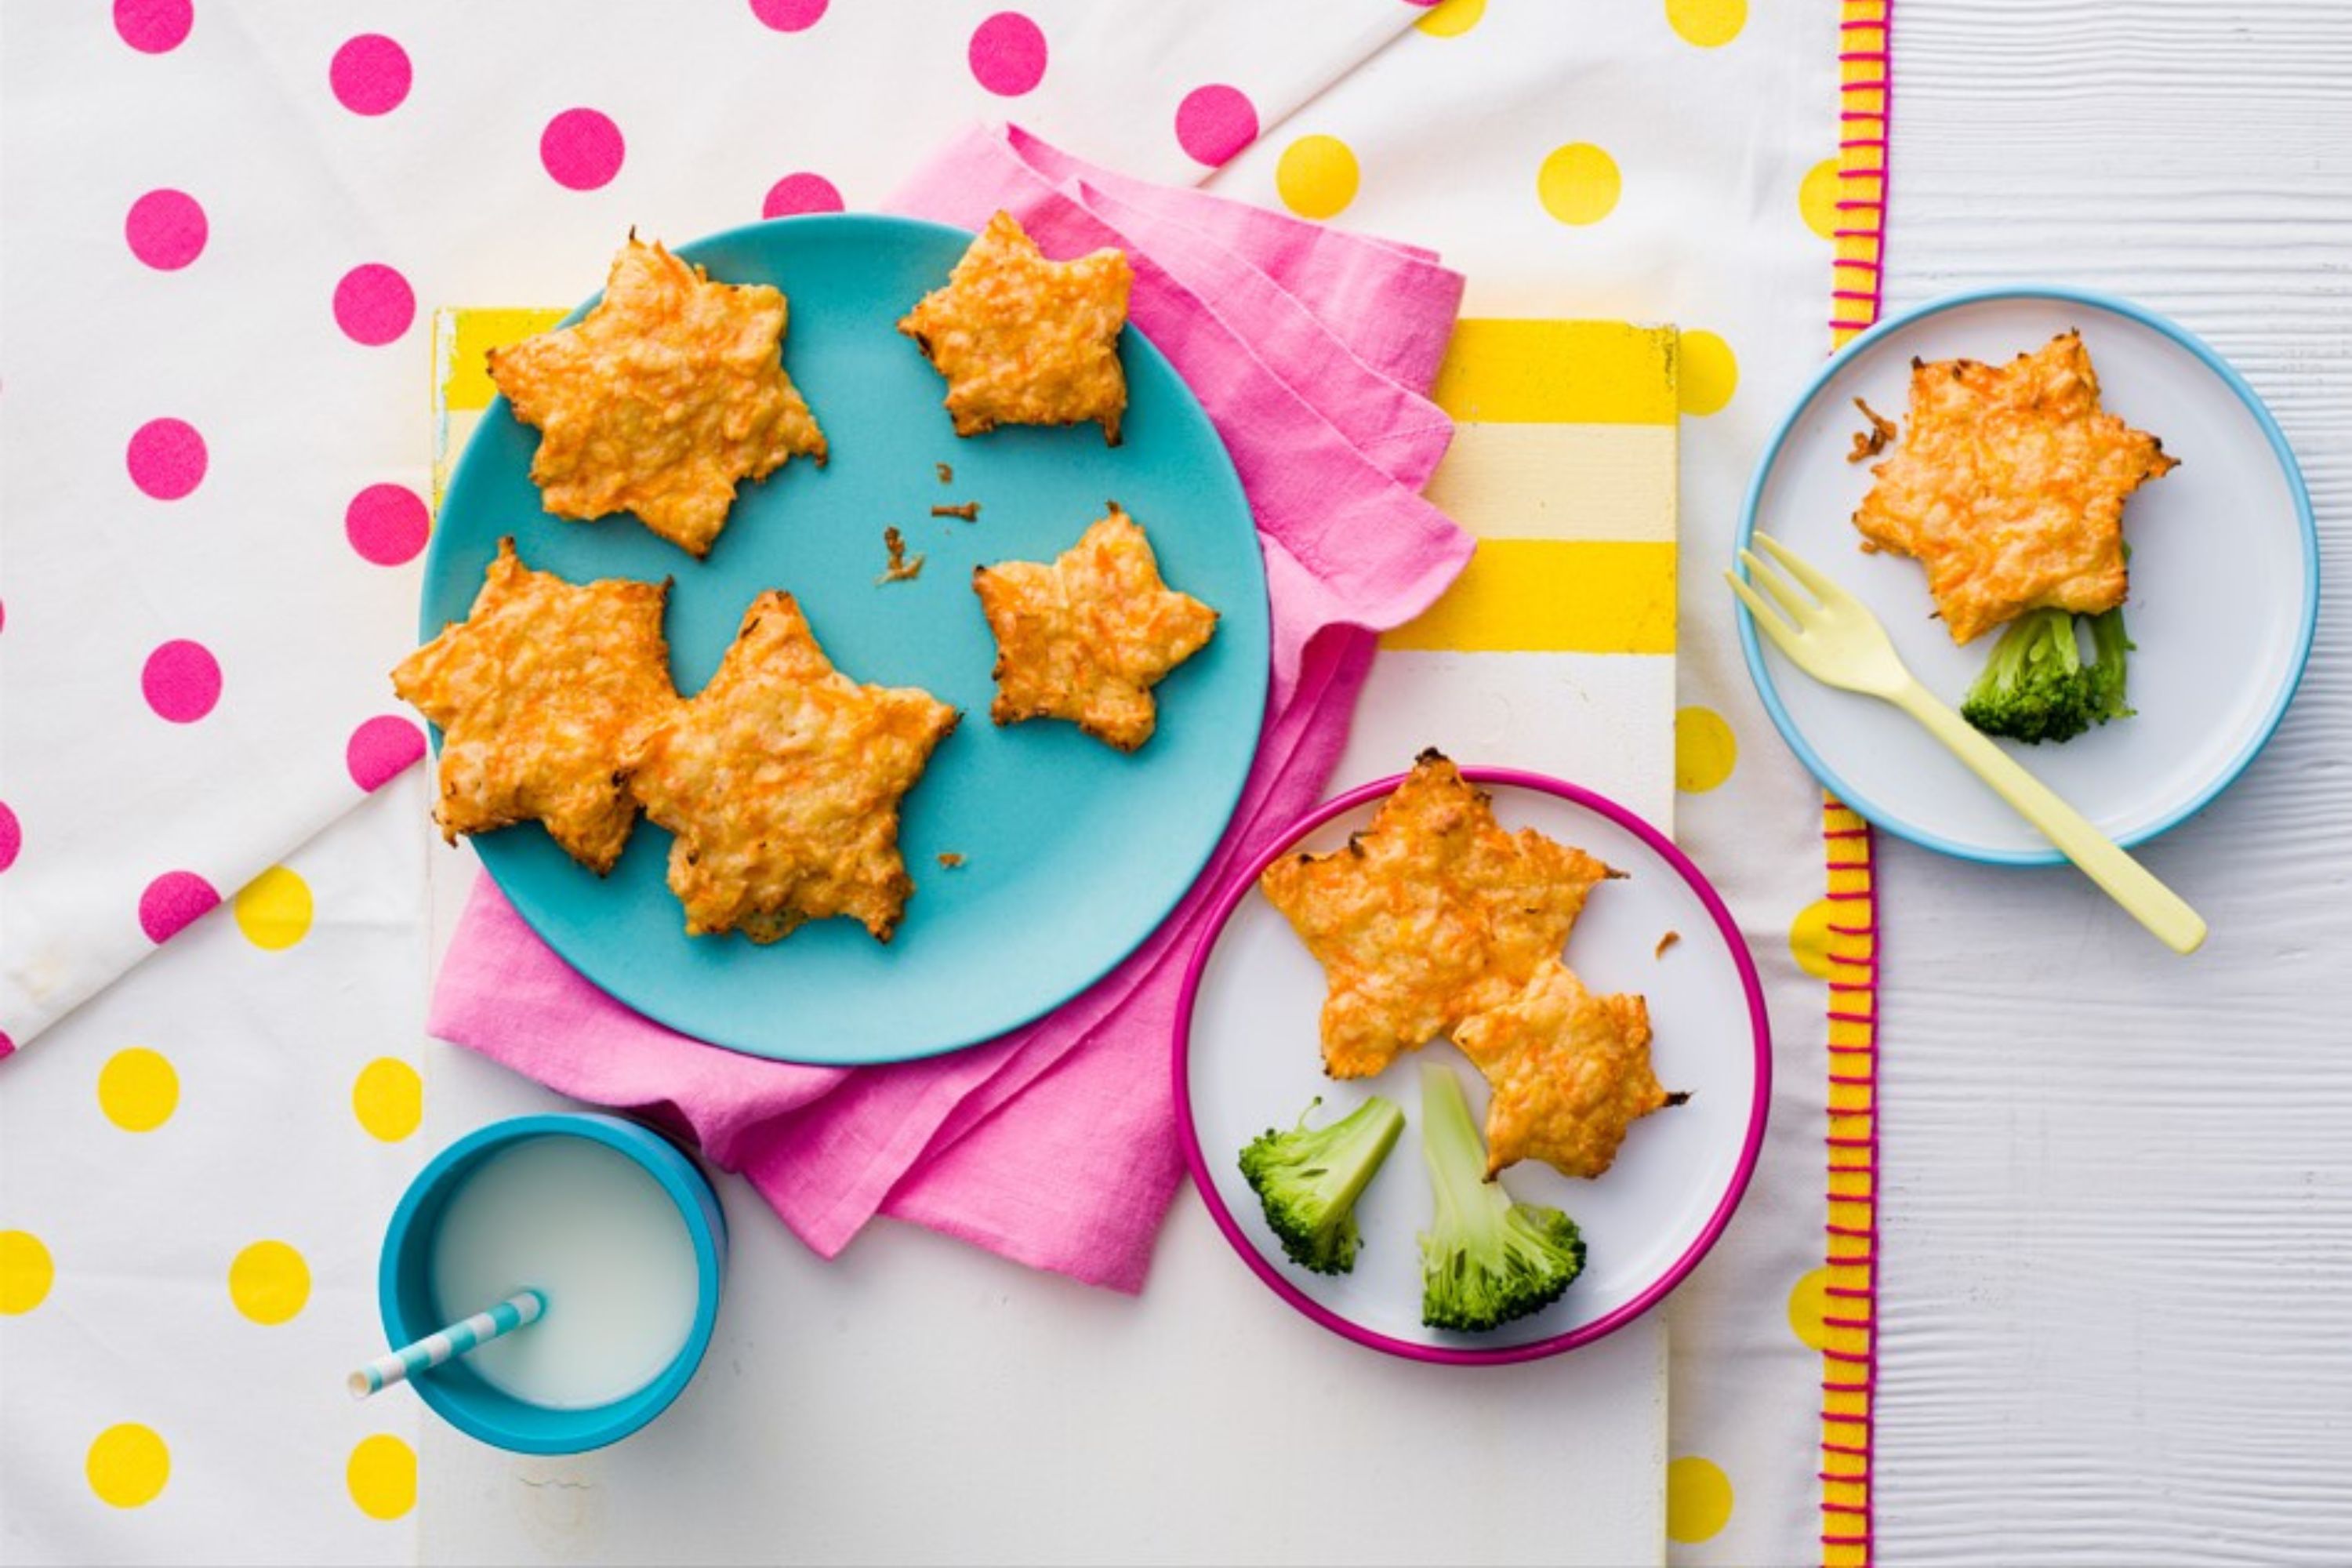 Annabel Karmel's cheesy carrot stars
These flavour-packed cheesy carrot stars by Annabel Karmel are perfect for introducing finger foods to your little one...
By Annabel Karmel Published
-
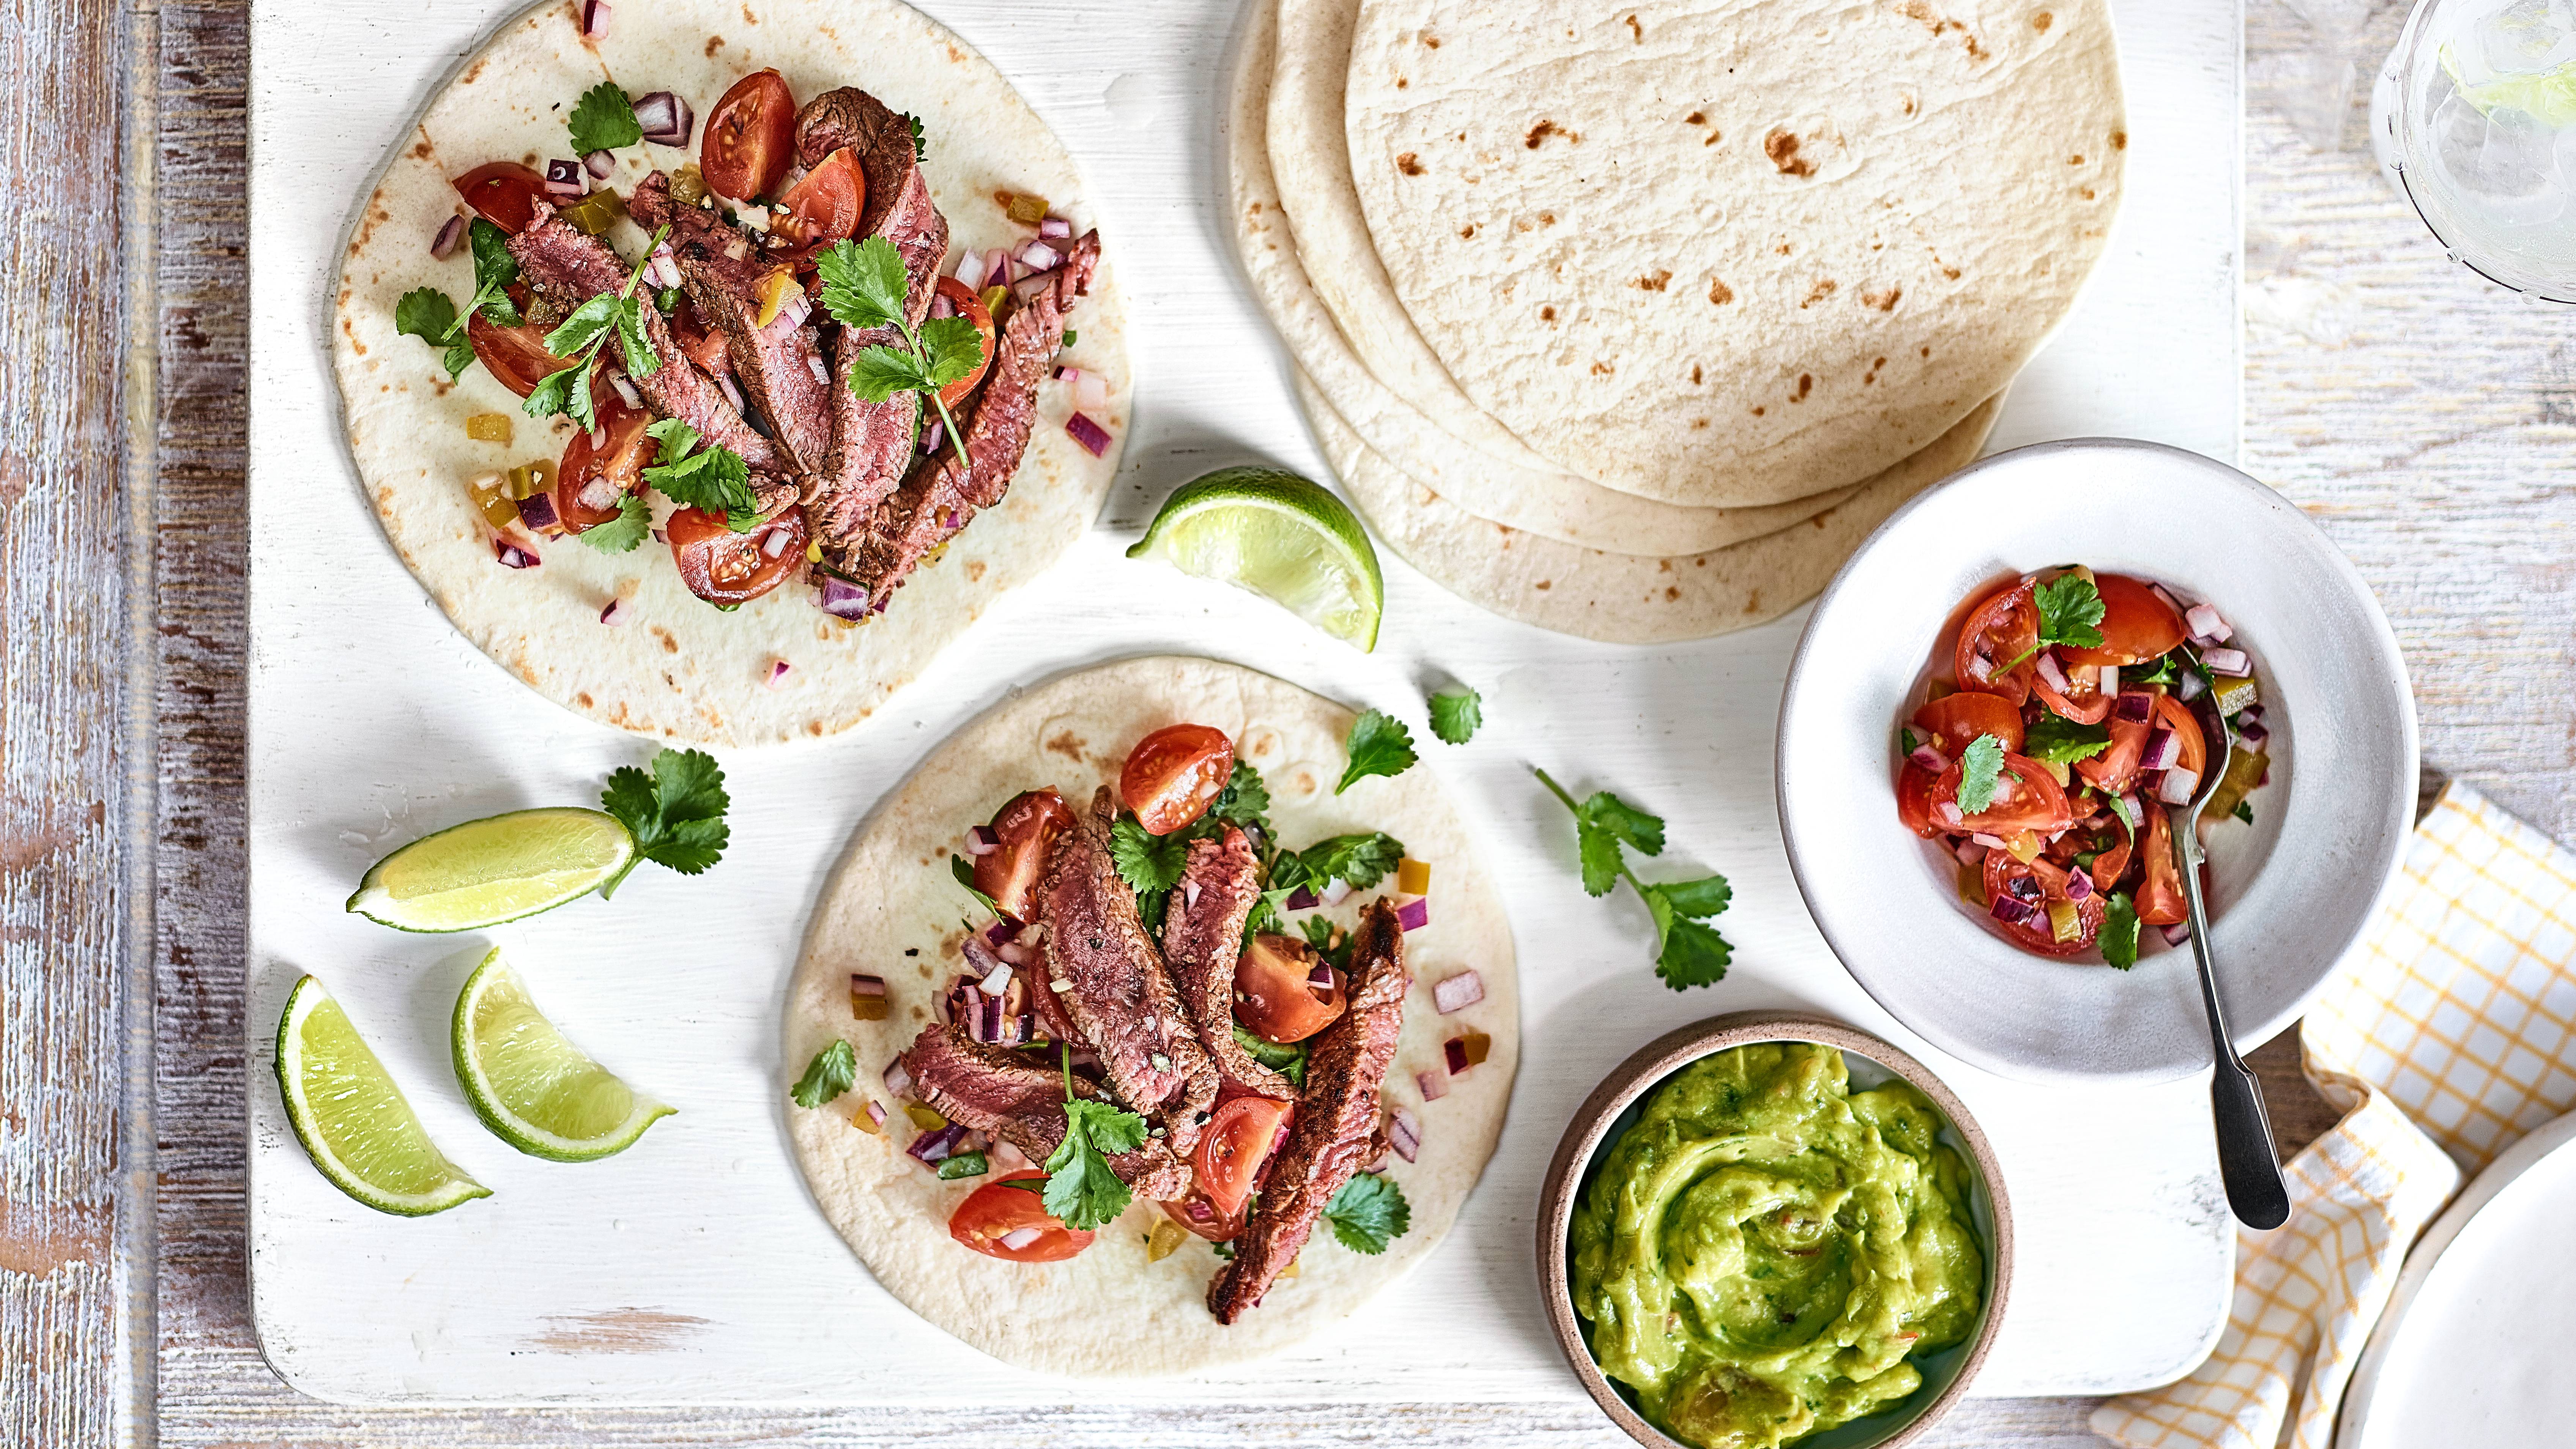 Steak and salsa wraps
Our steak and salsa wraps are one of those build-you-own suppers the teens in your house will love...
By Jessica Ransom Published
-
 How to have an autism-friendly bonfire night - 6 steps to take the stress out of firework sparkles
How to have an autism-friendly bonfire celebration with your family
By Selina Maycock Published
-
 Princess Charlotte's favourite snack usually requires a 'refined palate' - would your kids choose it?
Princess Charlotte has inherited her love for this grown-up from her mum Kate Middleton
By Charlie Elizabeth Culverhouse Published
-
 Paris Hilton’s expert-approved parenting rule that ‘bans’ her two kids from using one everyday item
The socialite is taking in all the expert advice she can when it comes to her parenting rules
By Charlie Elizabeth Culverhouse Published
