Robot cupcakes
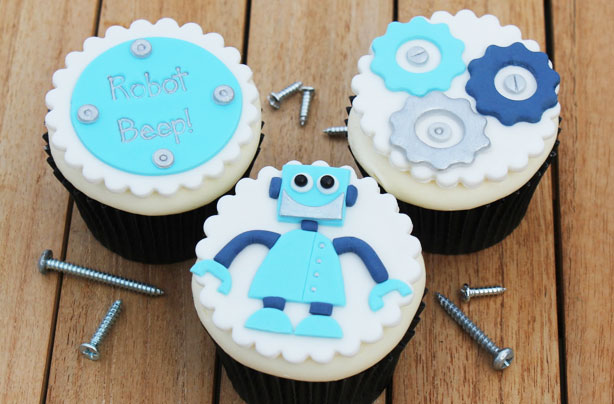
These cute little robot cupcakes would be the perfect present for any little sci-fi fans you know. Try experimenting with colours and shapes to see how many wacky robots you can come up with.
Ingredients
- A batch of our basic cupcakes and buttercream icing recipe
- 150g white modelling paste
- 60g sky blue modelling paste
- 40g navy modelling paste
- 20g grey modelling paste
- Black sugar pearls
- Satin Silver lustre powder and white alcohol to make the silver paint
Step 1
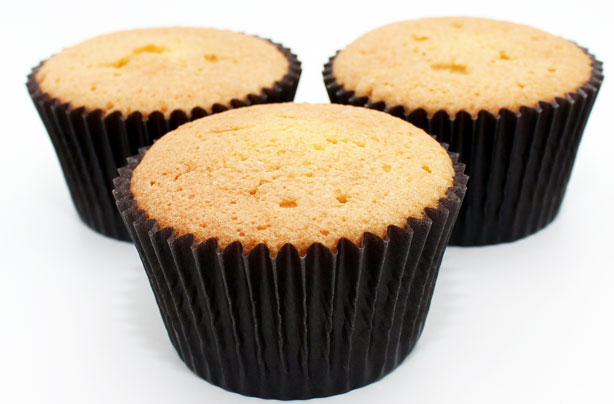
Make a batch of our basic cupcakes and buttercream.
Step 2
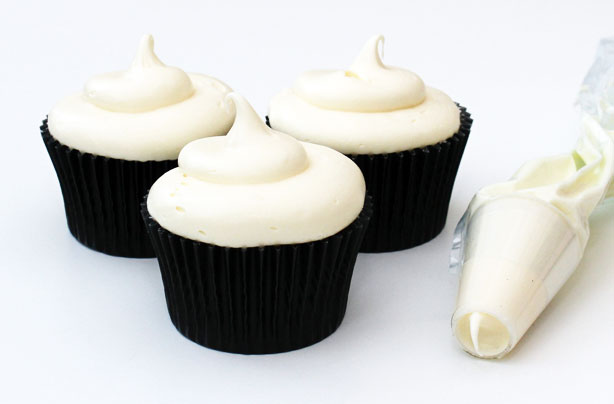
Using an icing bag or palette knife pipe or smooth buttercream onto the cooled cupcakes.
Step 3
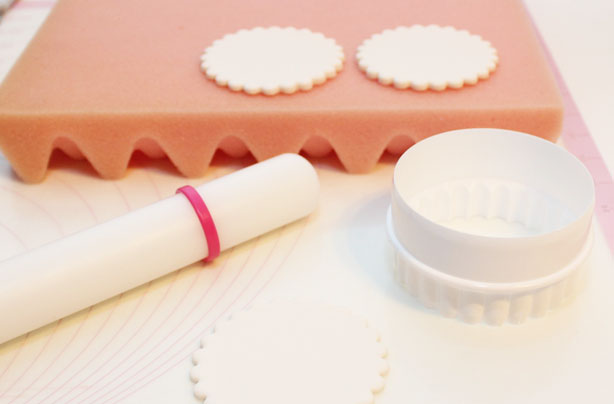
The night before you’ll need to make the toppers, this helps the paste to set hard and not droop onto the fondant. Roll the white modelling paste out to 2mm thick and cut 12 x 65mm scalloped circles for the tops.
Step 4
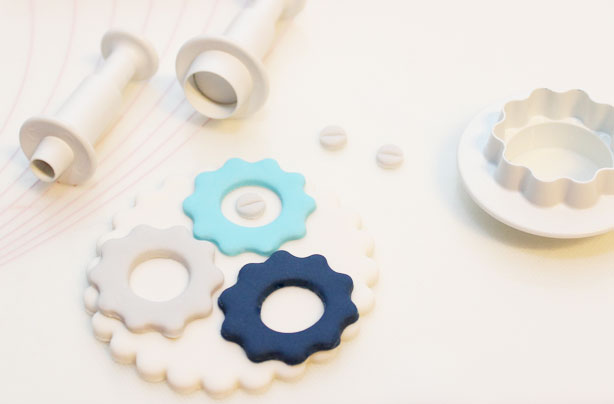
To make the cogs cut 3 different colours of paste with the 30mm wavy circle cutter and cut a hole from the centre, sticking them on to the white topper. Use the 5mm circle cutter to make screws by cutting a circle and then marking down the middle.
Step 5
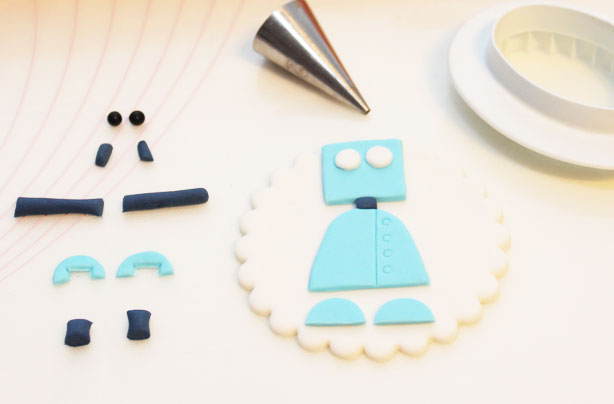
For the robot – Roll the sky blue paste out to 2mm thick and cut 2 x squares, one for the head and the other for the smile. Using the 20mm circle cutter, cut the whole top section away leaving about 5mm at the bottom to make the smile.
For the body – Cut an oval and then cut it in half. You can emboss the body with a sharp knife and the tip of a writing nozzle if you like.
For the hands and feet- cut 2 x 20mm circles and cut in half. Cut small squares from the centre of 2 halves of the circle for the hands.
For the arms and legs - roll thin sausages of navy paste for the arms, legs and neck and cut them to size with a sharp knife. You’ll also need to cut 2x 5mm white circles for the eyes, the black sugar pearls can be attached to the eyes with a dot of water.
Step 6
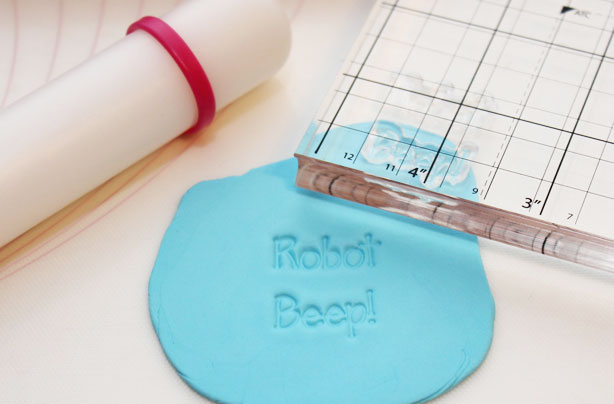
For the ‘Robot Beep!” topper - roll the sky blue modelling paste out to 2mm thick and emboss with the robot clear stamps. It helps to grease the top of the paste and the stamps slightly with a tiny touch of vegetable fat before embossing as it helps it not stick to the paste. Once embossed, cut a 58mm circle and with a brush of water stick it to the white topper.
GoodtoKnow Newsletter
Parenting advice, hot topics, best buys and family finance tips delivered straight to your inbox.
Step 7
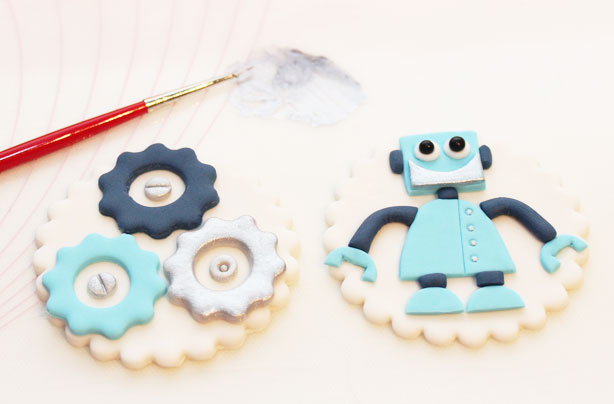
Once you have finished all 12 toppers paint the cogs, text, buttons, smile and screws with the silver lustre mixed with a touch of white alcohol. Leave the toppers to dry overnight then place the finished topper onto the iced cupcakes.
Step 8

These cupcakes will last around three days.
You might also like…
Trusted, informative, and empathetic – GoodToKnow is the ultimate online destination for parents. At GoodtoKnow, our mission is 'simple': we're trying to make sense of parenthood. On the site, you'll find everything you need for a happy, healthy family life. Our huge archive of content includes more than 18,000 articles and 1,500 how-to videos. These include expert-backed advice features on parenting, dealing with relationship changes after having a baby, self-care for mums and managing your family finances. We also feature tried-and-tested product reviews and buying recommendations for every stage of family life - from prams and Moses baskets to birthday gifts and top toys.