Rainbow button cake decorations
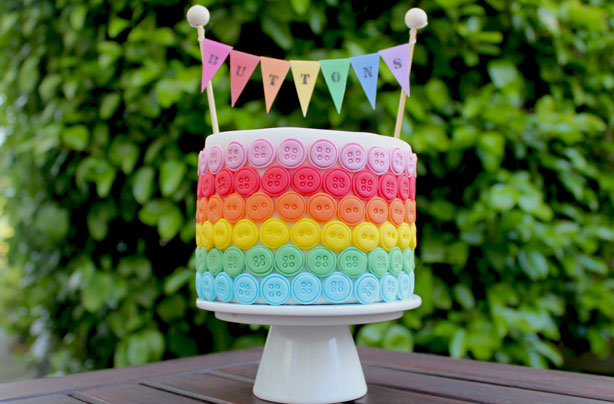

If you're looking for an impressive way to decorate a small rainbow cake then this is it. These pretty rainbow coloured buttons are so simple to make using fondant and modelling paste and will transform your cake into a work of art.
You can pop them on top of individual cupcakes or decorate a whole cake just like our cupcake queen Victoria Threader has done.
You can experiment with different coloured buttons - try pastel colours like baby blue or pink. You can personalise your bunting too with the birthday boy or girl's name or a special message.
Ingredients
- 120g ready to roll fondant
- 120g modelling paste
- Rainbow food colour pastes
- 1tsp royal icing sugar
Step 1
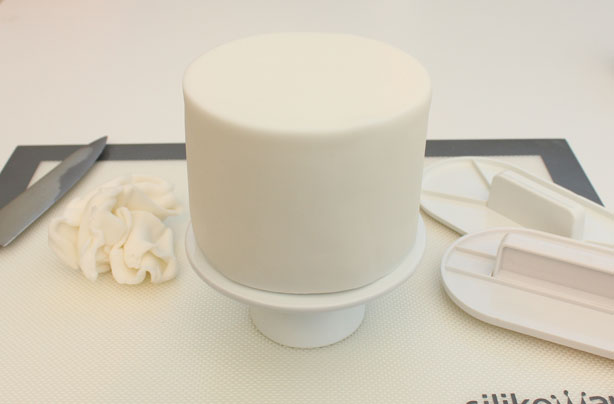
Prepare your cake by covering it with fondant.
Step 2
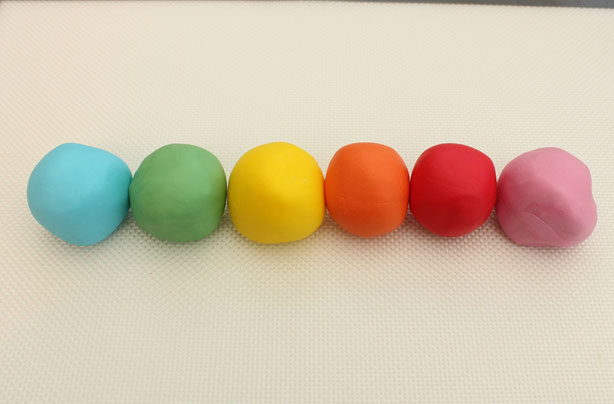
Knead the modelling paste and fondant together. Using modelling paste in the mix helps the buttons dry faster so they are easier to handle. Colour 6 x 40g in rainbow colours. Victoria says, 'I find Sugarflair paste colours are really good for this.'
Step 3
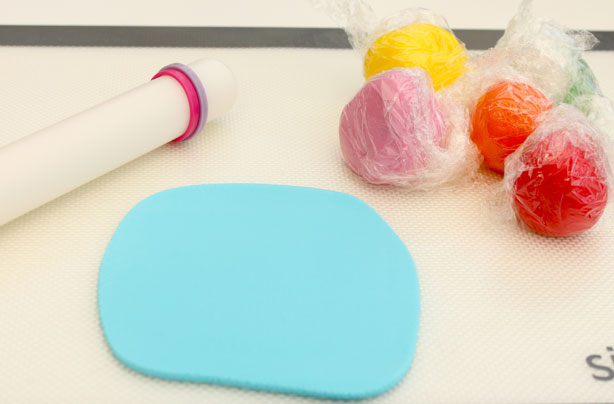
When rolling the paste, make sure you cover the other colours in cling film to stop them drying out.
Step 4
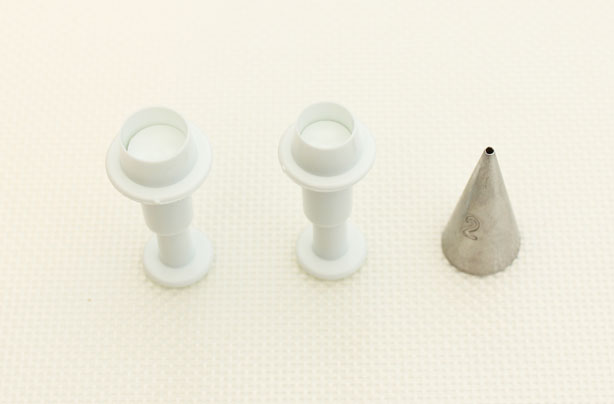
To cut the buttons you will need a 13mm cutter, 10mm cutter and a writing piping nozzle.
GoodtoKnow Newsletter
Parenting advice, hot topics, best buys and family finance tips delivered straight to your inbox.
Step 5
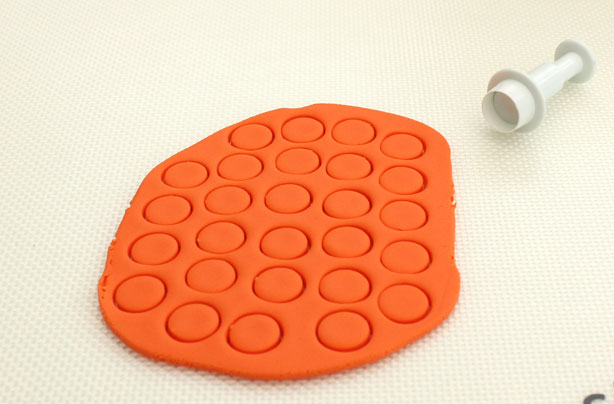
Roll the paste out to 2mm thick and cut 24 x 13mm circles. Victoria says, 'I cut 3 extra just in case I squashed any!'
Step 6
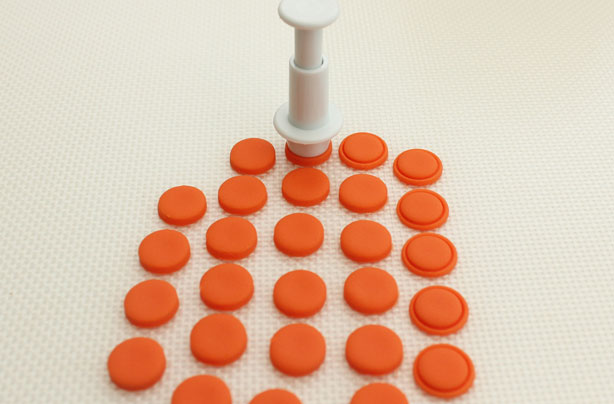
Using the 10mm cutter, emboss the buttons by pushing the cutter gently into the middle of each circle, don’t press too hard as you don’t want to go all the way through.
Step 7
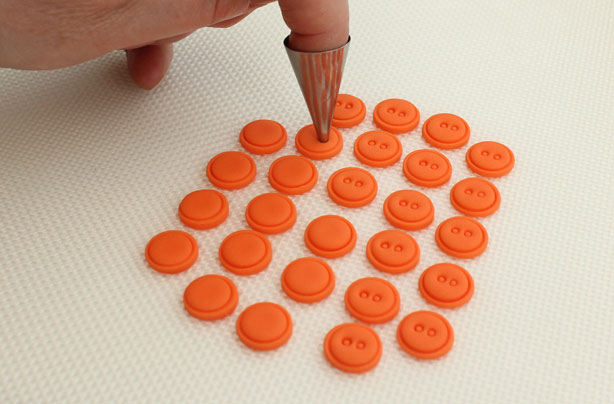
To create the button holes use a writing piping nozzle. It works quicker to pop the nozzle on the end of your finger and press the tip into the middles of the buttons, not too hard though as you don’t want to go all the way through. You can make some with 4 holes and some with 2.
Once you have embossed the buttons leave them to dry for 10 minutes, this will make them much easier to handle and it make the sticking much faster too. Just use a palette knife to pick them.
Step 8
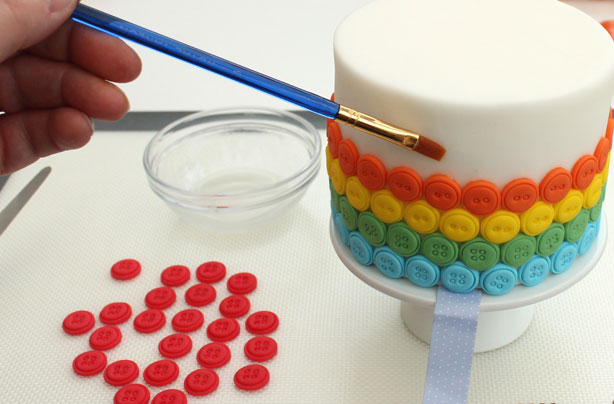
Mix the icing sugar with a few drops of water to make edible glue and wiping the excess off the brush paint the edible glue onto the cake and sticking the button as you paint.
Step 9
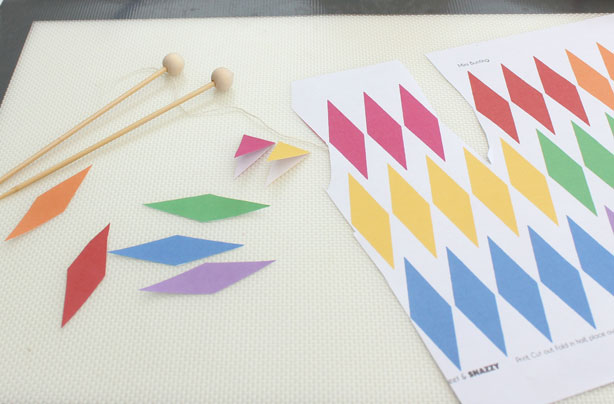
To make the bunting, print the bunting shapes from your computer and cut out. Bend the bunting over the twine and stick down with a glue stick, and then tie to the bunting pins.
Step 10
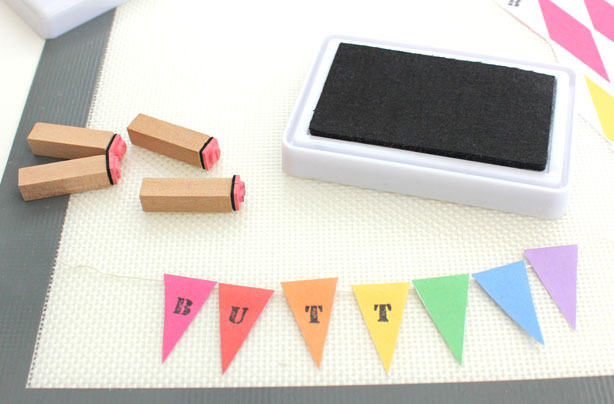
Complete the bunting by embossing the word ‘Buttons’ onto the bunting using the embossing sticks and an ink pad. You can personalise your bunting to say someone's name instead.
Step 11

Push the bunting into the cake and serve.

Victoria Threader is 'the queen of cupcakes' and a contributing Recipe Writer at GoodTo. Not only can she bake delicious cupcakes, she can decorate them too - with each of Victoria’s cupcakes topped with handmade edible toppers. Some of her most popular cupcakes include: rainbow cupcakes, hidden shape cupcakes and even giant cupcakes.