Loom band cupcakes
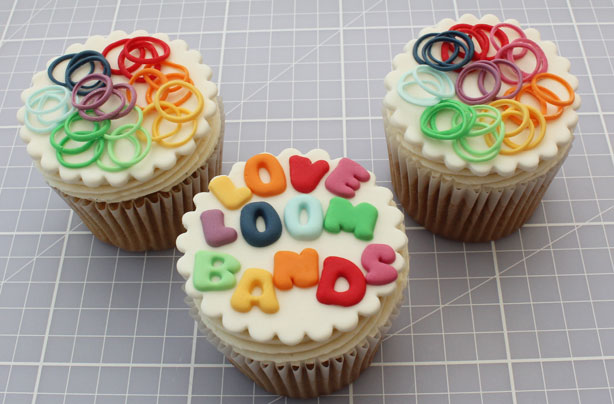

Have the kids been going crazy for loom bands recently? Well, they're going to love these loom band cupcakes made with edible loom bands and a soft meringue buttercream. Follow our step-by-step recipe to make your own.
This recipe makes 12 cupcakes; 8 with loom bands on them (27 loom bands on each) and 4 with lettering on them.
Ingredients
- 1 batch of 12 basic cupcakes
- 1 batch of basic meringue buttercream
- 225g modelling paste (90g for loom bands, 10g each) and 135g white modelling paste
- Rainbow colour food colouring pastes, such as egg yellow, tangerine/apricot, Aubergine, navy blue, sky blue, party green, Christmas red, claret (for the pink)
- Cornflour, for dusting
Step 1
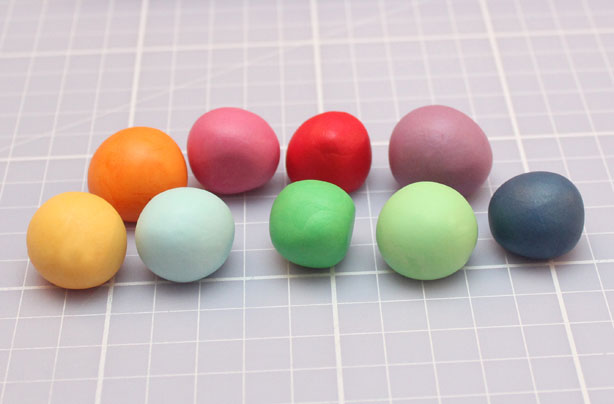
Start by colouring 90g modelling rainbow colours, 10g in each colour. The food colour pastes are best for modelling paste as the don’t change the consistency of the paste like liquid food colour would.
Start with a little of the paste on the end of a cocktail stick or pin tool and work your way up to the desired colour. Once the colour is in the paste you can’t take it out, so be careful.
Step 2
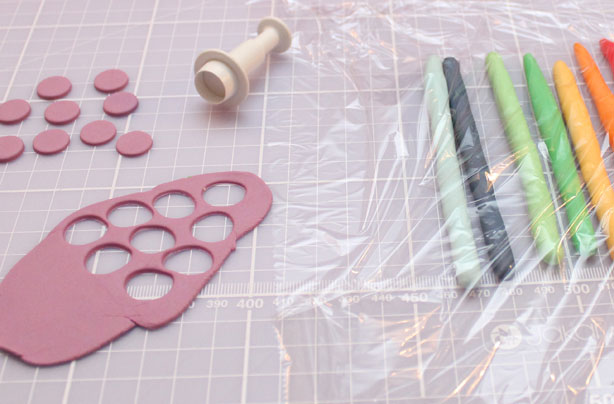
Using the rolling pin, roll the paste out to 2mm thick and cut 24 x 13mm circles of each colour. Make sure you cover the paste you are not using at the time or it will dry out and crack.
Step 3
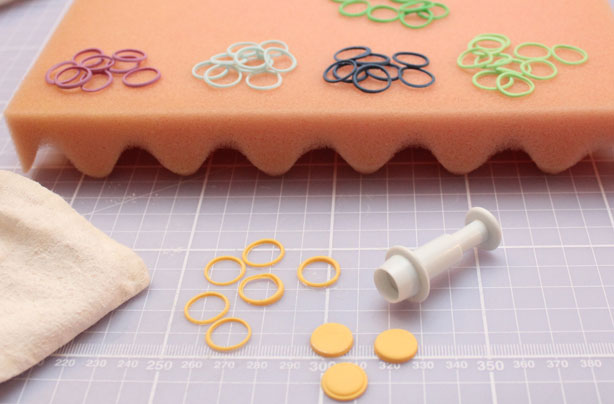
Using the 10mm cutter, cut the centres from the 13mm circles. It might take a couple of goes at first to get it even but the more you cut, the easier it gets.
If you find the cutter/paste is sticking, dust the counter and the cutter with cornflour. Just remember to tap the cutter before cutting or the bands will get white with the flour. Don’t worry if they do though, you can brush it off when you are sticking them down. Leave the bands to dry on a drying sponge.
Step 4
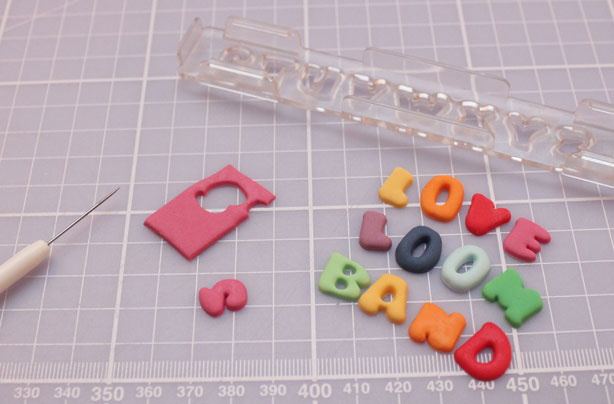
Cut your letters out using the small Windsor Clikstix. You can write a special birthday message or names - the choice is yours. If the cutters are sticking, dust them with a little cornflour.
Step 5
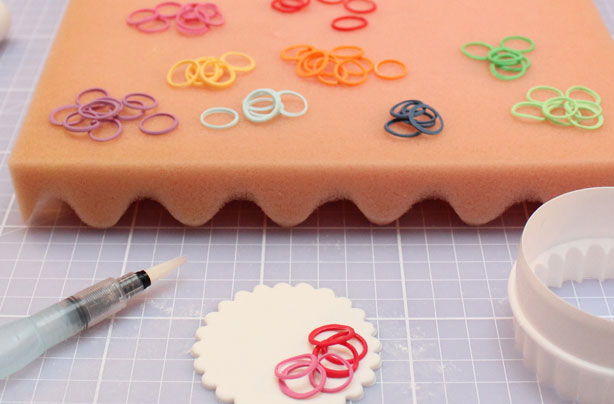
Cut 12 scalloped circles from the remainder of the white modelling paste for the tops and leave them on the drying sponge. When you’ve cut your letters, stick them to the tops of the scalloped circles using a water brush.
GoodtoKnow Newsletter
Parenting advice, hot topics, best buys and family finance tips delivered straight to your inbox.
Step 6
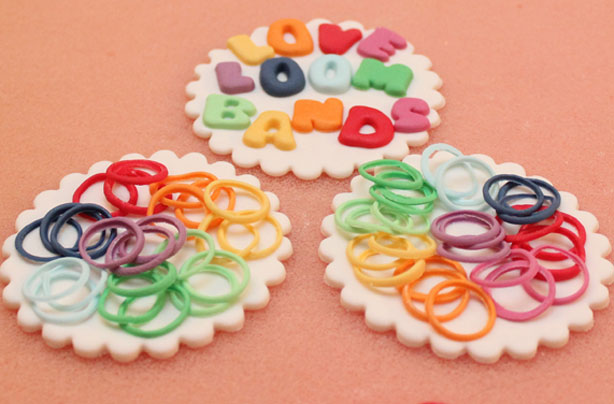
Stick the bands to the top with a brush of water, make sure the brush is quite dry before you stick, then just brush the topper and the bands to stick them to each other.
Ideally these toppers need overnight to dry but if you’re in a hurry, give yourself at least 6 hours to dry.
Step 7
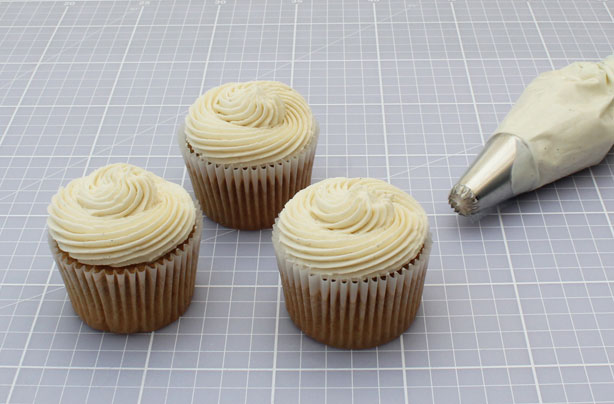
Meanwhile, make up a batch of 12 cupcakes and leave to cool completely. Make up a batch of buttercream too.
To ice the cupcakes, add your buttercream to a piping bag with a Wilton 6B nozzle. Stand the piping bag in a tall glass so you have both hands free to fill the piping bag.
To ice this swirl, start in the centre piping out towards the paper, follow around the edge of the paper and the work your way back onto the middle finishing in the centre by pushing down slightly and then pulling up quickly. They really don’t have to be perfect as the topper will cover up any mistakes anyway.
Step 8

Place your dried topper on the piped cupcakes and serve.
You might also like…

Victoria Threader is 'the queen of cupcakes' and a contributing Recipe Writer at GoodTo. Not only can she bake delicious cupcakes, she can decorate them too - with each of Victoria’s cupcakes topped with handmade edible toppers. Some of her most popular cupcakes include: rainbow cupcakes, hidden shape cupcakes and even giant cupcakes.