Santa cake
This wonderfully jolly Santa cake looks very impressive but is actually very straightforward to put together with our step-by-step picture guide.
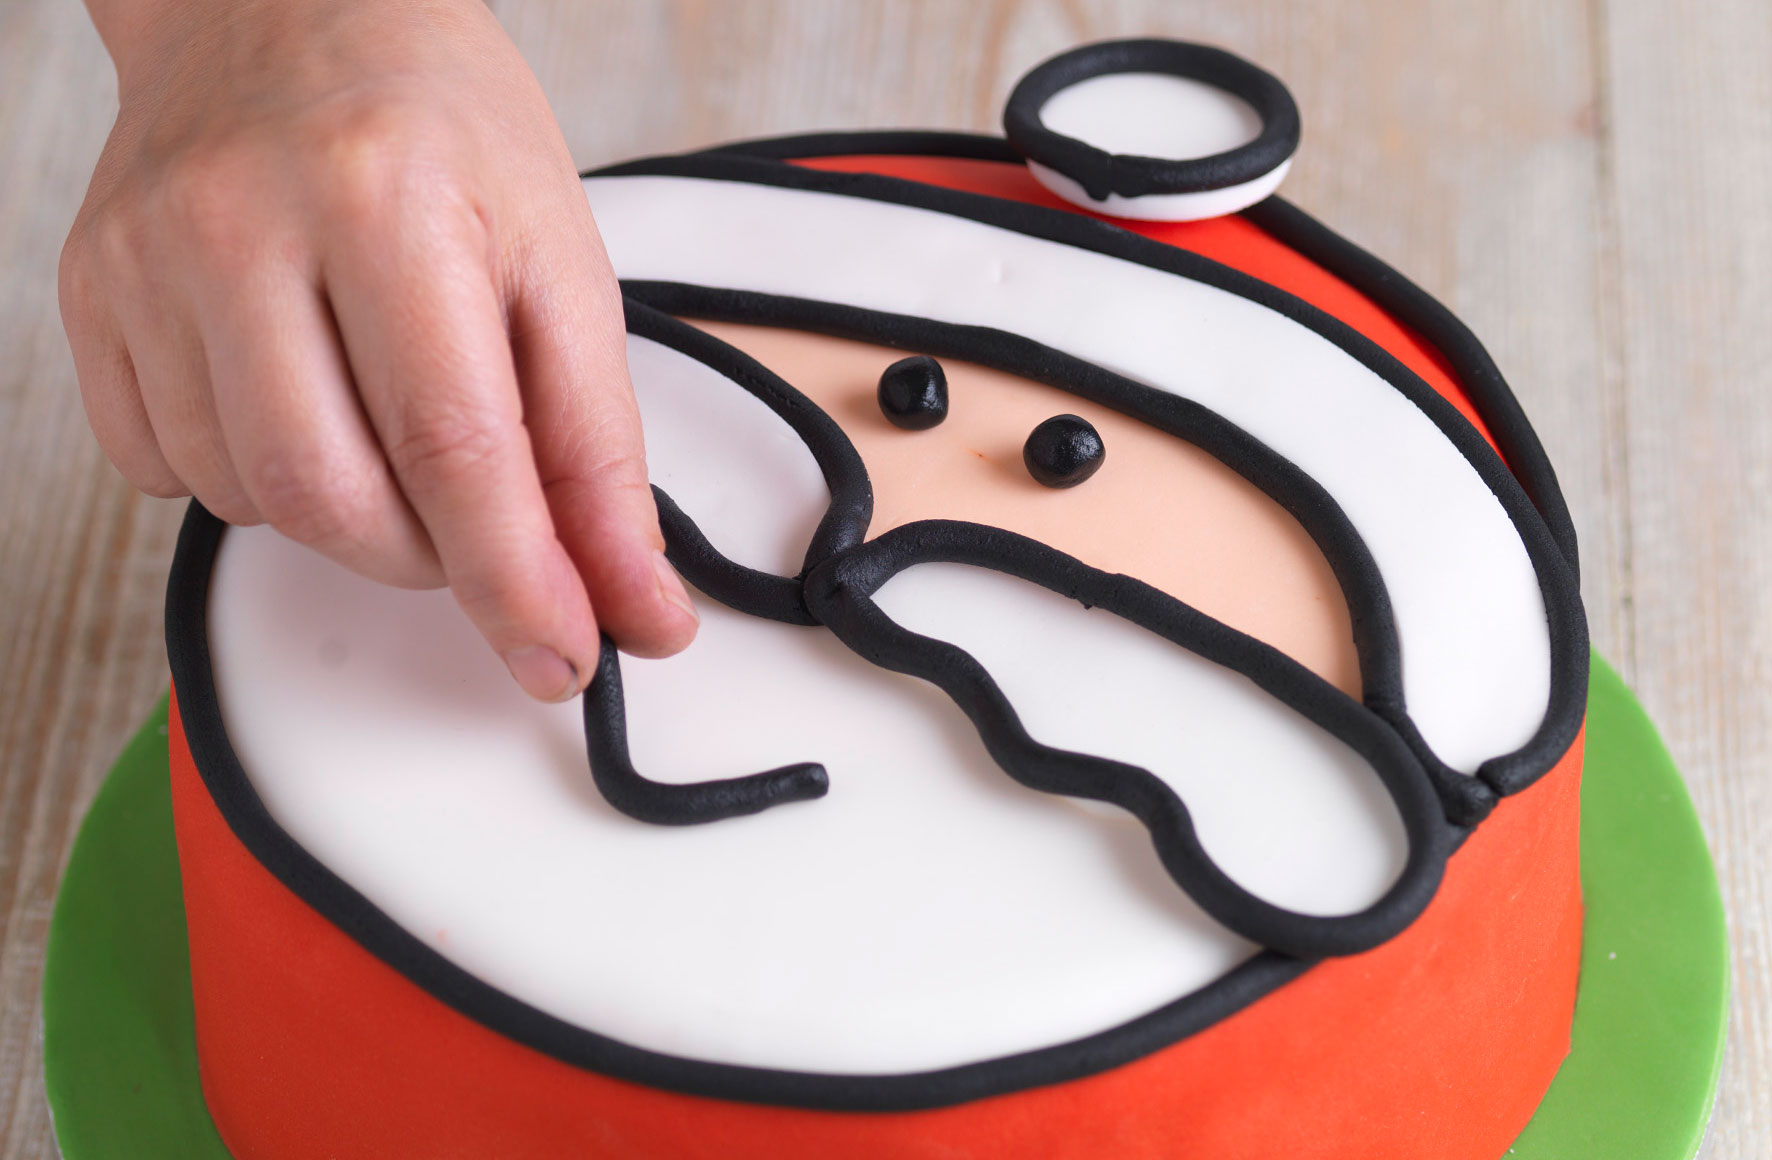

This wonderfully jolly Santa cake looks very impressive, but it's actually simple with our step-by-step picture guide.
Mary Berry’s traditional Christmas cake recipe makes a wonderful base, although any fruit cake will work. You can always buy white sugar paste and use food dye to get the colours you want, but be sure to wear food-safe gloves if you do. Stick to gel-based dyes rather than liquid to avoid making the sugar paste too sticky. Take your time drawing Santa's face, as this is the trickiest part.
Ingredients
- 20cm round basic Christmas cake
- 5-6 tbsp apricot glaze or sieved apricot jam
- 750g (1½lb) white marzipan
- 1kg packet white sugarpaste
- 250g (8oz) green sugarpaste
- 250-350g (8-12oz) red sugarpaste
- 100g (3½oz) flesh-coloured sugarpaste
- Knob of Trex or White Flora
- 150g (5oz) black sugarpaste
Step 1
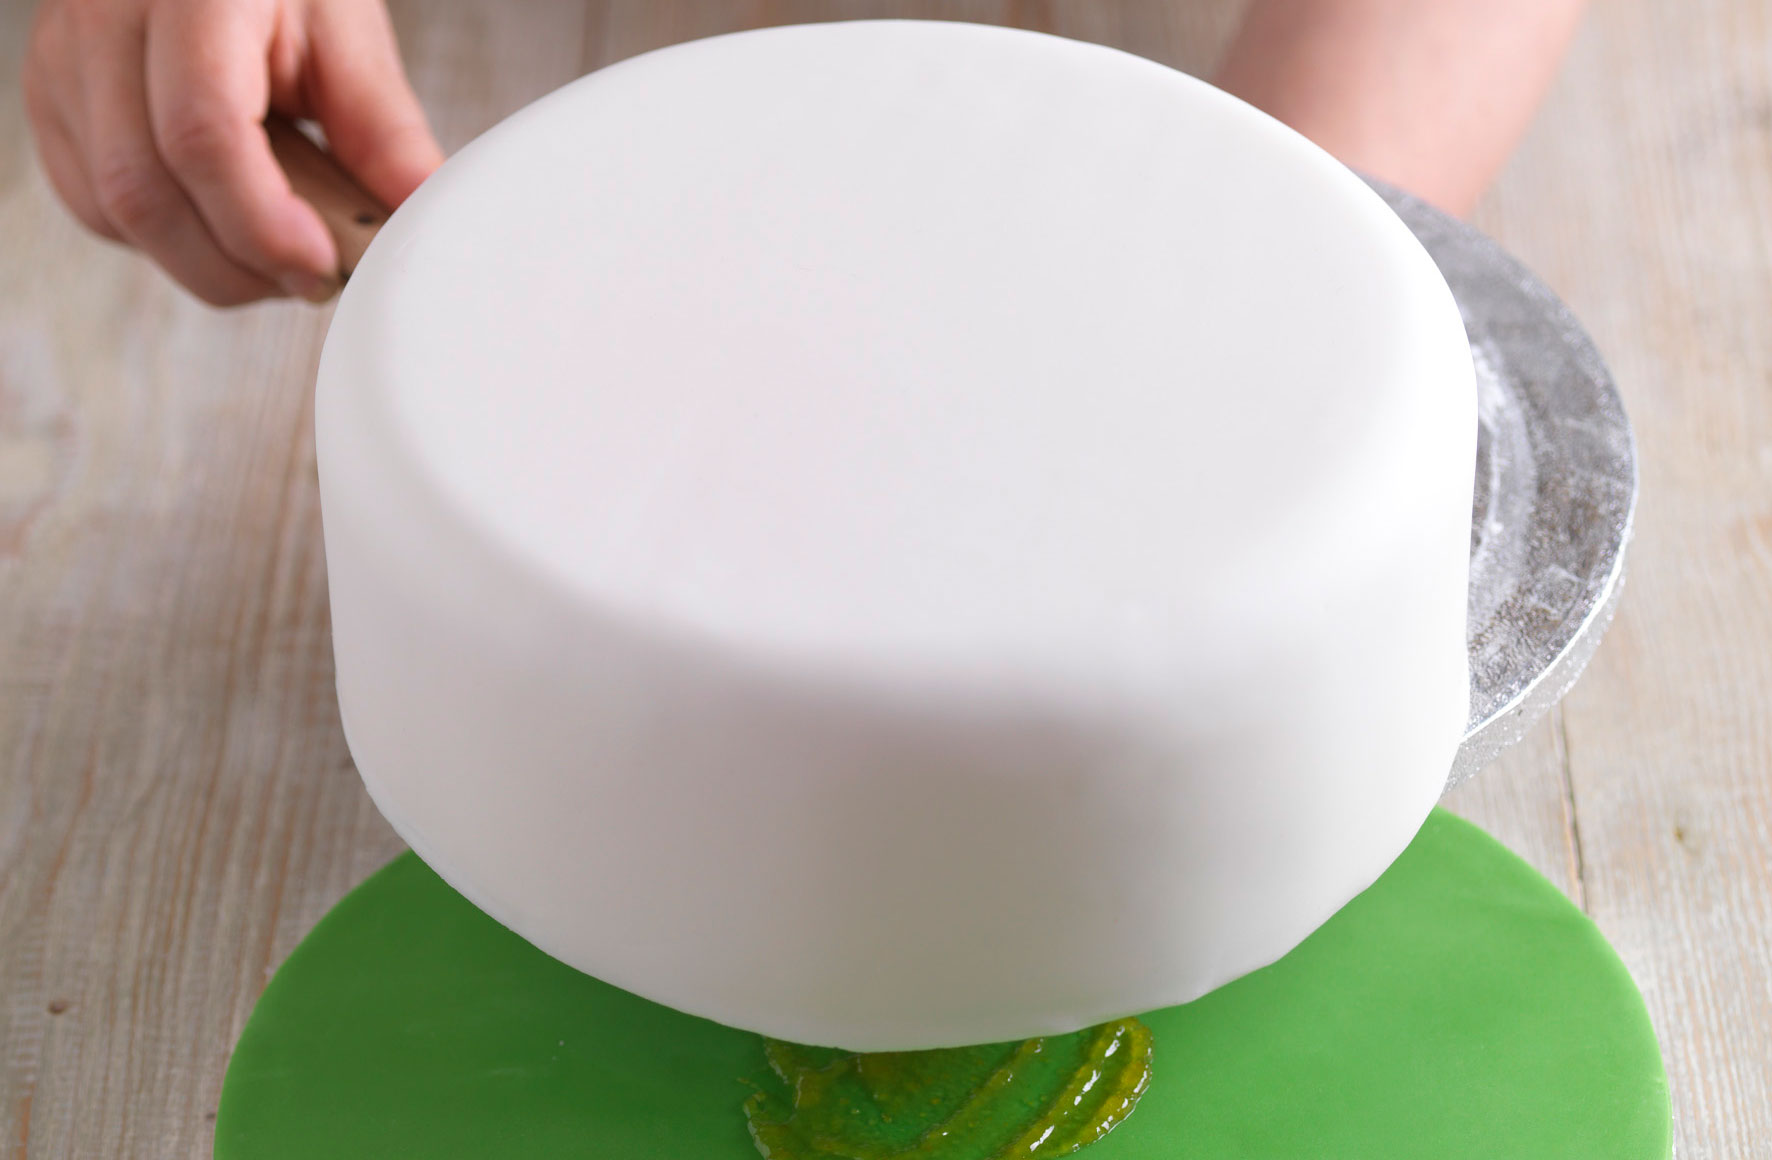
Cover your Christmas cake with marzipan and sugar paste.
Knead the green sugarpaste to soften it and then roll it out on a surface lightly dusted with icing sugar. Wet the top of the cake drum with water and lift the green sugarpaste over it. Press it down against the board and trim away the excess sugarpaste from around the board, then polish the surface smooth, using an icing smoother or side scraper. Place a little apricot jam in the centre of the board and slide the white-covered cake on top.
Step 2
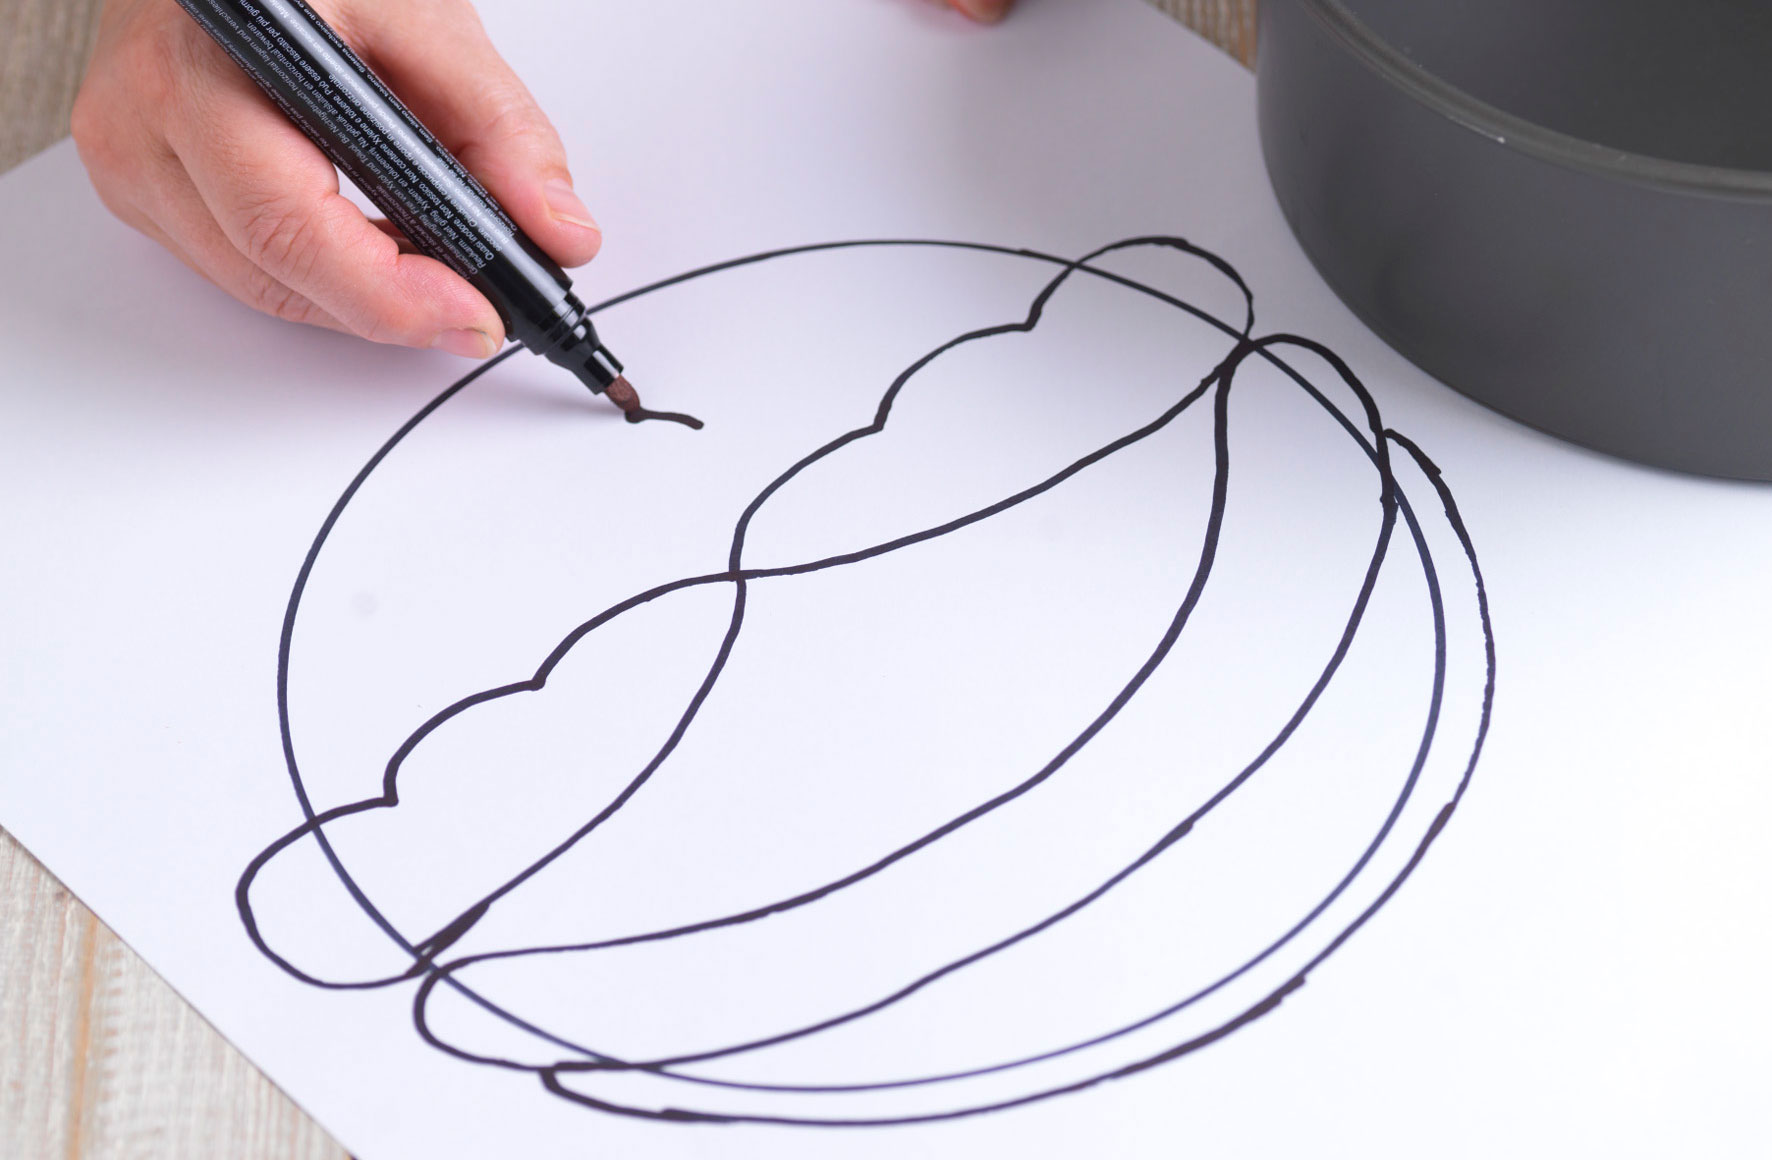
Draw around the cake tin you used and then draw a face - this will be used as a template later.
Step 3
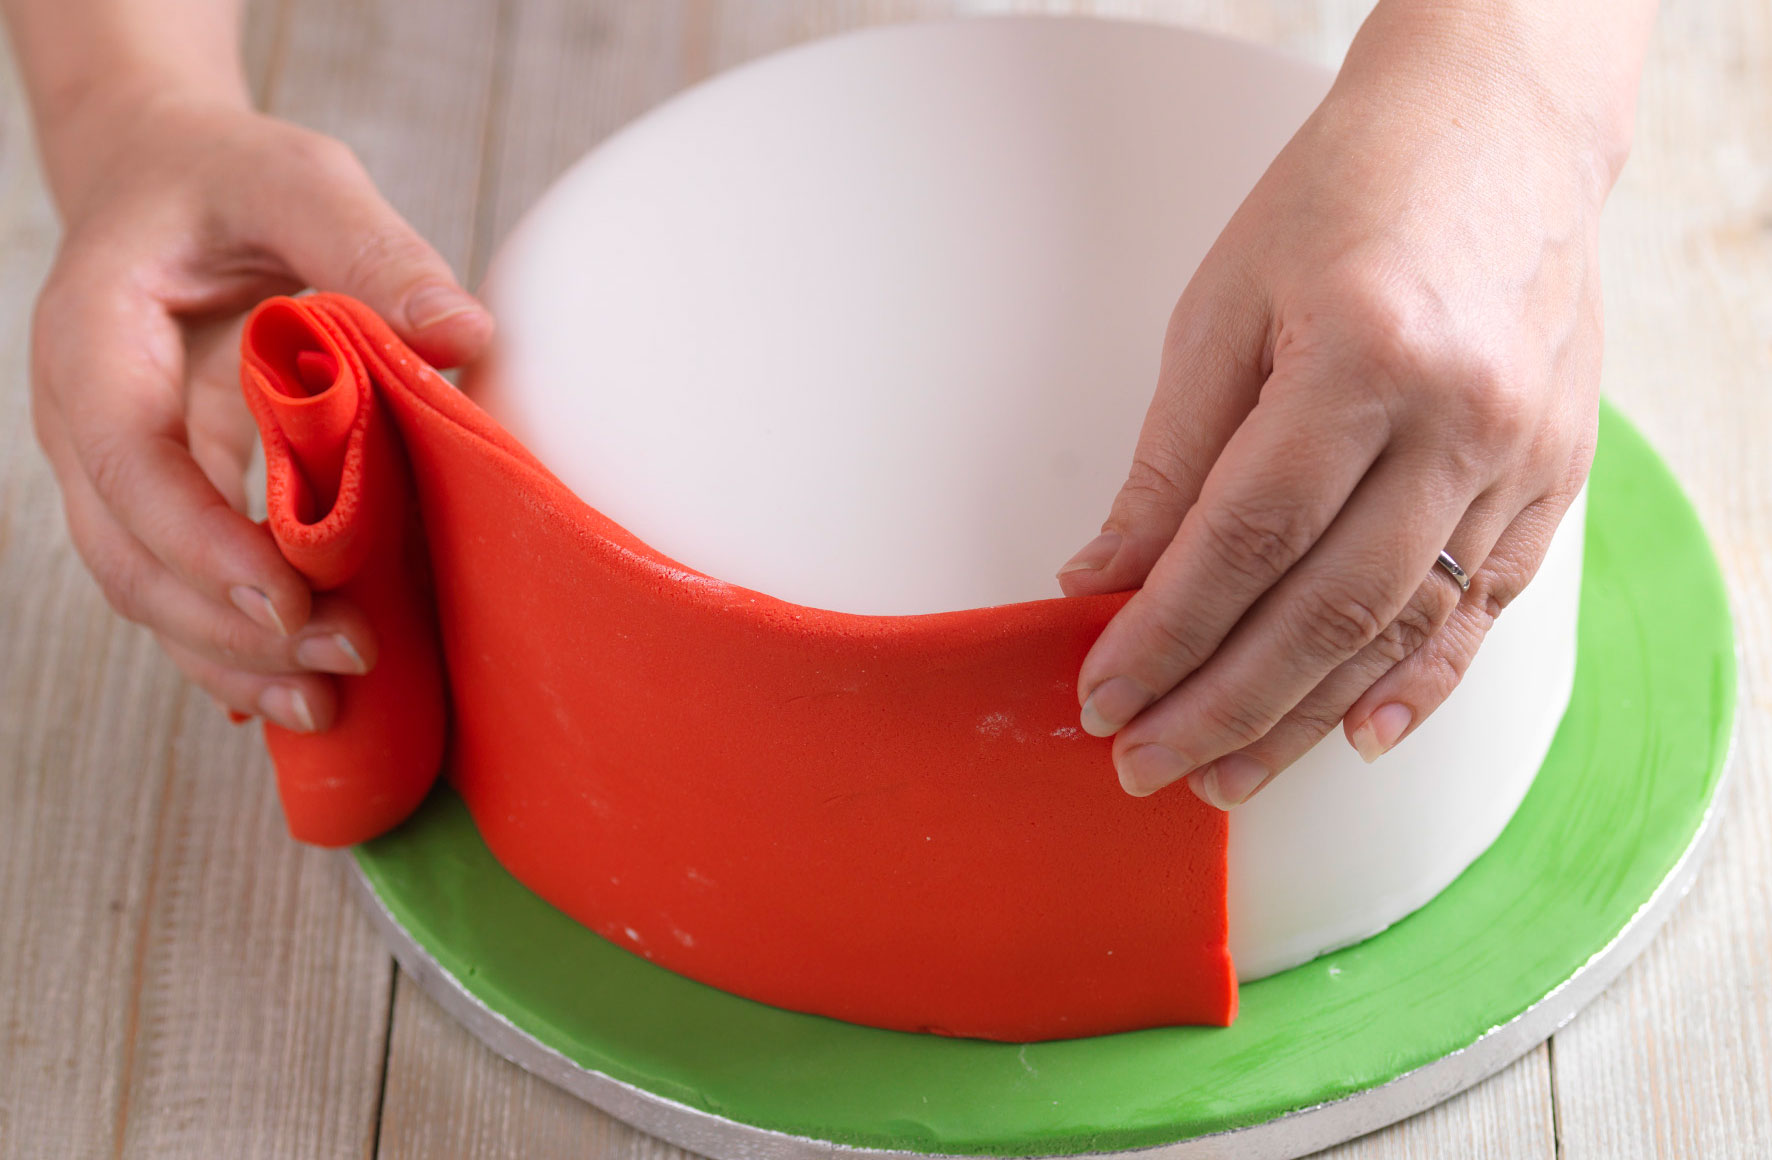
Knead the red sugarpaste to soften it and roll it out into a long strip, just wider than the height of the cake. Cut one edge to give a straight line. Brush water on the side of the cake. Roll up the red sugarpaste and then unwrap it around the cake, with the straight cut edge against the cake drum.
Step 4
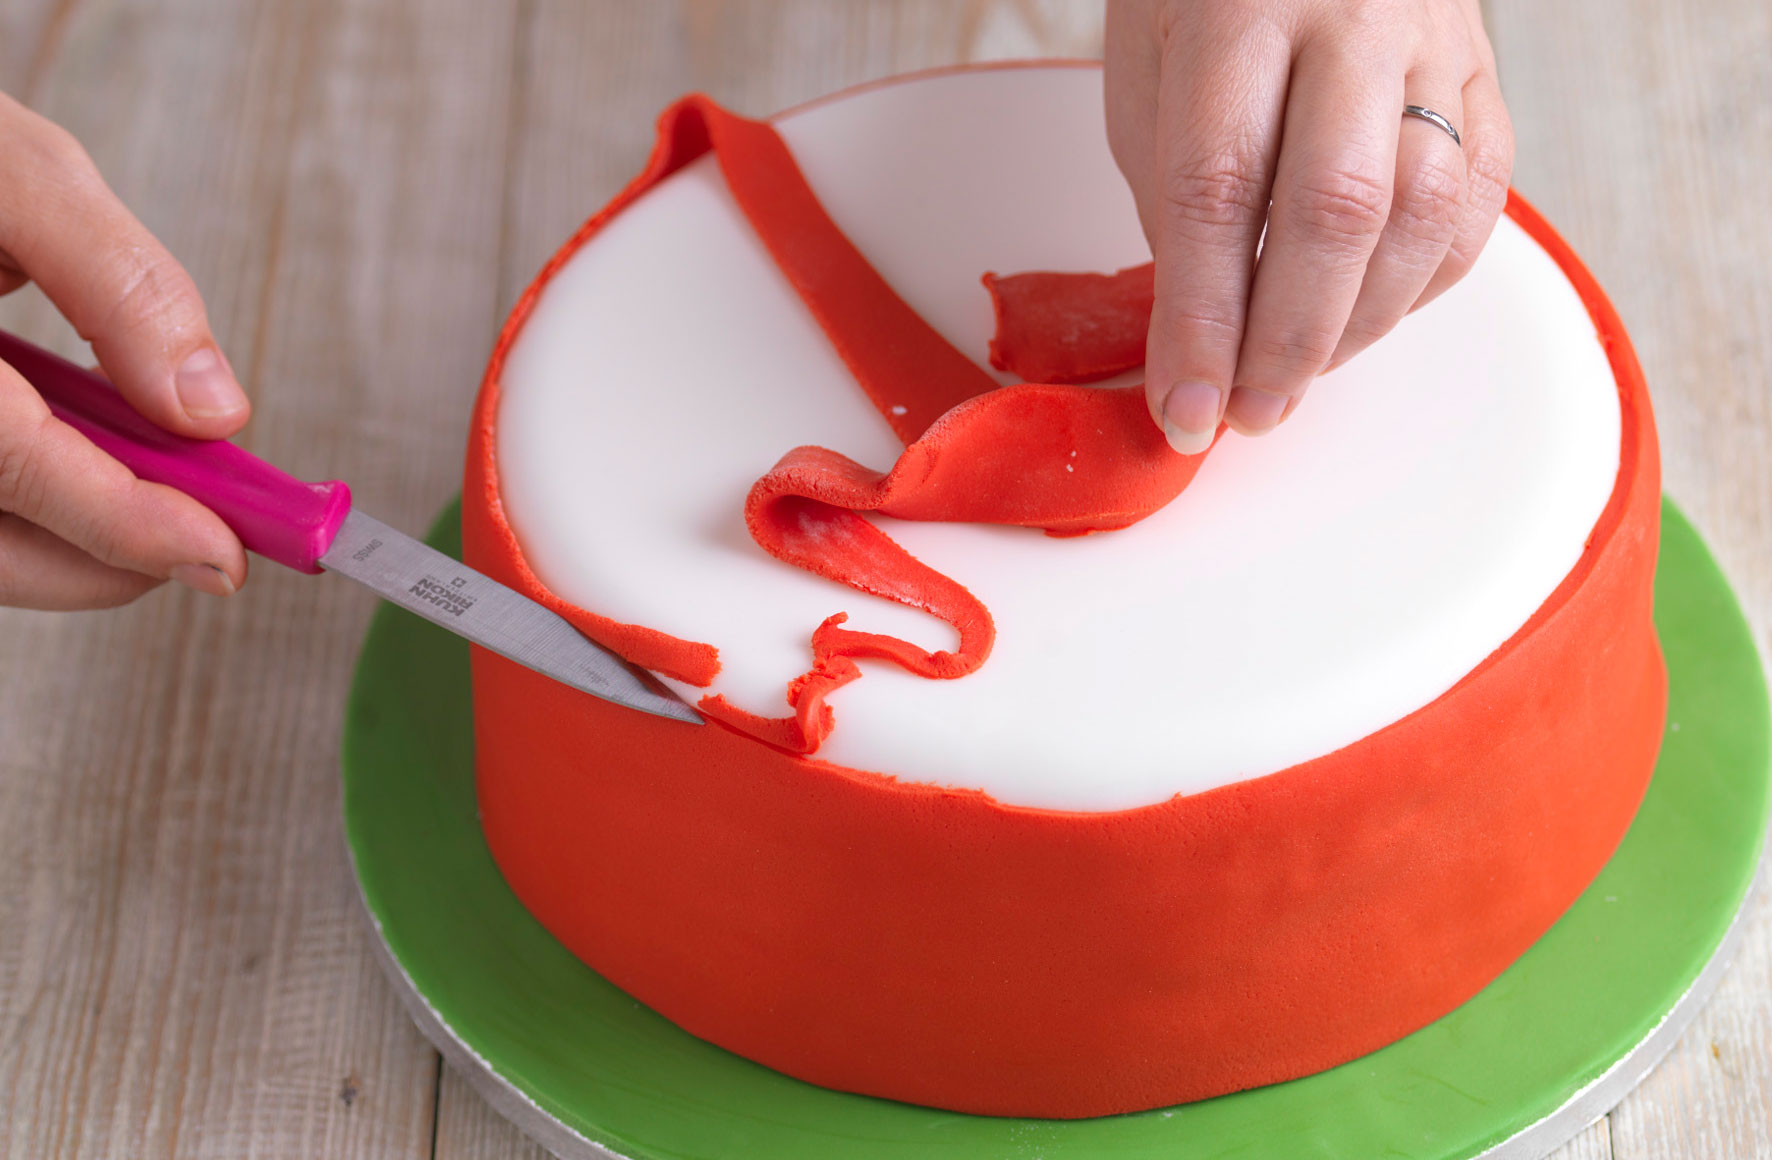
Rub the red sugarpaste smooth with the smoother or side scraper, and then use a knife to cut away the surplus around the top edge.
Step 5
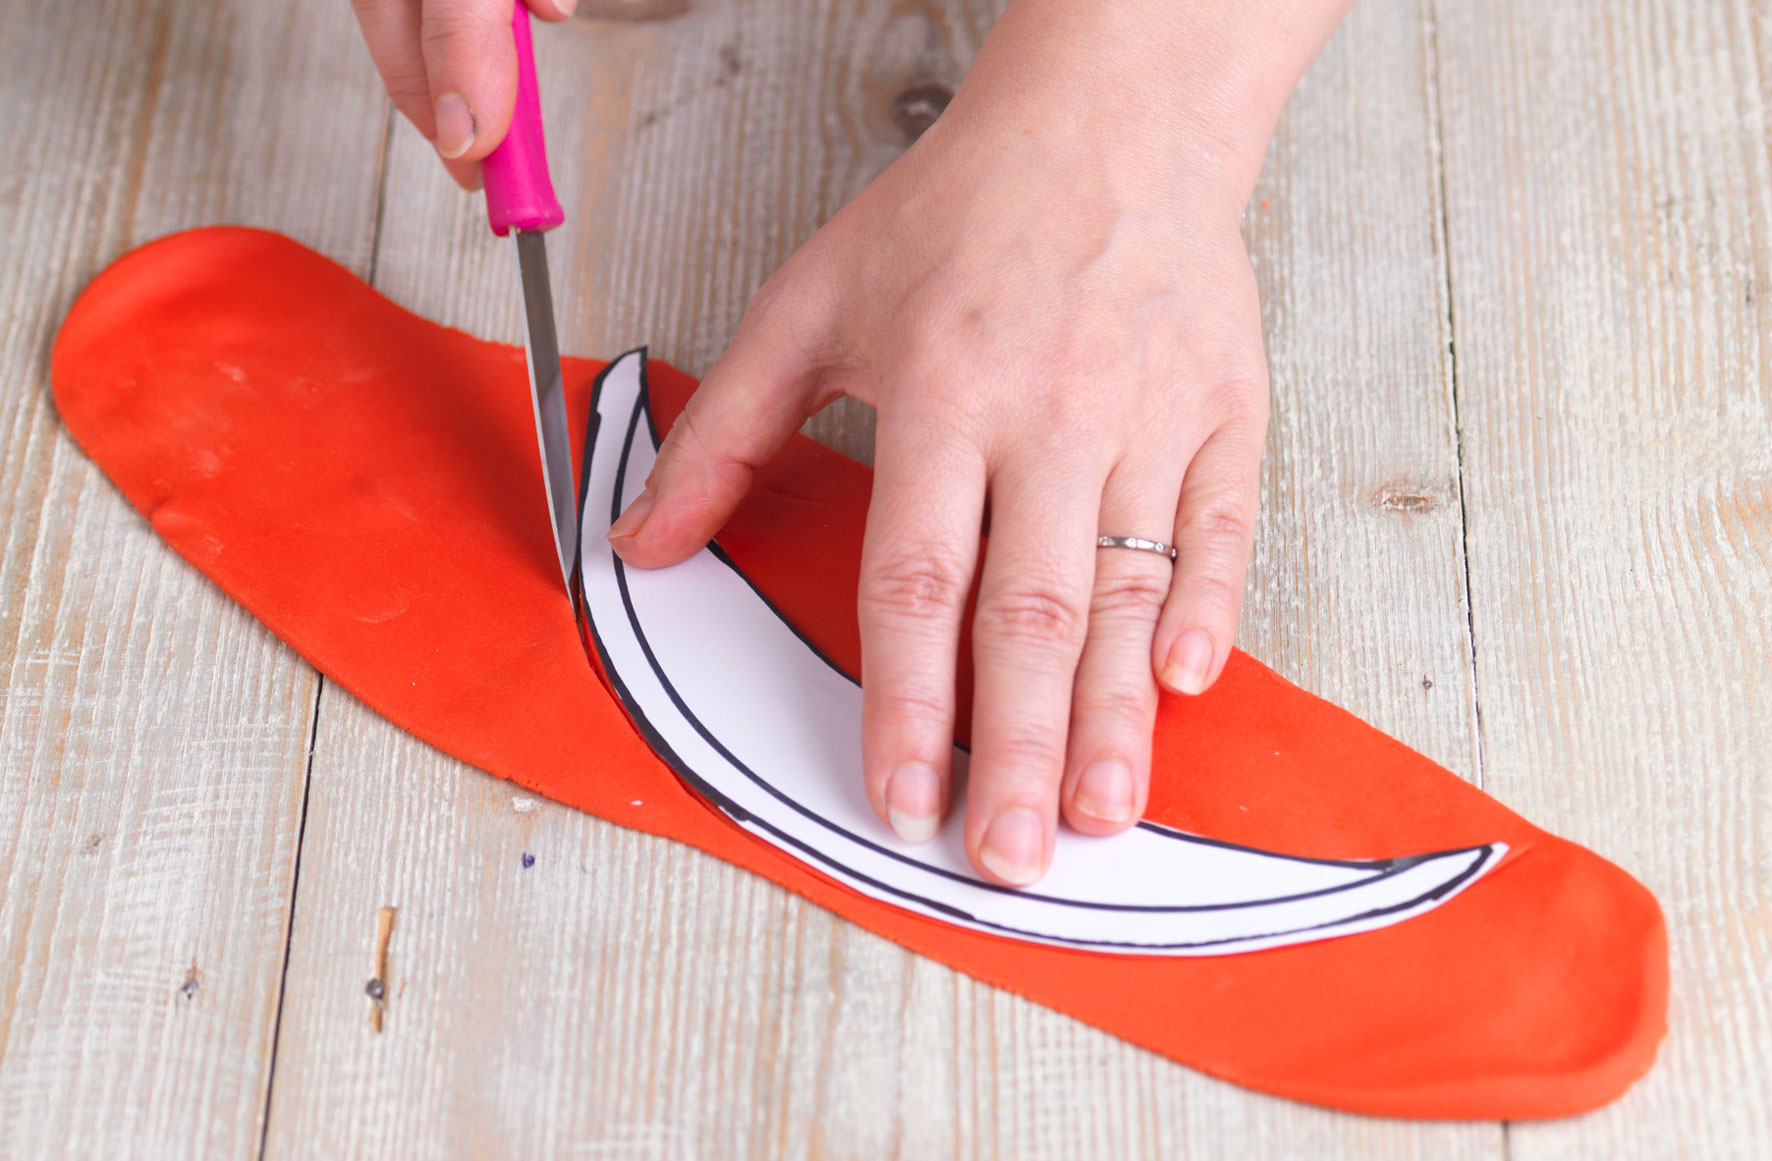
Roll out some more red sugarpaste and cut out the hat. Brush water on the back of the piece and stick it into place.
GoodtoKnow Newsletter
Parenting advice, hot topics, best buys and family finance tips delivered straight to your inbox.
Step 6
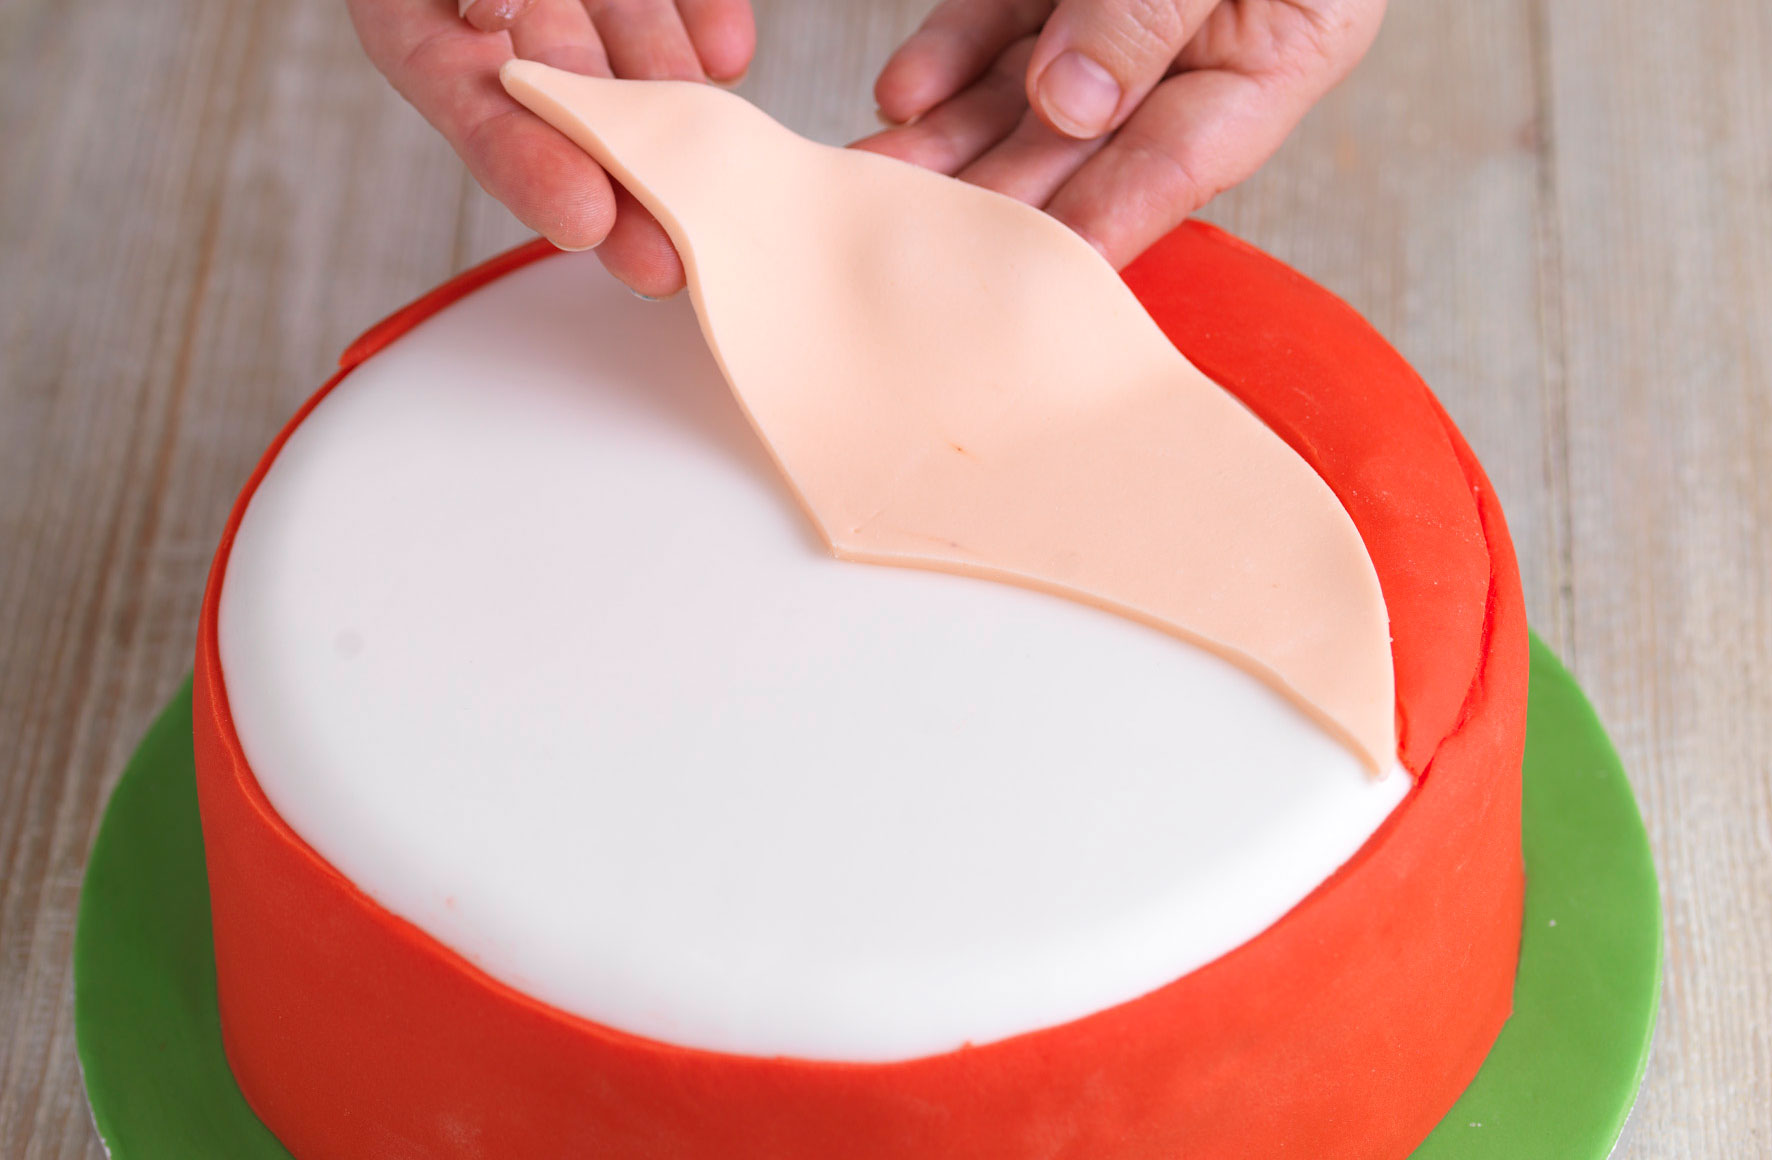
Roll out some of the flesh-coloured sugarpaste, cut out the face shape and stick in place with water. Roll out some white sugarpaste and cut out the brim of the hat. Use a round cutter to cut the bobble for the hat and both sides of the moustache, and leave to dry flat.
Step 7
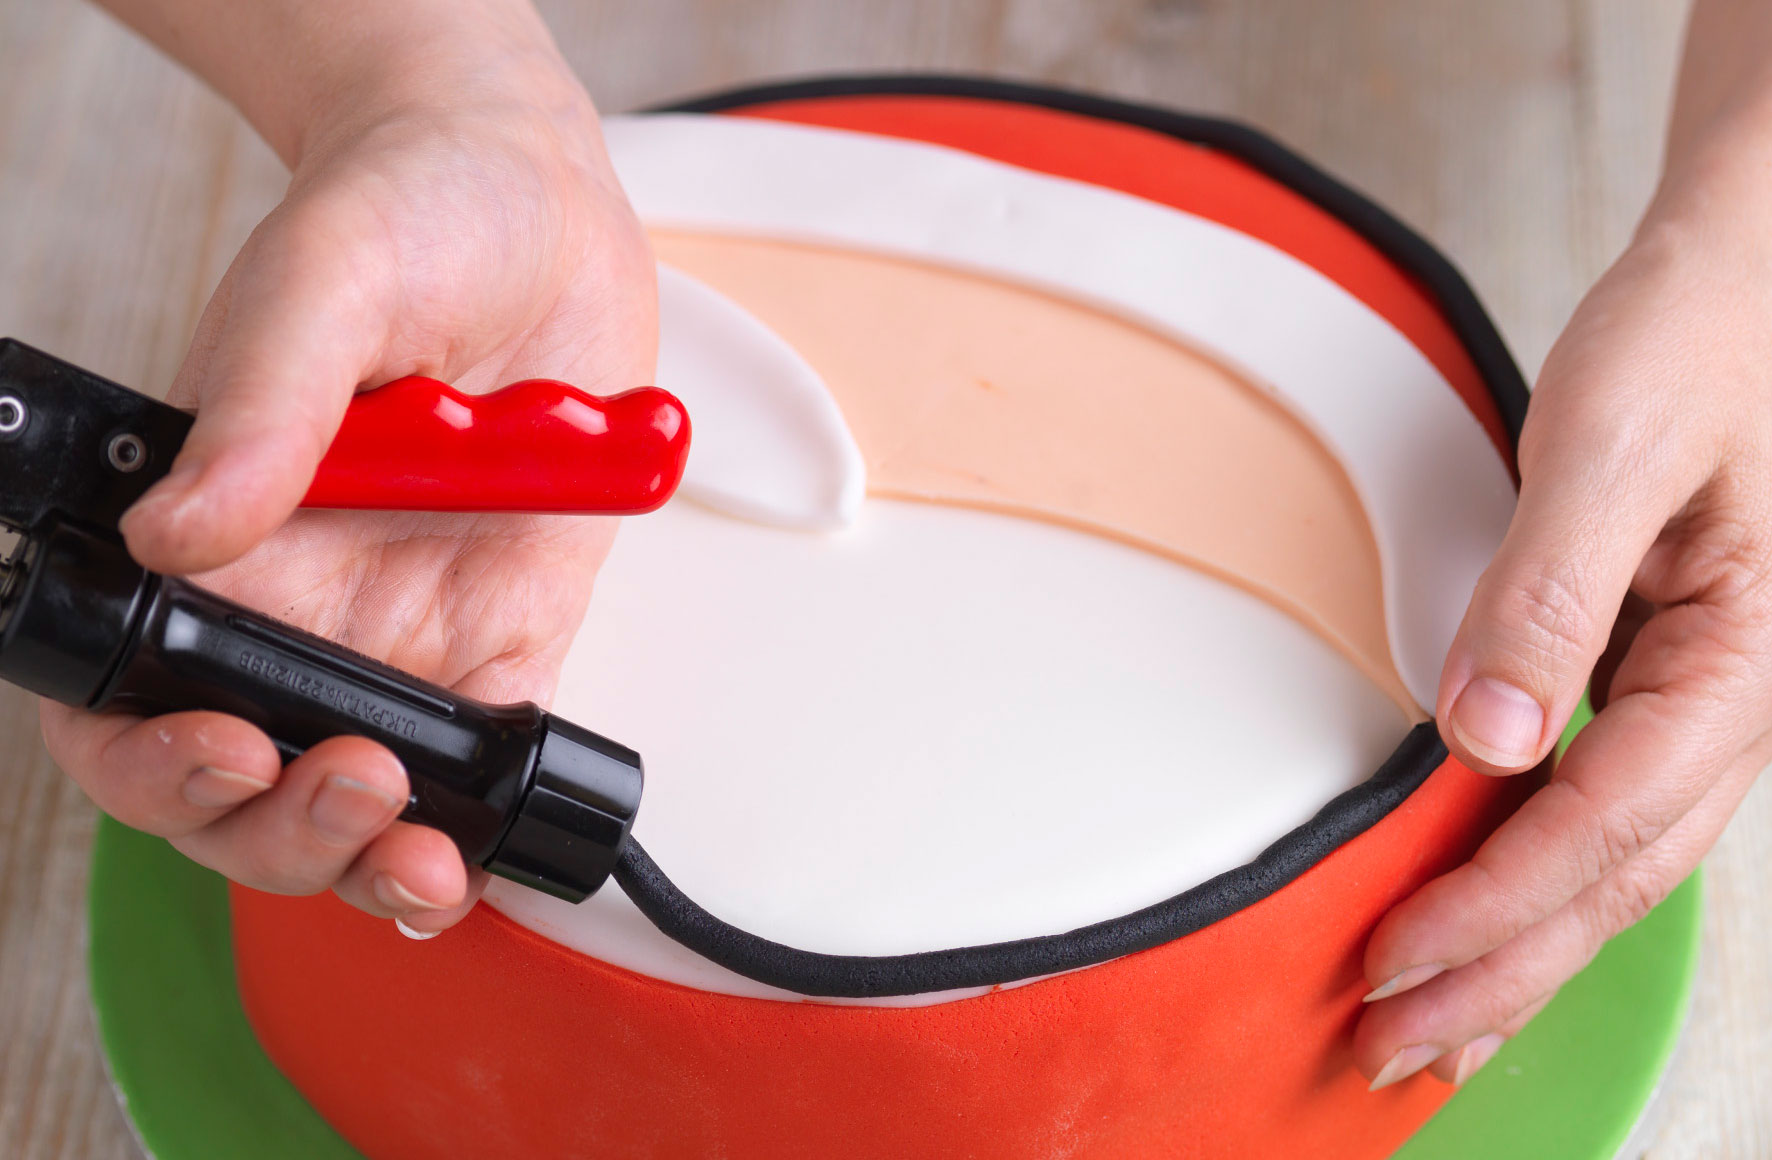
Add some Trex or White Flora to the black sugarpaste to soften it enough to go through the sugarcraft gun. If you don’t have a sugarcraft gun, then roll out the sugarpaste by hand. Brush water on to the cake where the black lines are needed, position it on the cake, or squeeze the sugarpaste into place if using a gun. Press it down lightly. When the bobble is dry, stick it on top of the hat.
Step 8

Roll 2 balls and stick into place for the eyes, and make a curved shape for the mouth. Roll an oval shape of flesh-coloured sugarpaste and stick in place for the nose. Place a line of black sugarpaste around the base of the cake. Secure the ribbon around the edge of the cake drum, using double-sided sticky tape.

Jessica Dady is Food Editor at GoodtoKnow and has over 12 years of experience as a digital editor, specialising in all things food, recipes, and SEO. From the must-buy seasonal food hampers and advent calendars for Christmas to the family-friendly air fryers that’ll make dinner time a breeze, Jessica loves trying and testing various food products to find the best of the best for the busy parents among us. Over the years of working with GoodtoKnow, Jessica has had the privilege of working alongside Future’s Test Kitchen to create exclusive videos - as well as writing, testing, and shooting her own recipes. When she’s not embracing the great outdoors with her family at the weekends, Jessica enjoys baking up a storm in the kitchen with her favourite bakes being chocolate chip cookies, cupcakes, and a tray of gooey chocolate brownies.