How to make button cake decorations

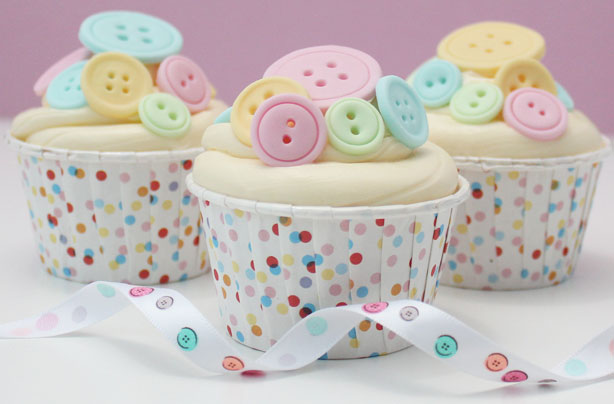
Our button cake decorations tutorial shows you two simple ways to make cute button toppers for your next bake - one using cake decorating tools, and another using simple items you've probably already got in your kitchen.
These cupcakes were made by Victoria Threader for our classes at the Cake & Bake Show 2014 in London - don't forget to take a look at our bow cupcake decorations and rose cupcake decorations too!
Ingredients
- 40g modelling paste
- Sugarflair food colour paste in baby pink, sky blue, party green and egg yellow
- Cornflour, for dusting
- Trex, for greasing
- 1x batch of basic cupcakes
- 1x batch of buttercream
Step 1
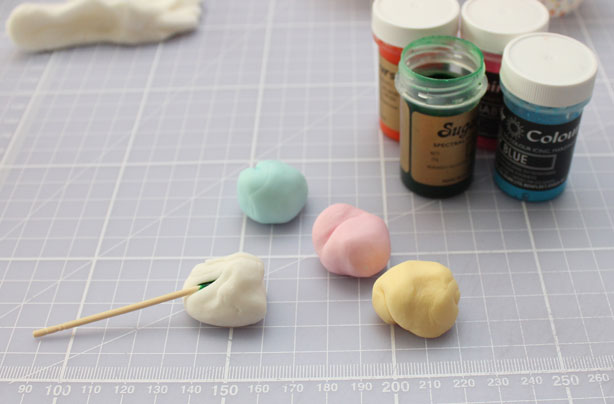
Colour your modelling paste to your desired shades. Start by using a tiny dot of food colour paste on the end of a cocktail stick and work your way up to the colour you would like. Remember, once the food colour is in the paste you can’t take it out, so work slowly and gradually.
There are two easy ways to make buttons, as shown below.
Step 2
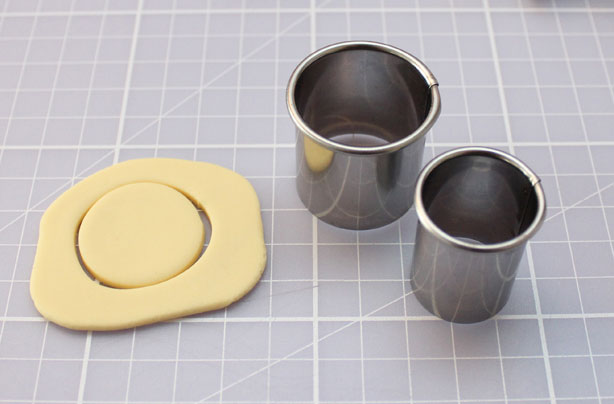
For the first method, roll out the paste - if it's a bit sticky, dust the work surface with a little cornflour. Using the larger 30mm cutter, cut a circle.
Step 3
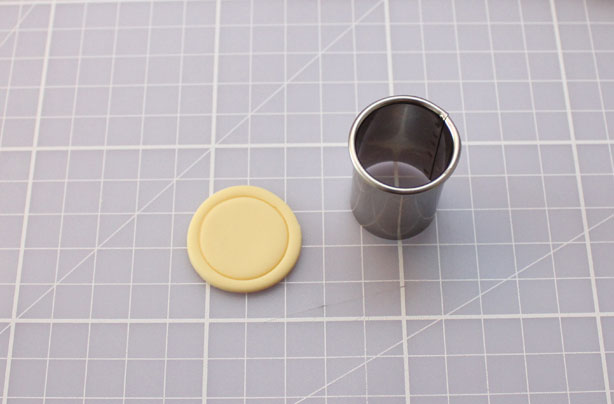
Using the 23mm cutter, emboss the inner circle, making sure you don’t go all the way through.
Step 4
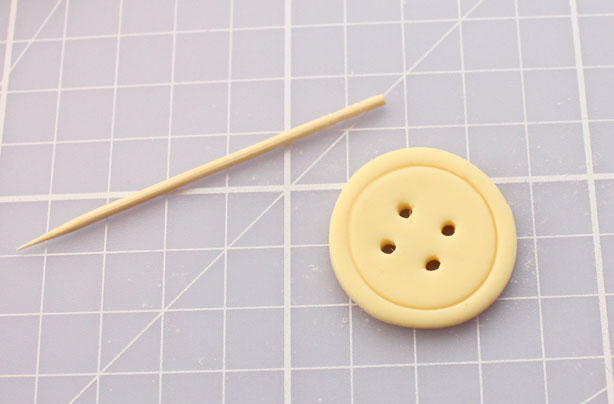
Using a cocktail stick, make 4 holes by pressing the end into the paste and twisting the cocktail stick round at the same time. Don’t worry if they are not fully round at this stage - you can correct this when the buttons are a bit drier by pushing the cocktail stick right through the holes again.
Step 5
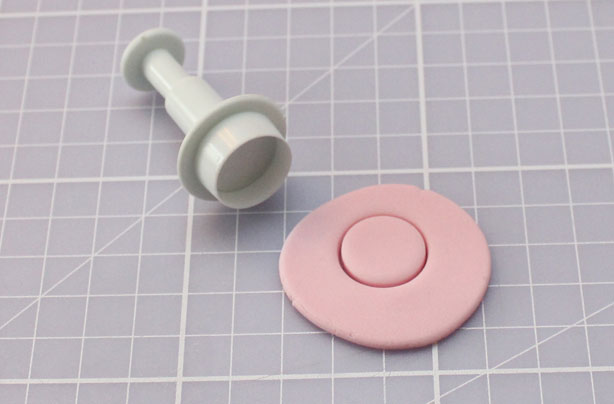
For the second method, use an 18mm plunger cutter to cut a circle.
Parenting advice, hot topics, best buys and family finance tips delivered straight to your inbox.
Step 6
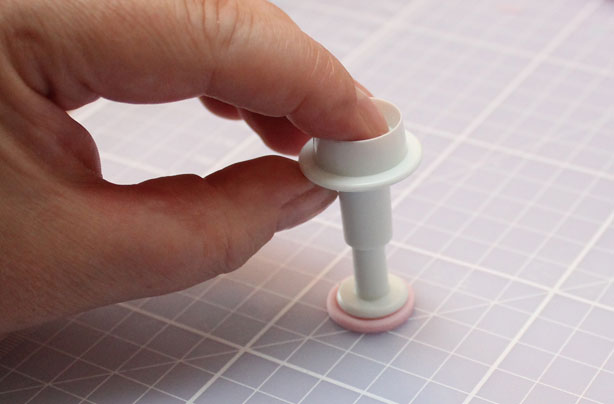
To emboss the button, use the plunger of the cutter, making sure you hold the inside securely as you press. You may need to dust the paste with a little cornflour before you do this, as sometimes the handle sticks.
Step 7
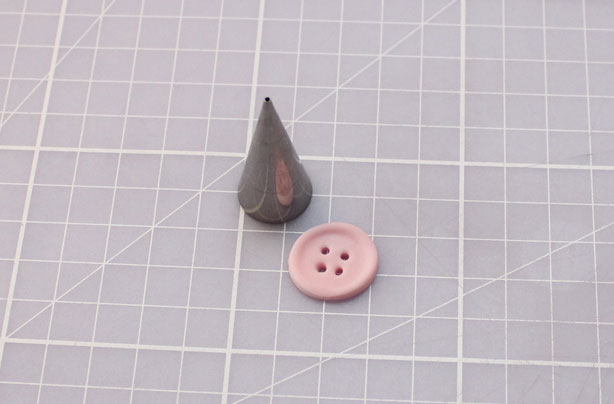
Hold a writing nozzle with the tips of your fingers and press and twist at the same time to make the holes. If you find the nozzle is sticking this time, rub a little Trex around the end of the nozzle. For both methods, leave the buttons to dry on a drying sponge or greaseproof paper.
Step 8
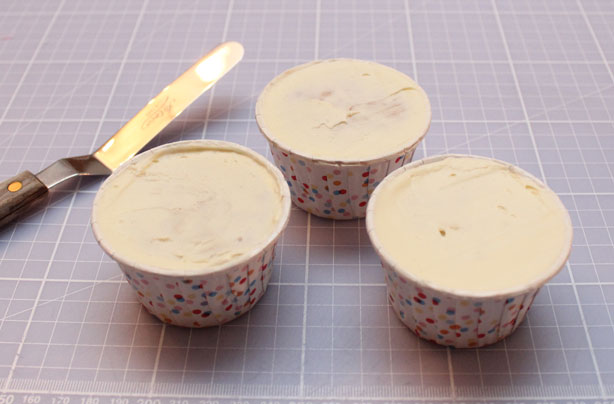
To ice the cupcakes, use a small palette knife and spread a little buttercream onto the cupcakes, making it flat all the way over the top to give it a neater look for the piping.
Step 9
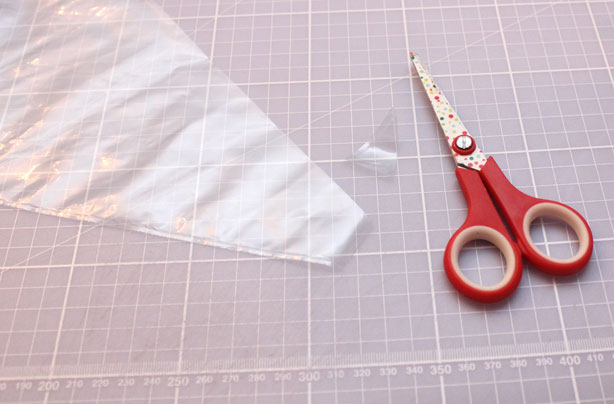
Snip the tip (about 3cm) off a piping bag.
Step 10
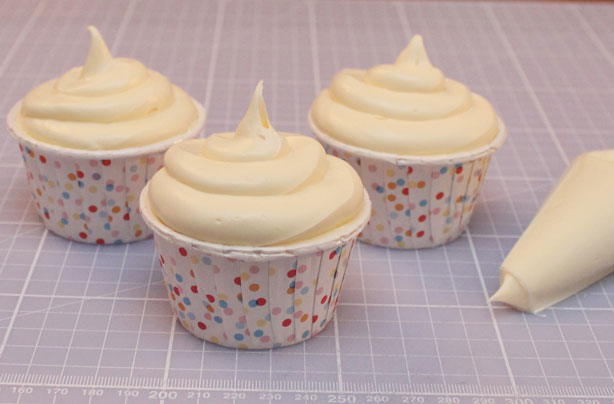
Add the buttercream to the piping bag, pushing all the air up out of the bag and twisting the bag at the top of the icing. Pipe this swirl, by starting in the centre, working your way out to the cups and using them as a guide to follow round and back up into a spiral, finishing by pushing down slightly and pulling up quickly.
Step 11

Place the buttons on the cupcakes and serve.
Victoria Threader is 'the queen of cupcakes' and a contributing Recipe Writer at GoodTo. Not only can she bake delicious cupcakes, she can decorate them too - with each of Victoria’s cupcakes topped with handmade edible toppers. Some of her most popular cupcakes include: rainbow cupcakes, hidden shape cupcakes and even giant cupcakes.