Frankenstein cupcakes
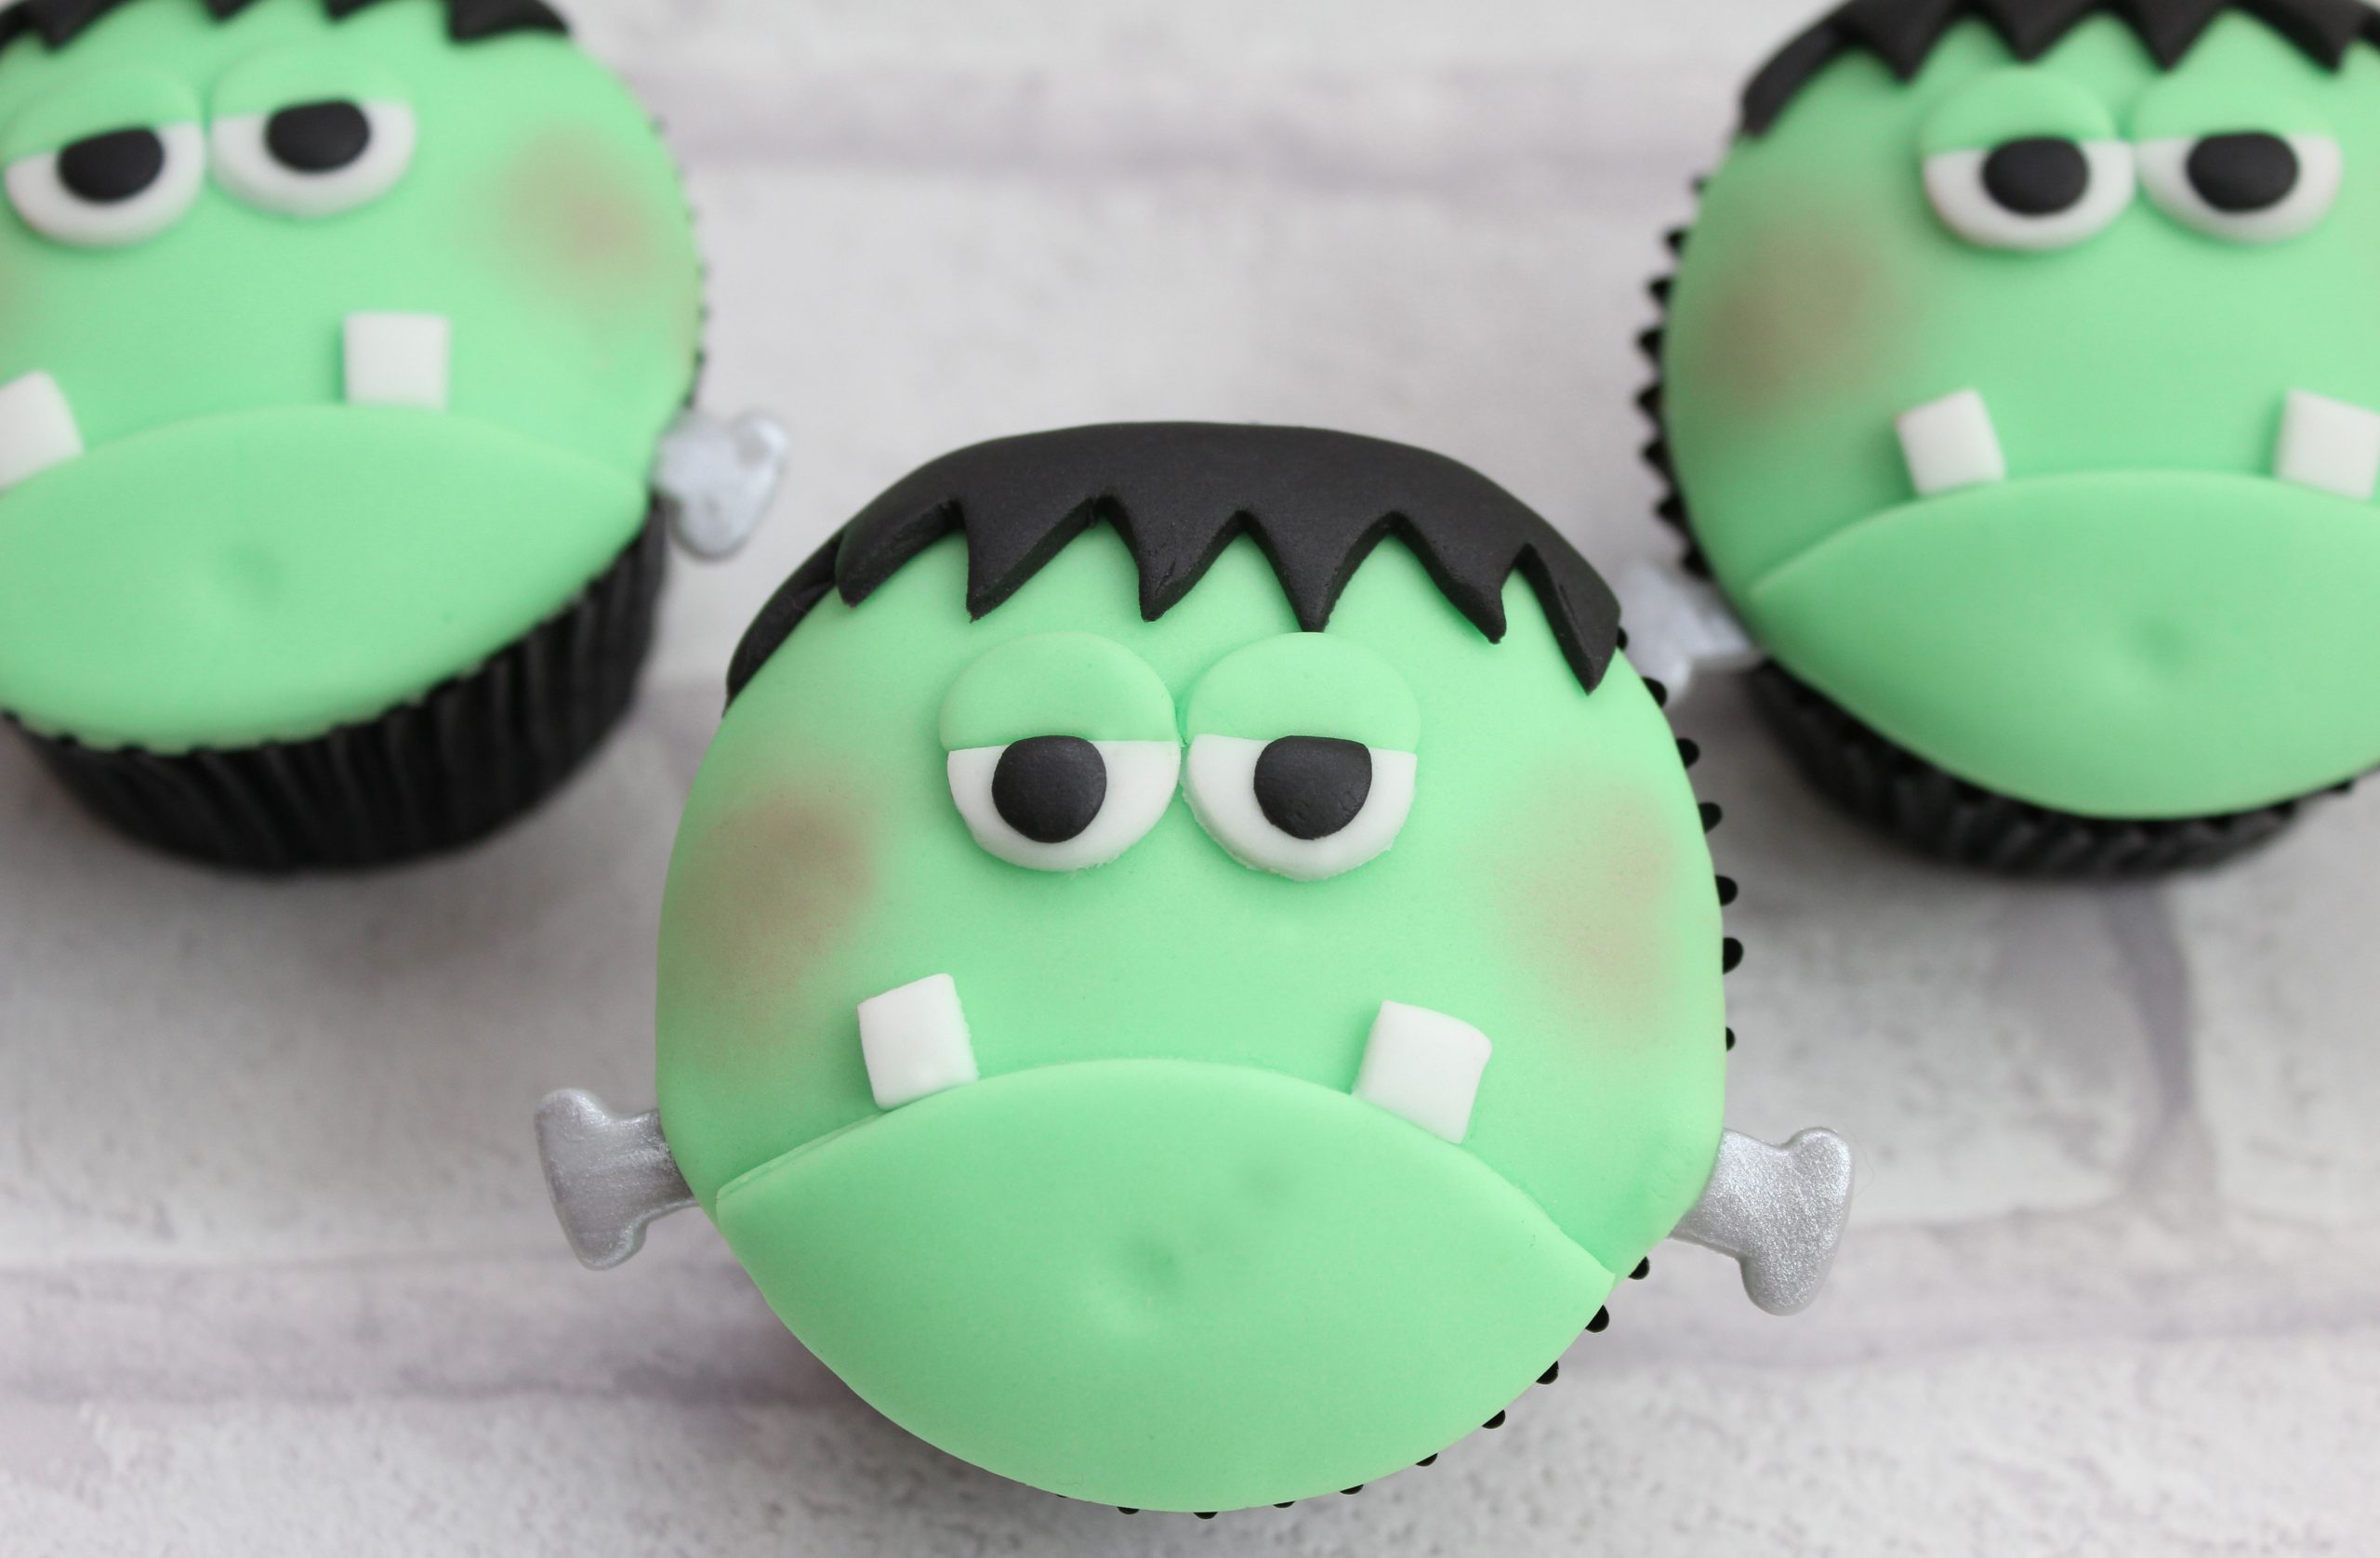

Frankenstein cupcakes are easy to make but make fun Halloween cupcakes with their grumpy face and ghoulishly green skin. You don't need any fancy equipment to make them, but with our simple step-by-step recipe from cupcake queen Victoria Threader, they'll look impressive enough for your Halloween party!
Ingredients
- 1 x batch basic cupcakes (in black cases)
- ½ a batch buttercream
- 180g green fondant
- 50g black fondant
- 20g white fondant
- 10g modelling paste
- Cornflour, to dust
- Silver food colour paint pen
Step 1

Bake your cupcakes and leave to cool. Using the palette knife, spread the buttercream onto the tops of the cupcakes. Be sure not to spread it too close to the paper or it will make a mess when you put the fondant on the top.
Step 2
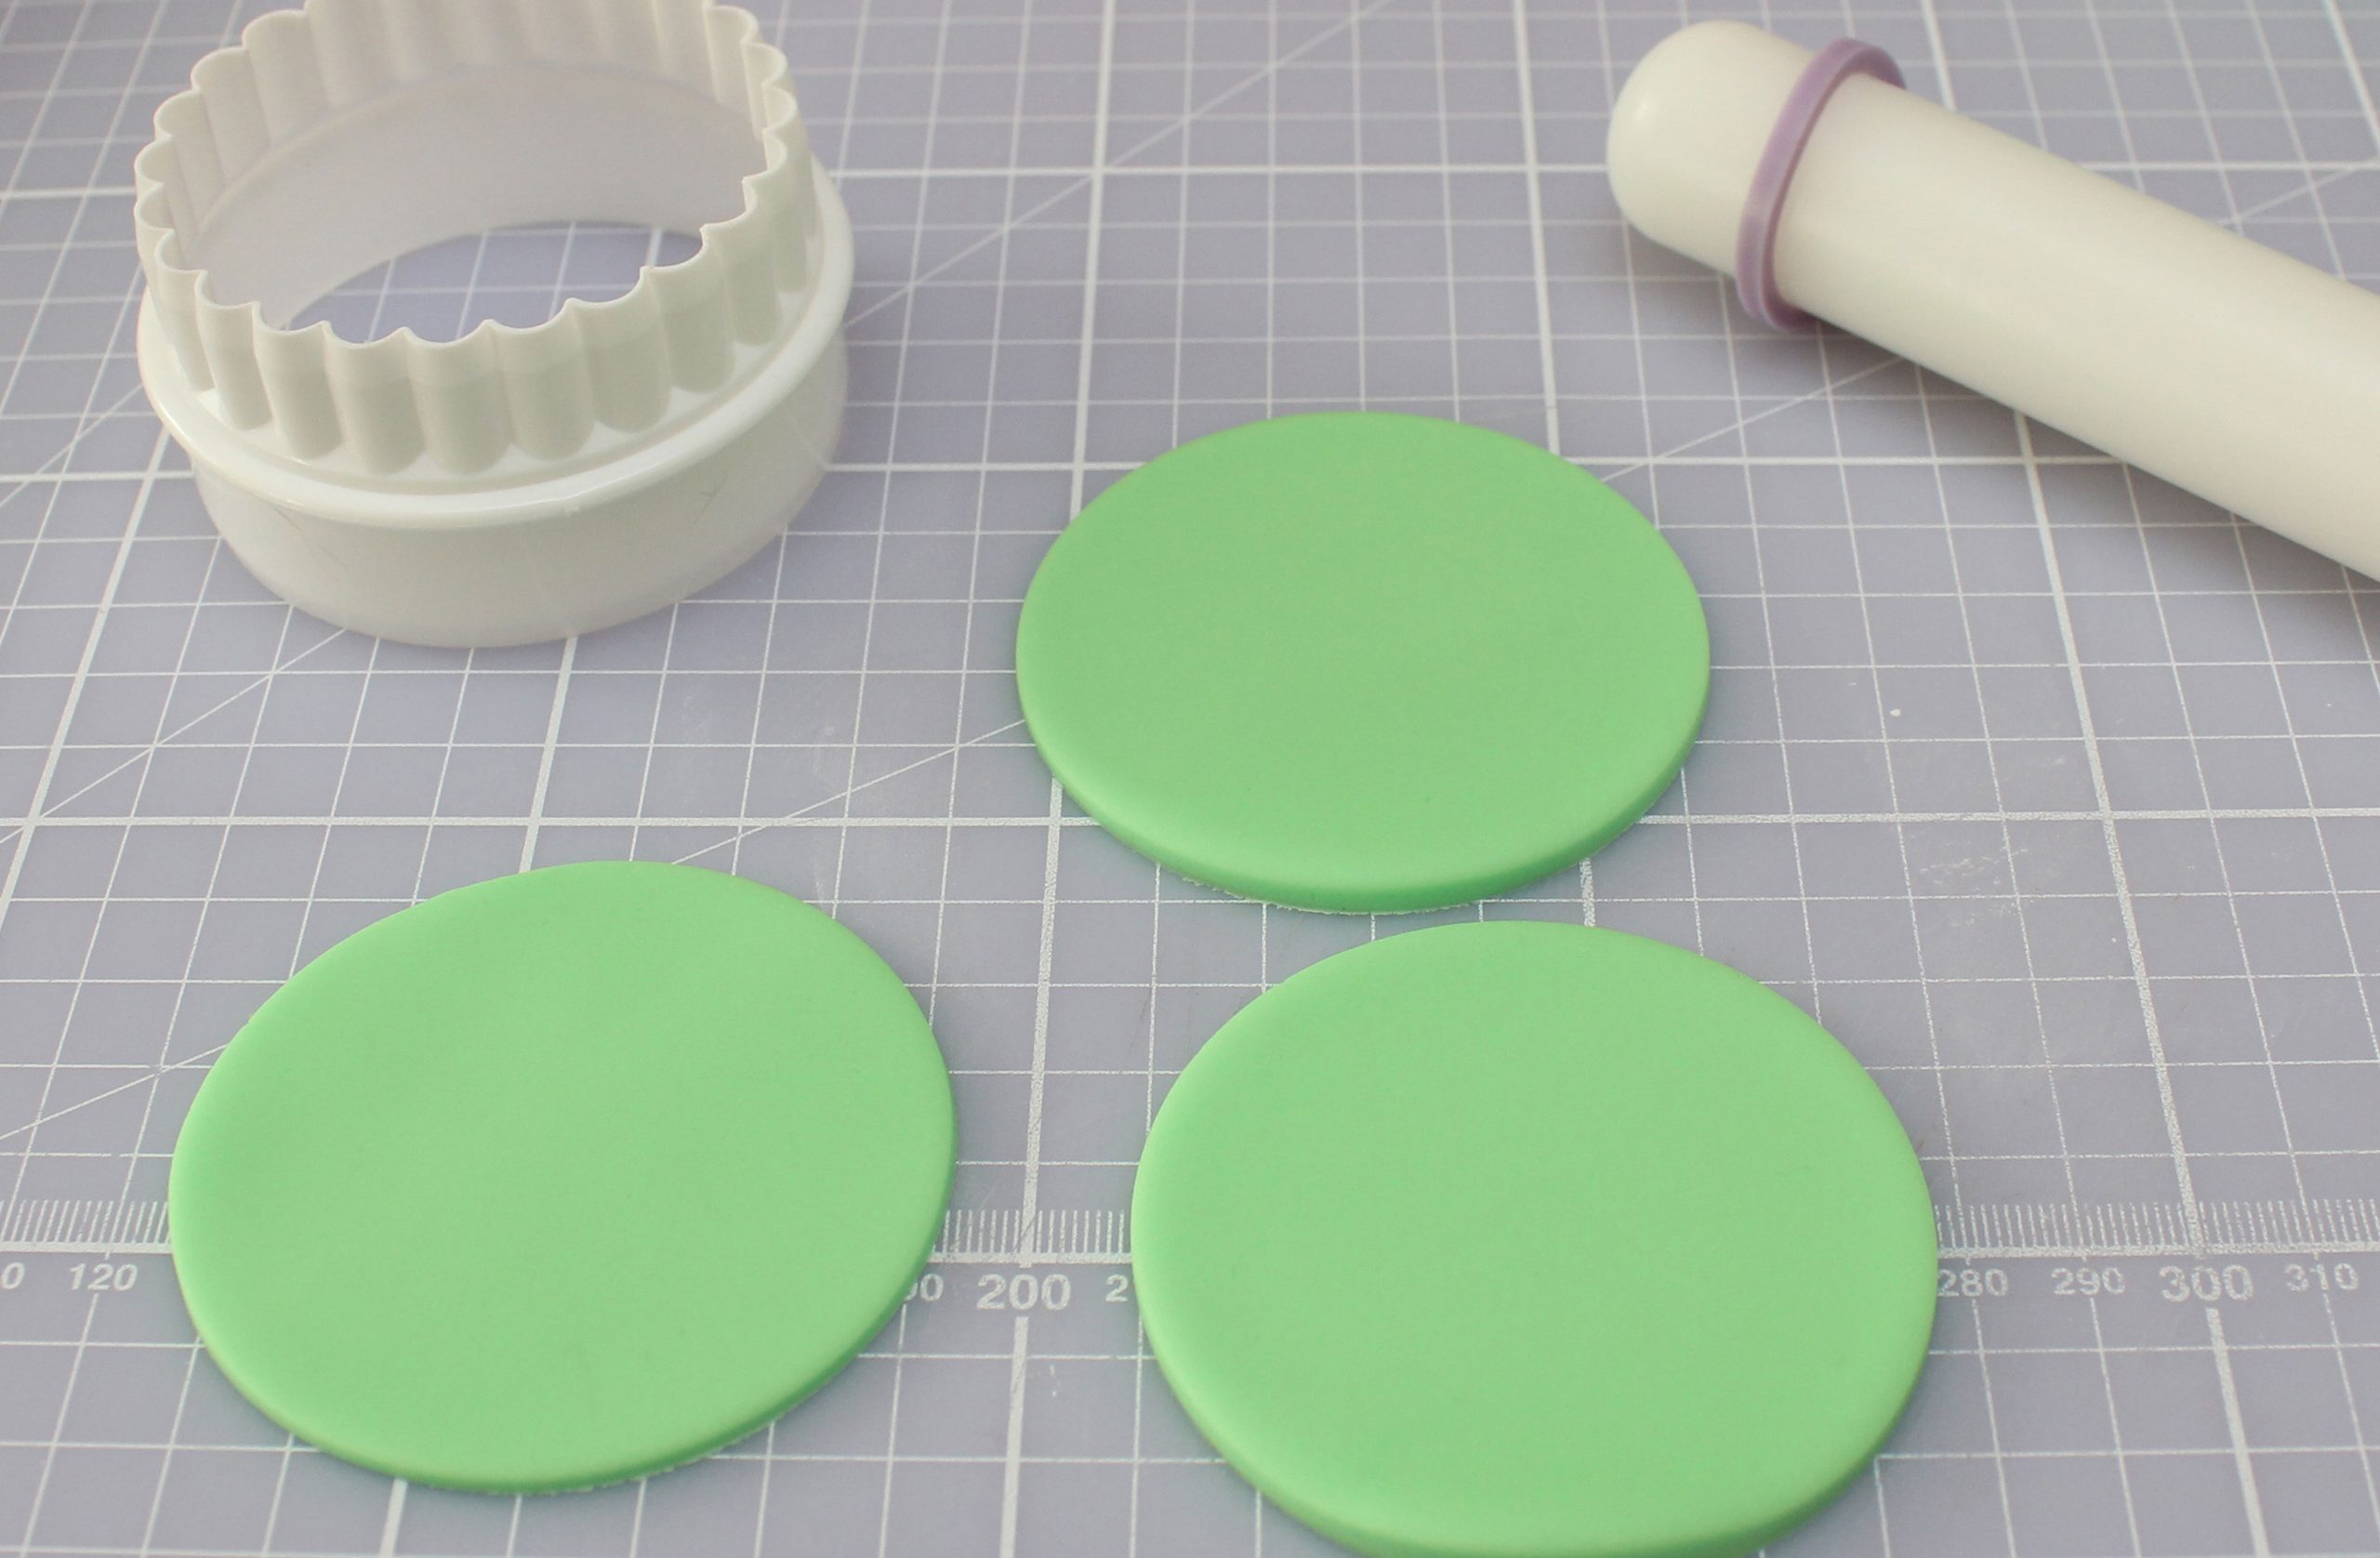
Roll your green fondant out to 4mm thick and cut 12 x 68mm circles.
Step 3
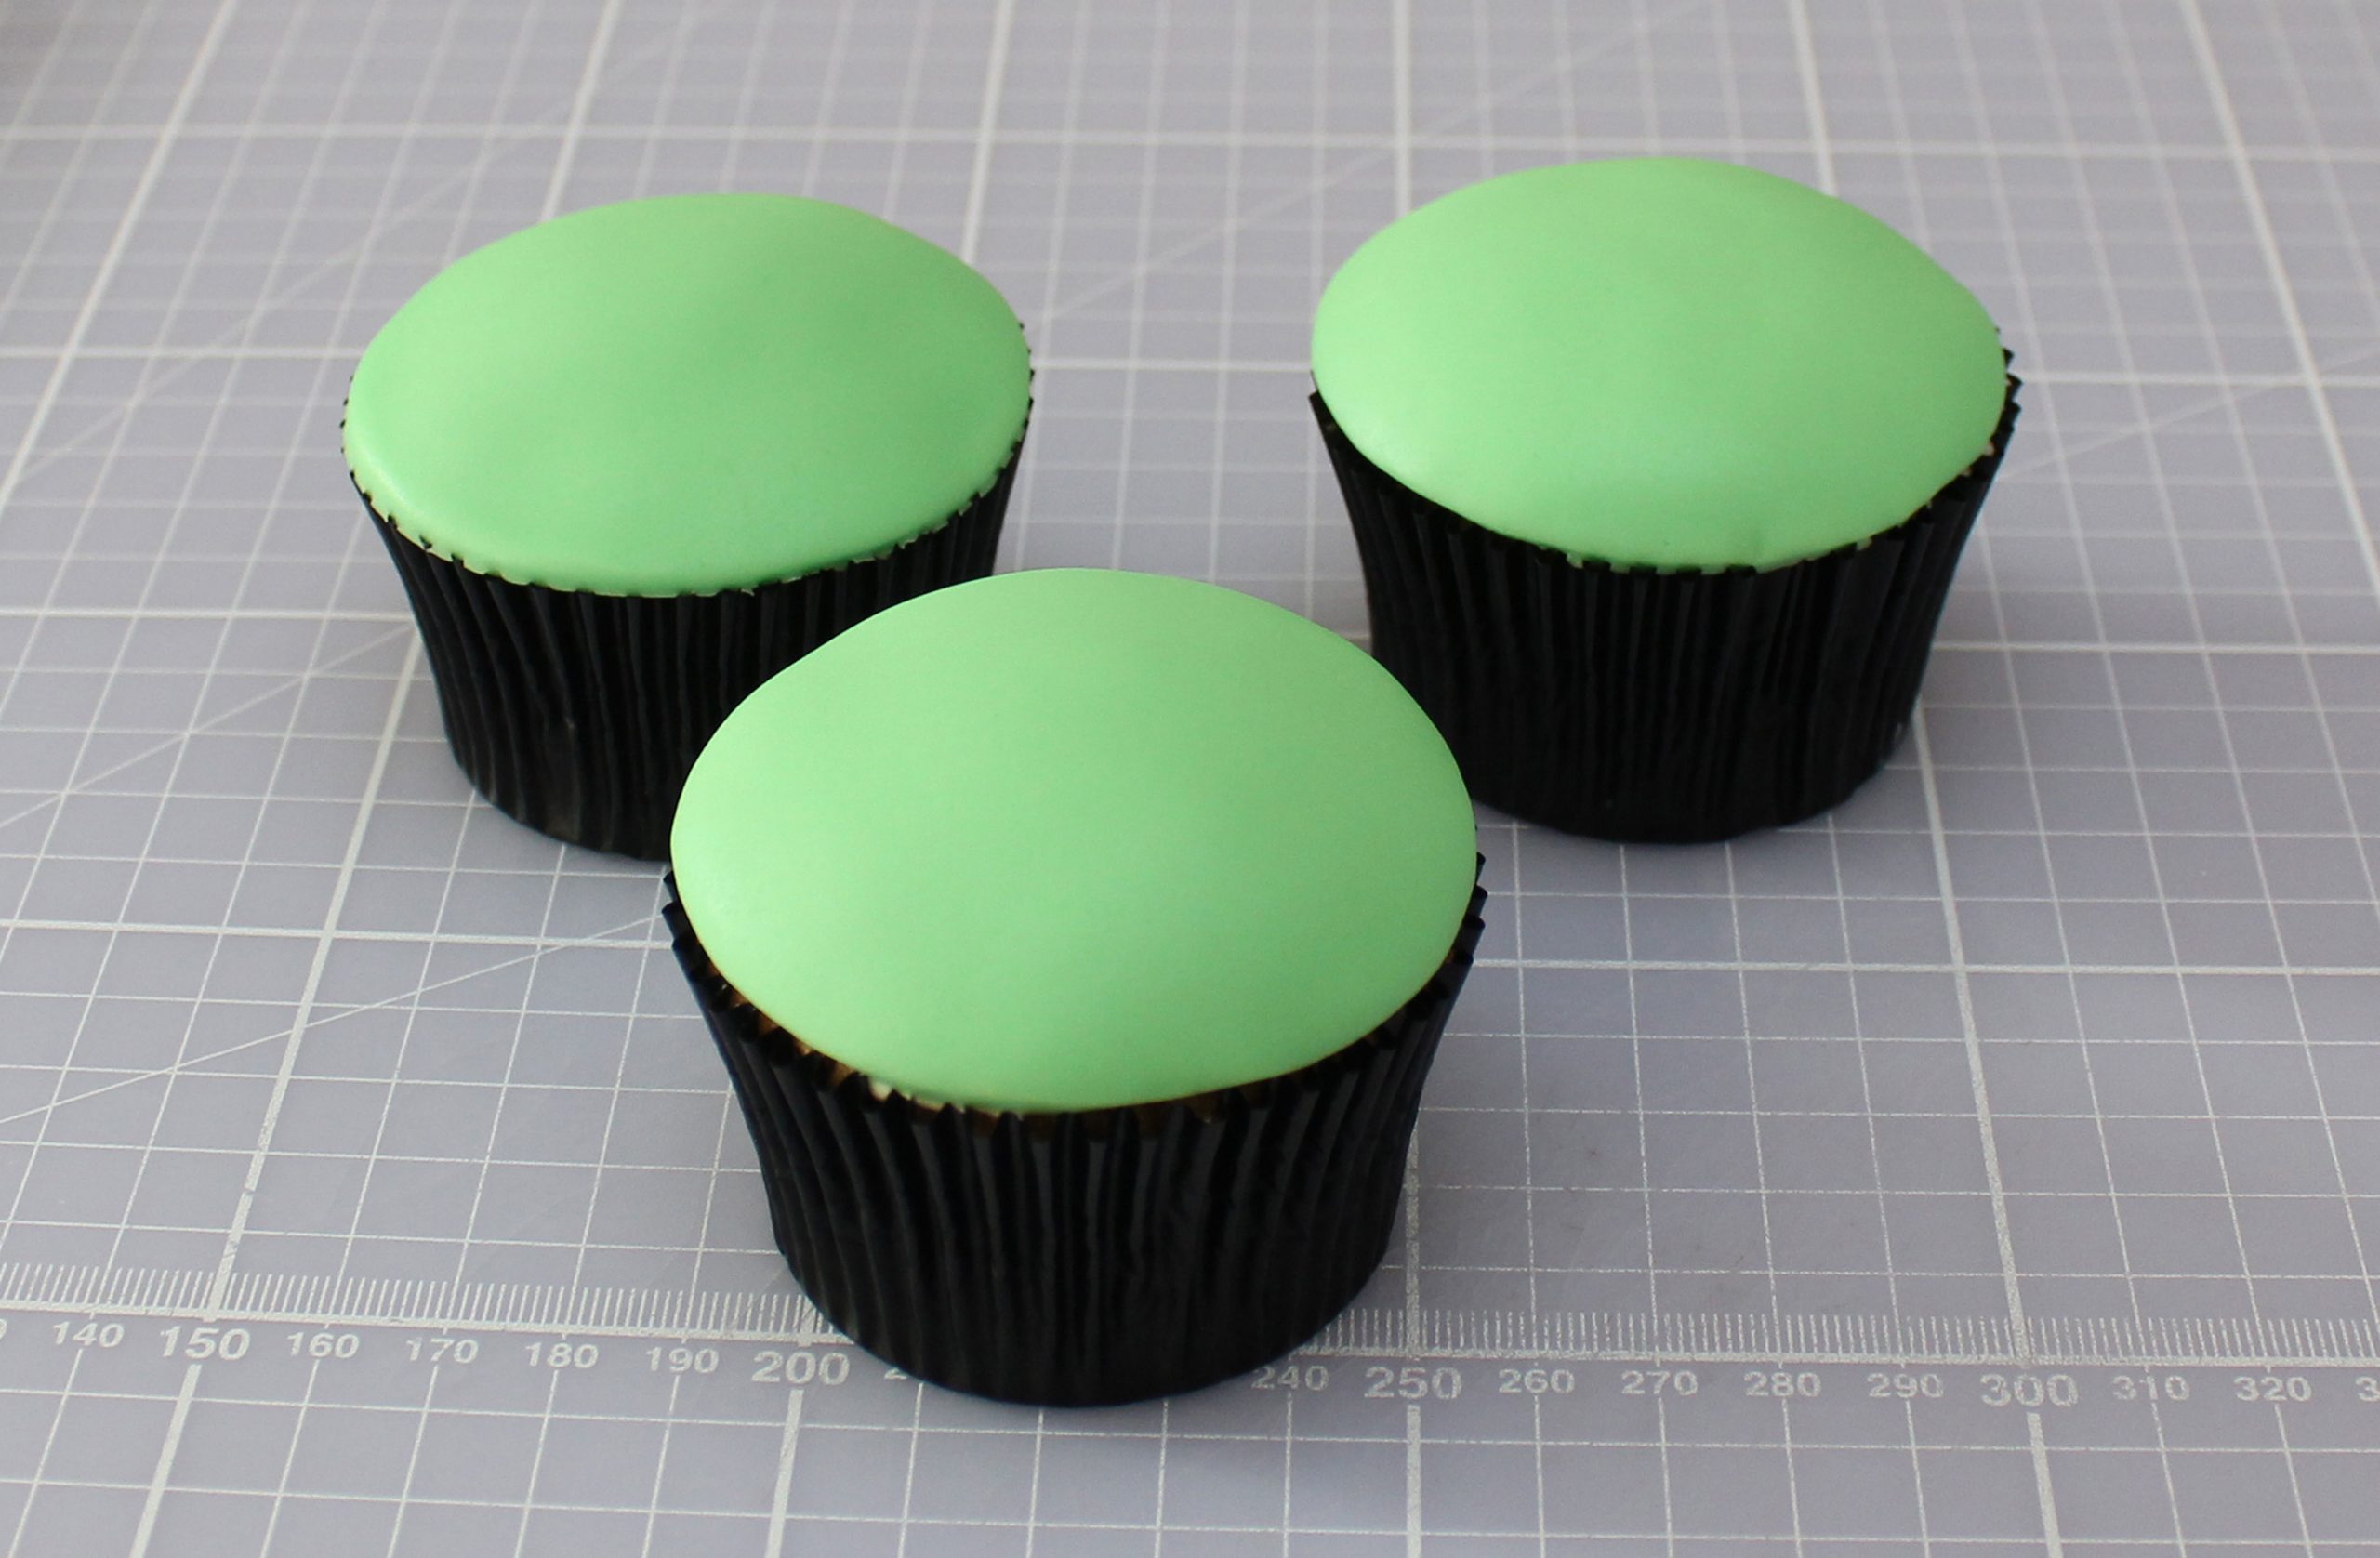
Lay the green circles of fondant over the top of the buttercream and smooth the edges with the tips of your
fingers.
Step 4
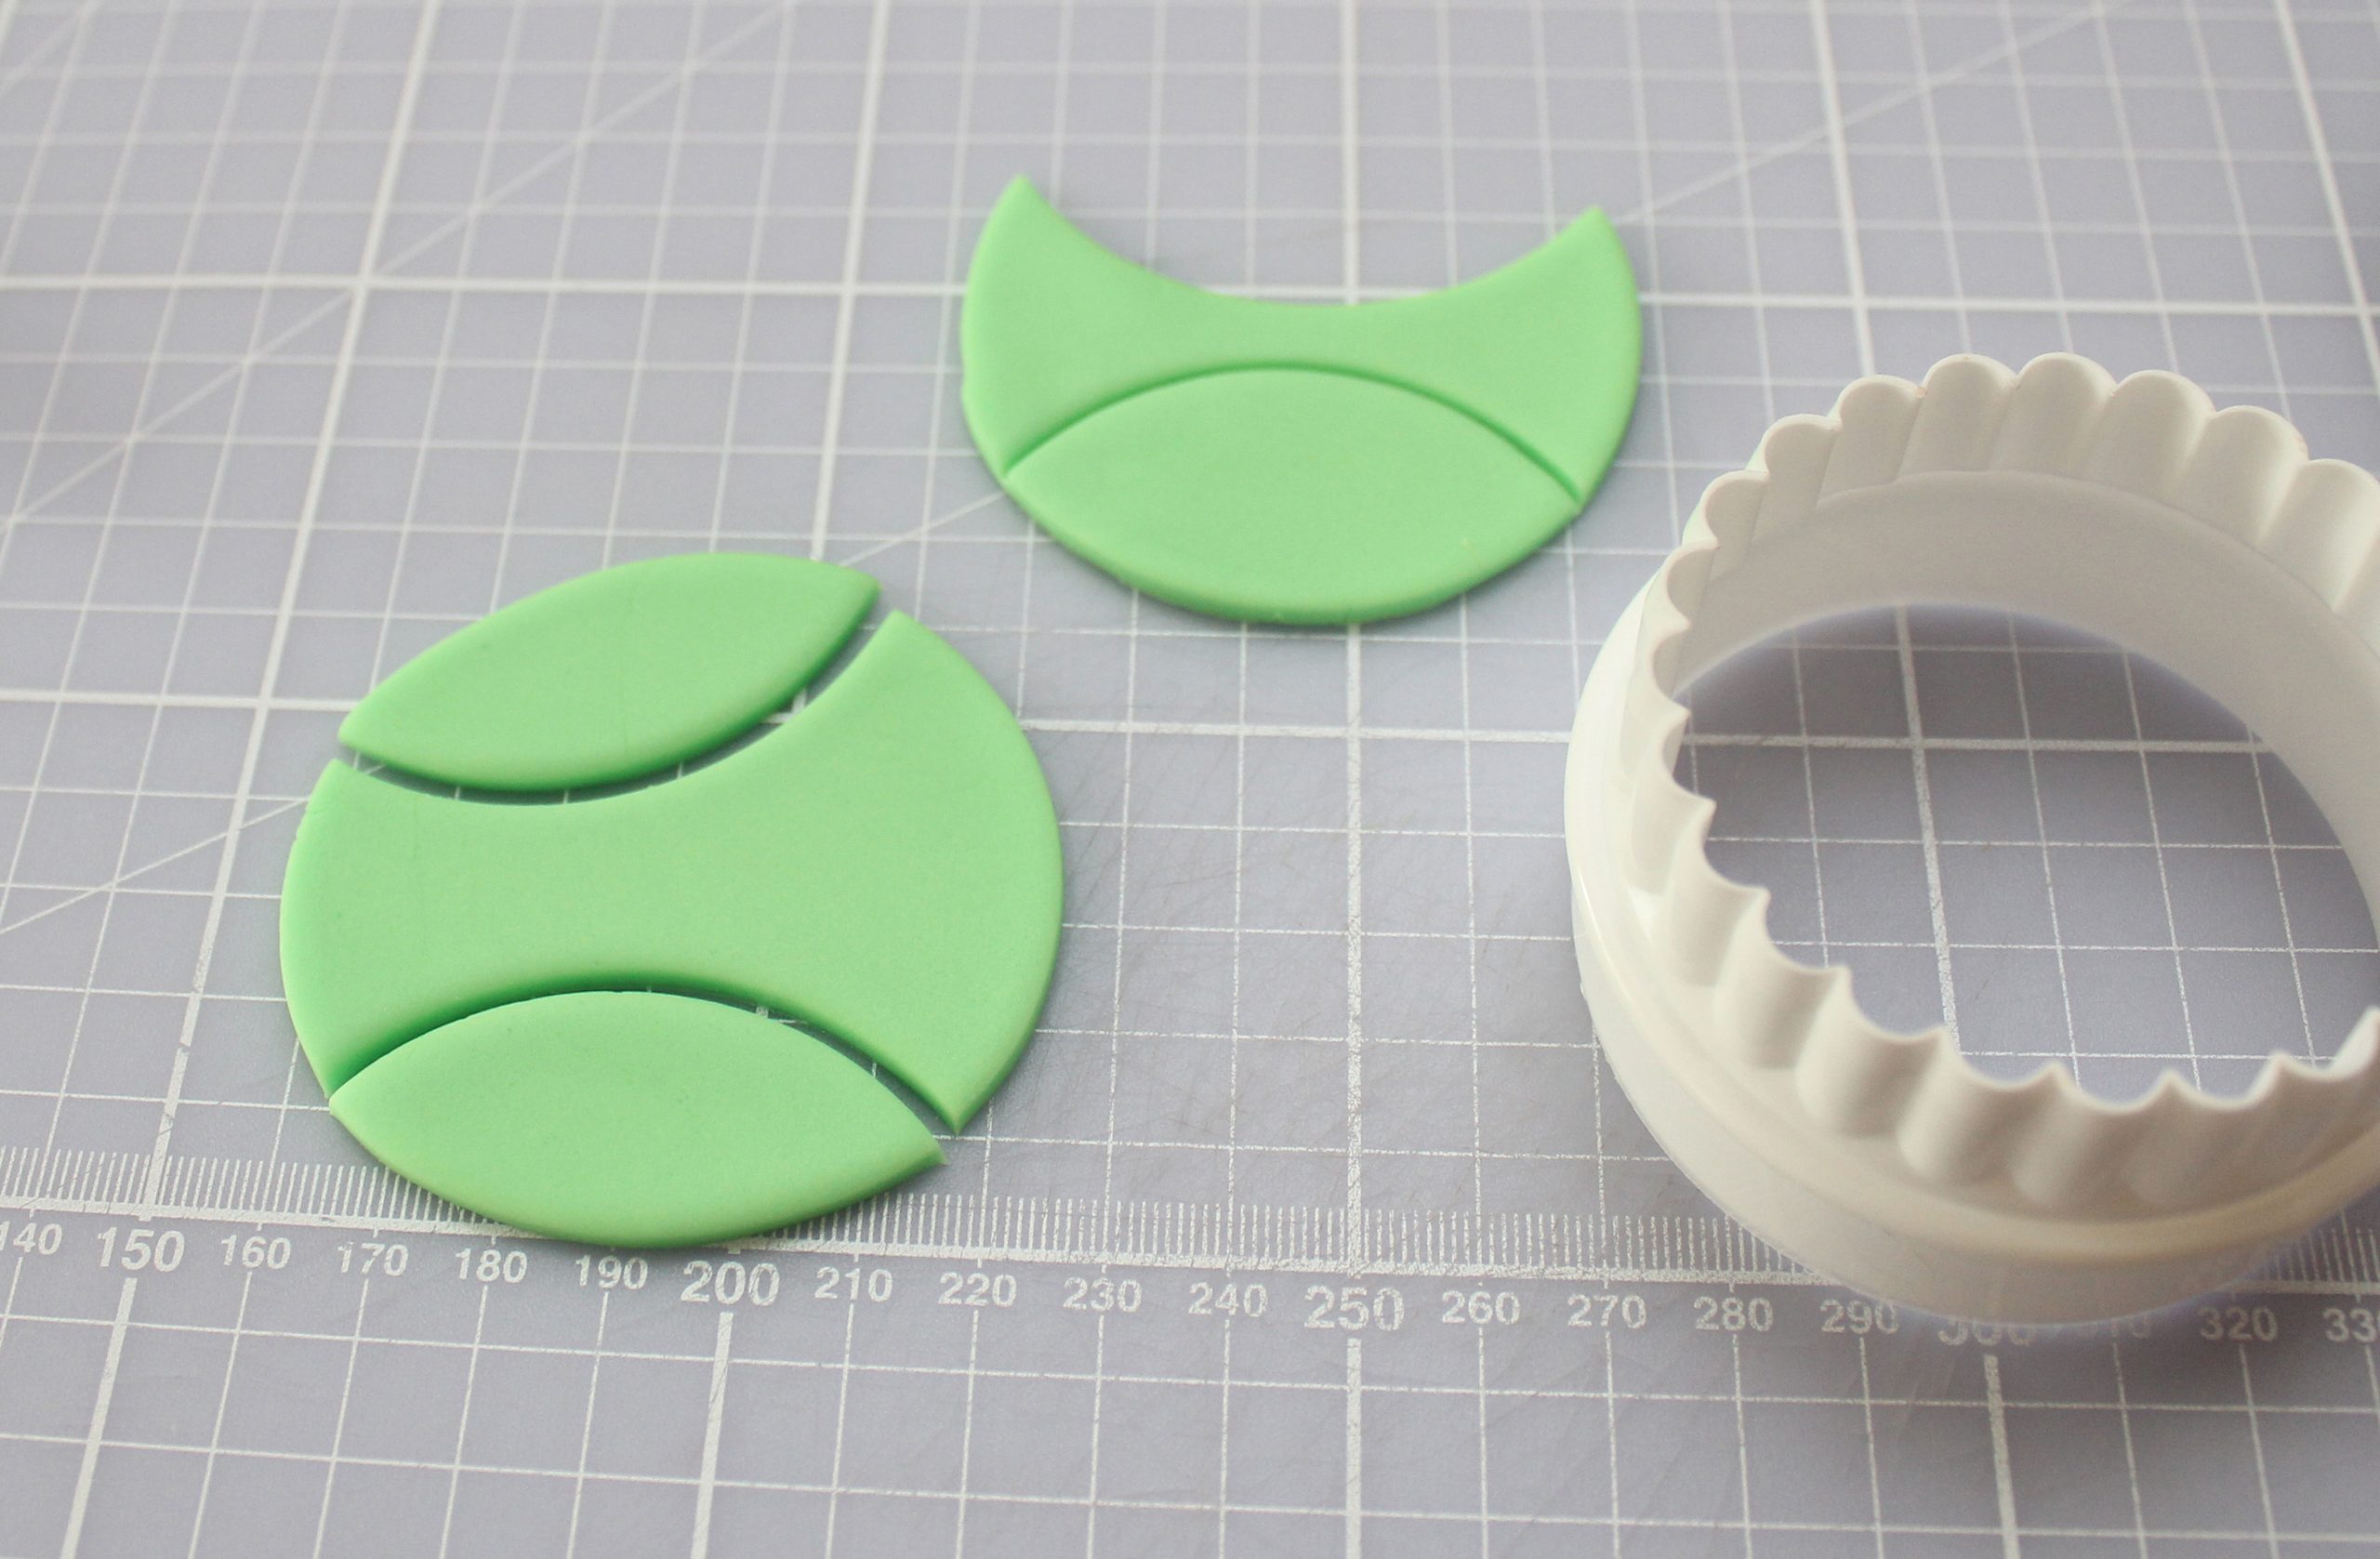
Using the same circle cutter, roll the remainder of the green fondant out and cut a shape for the chins.
Step 5
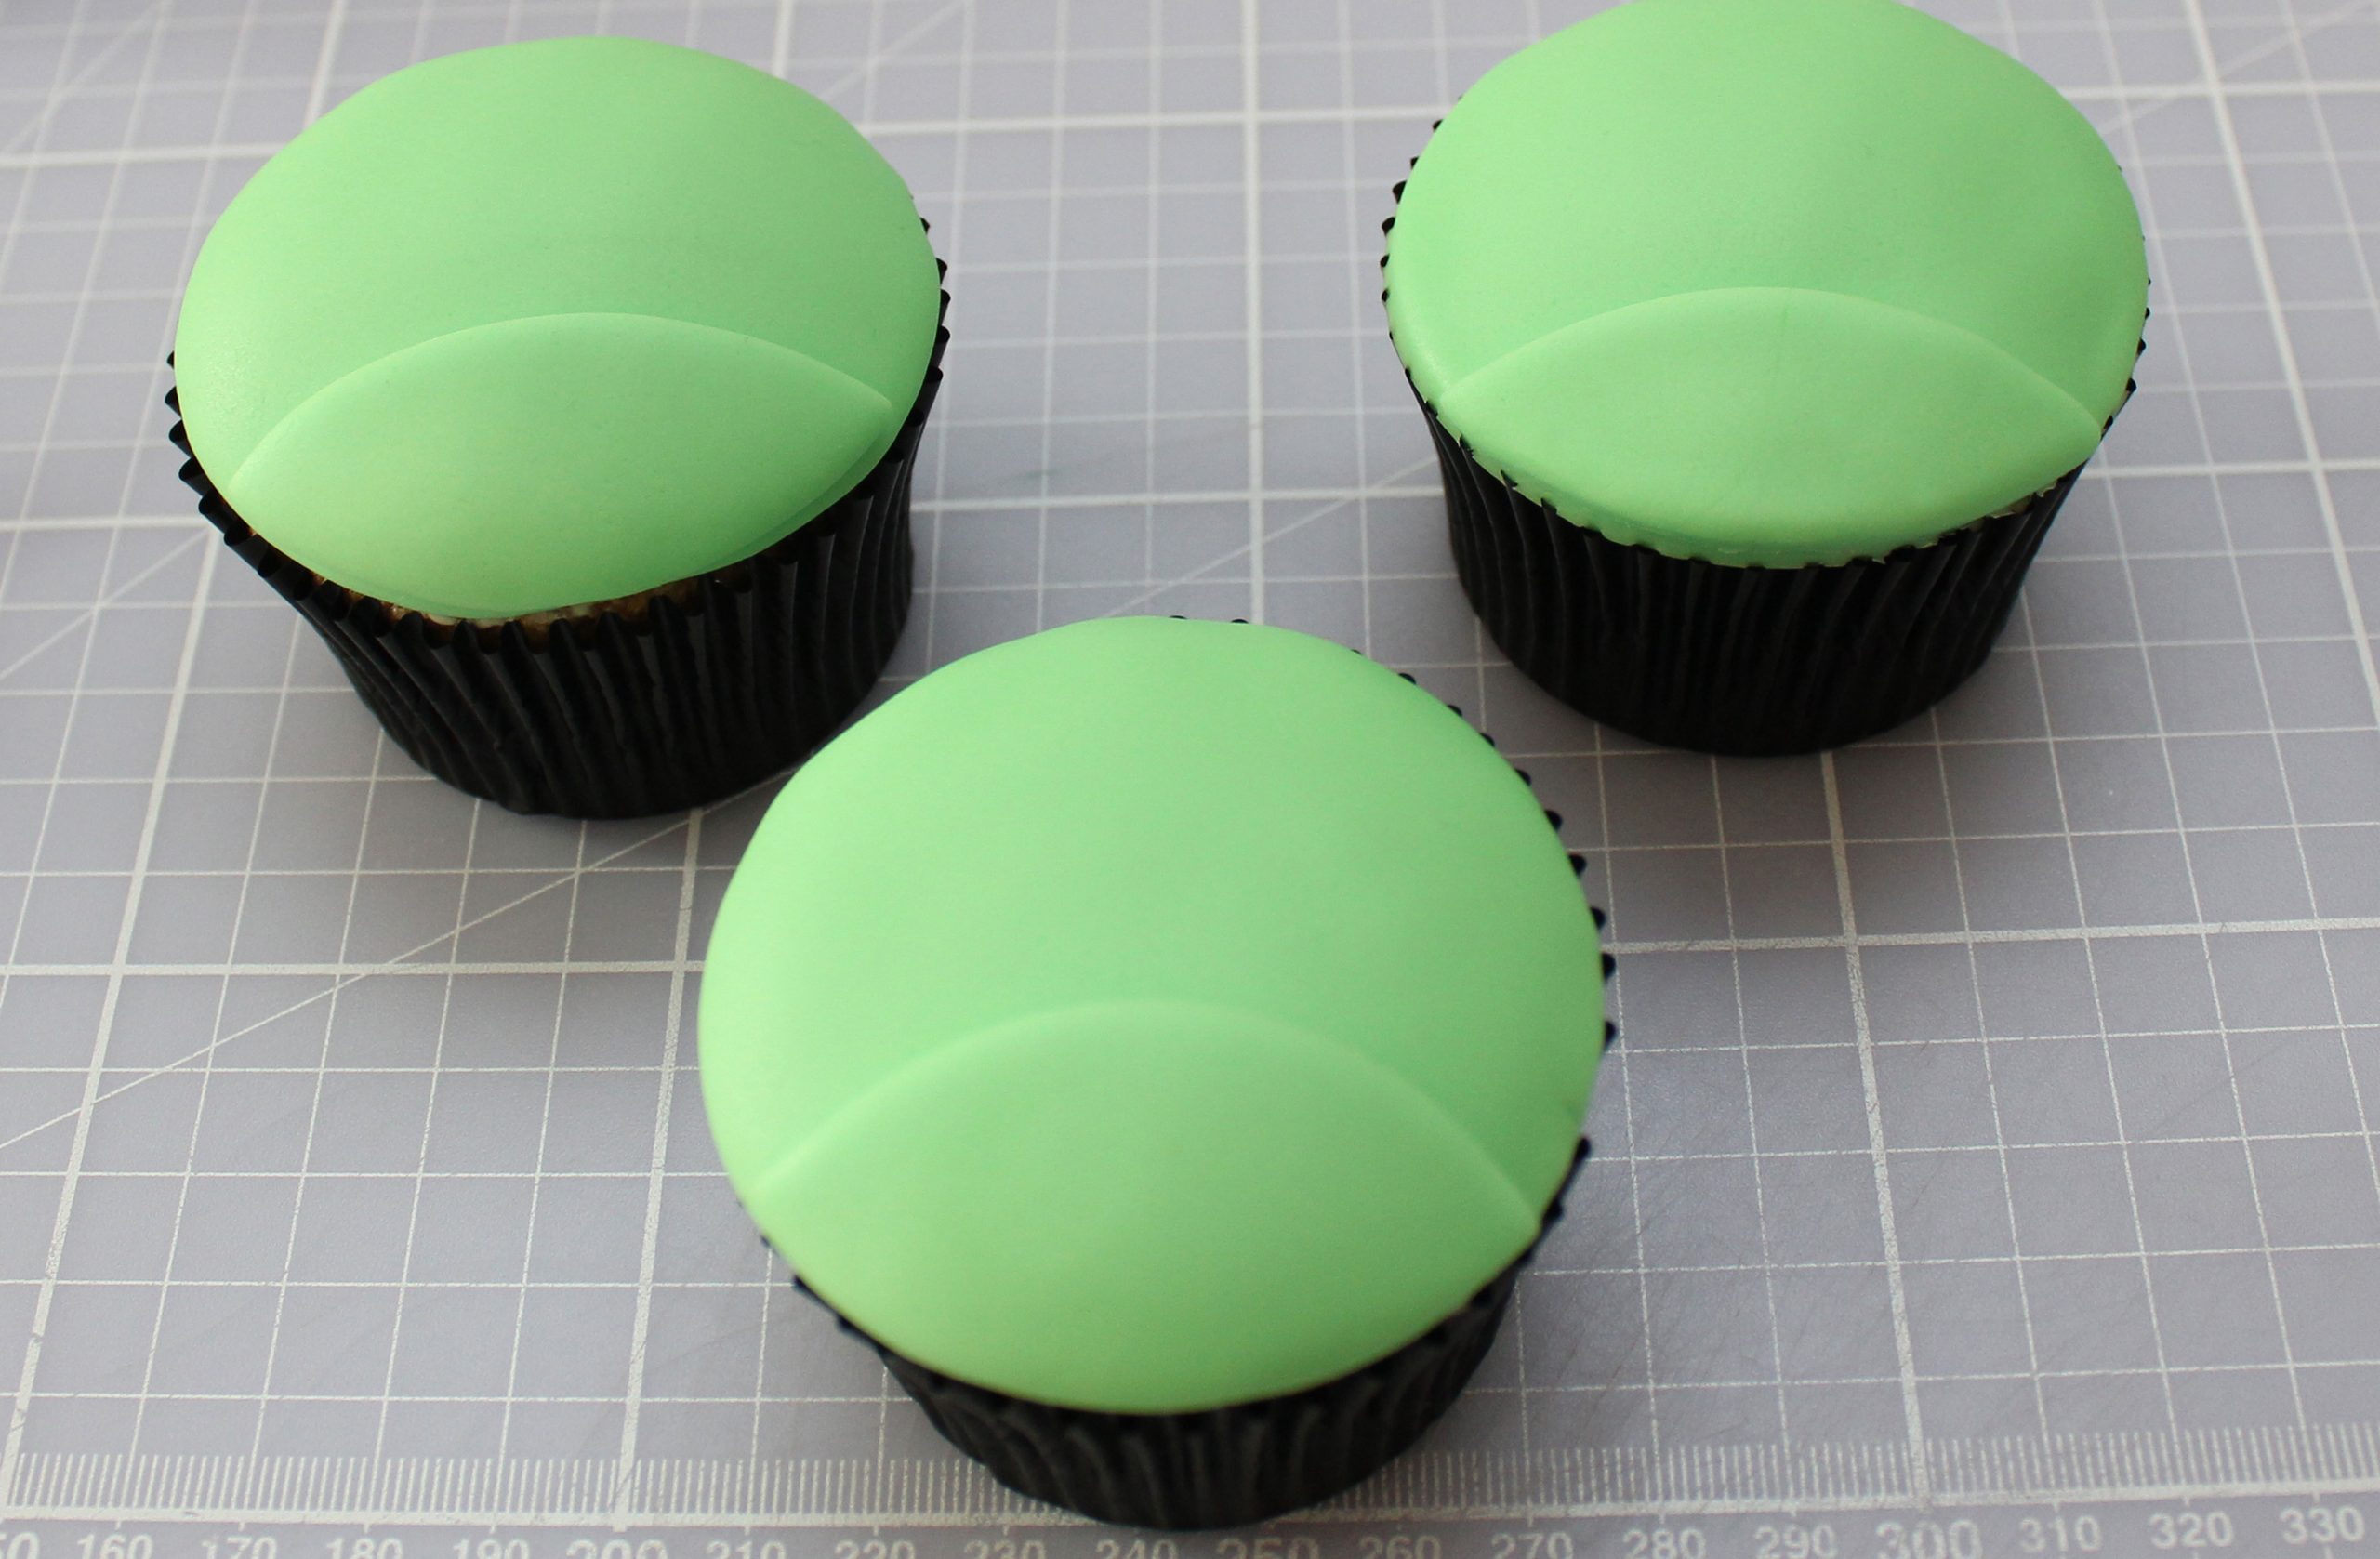
Place these at the bottom of the cupcakes to make the chin. You can add a dimple if you like.
Step 6
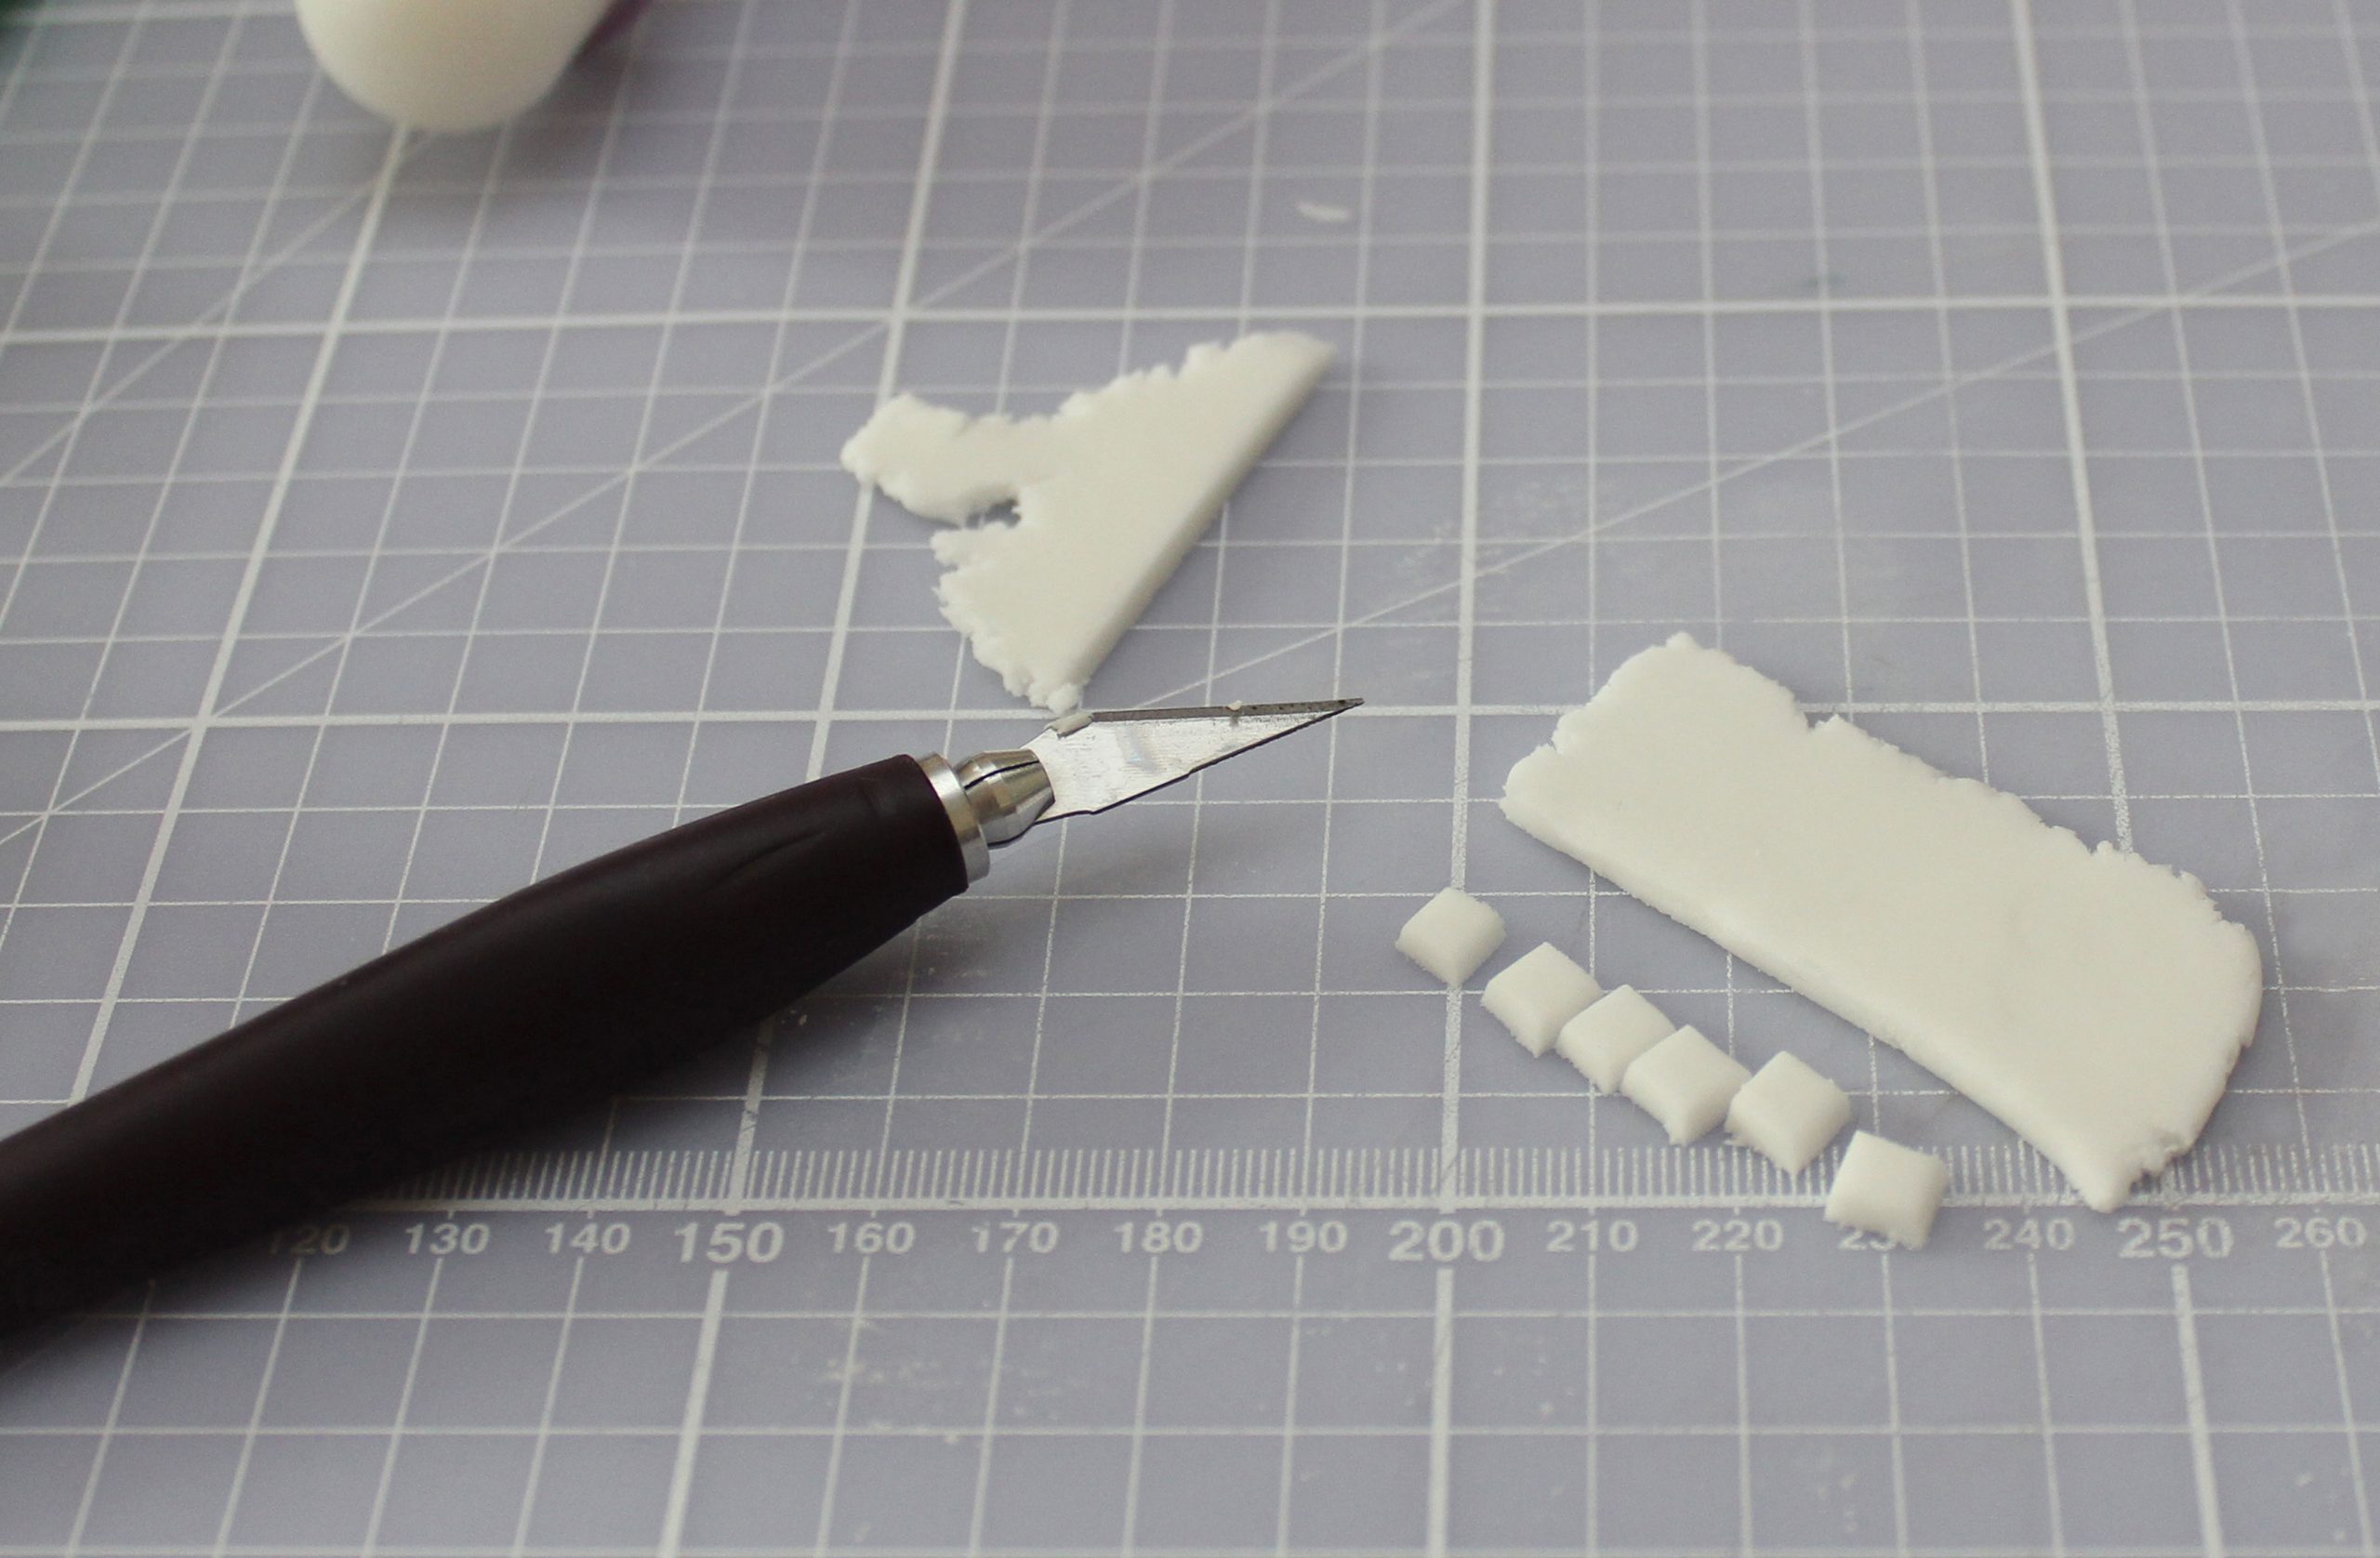
To cut the teeth, roll the white fondant out to 2mm thick and cut tiny squares with your sharp knife.
GoodtoKnow Newsletter
Parenting advice, hot topics, best buys and family finance tips delivered straight to your inbox.
Step 7
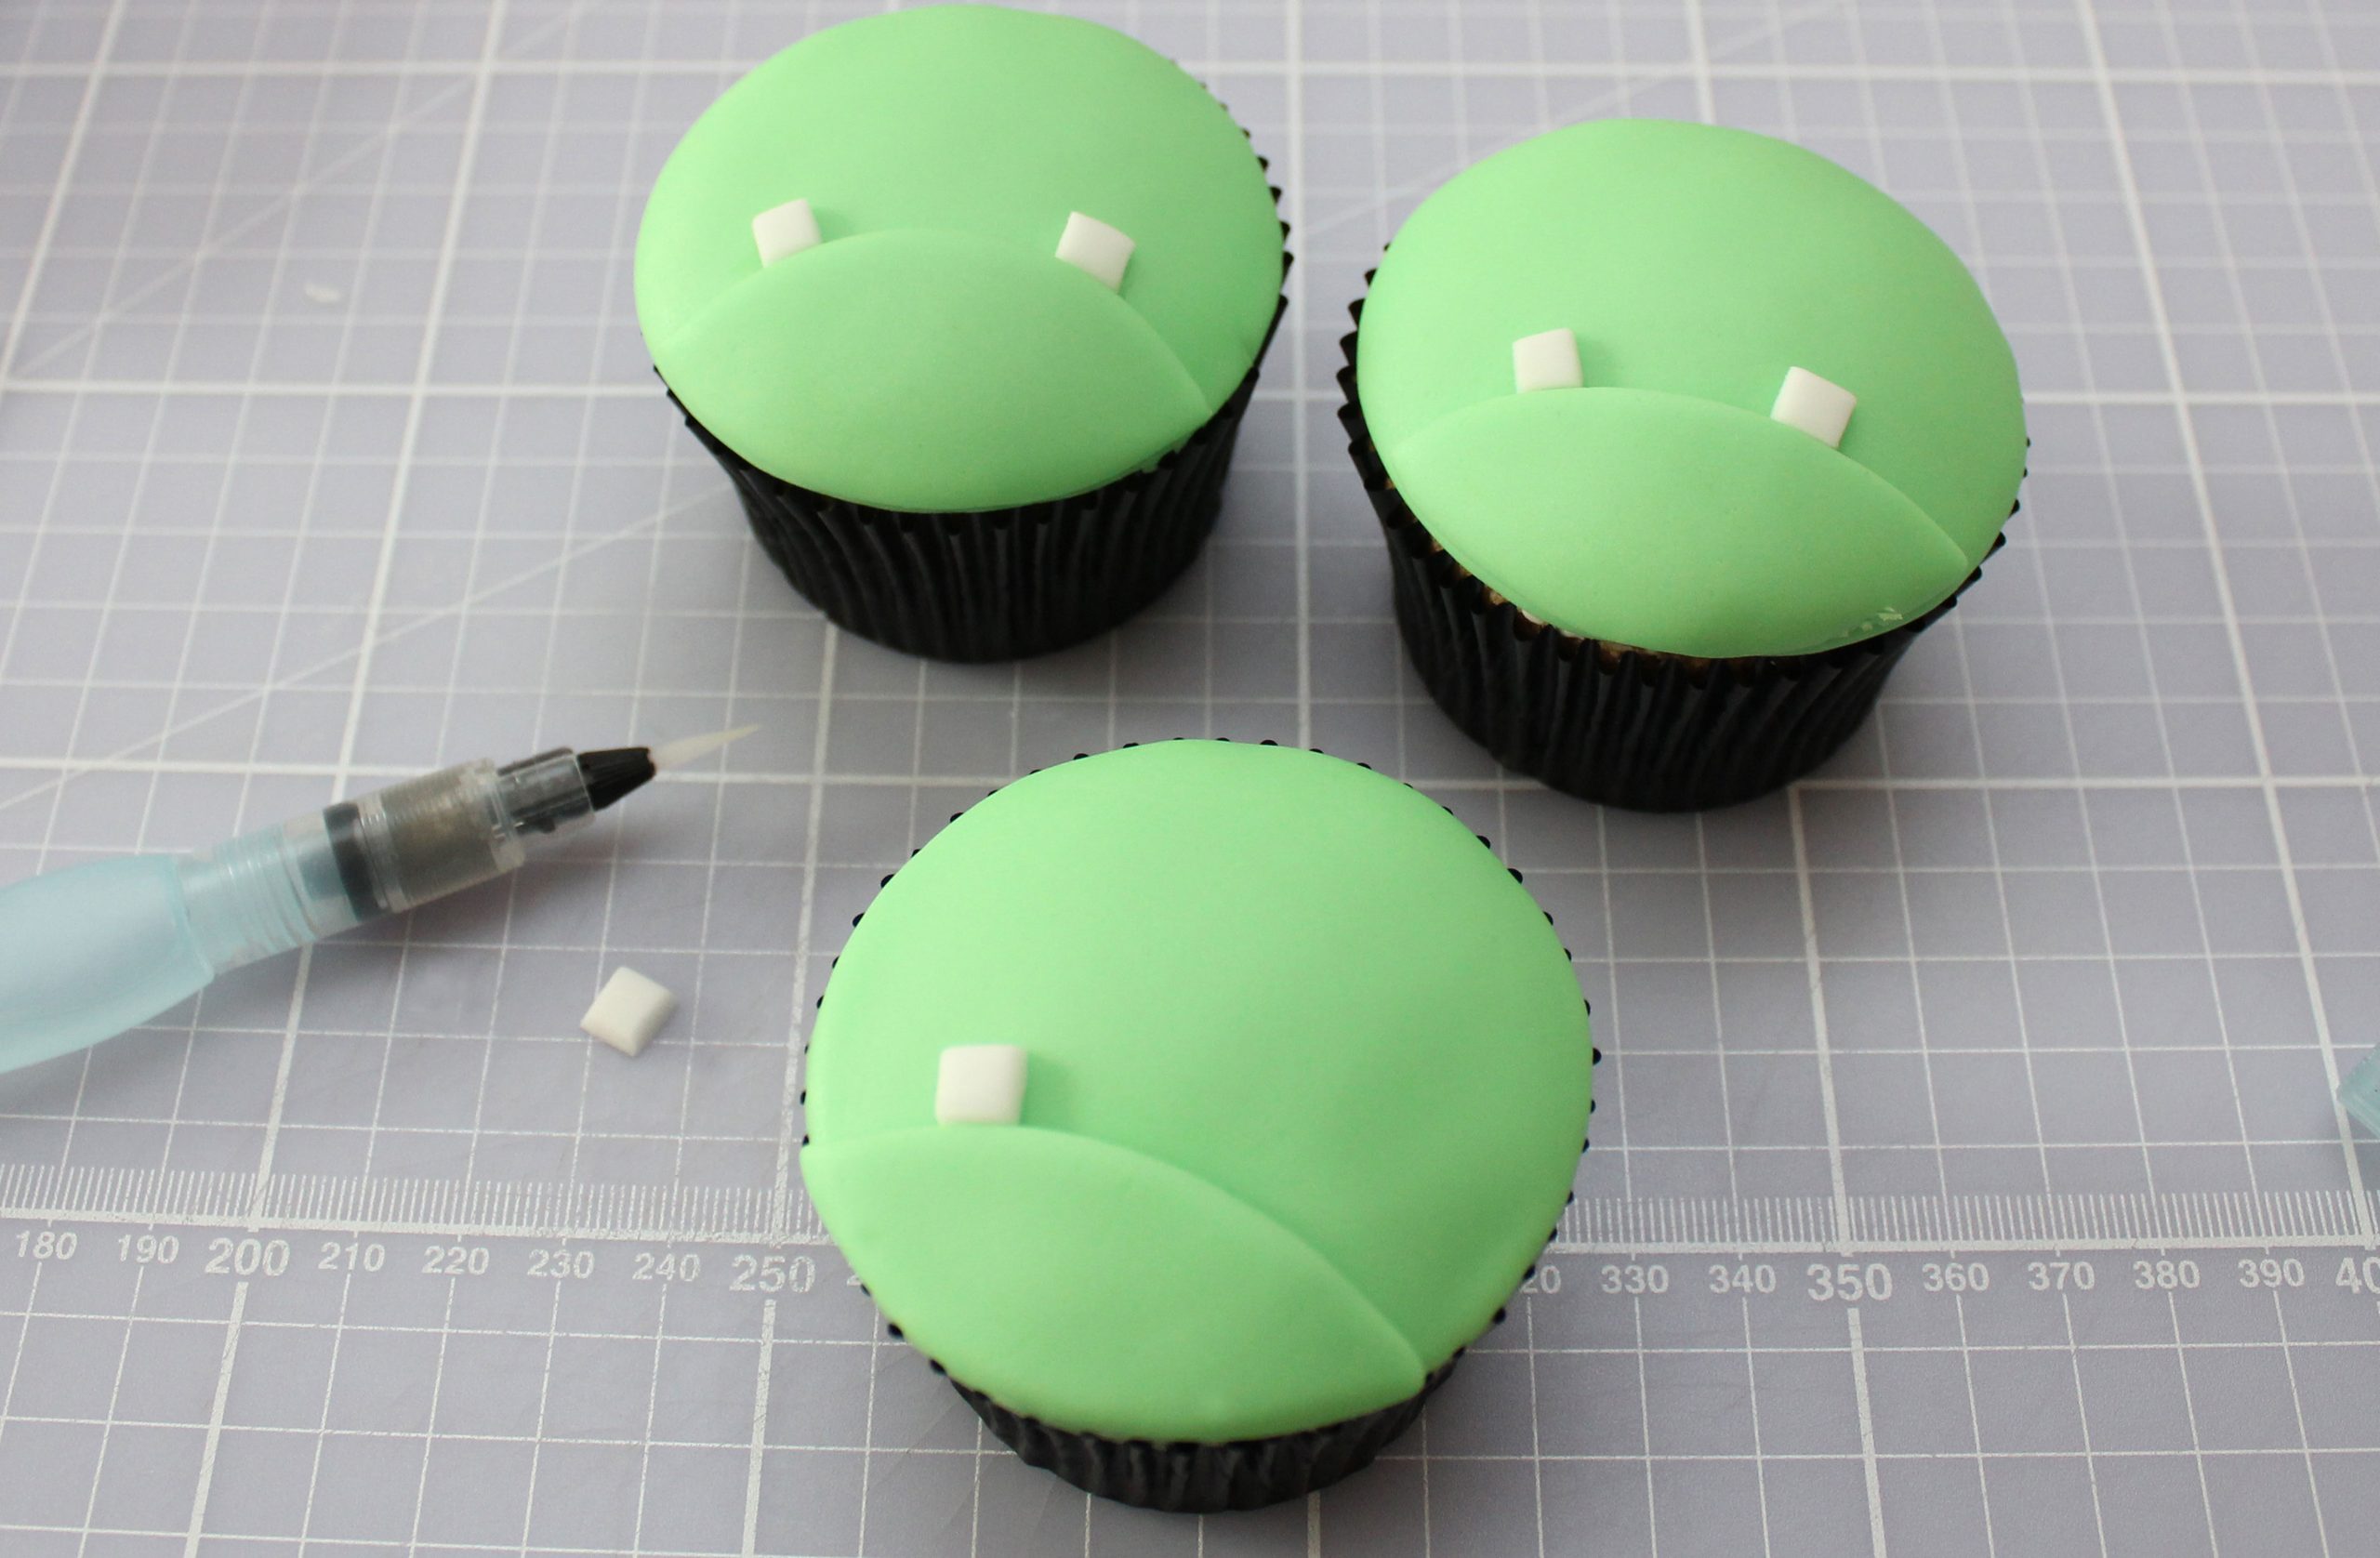
Using the water brush, add a dot of water where you would like the teeth to go.
Step 8
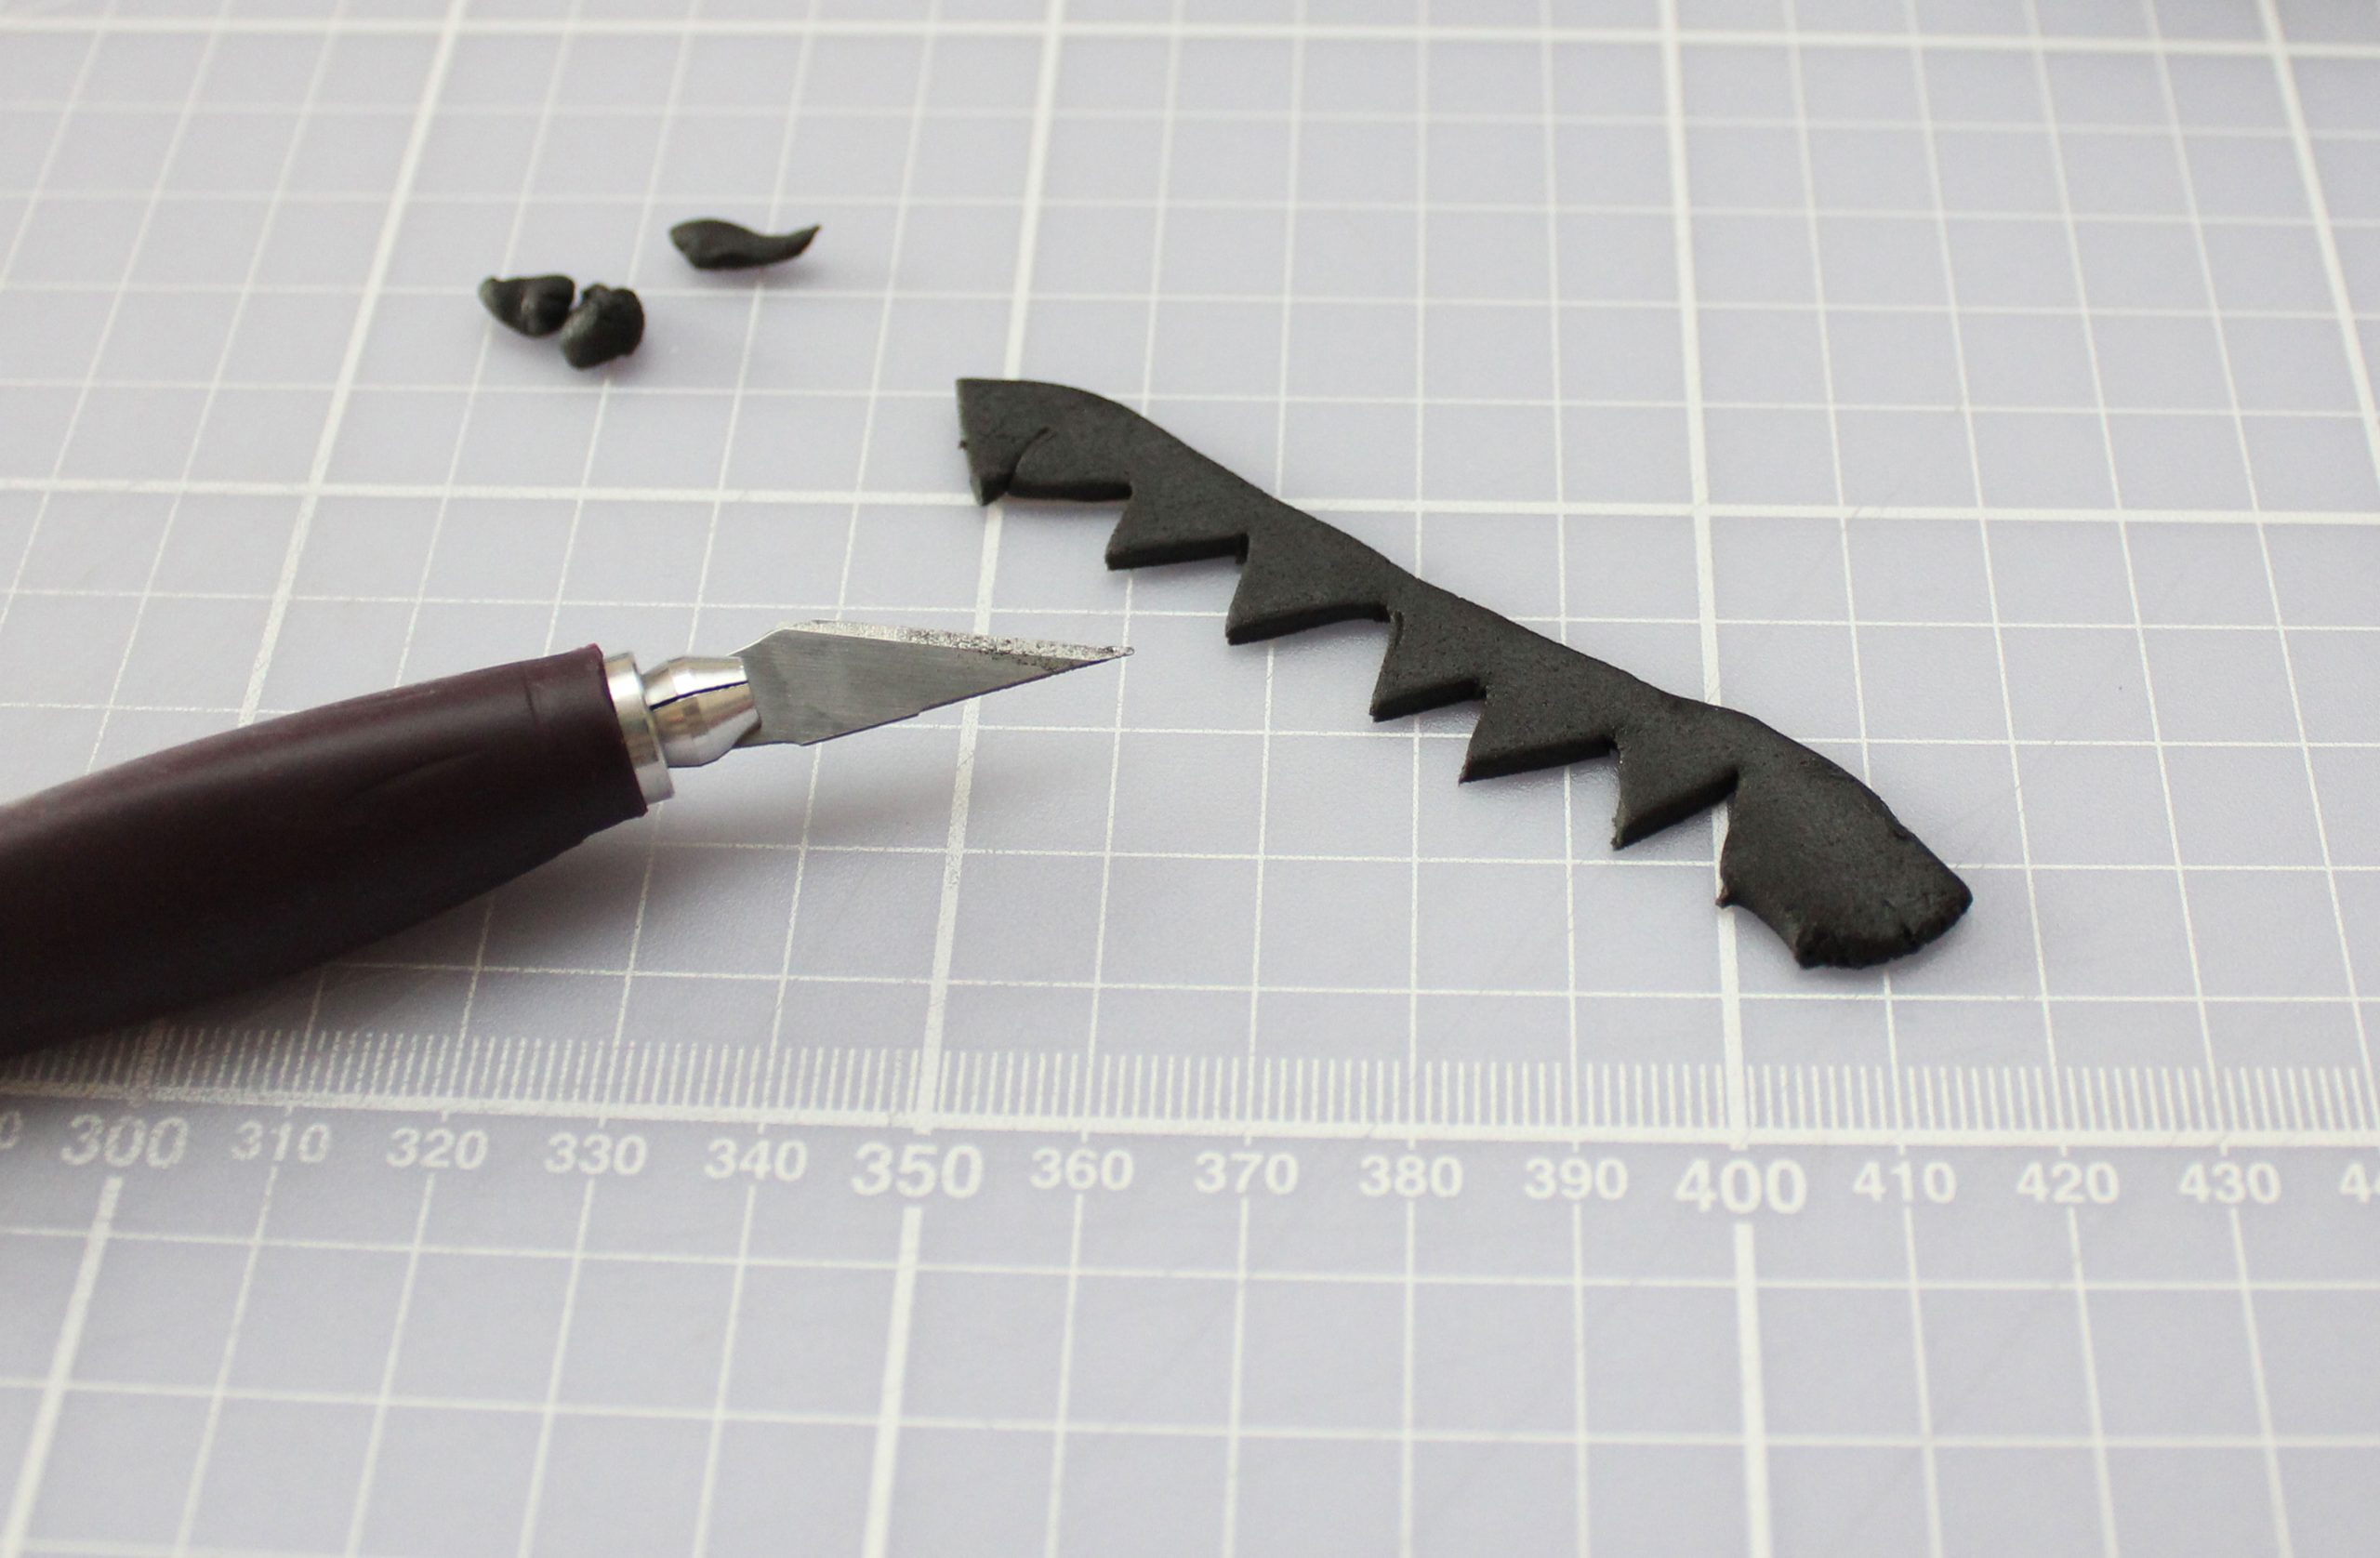
For the hair, roll the black fondant out to 2mm thick and cut a long strip, cutting triangle shapes from one side to make the fringe.
Step 9
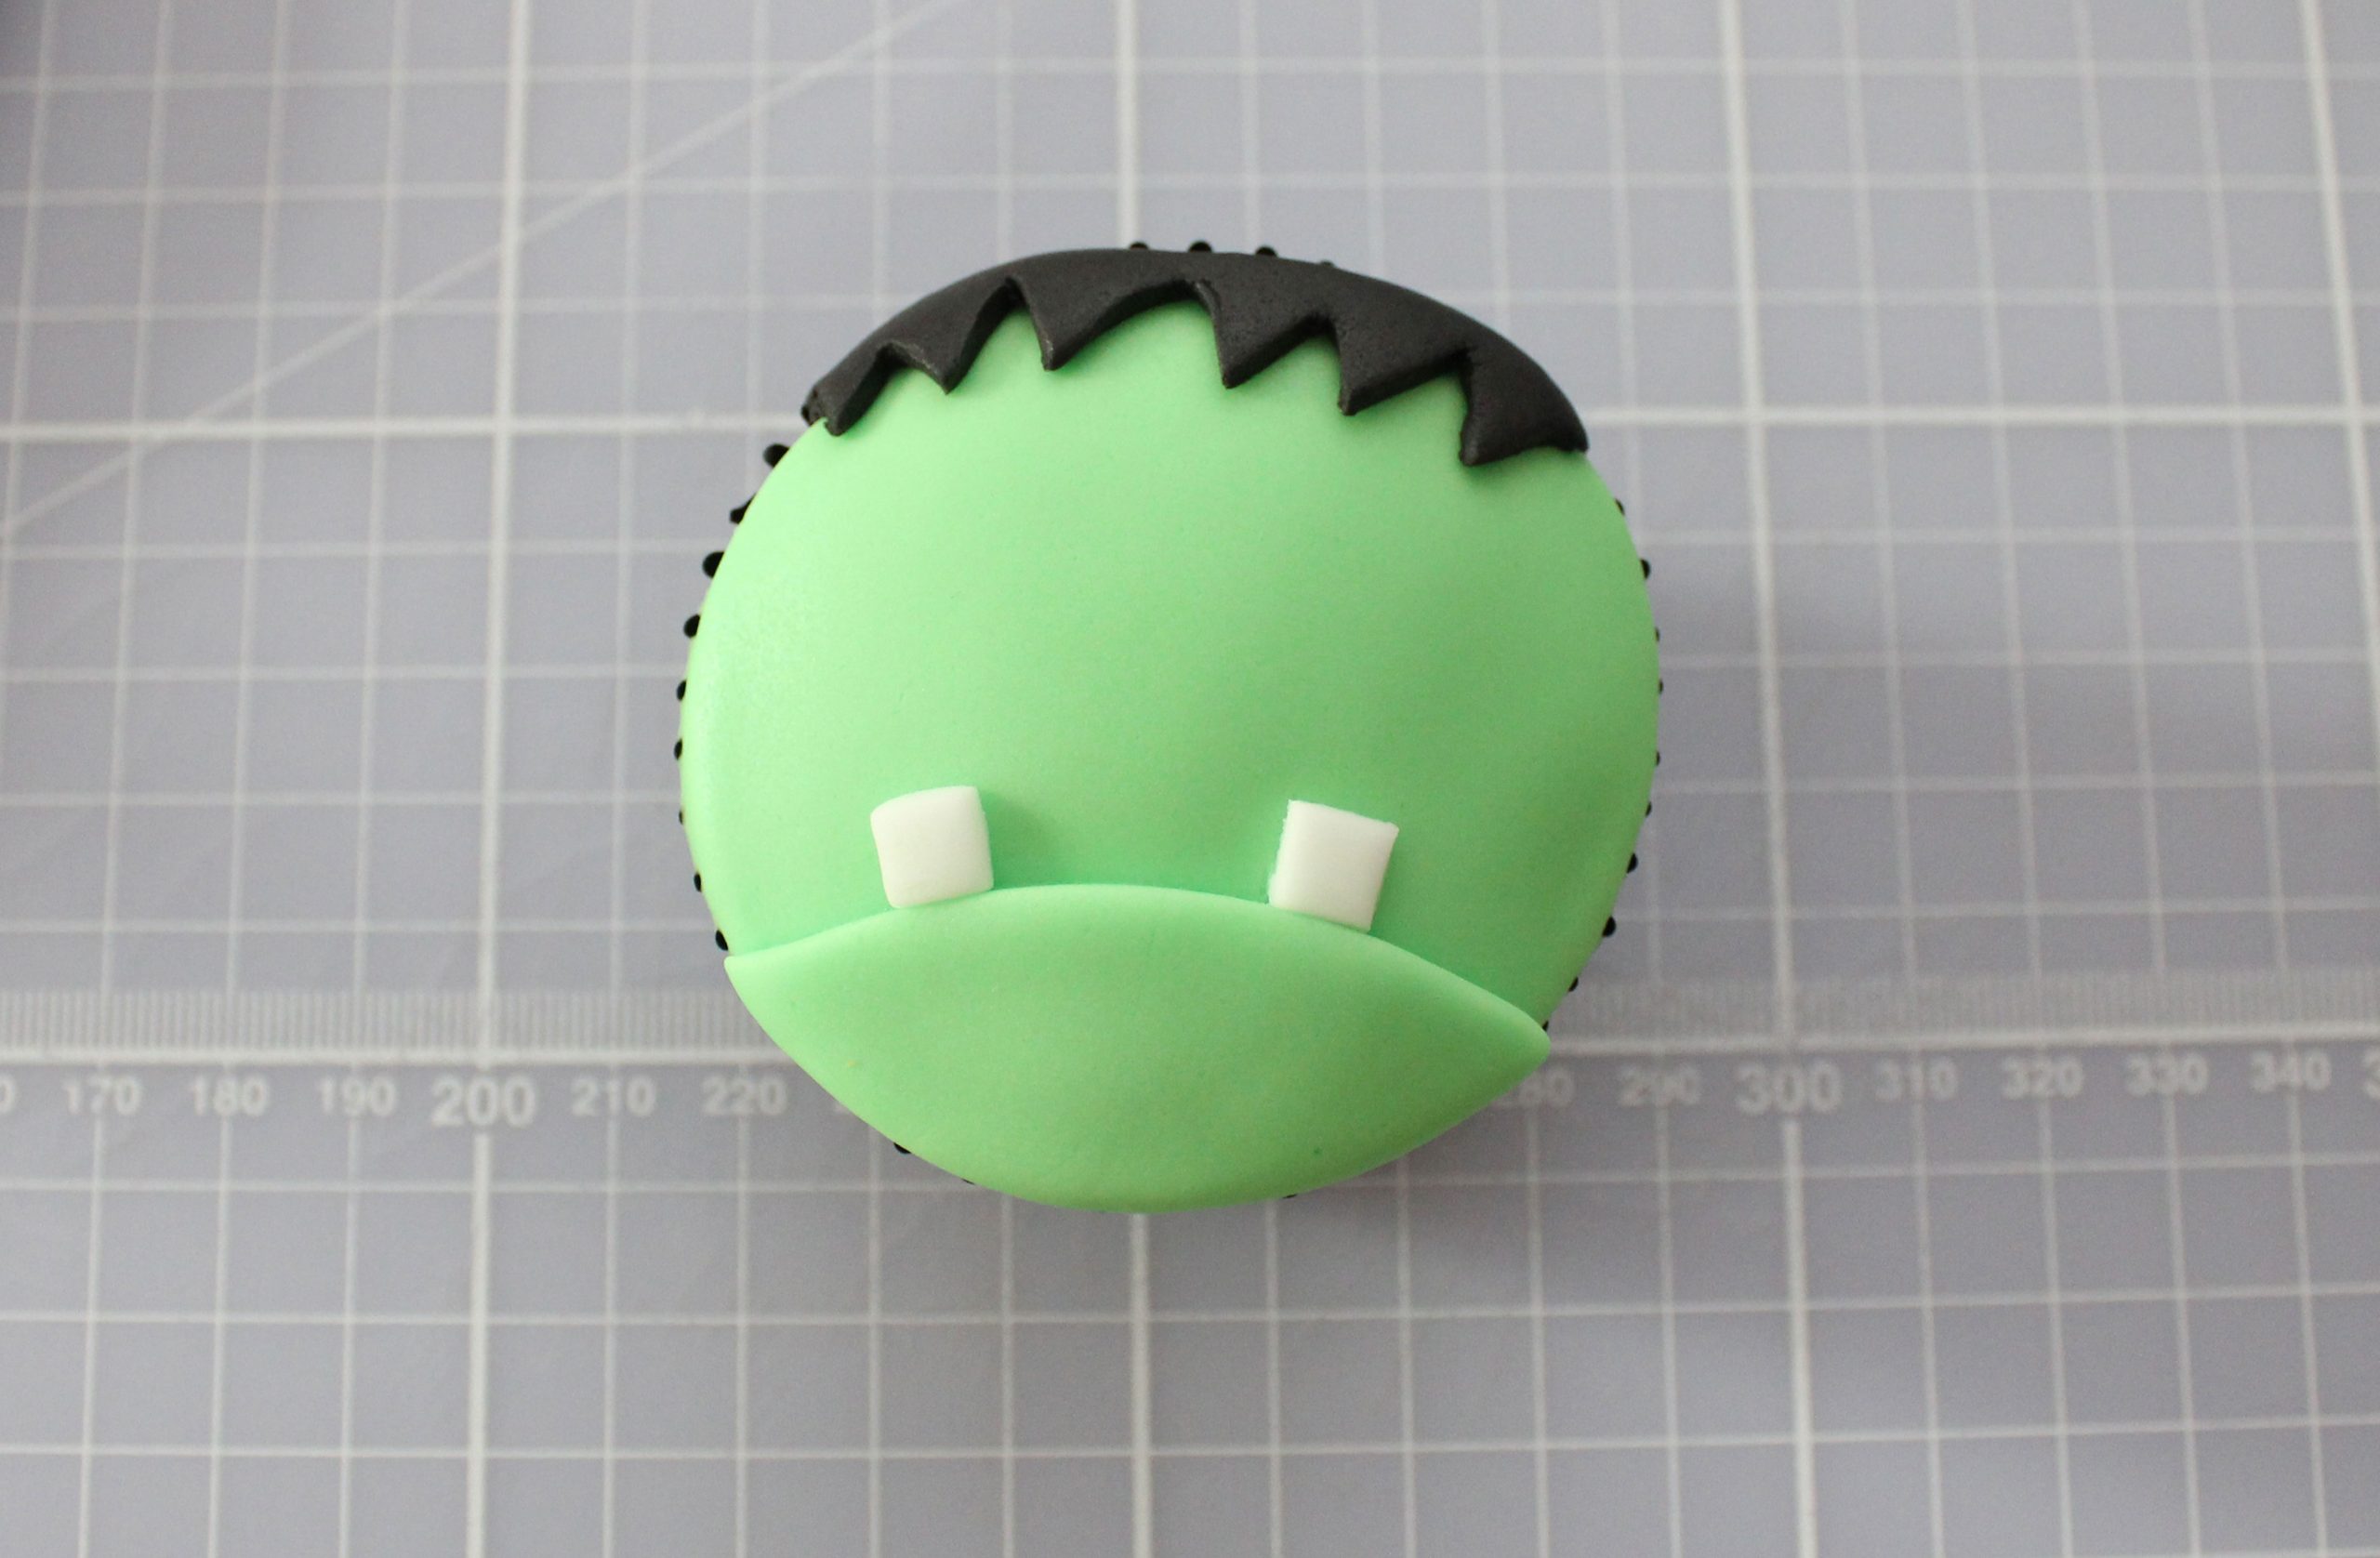
Stick this to the top of the head using the water brush.
Step 10
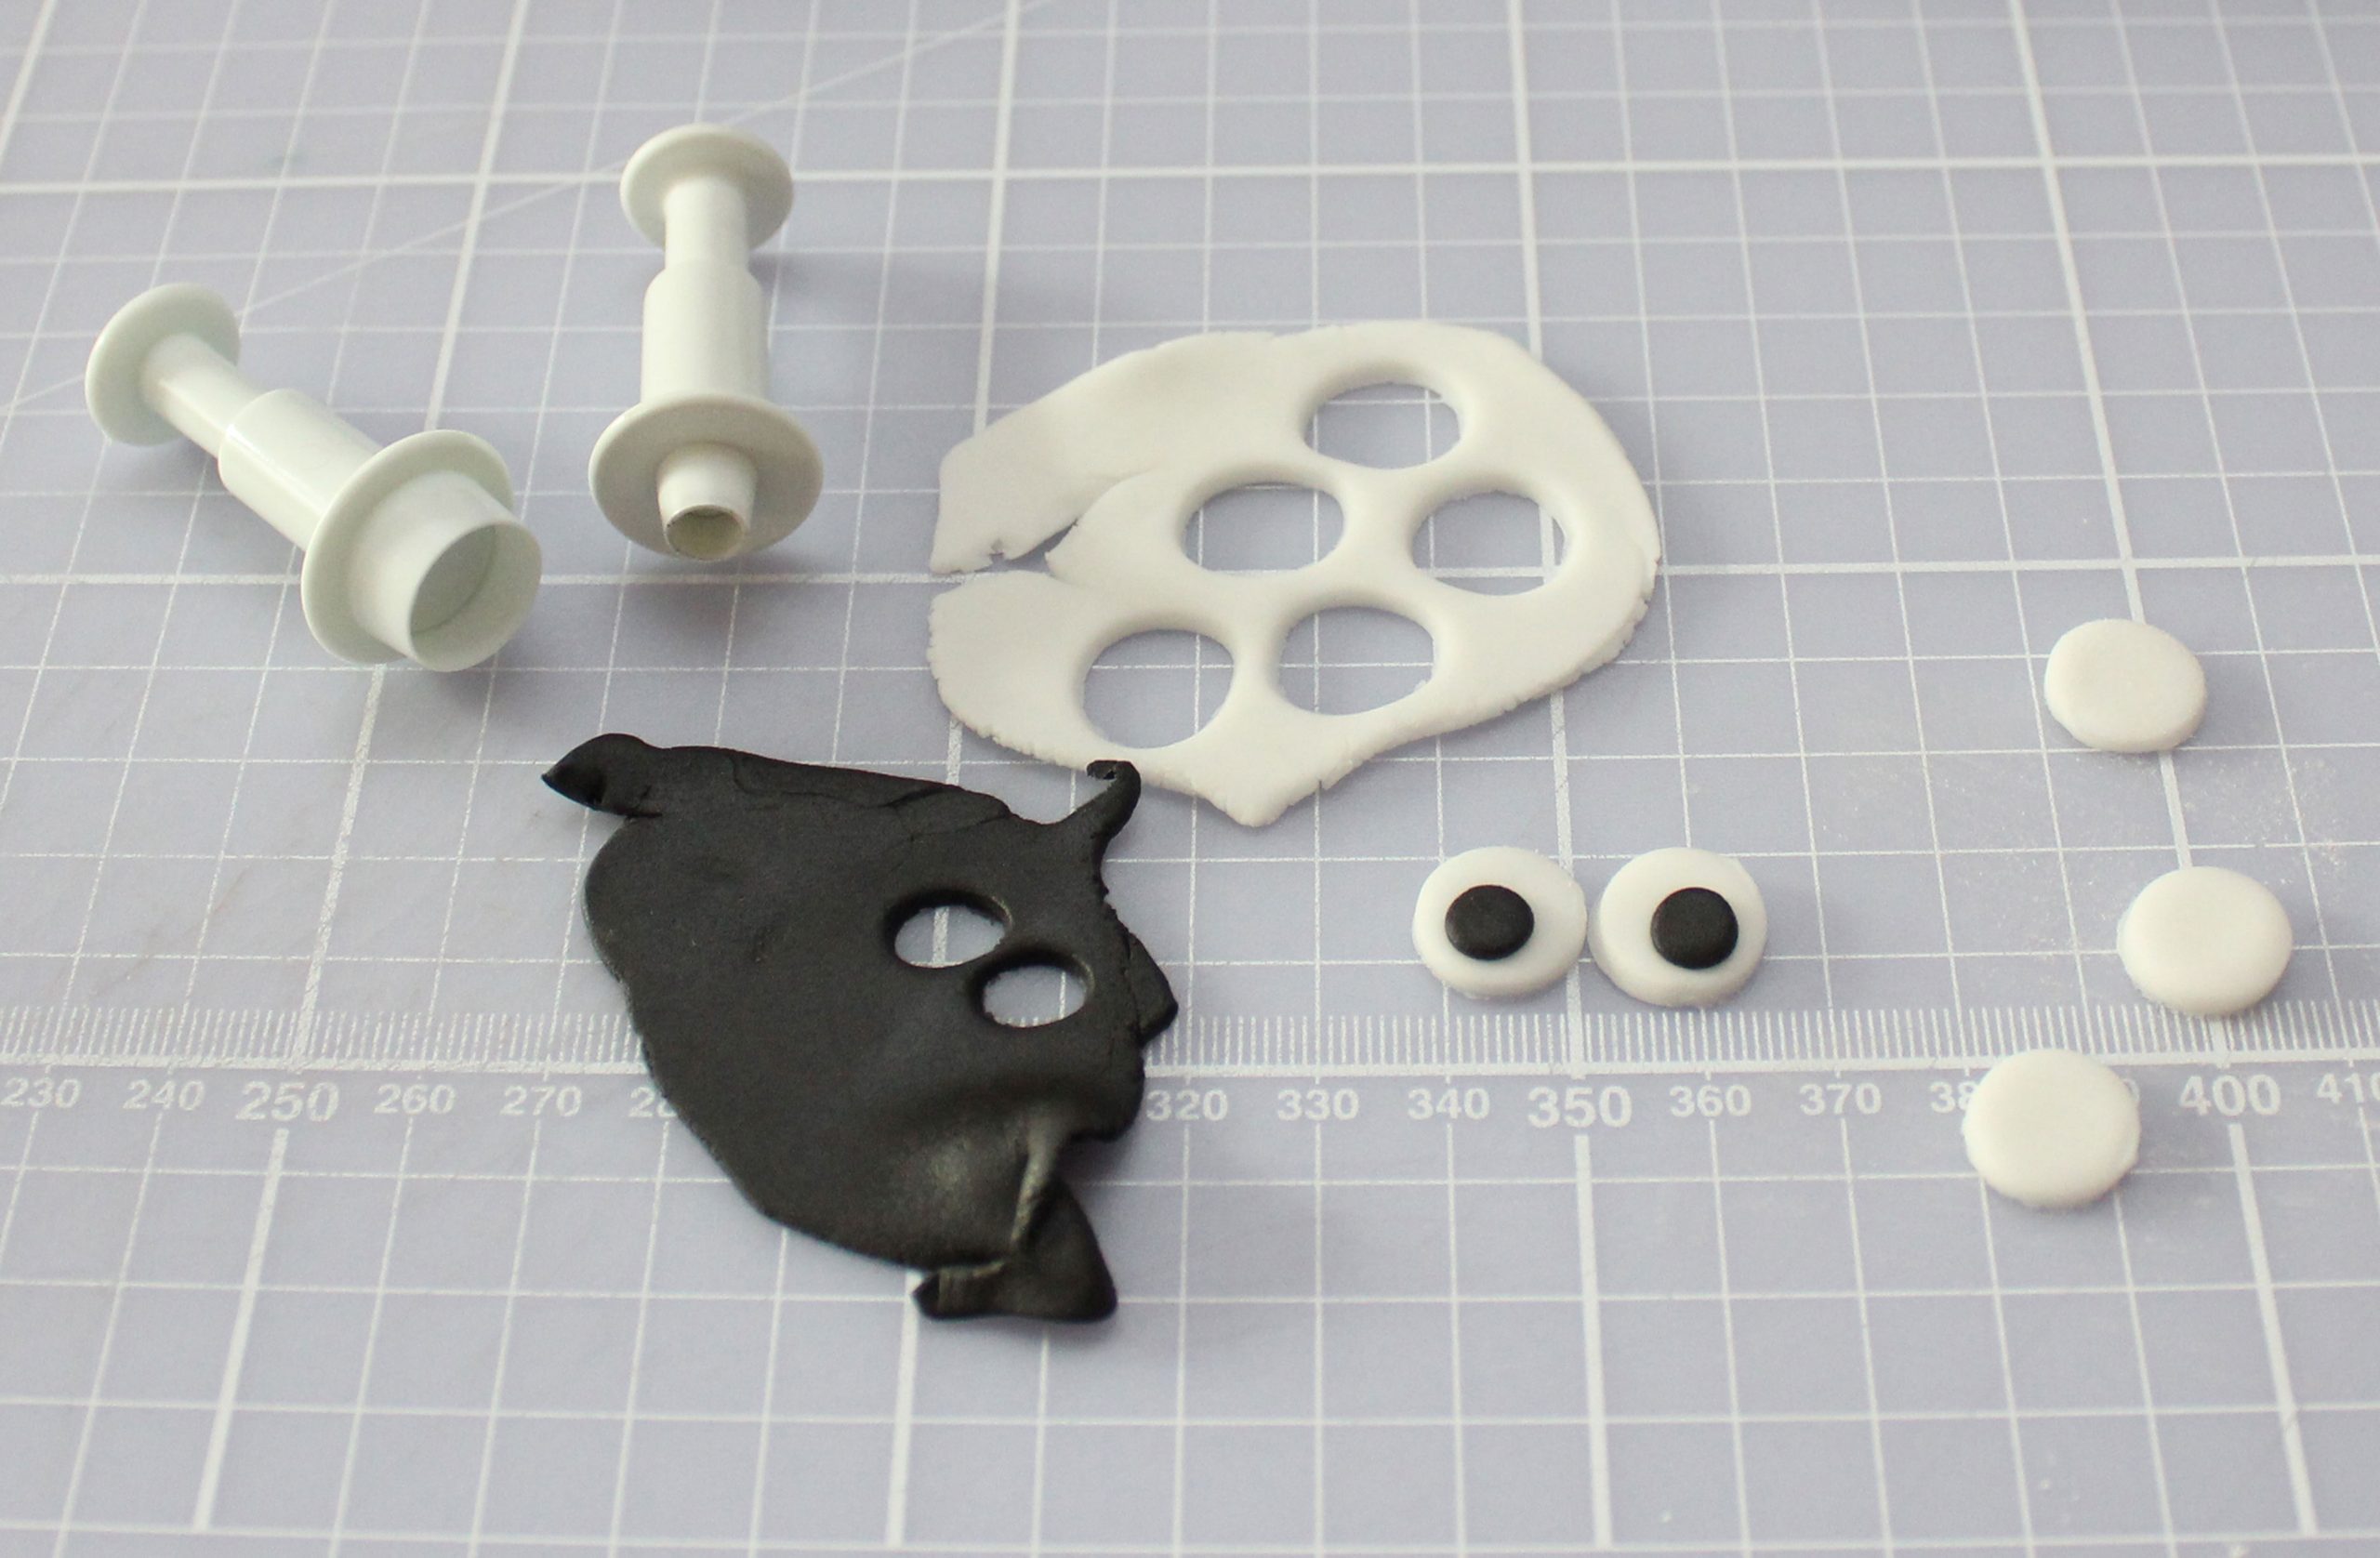
For the eyes, use the 13mm and 5mm cutters, cutting the large circle in white first and then a small black circle for the centre. Stick the black dots to the white and then trim the tops off the eyes to make way for the eyelids. If anything seems to be sticking, give everything a light dust with cornflour.
Step 11
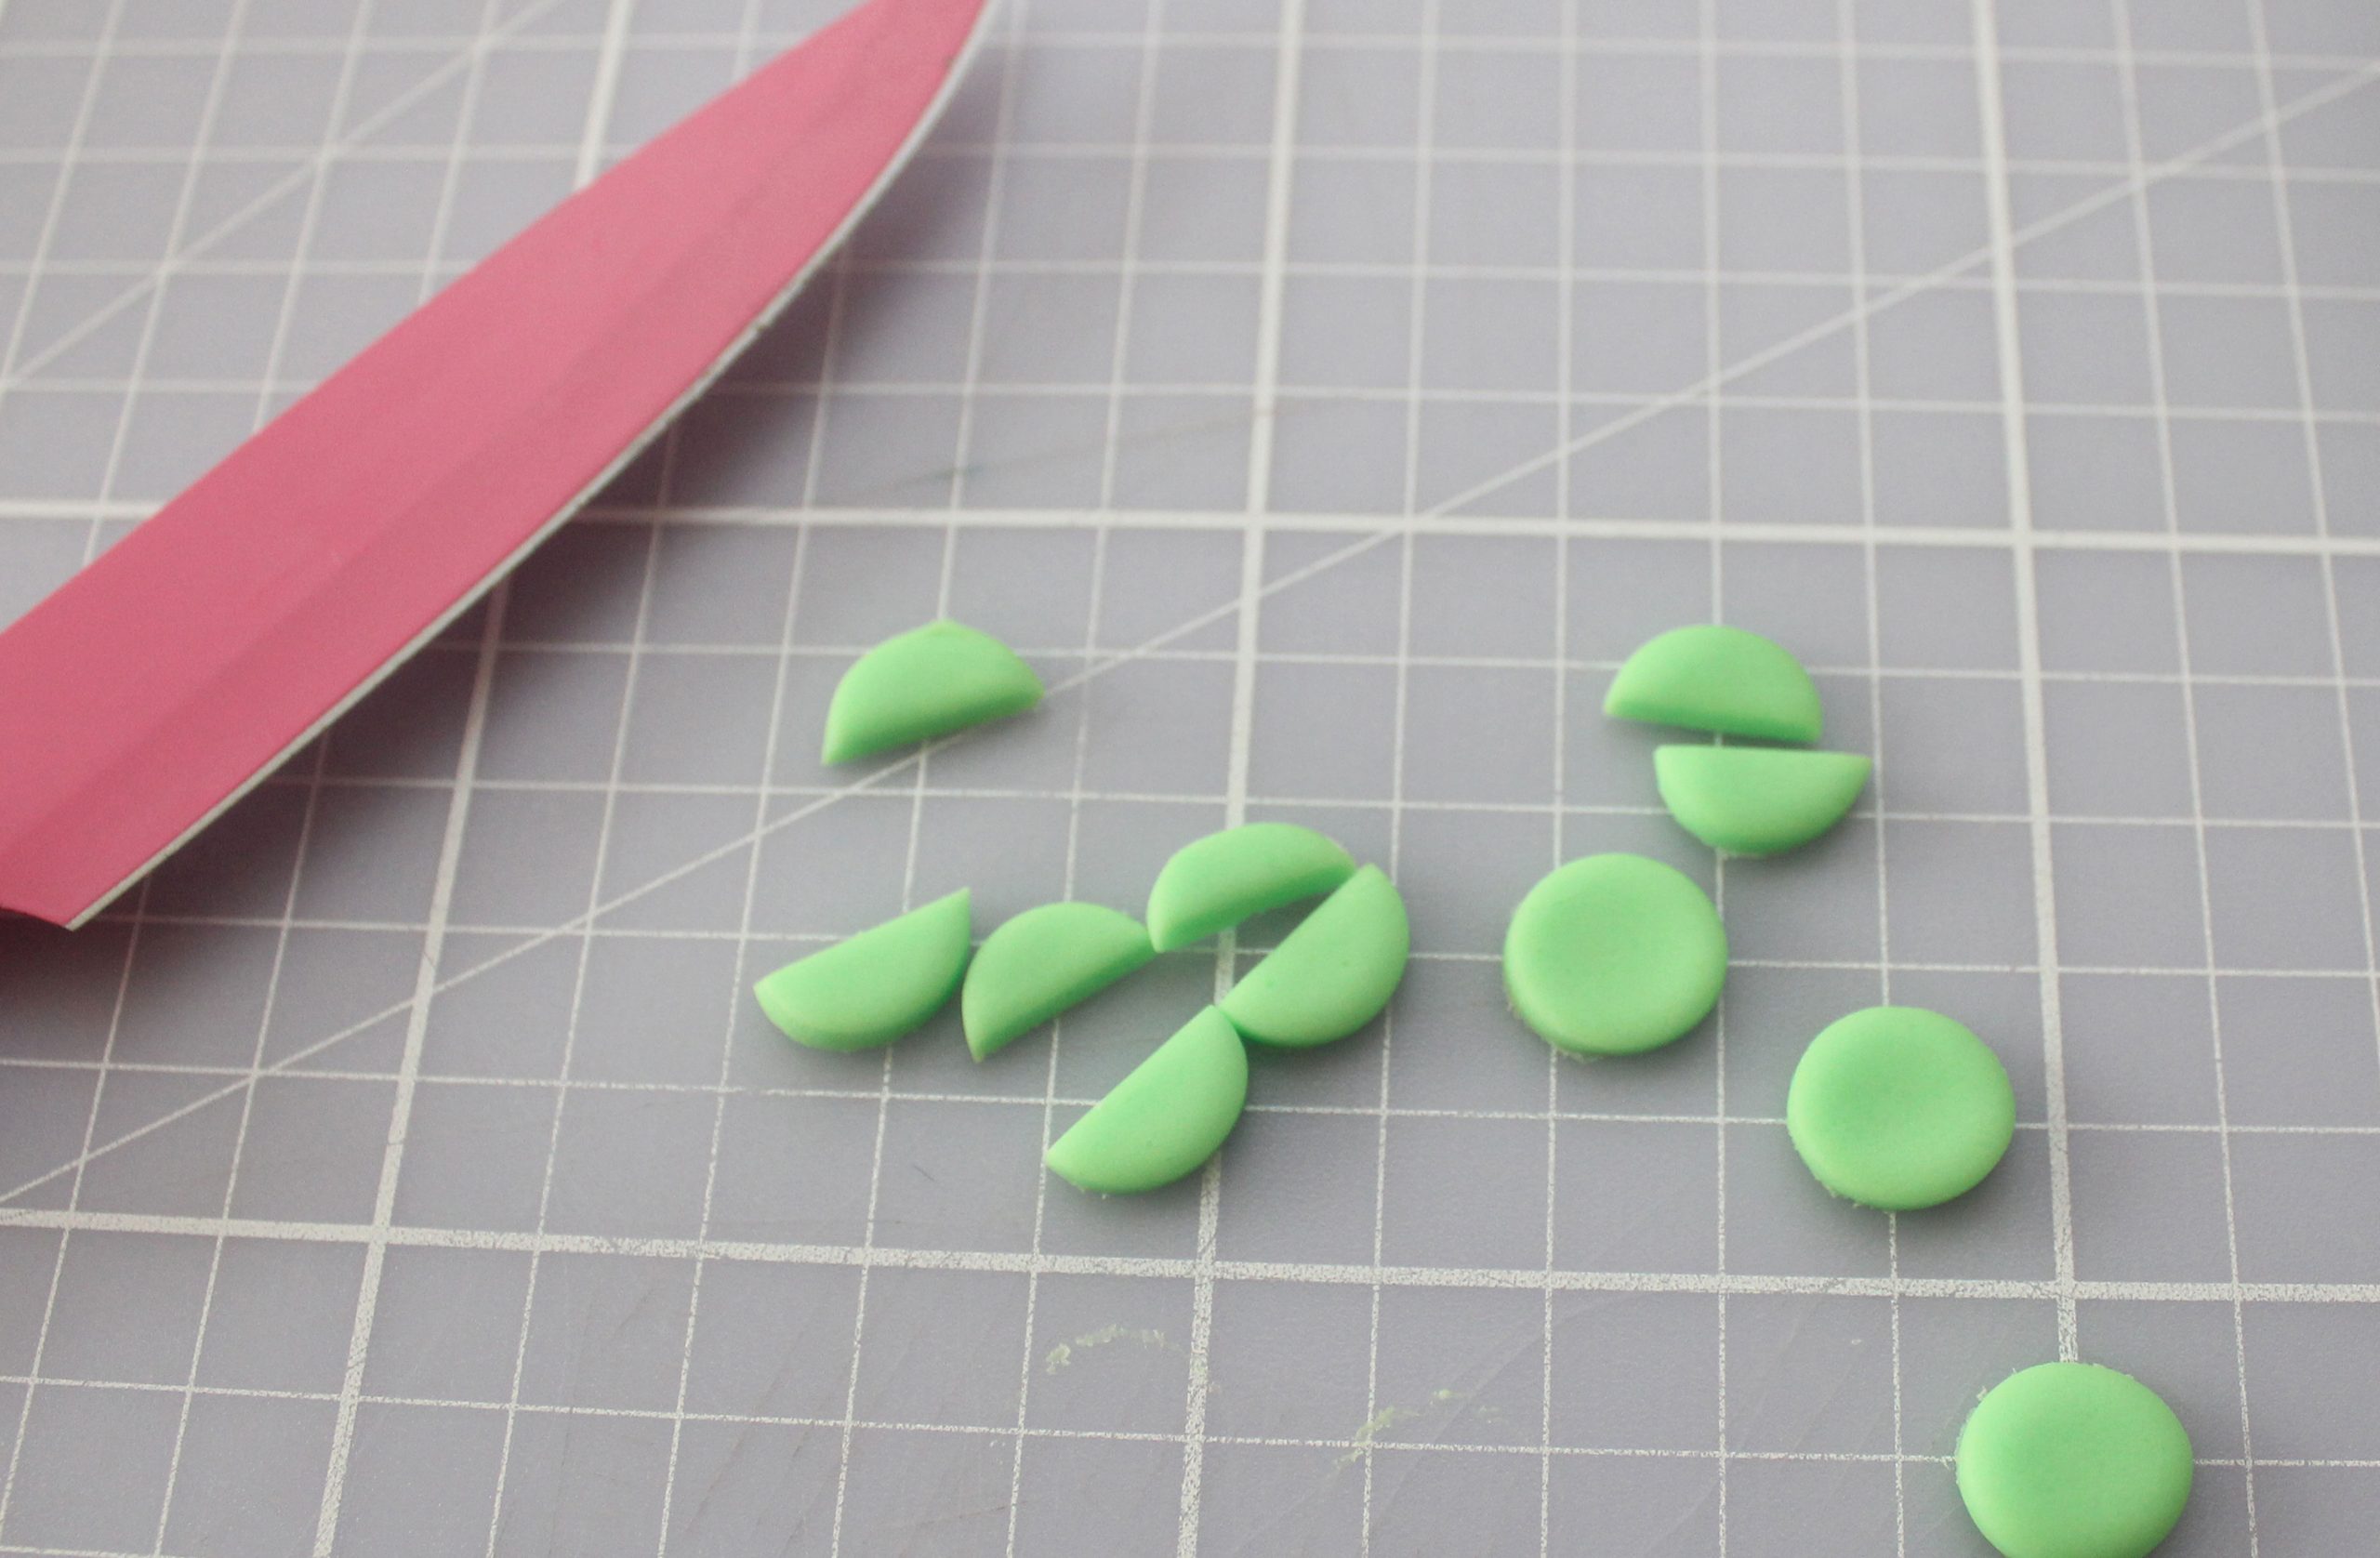
To make the eyelids, cut 13mm green circles and cut them in half sticking them to the tops of the eyes, when you add them to the cupcakes.
Step 12
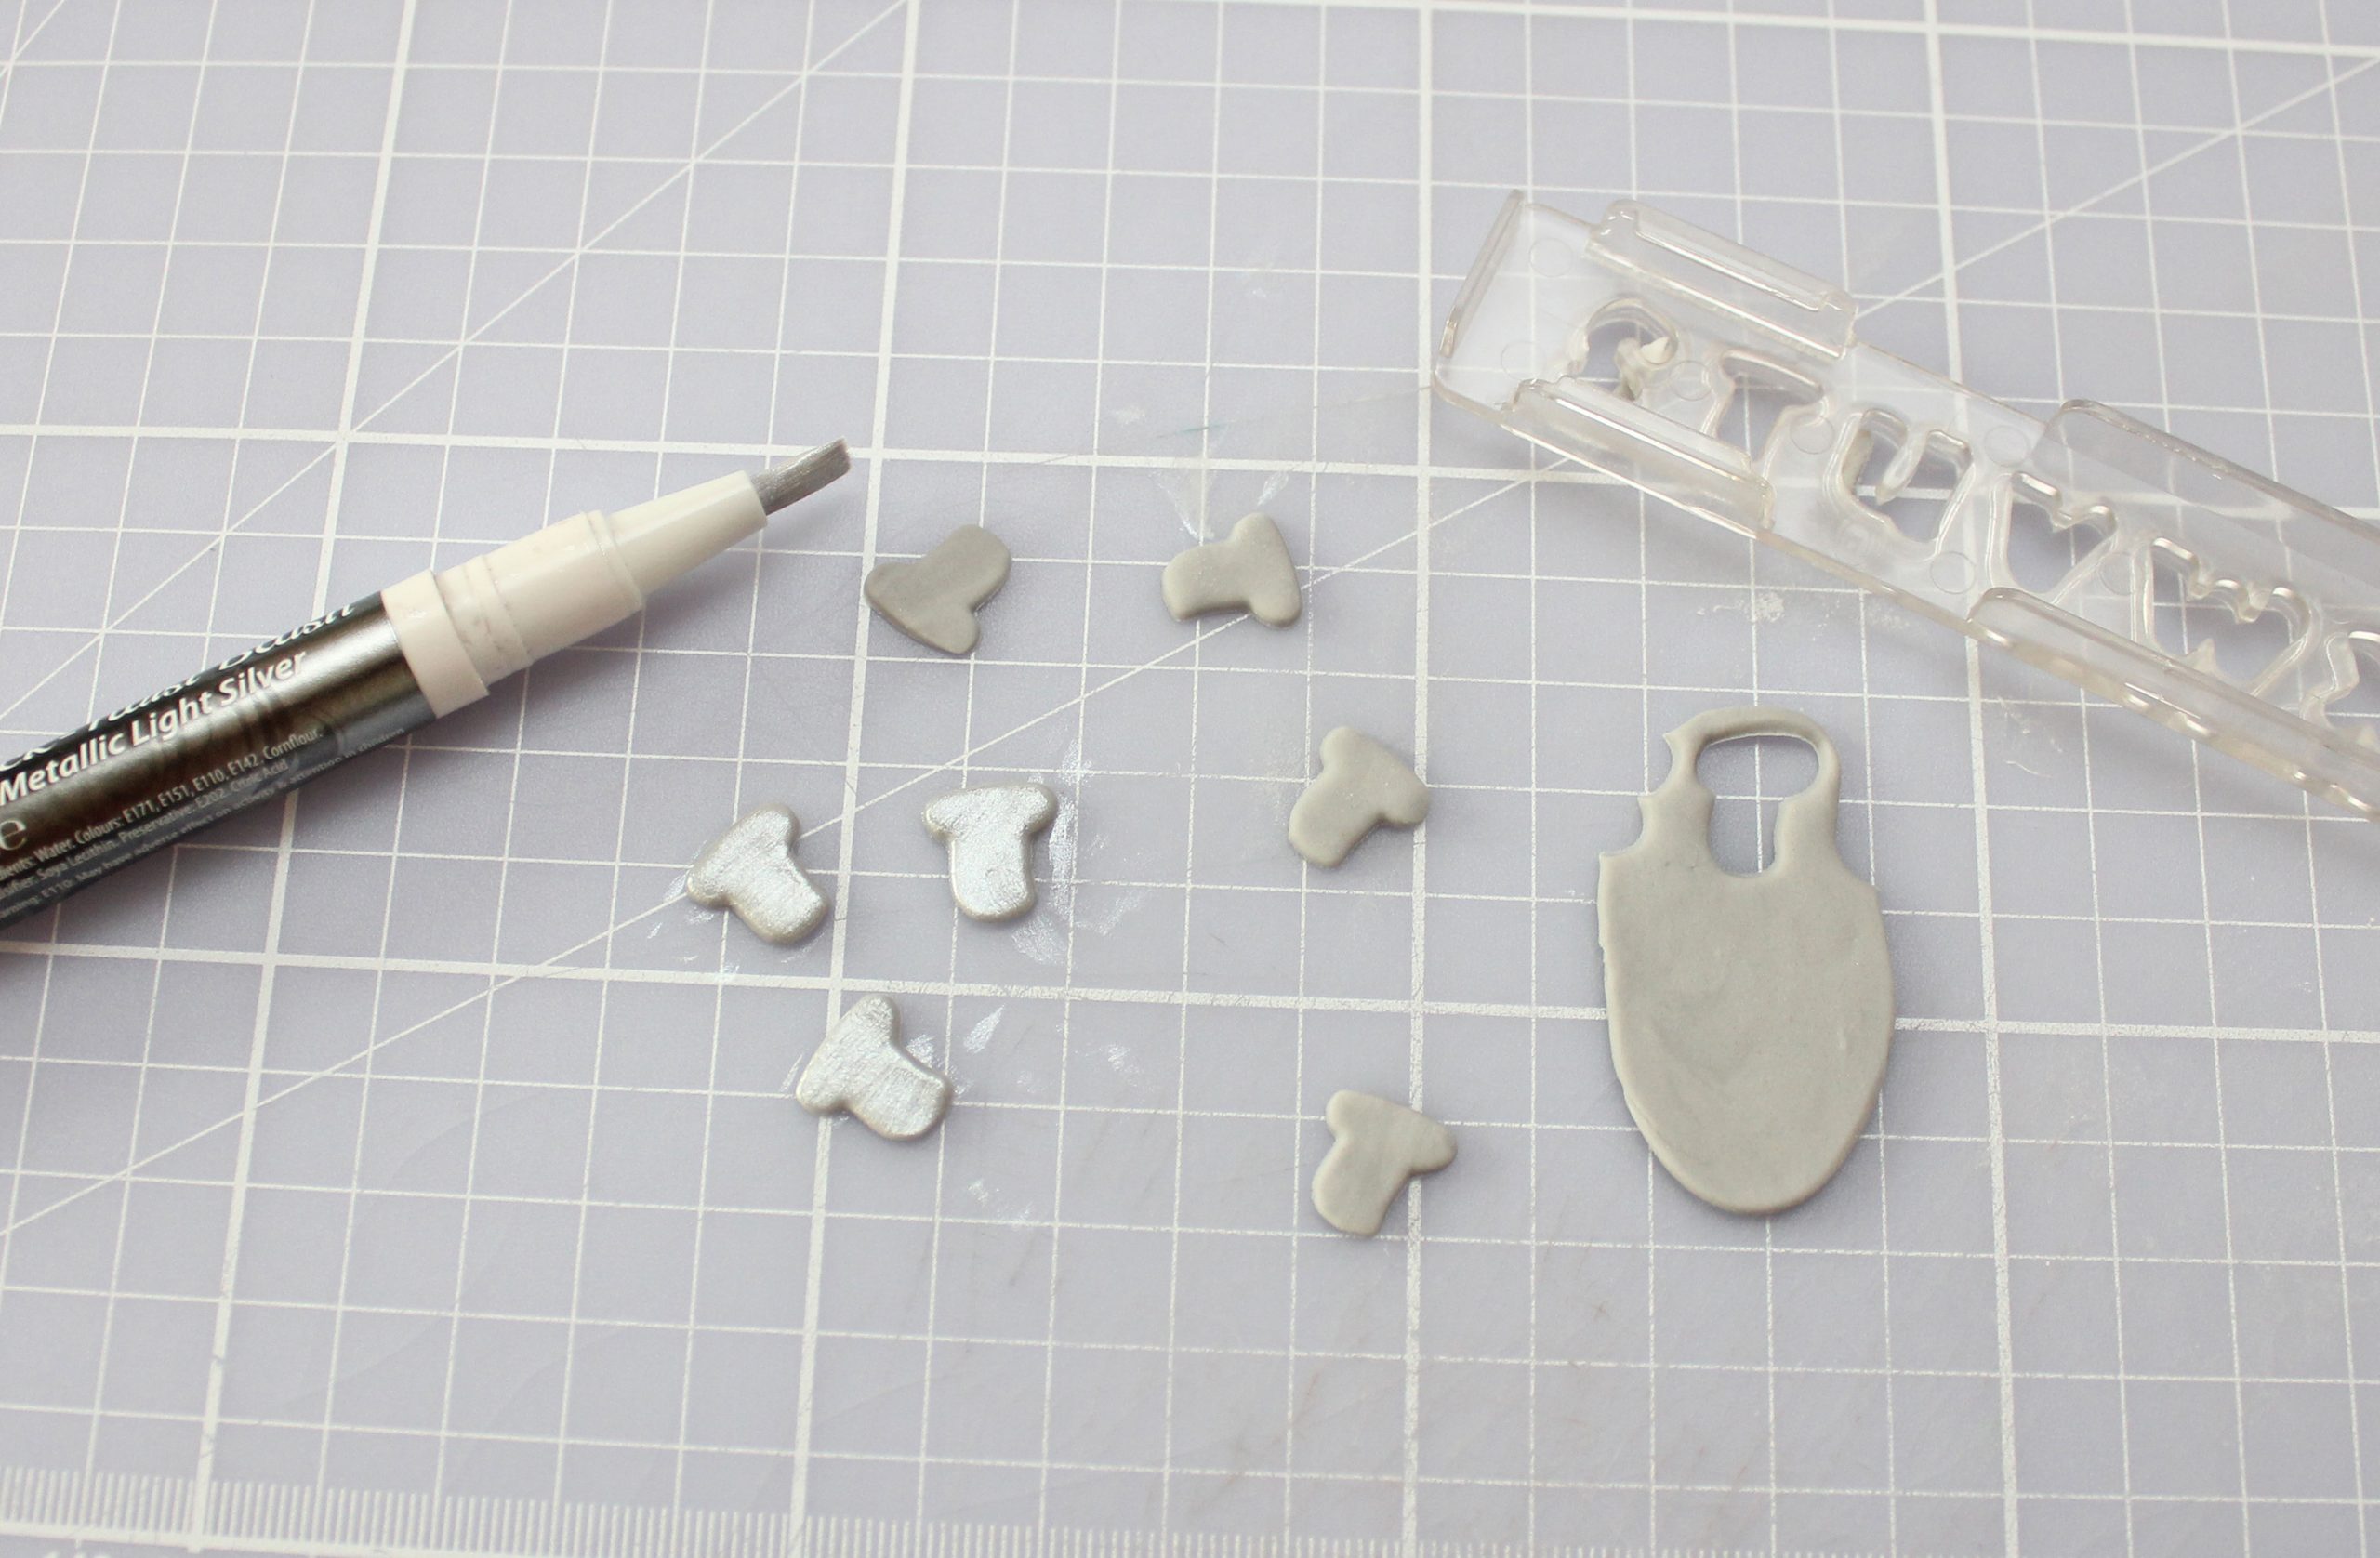
To make the bolts, add a tiny dot of black fondant to the modelling paste and knead together to make grey modelling paste. Using the alphabet cutter, cut the capital letter ‘t’ out for the bolts and leave them to dry for a few minutes. Once dry to touch, give them a little brush with the silver food colour pen and leave them to dry again. Once dry, they will be strong enough to push into the sides of the head. Placing them on a sponge will speed up the drying process.
Step 13

Push the bolts into the sides, add a touch of petal dust to the cheeks with a soft brush if liked - and your cupcakes are now ready to serve!

Jessica Dady is Food Editor at GoodtoKnow and has over 12 years of experience as a digital editor, specialising in all things food, recipes, and SEO. From the must-buy seasonal food hampers and advent calendars for Christmas to the family-friendly air fryers that’ll make dinner time a breeze, Jessica loves trying and testing various food products to find the best of the best for the busy parents among us. Over the years of working with GoodtoKnow, Jessica has had the privilege of working alongside Future’s Test Kitchen to create exclusive videos - as well as writing, testing, and shooting her own recipes. When she’s not embracing the great outdoors with her family at the weekends, Jessica enjoys baking up a storm in the kitchen with her favourite bakes being chocolate chip cookies, cupcakes, and a tray of gooey chocolate brownies.