There’s no better way to decorate your Easter baking than with this cheerful chap, the perfect combination of cheeky and cute.
You could use him with other Easter-themed decorations on a large cake or top cupcakes with a little rabbit each - let your imagination go wild.
Once made, you can keep these in a breathable cake box for a good few days, letting you get ahead on your Easter prep.
The amounts make 1 bunny but you can double or triple the ingredients if you want to make more - you could also choose to make your bunnies a smaller or bigger size, or even a different colour - the choice is yours!
By Victoria Threader
Ingredients
For this Easter recipe you will need:
- 70g beige modelling paste
- 1g pink modelling paste
- 1g yellow modelling paste
- 1g cream modelling paste
- 1/4g white modelling
- Black sugar pearls for the eyes
- Chinese clear noodles for the whiskers
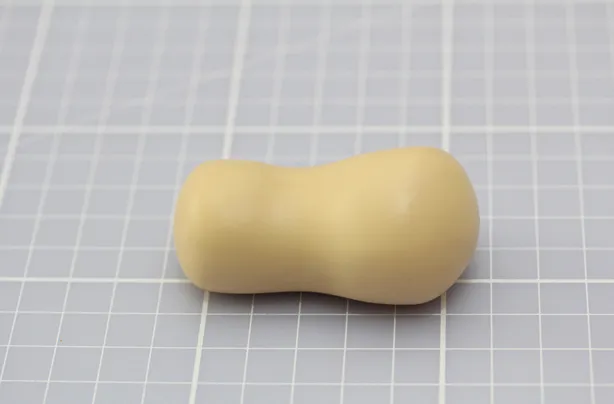
Step 1
For the body: Roll 60g of beige modelling paste into a ball. Using your index finger, roll a dent in the centre to make a neck.
Step 2

Roll a long sausage shape at the top of the head, tapering into a point at the top.
Step 3

Using a sharp knife, cut down the centre of the top to make ears.
Step 4

For the feet: Roll 3g of beige paste into a ball, pinch the bottom to make a foot shape, mark out the toes by pushing a cocktail stick into the top twice.
Step 5

For the pads of the feet: Roll tiny pink balls of paste and push them flat with the tip of your finger and stick them on to the feet with a dot of water.
Step 6

Stick the feet onto the body with a brush of water.
Step 7

For the arms: Roll two sausage shapes, taper at one end.
Step 8

Stick the arms onto the body with a brush of water.
Step 9

For the pink of the ears: Roll a tiny sausage shape and push it flat, using the dresden tool if you have one.
Step 10

For the eyes: Roll tiny balls of white paste and push the black sugar pearls into them.
Step 11

Roll the cream modelling paste into two cheeks, a tiny ball of pink paste for the nose and cut the Chinese clear noodles for the whiskers.
Step 12

Stick the cheeks, nose, eyes and whiskers onto the head with a brush of water. Mould a bow to go around the neck (optional).
Step 13

Add the finished topper to your cake.
