Want to record your own audio on a Toniebox? We share how, with these 10 easy-to-follow steps
Whether you want to record a personalised message, poem, song or story for your little one to enjoy on their Toniebox, we explain how to do it in just 10 steps

There are lots of great things about the Toniebox, including the option to record your own audio. Here we explain how you do it - and the good news is, it's easy and quick.
If you already have a Toniebox, you might already be familiar with how the audio player works. If not, make sure you read our Toniebox review to see if this is the right audio player for you and your child.
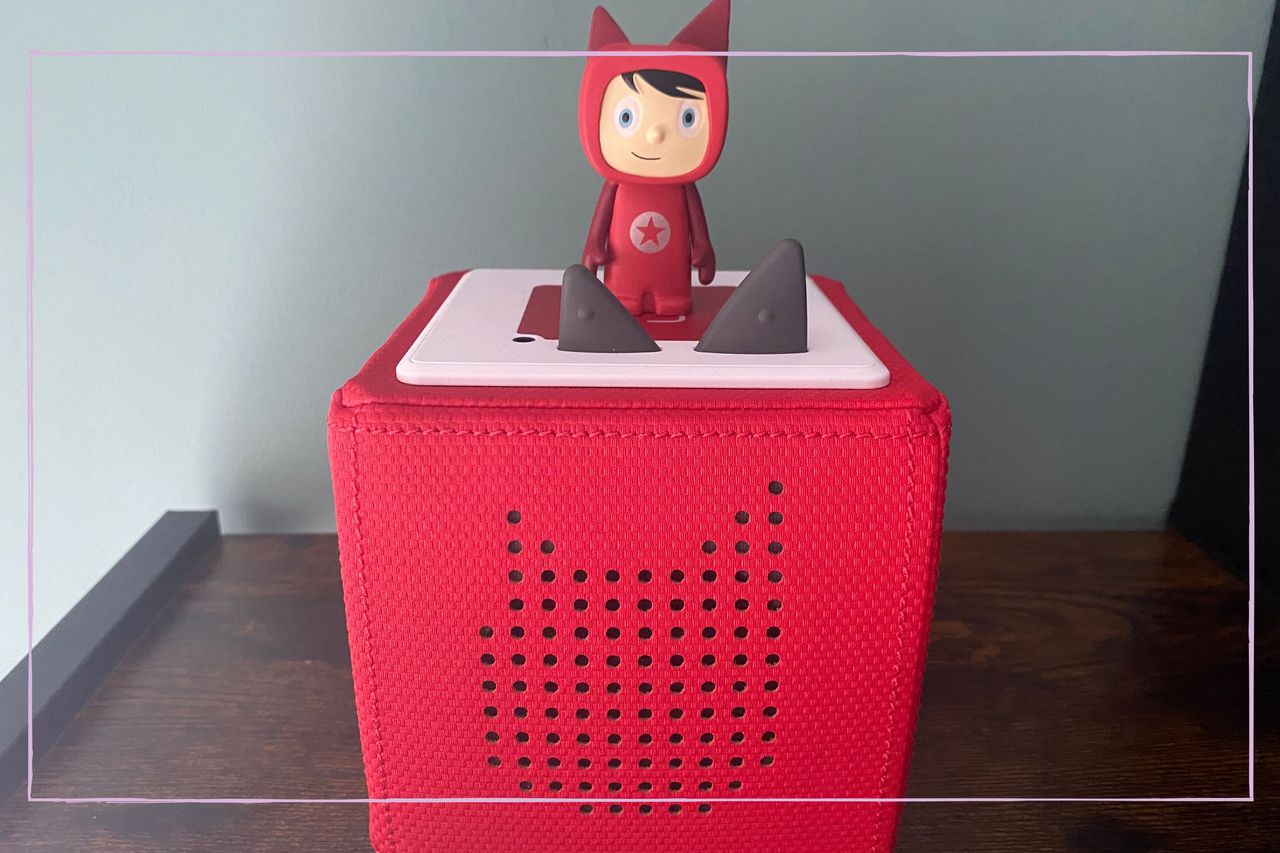
While the most popular Tonies ever include super well-known stories, like that of The Lion King, The Gruffalo and Peter Rabbit, every Toniebox comes with a Creative Tonie, which can be used to record your own stories or messages. Now the Toniebox wasn't around when I was little, but my dad did have a cassette player and a microphone, and recorded stories for my brother and I on our adventures with some family friends and an imaginary dog called Jam. I cannot convey the excitement I felt when I first heard a story where I was one of the main characters, but just know that lovely memory has stuck with me for decades.
Now things are a little more advanced, here's a step-by-step guide to recording your own stories for your child to enjoy on their Toniebox.
How to record your own story on the Toniebox
You will need:
- A Toniebox
- A Creative Tonie
- Your smartphone, and the mytonies app, available on Google Play and the App Store
With the Creative Tonie, you can record up to 90 minutes of your own audio. This could be you reading a story, making up your own adventures with your child as the main character, or recording personal messages for your little one (which might be very useful should you be away from your child for any reason).
For ease and efficiency, it's a good idea to have a strong idea of what you are going to say before you hit record. If you regularly send WhatsApp voice notes, you'll know what I mean!
GoodtoKnow Newsletter
Parenting advice, hot topics, best buys and family finance tips delivered straight to your inbox.
Step-by-step guide
- Make sure you are logged in to the mytonies app on your phone
- In the menu at the bottom of the app screen, go to Recordings. This is where you record, and where all of your existing recordings will be stored
- In the top right hand corner, you will see a microphone symbol. Press that, and you'll see a red circle appear at the bottom of the screen
- When you are ready to start your recording, press that red circle. When the recording begins the circle disappears, and a red rectangle, with the pause symbol in the centre, take its place.
- You can pause the recording at any time, and then click Resume when you want to carry on
- Once you're finished, press finish recording.
- Now you can listen back to your recording, or scrap it and start again.
- Once you're happy, you should see an upload symbol, that looks like the shape of the Creative Tonie's head with an upwards arrow. Press that and you can upload your audio track to the Creative Tonie. You can only upload one audio file at a time.
- At this stage, you can rename the file names, just double tap so your cursor appears in the file name and overwrite.
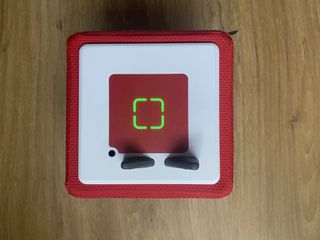
- Then you need to synchronise your Toniebox and you should be able to play your stories and messages. To sync, turn on the Toniebox, the pinch one of the ears for about three seconds until you hear a sound. You should see the lights on the top flashing blue. When the light turns solid green, you can then place the Creative Tonie on top to play your recording.

When the lights turn green after you've synced your Toniebox, then you can place the Creative Tonie on top and listen to your recording.
The Creative Tonie comes with pre-loaded content, but this is removed when you add your own recordings. However, if you want the pre-recorded content back, simply delete all custom recordings in the mytonies app.
As I mentioned in my review of the Toniebox, it did take me a couple of attempts to get the custom audio to play through the Toniebox - I seemed to have issues with the synching. While the Toniebox is easy for a child to operate, there might need to be some parental support if they want to record themselves and hear their own voices back.
For more Tonies content, check out our pick of the best educational Tonies, the latest Tonies, and our guide to Tonies starter bundles to kickstart any collection.
Sarah is GoodtoKnow’s Money Editor. After Sarah graduated from University of Wales, Aberystwyth, with a degree in English and Creative Writing, she entered the world of publishing in 2007, working as a writer and digital editor on a range of titles including Real Homes, Homebuilding & Renovating, The Money Edit and more. When not writing or editing, Sarah can be found hanging out with her rockstar dog, getting opinionated about a movie or learning British Sign Language.
-
 Why do I crave sugar? Causes of sugar cravings and how to stop them
If you're someone who suffers from sugar cravings you'll know how hard it is to give up the sweet stuff. But you're not alone.
By Debra Waters Published
-
 Low sodium diet: the benefits of reducing salt and what foods to eat
By Emily-Ann Elliott Published