Sew your own toy rabbit


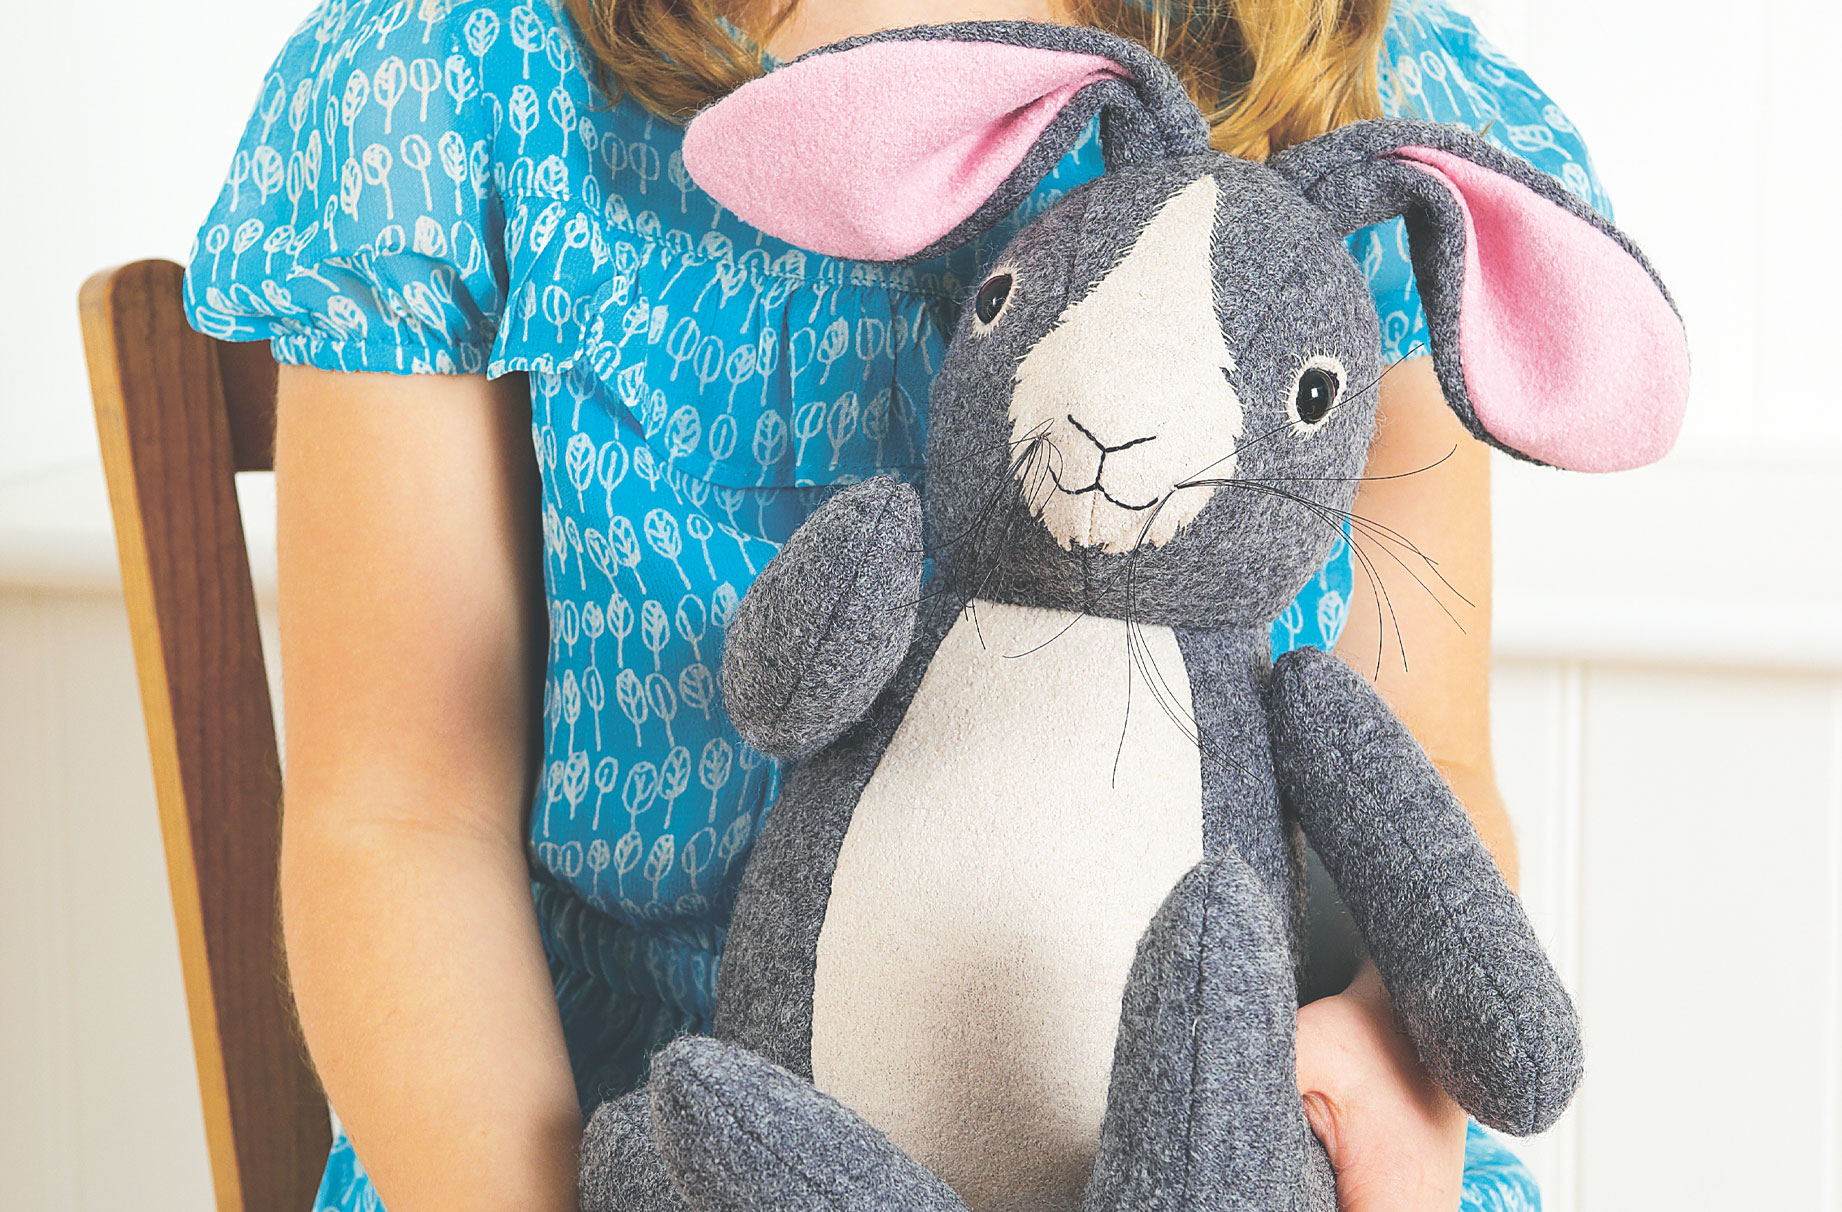
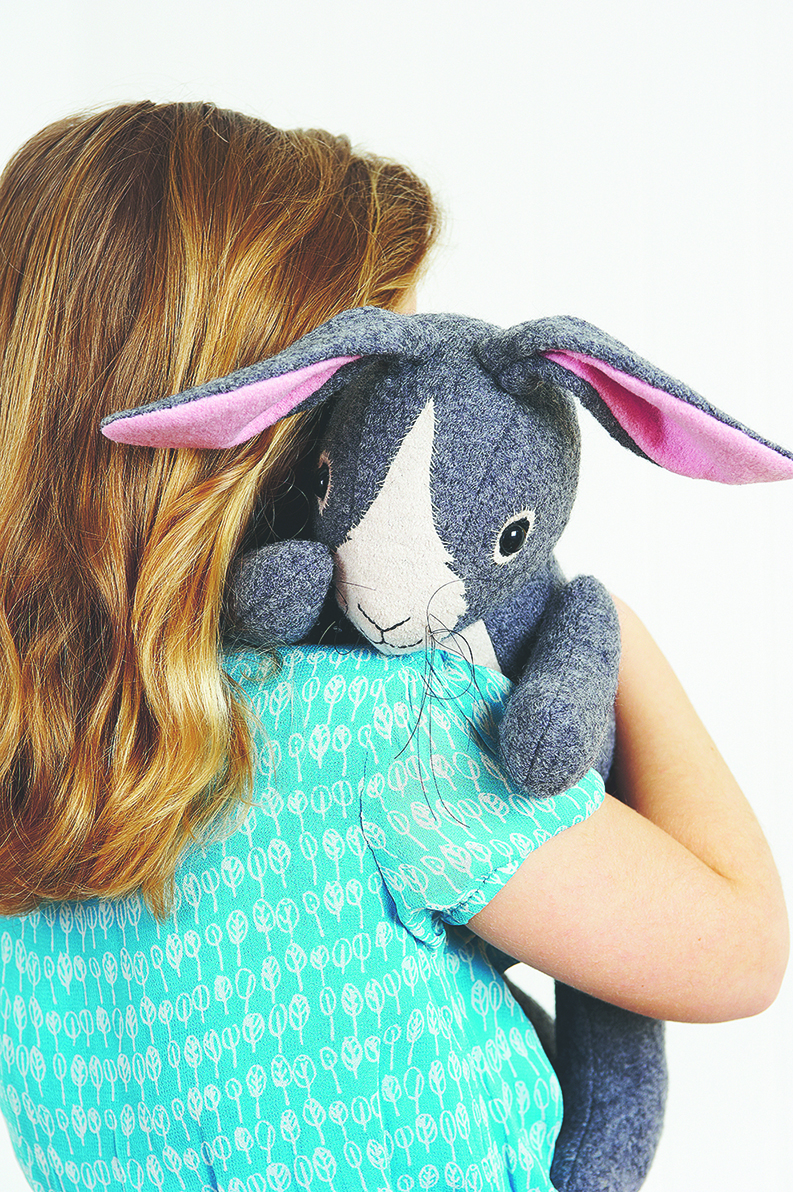
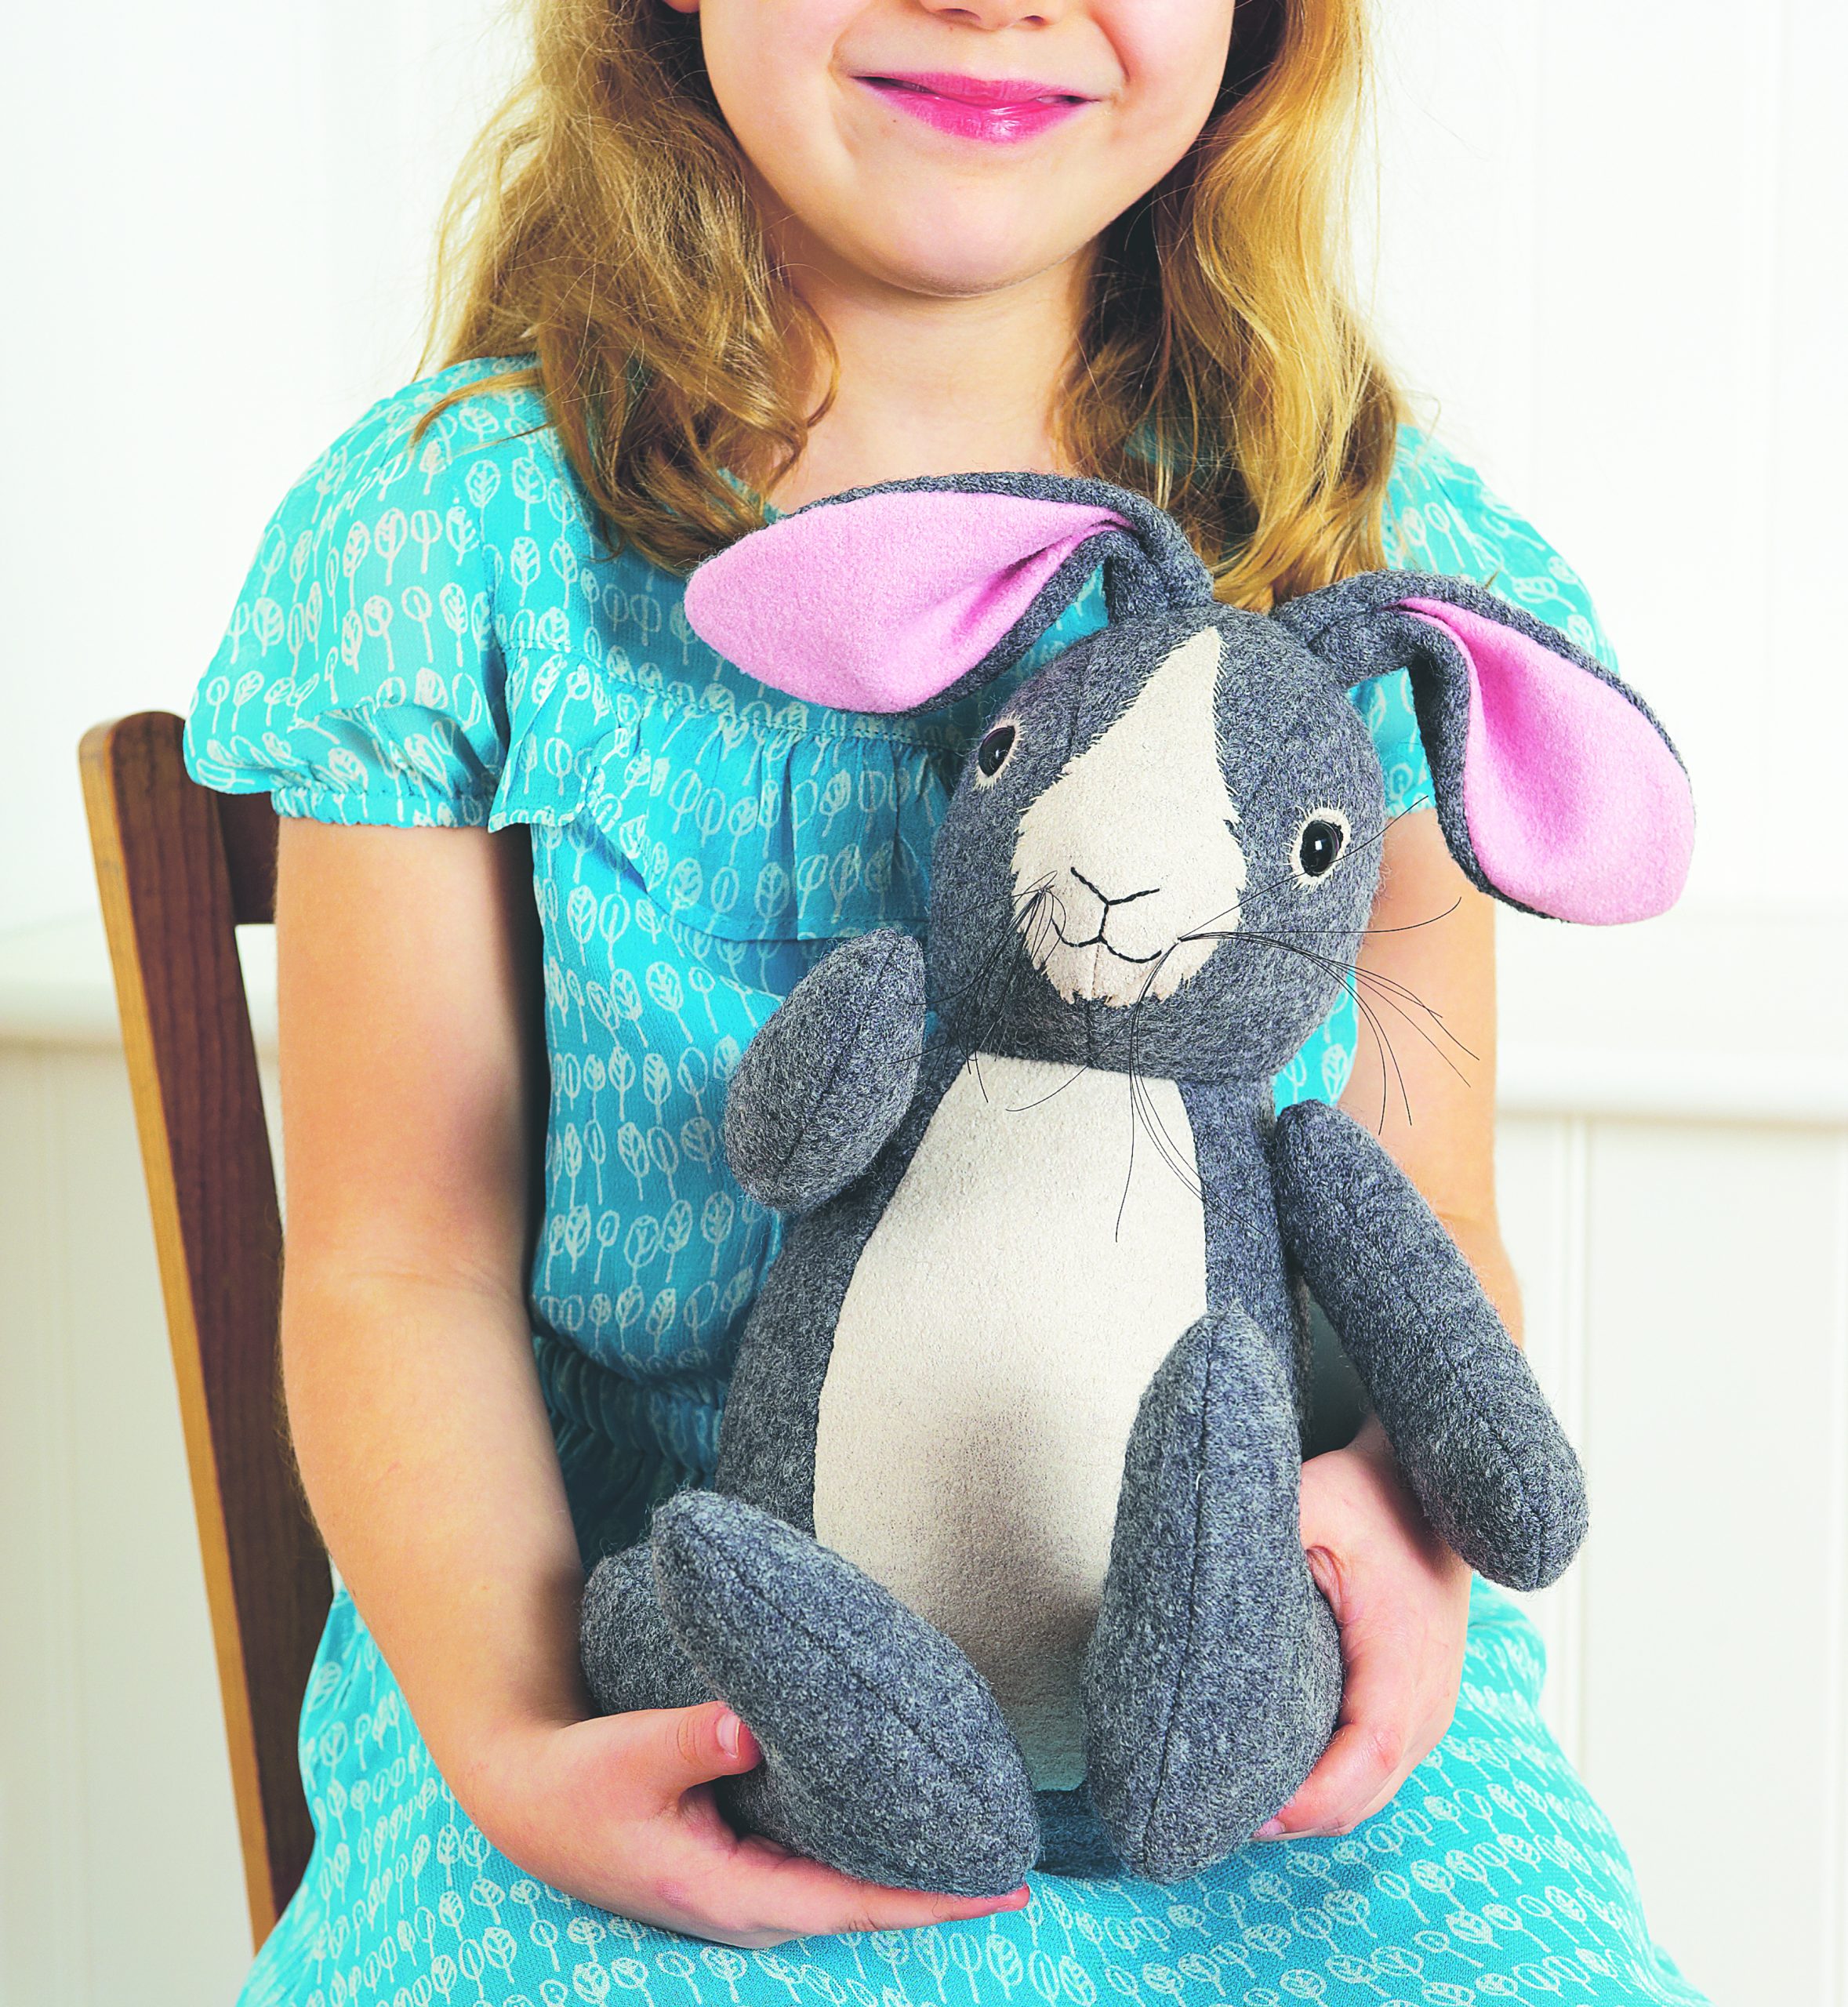
With his jointed arms and legs, this adorable rabbit really is a classic toy that children and grandchildren will treasure for many years to come.

Always wanted to sew your own toy rabbit? We'll show you how...
To make this toy rabbit you will need:
- 40cm of 144cm-wide grey boiled-wool fabric
- 25cm square of cream boiled-wool fabric
- 20cm square of pink boiled-wool fabric
- 5cm square of black felt
- Matching sewing threads
- Two 12mm black safety eyes
- Four 3cm plastic toy joints
- Polyester toy filling
- Cream and black stranded cotton embroidery thread
- Black horsehair whiskers
- 15 x 10cm rectangle of thin card
- Cream mohair knitting wool
- Tracing paper and pencil
- Chalk pencil
- Scissors
- Crewel embroidery and tapestry needles
- Pair of embroidery scissors
Finished size: 54 x 18cm from tips of ears to bottom of feet
Making the pattern for this toy rabbit:
Print off the PDF pattern (Toy rabbit to sew template) , making sure the printer settings are set to print A4 and Actual Size. Enlarge the PDF pattern by 210%. Trace the pattern pieces from the PDF individually onto tracing paper – trace those with fold lines onto folded paper, placing the fold along the broken line. Cut out each piece and open the folded patterns out flat. Mark the arrows, dots, notches and crosses on each piece. Mark the nose, mouth and dart on the muzzle.

Cutting out your template:
Ensure that the arrows and fold lines run parallel with the grain of the fabric, cut out the following:
- From grey fabric, cut one pair of heads, one gusset, one pair of bodies, one 10cm-diameter circle for the base, two pairs of arms, two pairs of legs and one pair of outer ears.
- From cream fabric, cut two outer eyes, one tummy and one muzzle.
- From pink fabric, cut one pair of inner ears.
- From black felt, cut one pair of inner eyes.
Draw the dots and crosses on the wrong side of the heads, outer eyes, bodies, arms and legs with a chalk pencil. Also, mark the dot at point A on the wrong side of the muzzle. Snip the notches. For the pompom tail, cut two 7.5cm-diameter circles out of card, then cut out a 2cm-diameter circle in the centre of each.
How to sew your toy rabbit:
To sew your toy rabbit, take 6mm seam allowances throughout. Join pieces with right sides together and edges level. Snip into the seam allowance on the curved seams.
GoodtoKnow Newsletter
Parenting advice, hot topics, best buys and family finance tips delivered straight to your inbox.
1. Carefully snip a tiny hole at the eye dots on the outer eyes, inner eyes and heads. Aligning holes, pin the inner eyes to the outer eyes, and sew in place using one strand of black embroidery thread. With right sides facing up, pin the outer eyes to the heads. Using one strand of cream embroidery thread, hand-sew in place with straight stitches, radiating outwards around the edge. Insert the shank of an eye into each hole from the right side and fix in place on the wrong side with a locking washer, pushing it as far down the shank as it will go.
2. Stitch the heads together along the short edge A-B. Snip into the curves and press the seam open. Pin and stitch the gusset to the heads C-A-C, matching the notches and snipping into the seam allowance at A. Snip into the curves. Turn the head right side out.
3. Carefully snip a tiny hole at the crosses on the bodies for the joints. Stitch the tummy between the bodies D-E. Stitch the back seam F-G, leaving a 9cm gap. Snip curves and press the seams open. Insert the head into the body, right sides facing and matching points, then pin, tack and stitch the neck seam B-D-C-F-C-D-B, to stitch the head and body together.
4. Fold the base into quarters and mark each division with a pin. Repeat with the lower edge of the body and tummy. Pin the base to the lower edge of the body and tummy matching the pinned marks. Tack then stitch the seam, easing the body and tummy to fit. Snip curves, and then turn the rabbit right side out.
5. On one pair of arms and of legs, snip a tiny hole at the crosses for the joints. Pin each arm and leg with a hole to one without. Stitch the arms and legs together, leaving a gap between the notches. Snip into the curves and turn right side out. Insert the shank of a joint into each hole inside the arms and legs, protruding out. Stuff each arm and leg evenly with toy filling and slipstitch the gap closed.
6. With the arms and legs facing forward, insert the shanks through the holes on the bodies. Fix in place inside the bodies with locking washers, pushing them as far down the shanks as they will go. Stuff the rabbit evenly with toy filling then slipstitch the gap closed.
7. Stitch each inner ear to an outer ear, leaving the short base edges open. Snip curves then turn right side out. Match points H and press ears flat. Turn lower raw edges 6mm inside ears, and tack in place. Bring the lower corners to meet at the centre and hand-sew lower edges together. Bring the pressed side edges to meet and, starting at the bottom edge and working up, slipstitch together for 2cm. Pin the ears to the top of the gusset, facing forward, and hand-sew securely in place.
8. Using an HB pencil, lightly draw the nose and mouth and mark the dots for the whiskers on the right side of the muzzle. Fold the muzzle in half, stitch the dart to point A as indicated on the pattern, and press dart open. Use three strands of black embroidery thread to embroider the nose and mouth with backstitch. Pin the muzzle to the head, matching point A and the dart to the A-B seam. Pin the rest of the muzzle centred on the gusset. Hand-sew the outer edges of the muzzle to the head and gusset with straight stitches using one strand of cream embroidery thread.
9. To attach the whiskers, thread a needle with sewing thread and knot the ends together. Slip the needle in under the muzzle and bring to the right side at a dot for the whiskers. Hold seven whiskers together and fold them in half. Take the needle and thread over the fold, re-insert the needle, bring the needle out immediately below the dot, pulling the thread tight to secure the whiskers to the rabbit. Take another stitch, then take needle through and attach whiskers to the other side of the muzzle, securing the thread end well. Trim the whiskers to 6cm long.
10. Make a pompom tail with cream wool and your two circles of card. Fluff out the pompom and trim the wool with embroidery scissors to make a teardrop shape. Sew the pompom tail securely to the back seam of the rabbit.
Tip: For children under three years old, omit the toy eyes and whiskers. Embroider the whiskers with one strand of black embroidery thread.

Esme is Future's resident craft expert, working across titles such as GoodTo, Woman&Home, Woman’s Weekly, Woman, Woman’s Own, Chat, Now, Pick Me Up and The Craft Network. Successfully turning her sewing hobby into a career, she's adept in a number of crafts, including sewing, papercraft, calligraphy, embroidery and printing.