Sew a set of travel bags from scratch
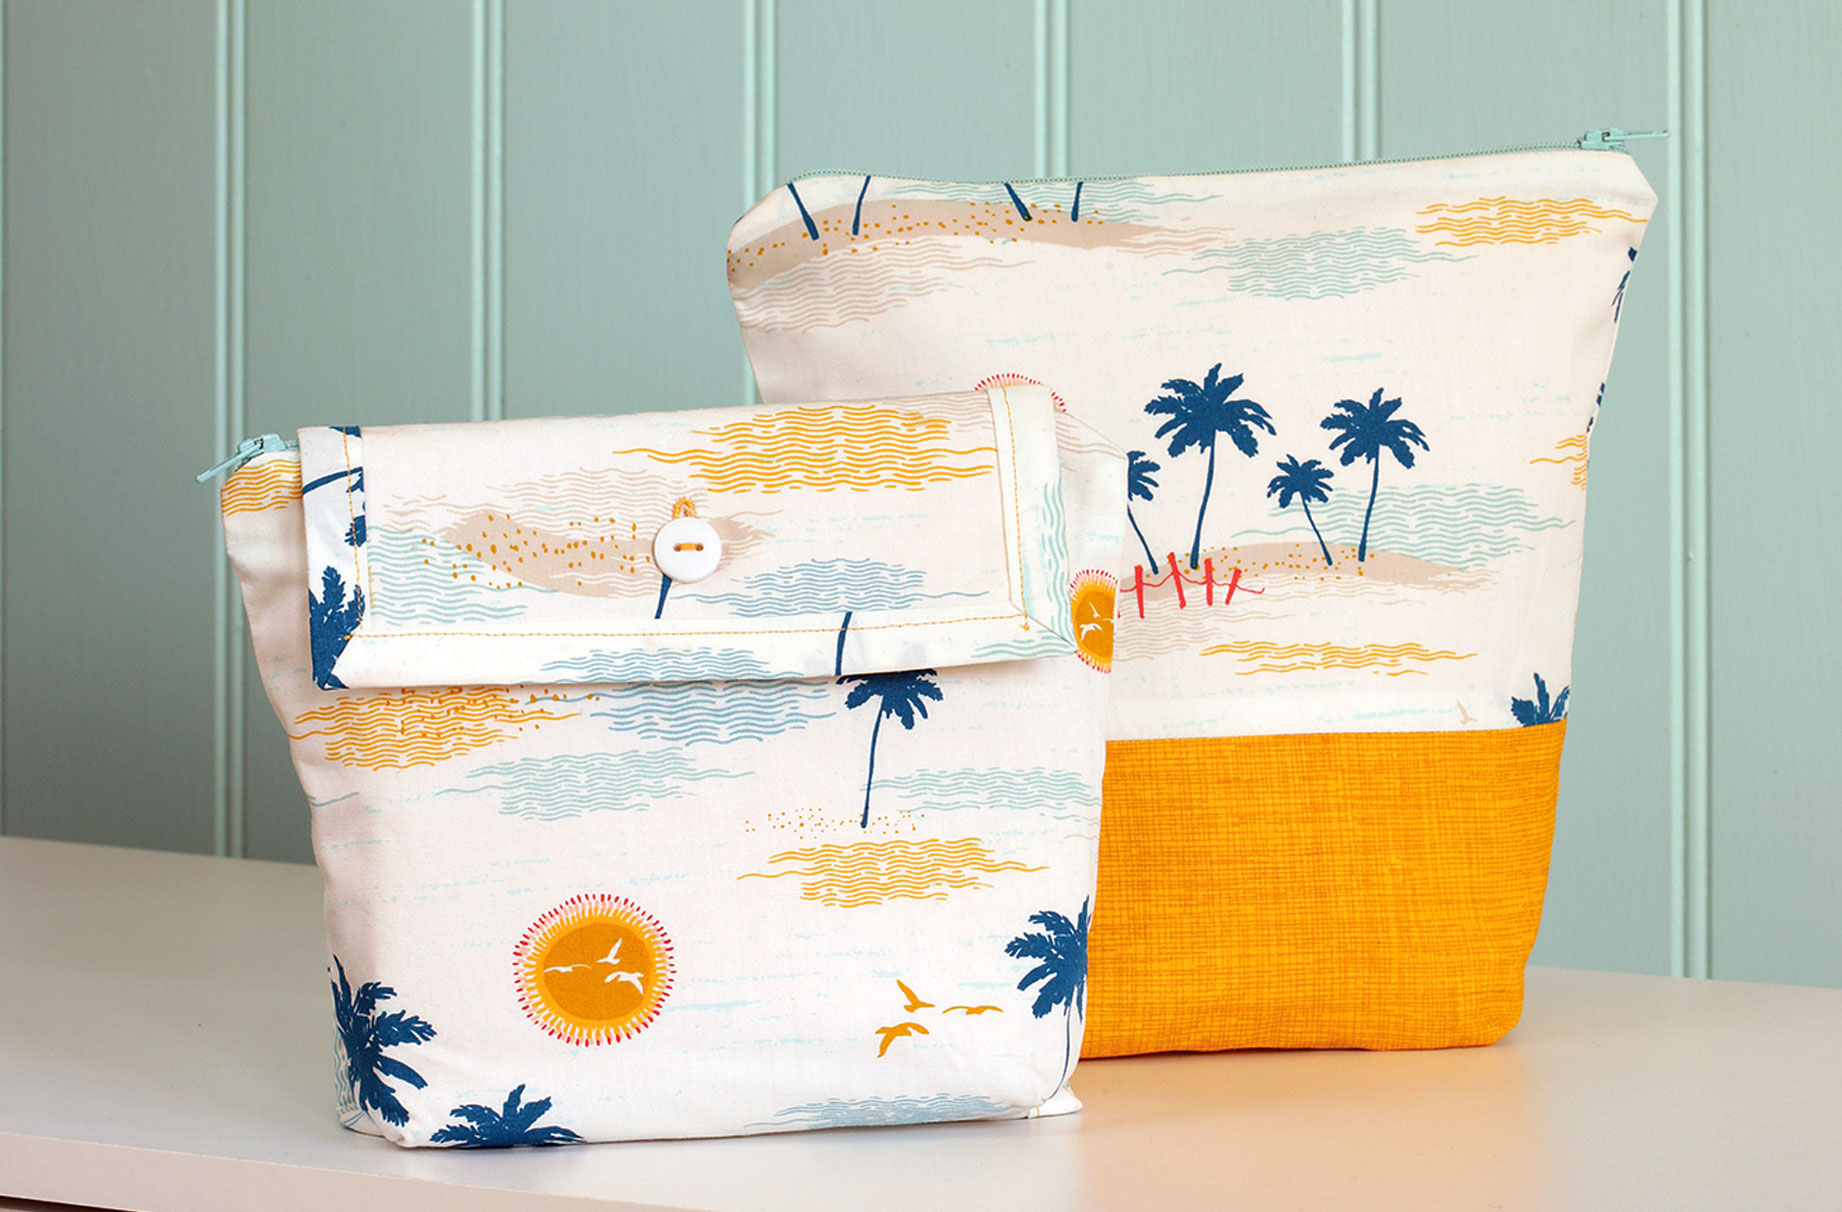

Learn how to make your own wash bag and make-up bag, ready to take on your next round of jet-set holidays.
Whether it's an overnight trip in the UK or a longer trip abroad, there's no time like the present to learn how to make your own wash bag for your next holiday (whenever that might be!). Using your favourite patterns and materials, you can create your own wash bag and make up pouch from scratch.
Learning how to make your own wash bag is an easy craft project suitable for beginners, and all those excited for their next holiday! Make this travel bag set using materials you already own, or shop online for the for your favourite patterns.
How to make your own set of travel bags
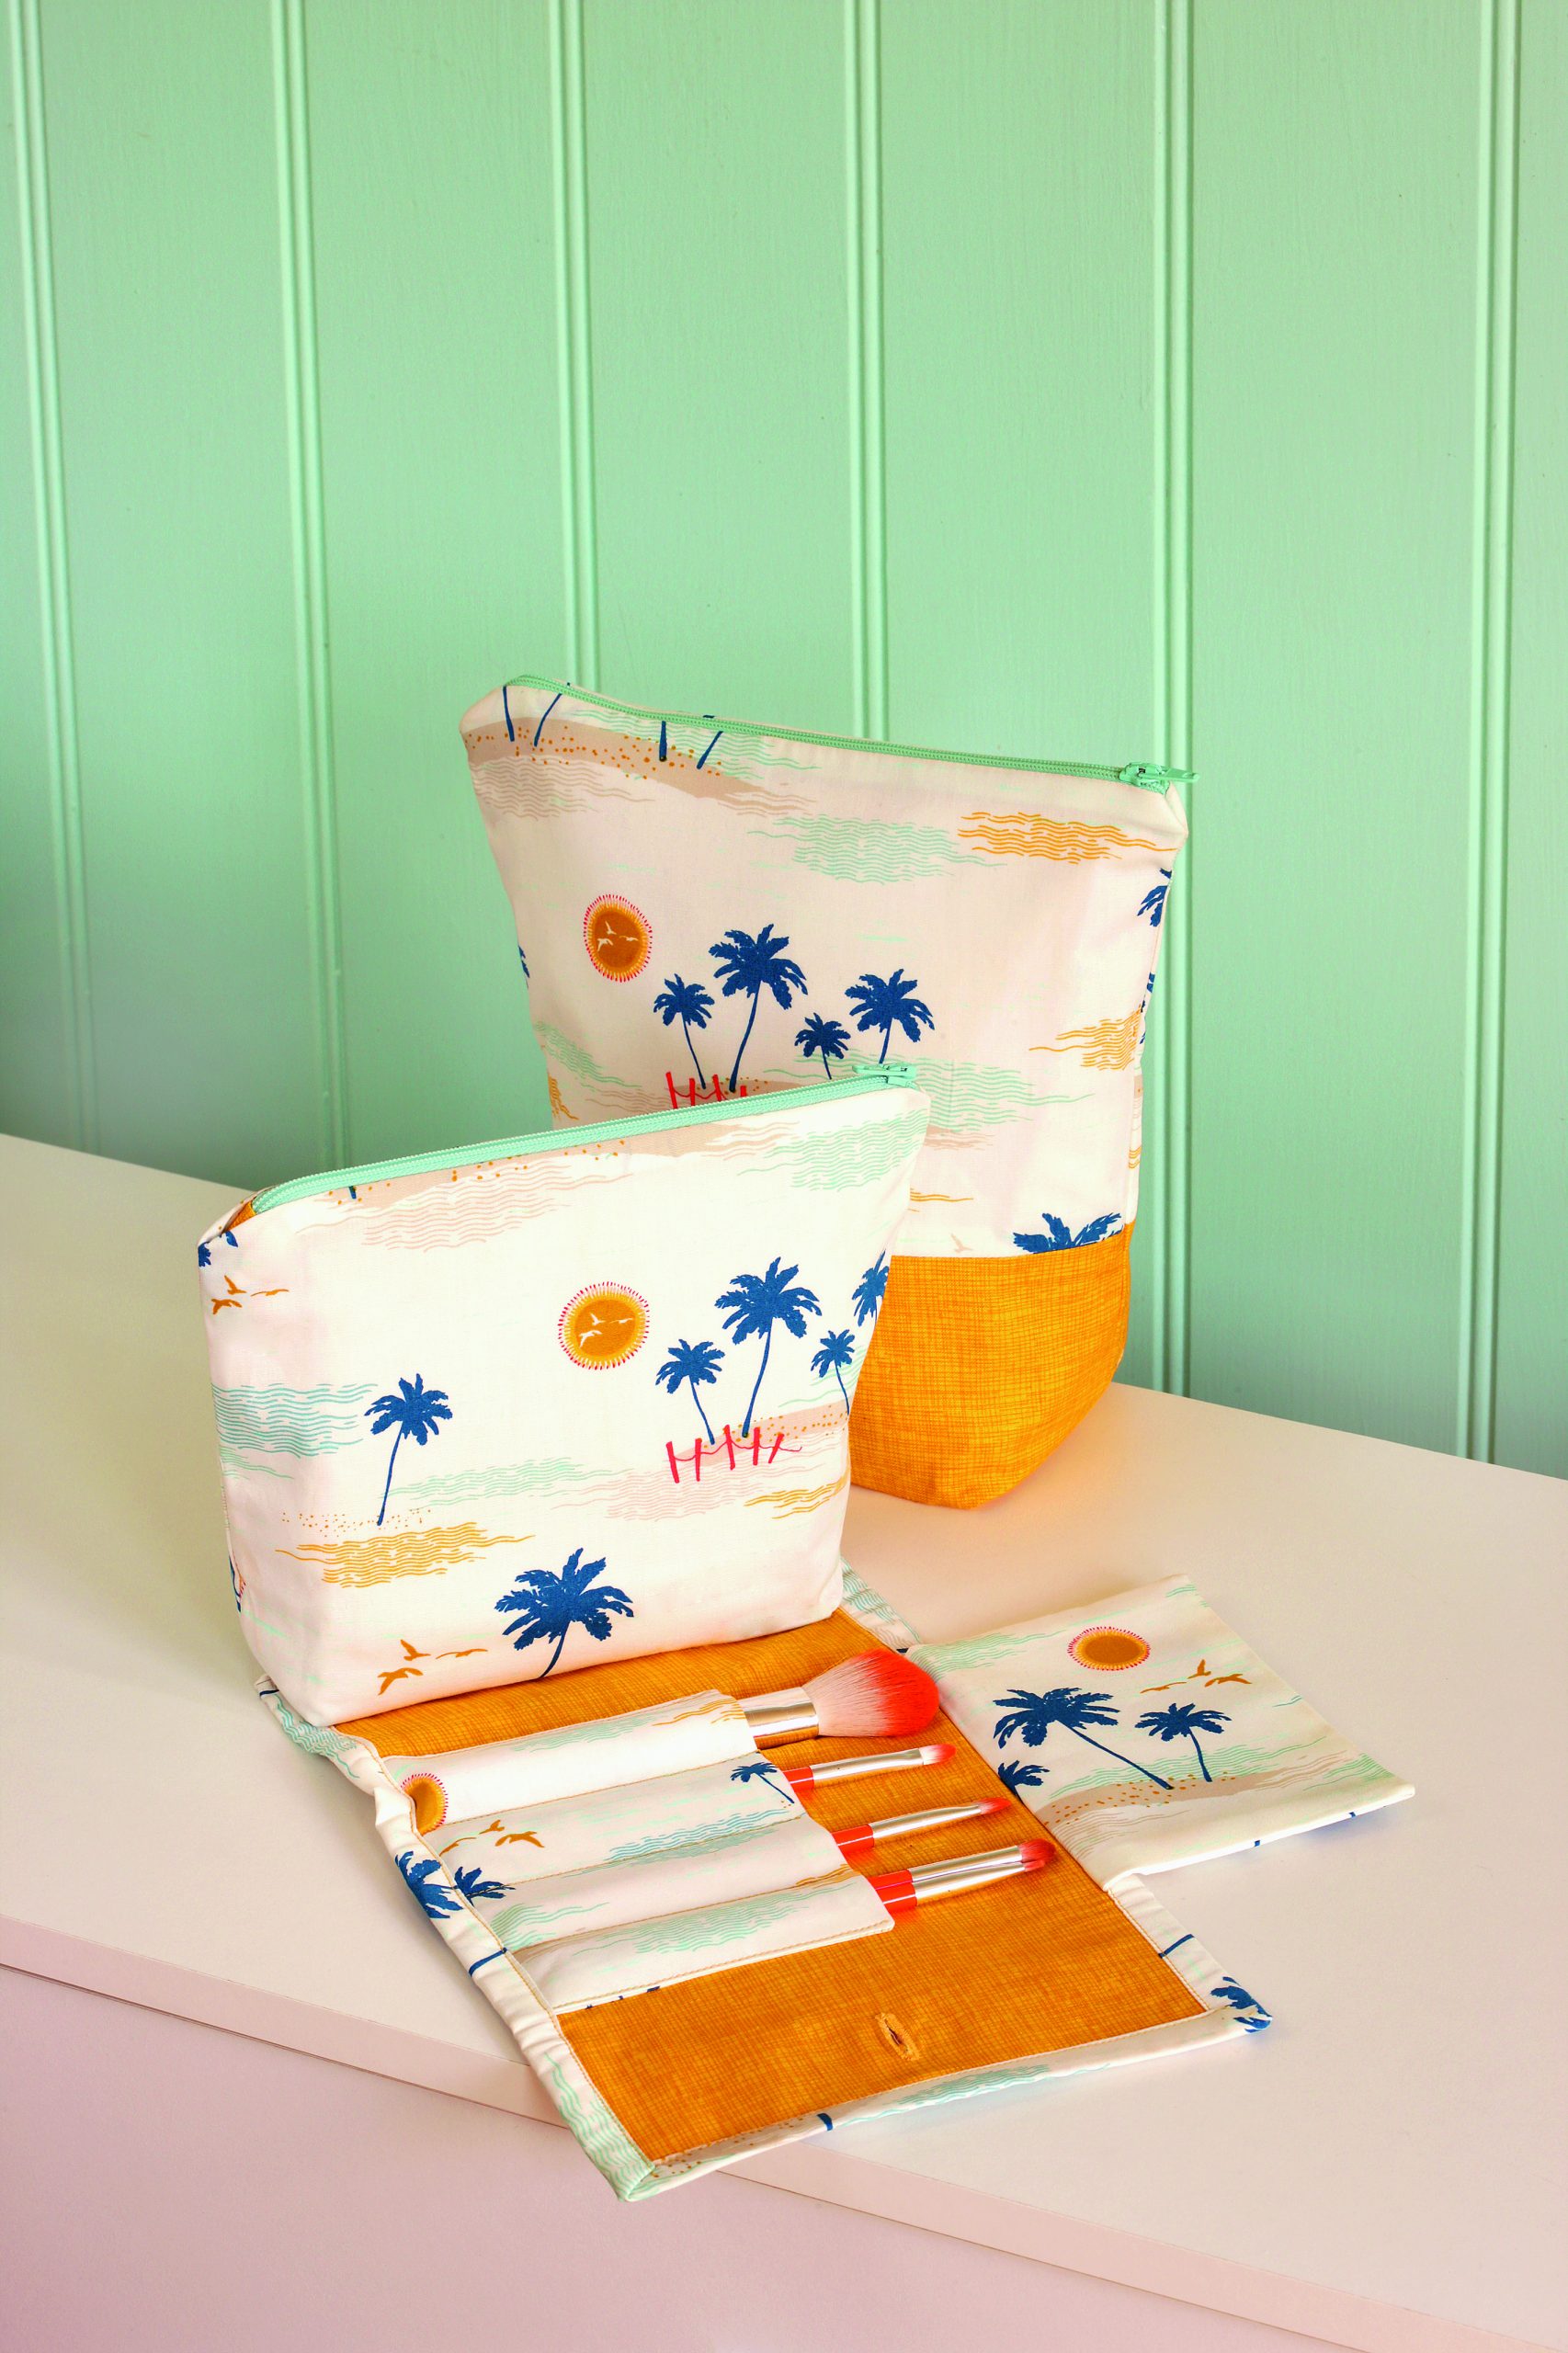
How to make your own wash bag
To make your own wash bag, you will need:
- 38 x 100cm Palm Island fabric
- 32 x 90cm yellow fabric
- 32 x 65cm medium-weight fusible interlining
- Two 10in zippers
- Matching thread
- Scissors
- Pins
- Bias tape maker
- Sewing machine
- Zipper foot
- Buttonhole foot
- Small button
- Hand-sewing needle
Time to make: 6 hours
Stockists: Art Gallery cotton poplin in Palm Island Escape, £17.99 per m, Michael Miller painters canvas poplin in Mustard, £15.99 per m, YKK nylon closed-end dress zip in Aqua, £1.59, 50mm Clover bias tape maker, £15.99, all minervacrafts.com
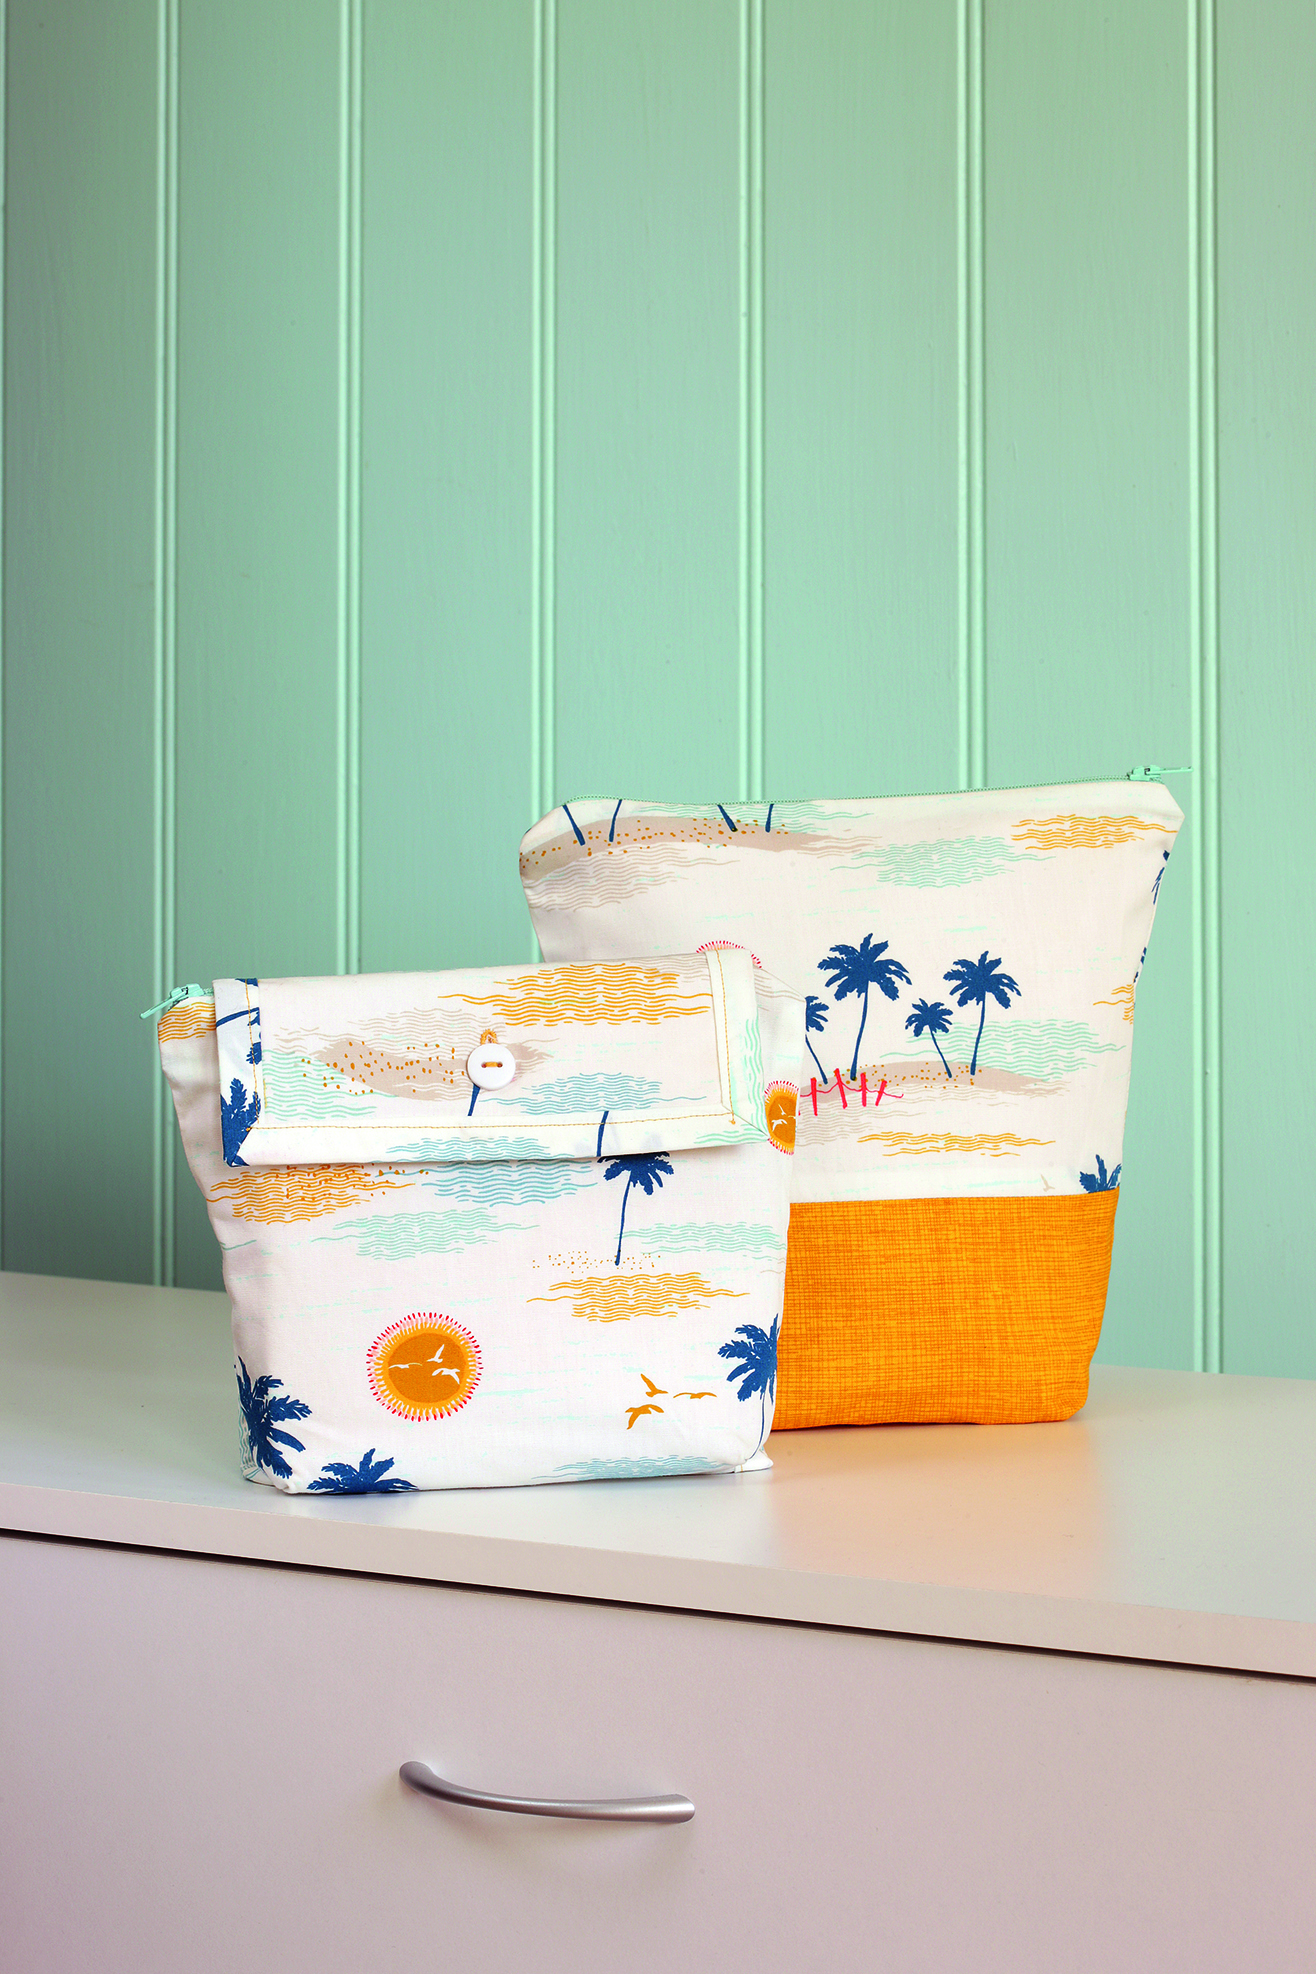
How to make a wash bag:
GoodtoKnow Newsletter
Parenting advice, hot topics, best buys and family finance tips delivered straight to your inbox.
- For the front cut out two 16 x 25cm pieces from the Palm Island fabric and two 15 x 25cm pieces from the yellow fabric. For the lining cut out two 25 x 29cm pieces from the yellow fabric and the interlining.
- Pin one front yellow piece to one Palm Island piece along one long edge and with right sides facing. Sew together with a 1cm seam allowance and press seams open. Repeat for the other front pieces.
- Fuse interlining to the wrong side of the lining pieces.
- With one of the lining pieces right side up, place the zipper wrong side down on top, lining up one long edge of the fabric with the edge of the zipper tape. Place a front piece right side down on top; making sure the Palm Island print is the side touching the zip. Pin along the edge.
- Using a zipper foot on your sewing machine, sew the pinned edge with a 1cm seam allowance. Repeat for the other side of the zip with the other pieces of fabric.
- Open out the bag and press the lining and outer layers away from the zipper. Undo the zip.
- Fold the layers so the outer pieces line up and are right sides together and the lining pieces are lined up and right sides together, too. Pin the edges together. At each bottom corner, measure and cut out a 5cm square. Sew all the sides together with a 1cm seam allowance, making sure not to sew the squared corners and to leave a gap for turning through along the bottom edge of the lining.
- Open out the square corners and bring them together so the raw edges line up in a straight edge. Pin and sew along this edge with a 1cm seam allowance.
- Turn the bag right sides out, slip stitch the gap closed and push the lining inside the bag before zipping closed.
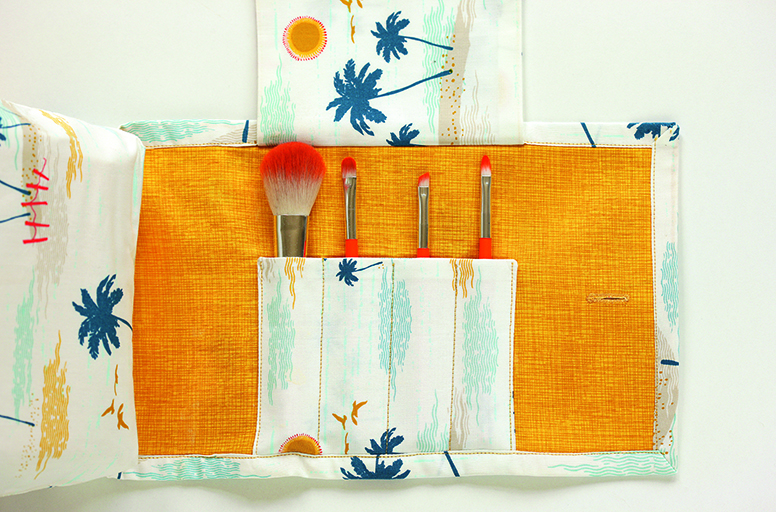
How to make a make-up bag:
- For the bag cut out two 21 x 23cm rectangles from the Palm Island fabric, the yellow fabric and the interlining. For the brushes storage flap, cut out one 17 x 30cm piece from the Palm Island fabric, the yellow fabric and the interlining. Cut out four 10 x 15cm pieces from the Palm Island fabric. For the binding cut out one 5cm x 1m strip. If you don’t have enough fabric, cut out shorter lengths and join them together at the short ends. Run the fabric through a binding tape maker.
- Repeat Steps 3-6 from the washbag instructions (above), using the Palm Island fabric for the front and yellow fabric for the lining.
- For the make-up bag flap, fuse the interlining to the yellow fabric piece.
- To make the brush pockets and cover, pin the smaller Island Palm pieces together in pairs with right sides together. Sew one long edge and two short edges with a 1cm seam allowance. Turn right sides out and press.
- With the yellow fabric right sides up, position the brush pocket on one of the long edges, 9.5cm from either end and with raw edges aligned. In a contrasting thread, stitch around the side edges and topstitch four channels at equal distance apart. On the opposite side, pin the cover.
- Place the Palm Island fabric flap, wrong sides together, to the other side of the brush storage and bind the raw edges with the matching binding. Topstitch to secure in place.
- To construct the make-up bag, follow the instructions in Step 7 of the washbag, making sure to sew the flap into the bottom seam of the outer pieces with the flap inside the bag. Continue with Steps 8 and 9.
- Sew a small buttonhole on the end of the flap and sew a corresponding button to the outside of the bag.
Tip: Want to make the bags waterproof? Fuse iron-on Vlieseline Lamifix Gloss film to the fabric before stitching.

Esme is Future's resident craft expert, working across titles such as GoodTo, Woman&Home, Woman’s Weekly, Woman, Woman’s Own, Chat, Now, Pick Me Up and The Craft Network. Successfully turning her sewing hobby into a career, she's adept in a number of crafts, including sewing, papercraft, calligraphy, embroidery and printing.