Inventive map upcycling projects to try
Create long-lasting memories of your favourite places with these inventive map upcycling projects - use old maps or map wrapping paper for great results.
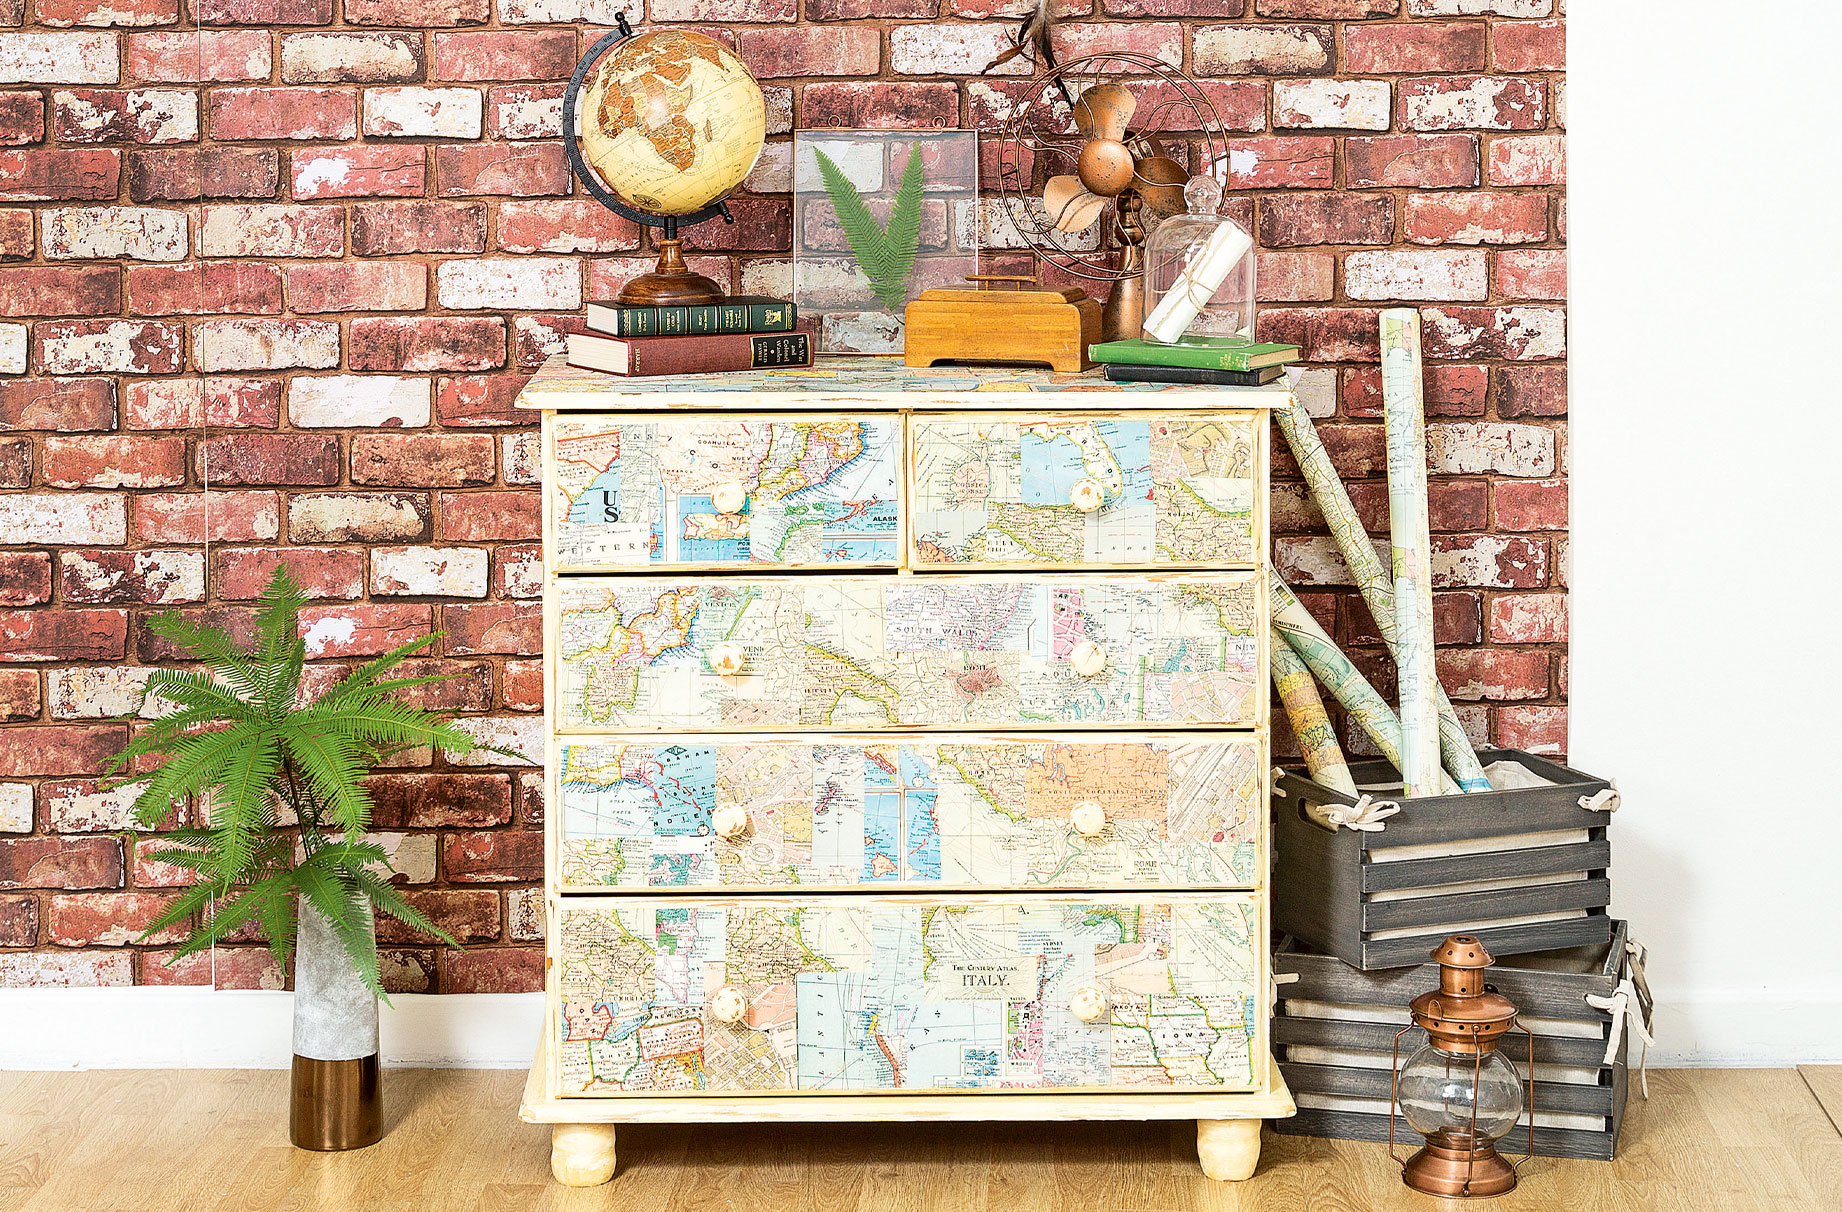

Create long-lasting memories of your favourite places with these inventive map upcycling projects - use old maps or map wrapping paper for great results.
You don't have to say goodbye to holiday memories any more - take a piece home with you with one of these map upcycling projects and turn your favourite places into stylish pieces of home decor.
Why not try out some of these fun ideas?
1. Keepsake frames
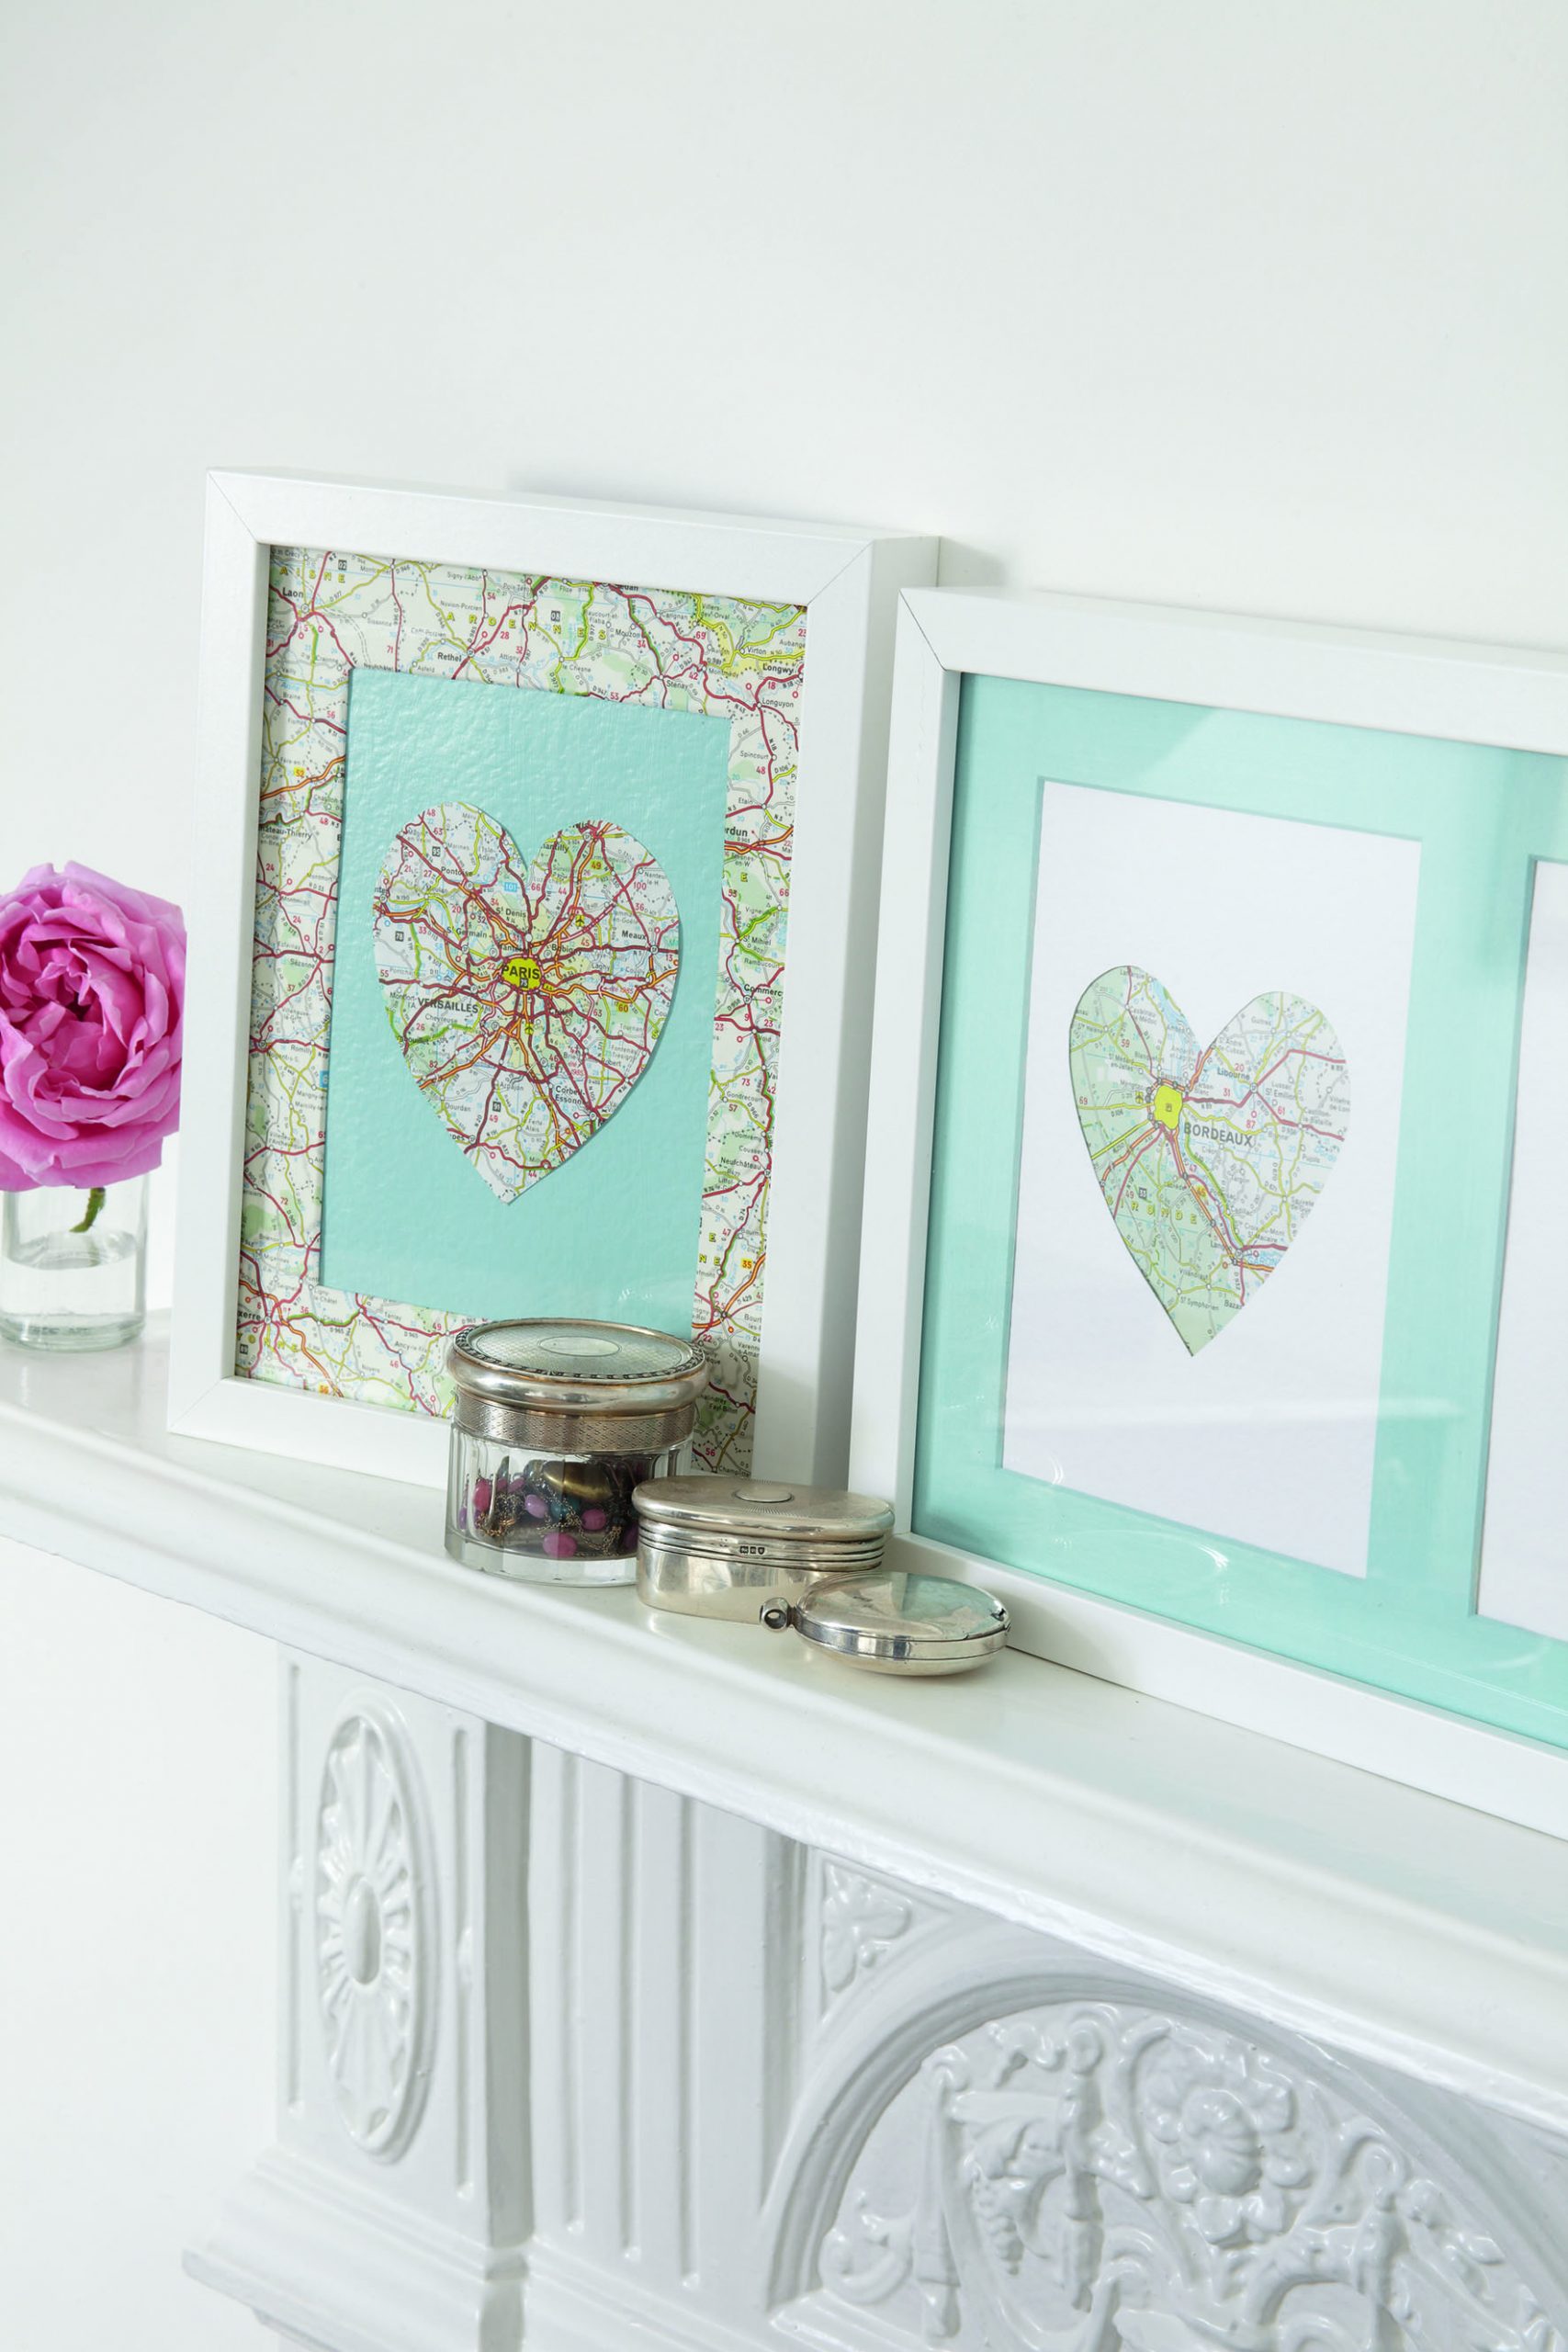
These wall art displays are a great way to remember special places or wonderful holidays
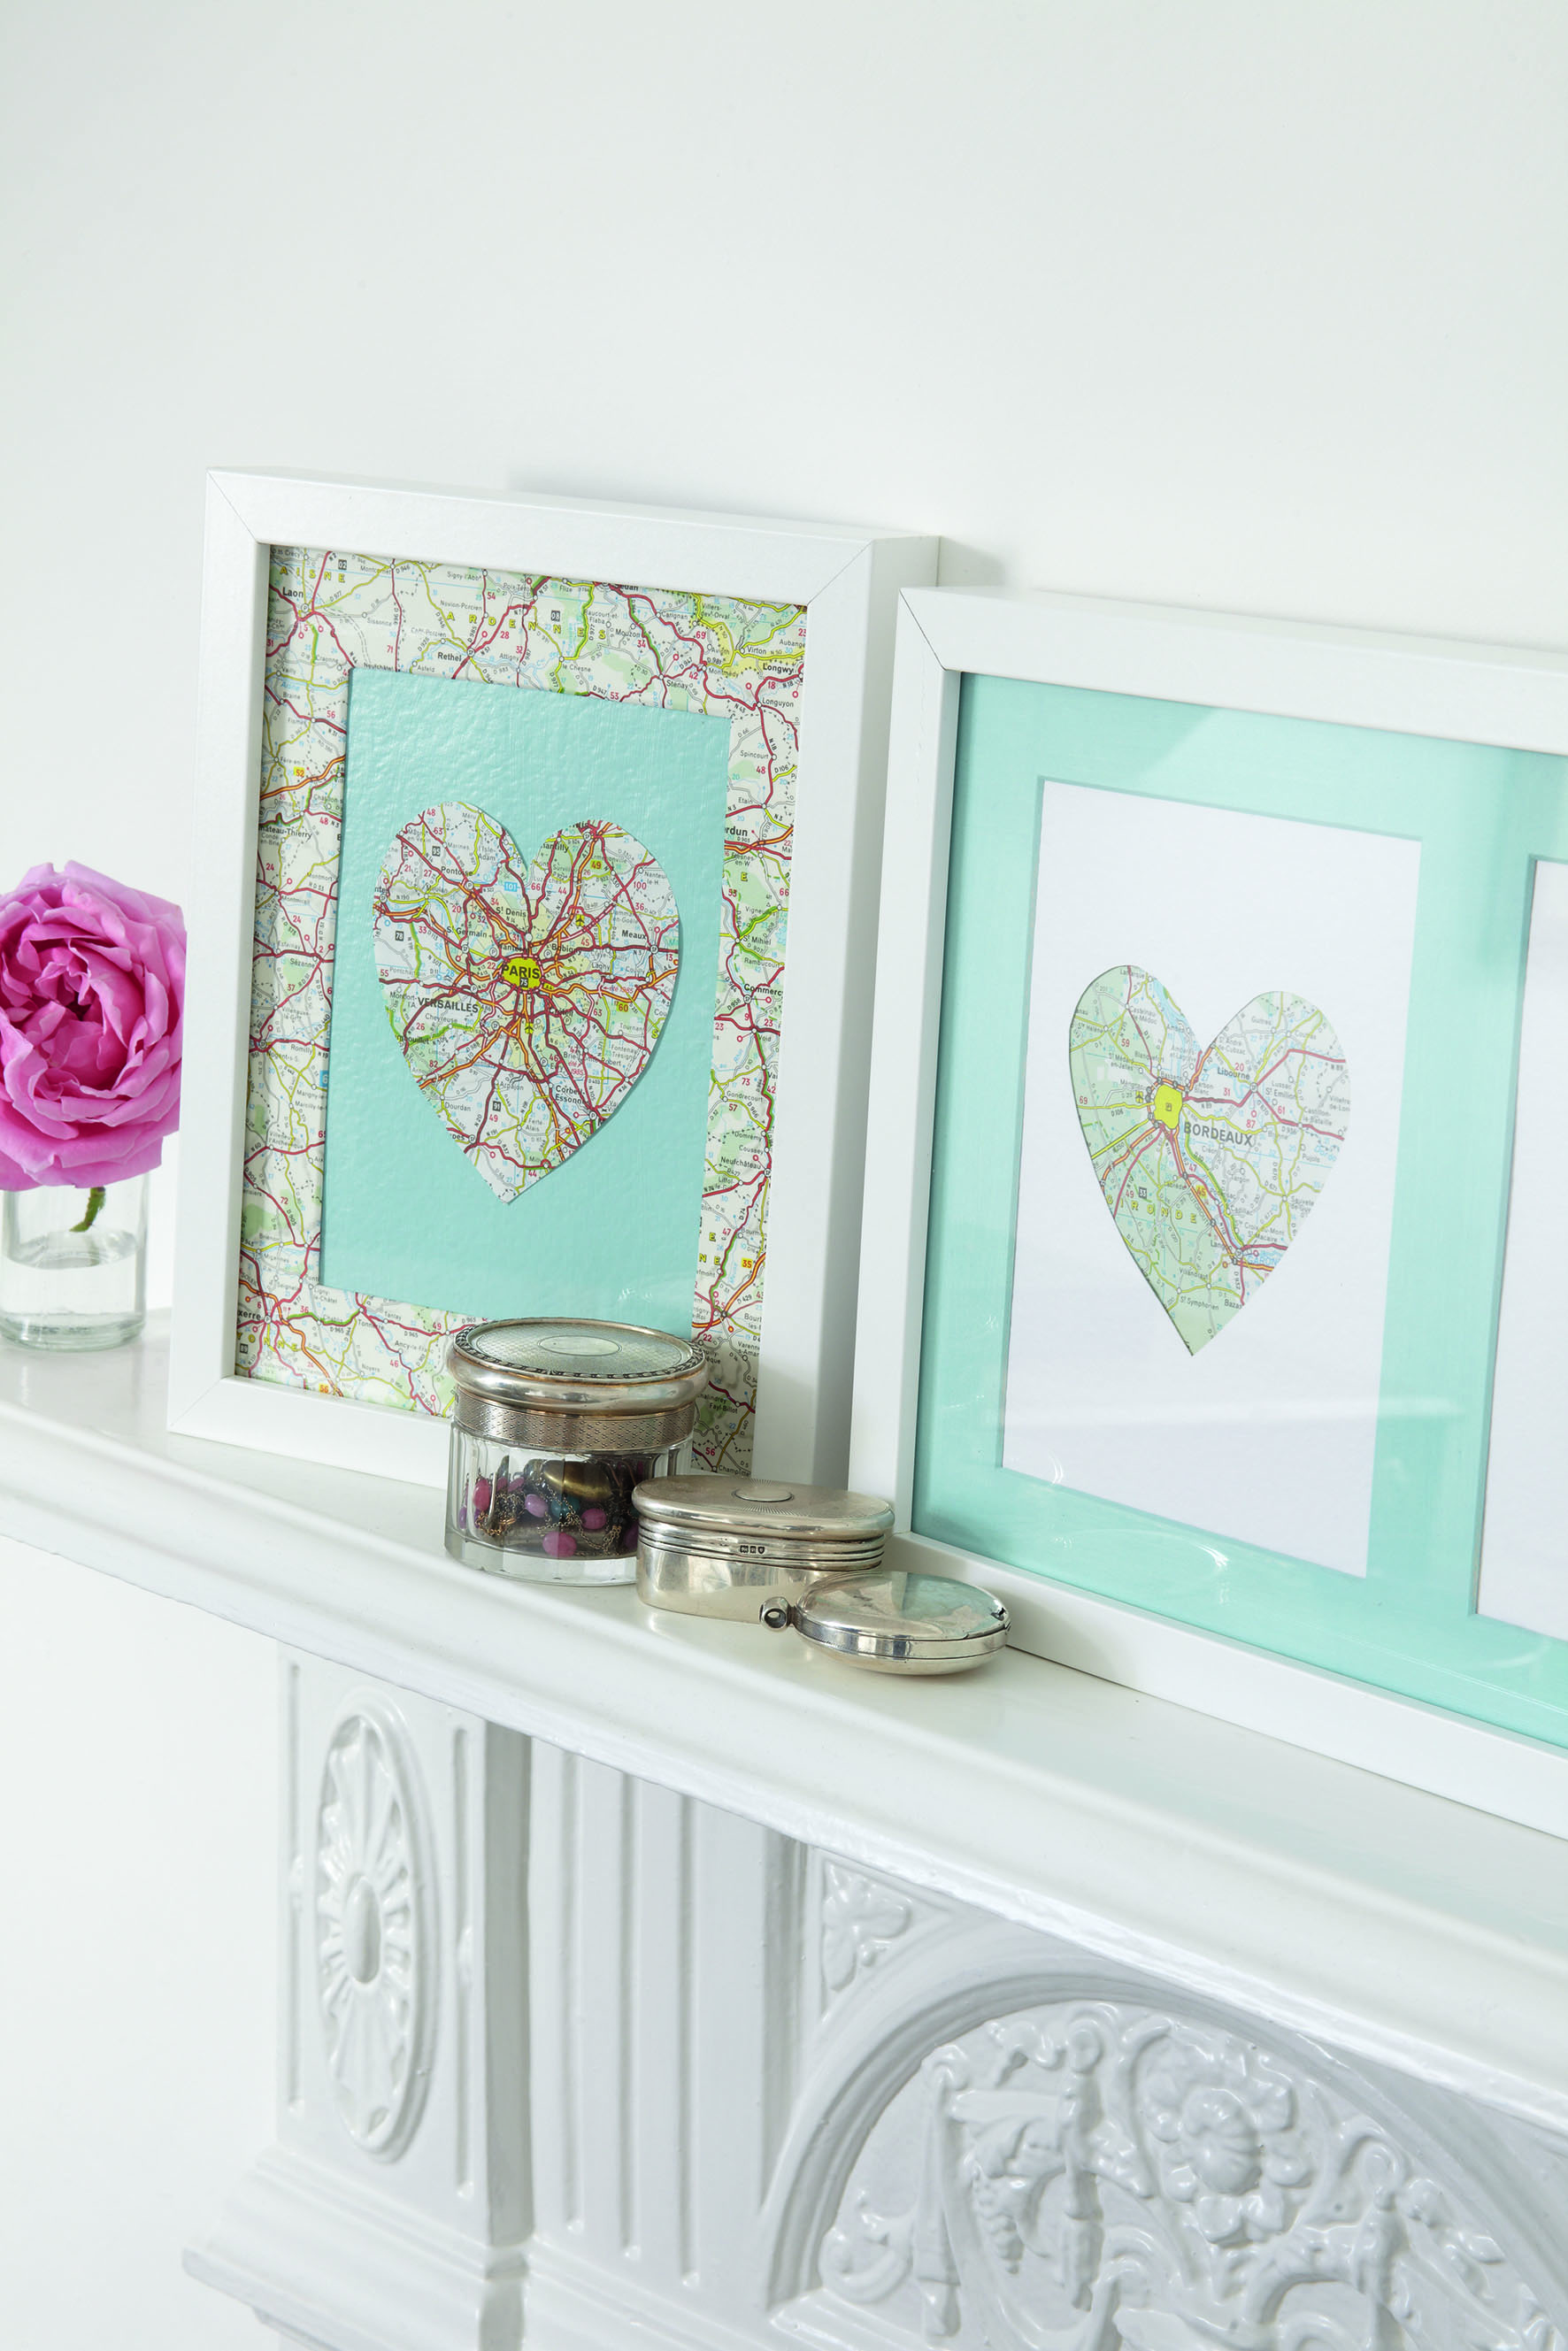
Time to make: 1 hour
To make these keepsake frames you will need:
• Favourite map
• Pencil
GoodtoKnow Newsletter
Parenting advice, hot topics, best buys and family finance tips delivered straight to your inbox.
• Scissors
• Blue and white card
• Sticky foam pads
• Glue stick
• Box frame with picture frame mount
How to make these keepsake frames:
- On the reverse of the map, draw and cut out a heart shape around your chosen spot.
- Mount the heart onto a piece of blue card with the sticky foam tabs or just some glue if you don’t want a 3D look.
- Cover the frame mount with the rest of the map pieces and glue firmly in place.
- Place inside the frame, ready to display. Repeat, playing around with different coloured card and multi-frames.
2. Upholstered footstool
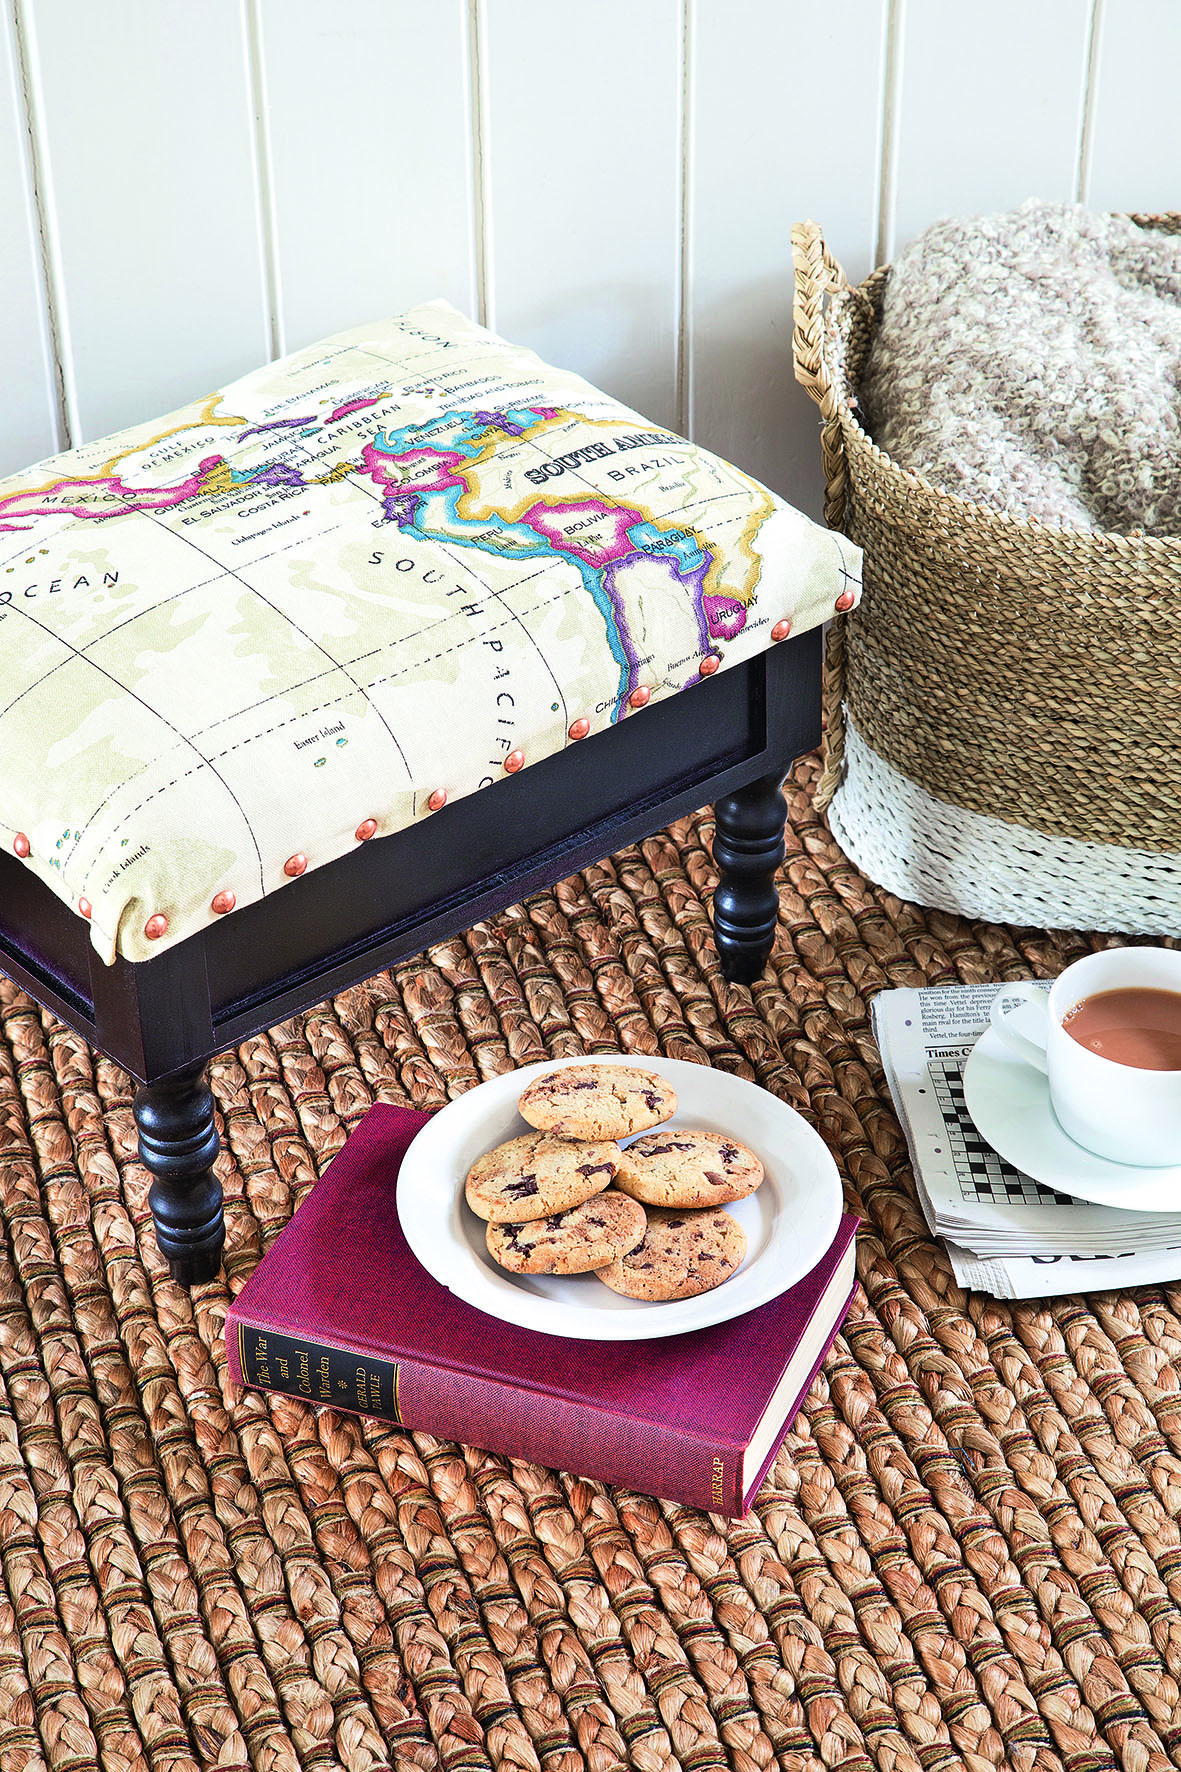
This simple upcycling project is a no-sew solution to transform a plain stool.
Time to make: 45 minutes
To make this upholstered footstool you will need:
• 50cm atlas fabric
• Padded footstool
• Measuring tape
• Pencil
• Fabric scissors
• Pins
• Hammer
• Copper upholstery studs
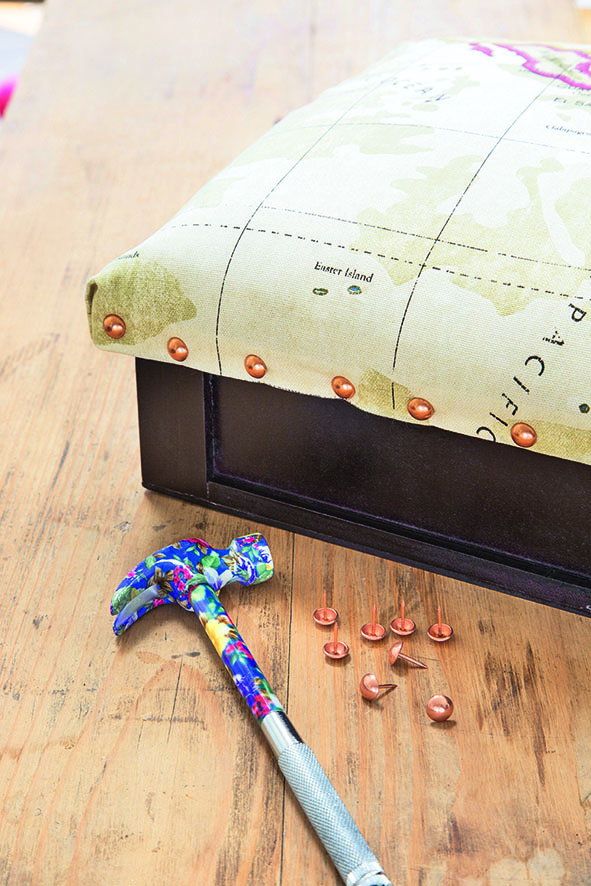
How to make this upholstered footstool:
- Lay the fabric face down onto a flat surface and place the footstool, pad side down, on top. Measure and draw a line around the footstool about 8cm from each side. Neatly cut out with fabric scissors.
- Stand the footstool the right way up and drape the fabric over the pad. Fold a hem along each side of the fabric and carefully pin to the sides of the footstool to hold in place.
- Starting on one side, hammer in the copper studs at 4-5cm intervals along the edge of the hemmed fabric. Move to the opposite side, removing the pins as you go and pulling the fabric taut. Repeat around the whole footstool, neatly folding and tucking the fabric in at each corner.
3. Chest of drawers
Transform a plain pine unit with striking map-print wrapping paper.
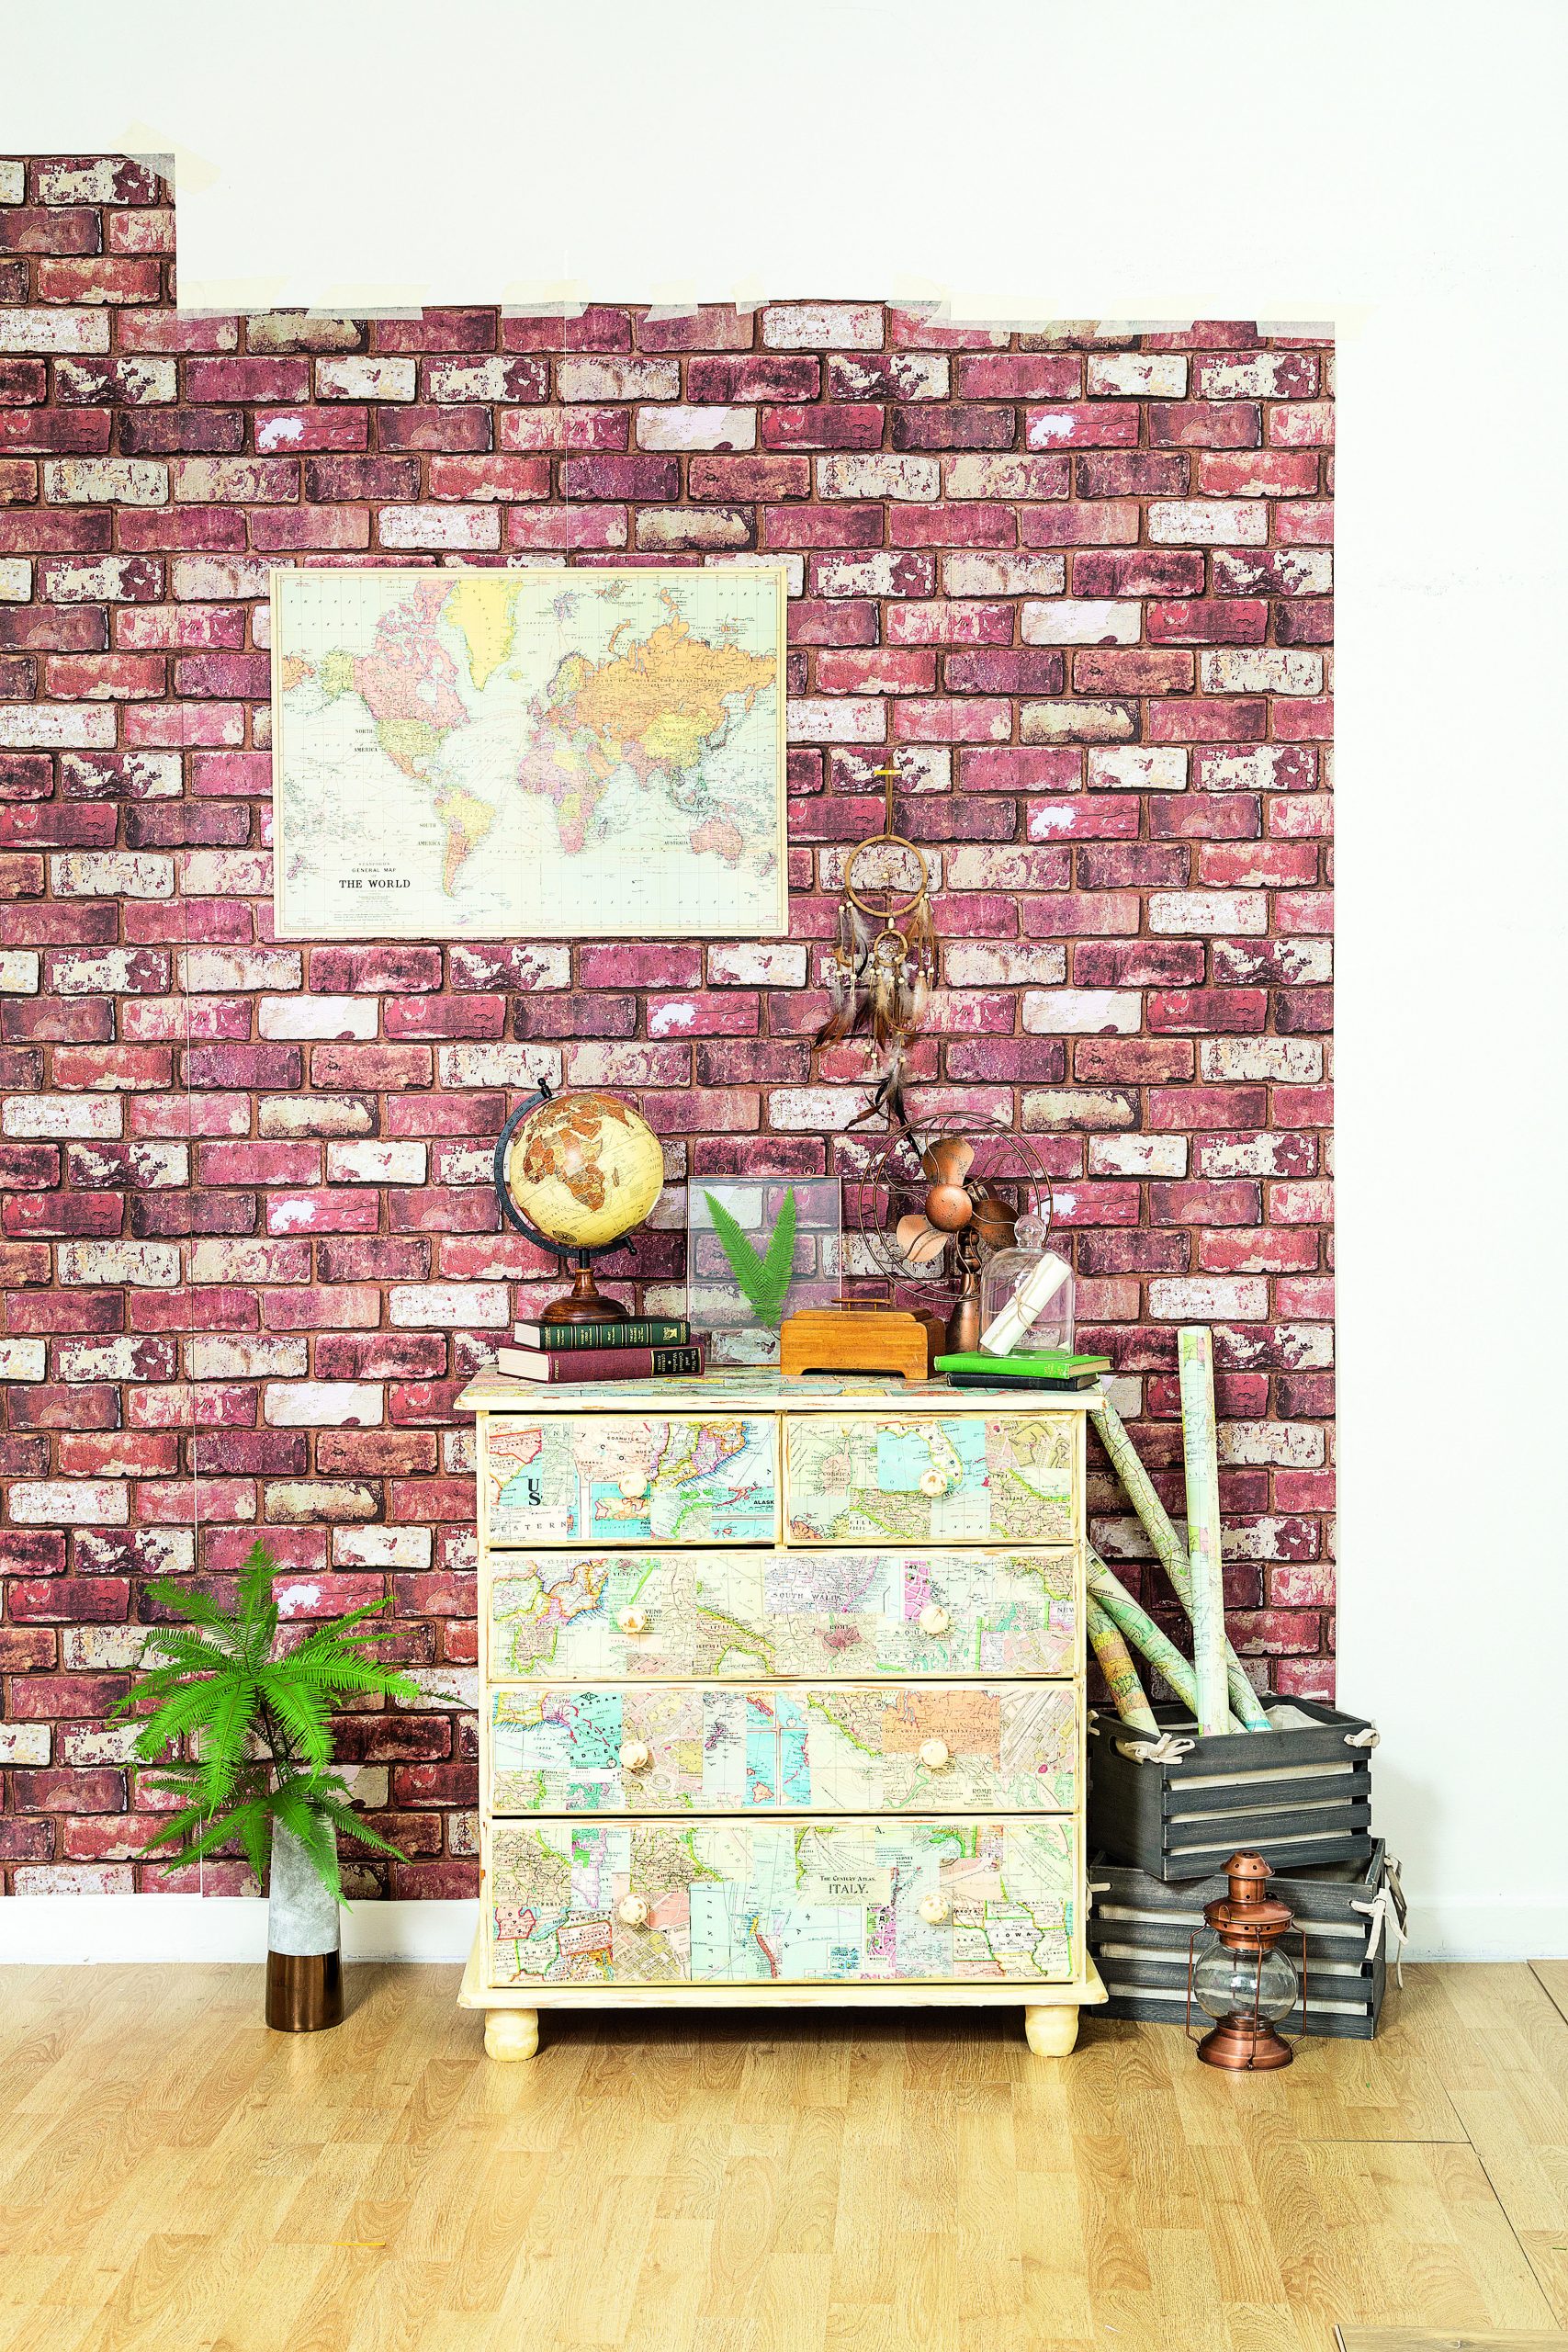
To decorate the chest of drawers you will need:
- Flat-pack chest of drawers
- Electric sander
- Rough and medium glass paper
- Rust-Oleum Chalky Finish Furniture Paint in Antique White
- Small paint roller and paintbrush
- Map wrapping paper
- Scissors
- Wallpaper paste and brush
- Ronseal clear matt varnish
- Antique Pine wax polish
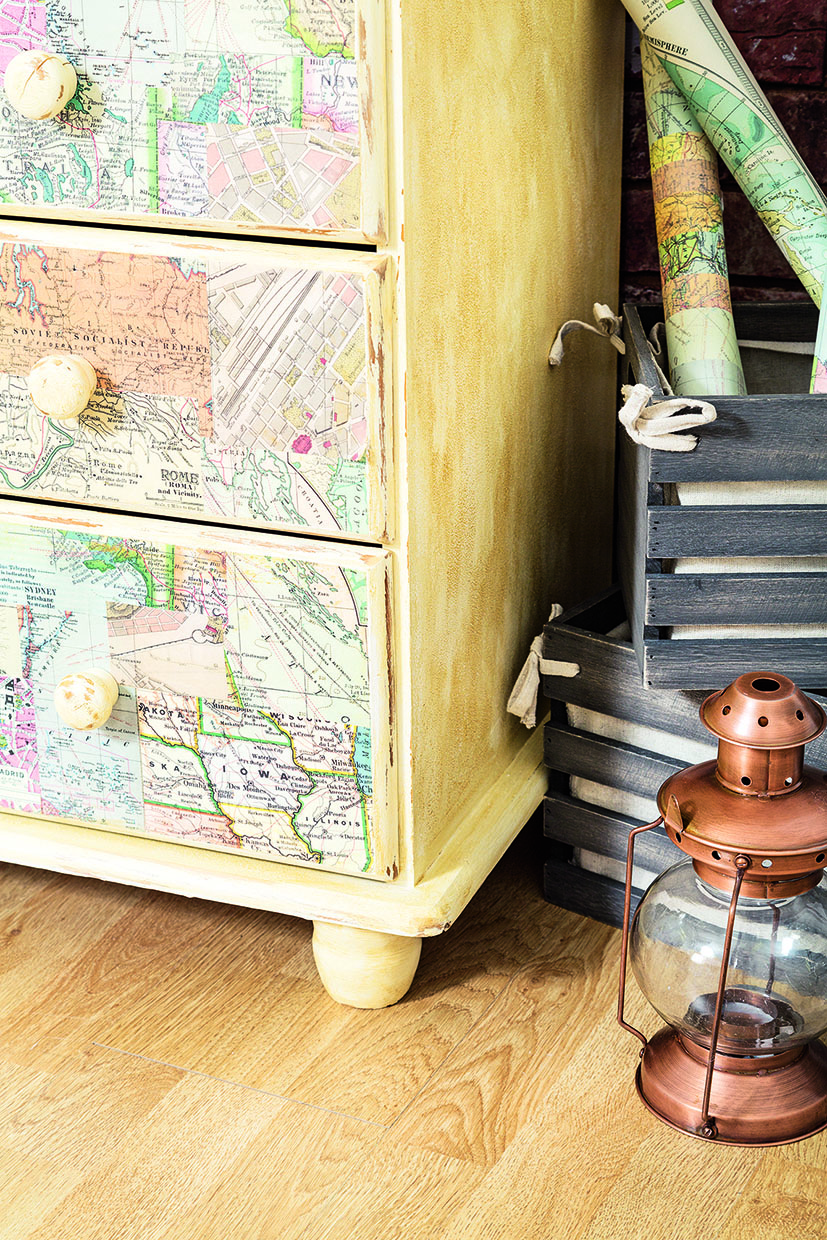
How to decorate the chest of drawers:
- Sand all the pieces of the unit. Use an electric sander on the larger areas and glass paper on the edges.
- Give each piece two coats of paint using the roller on the large areas and paintbrush for the edges. Leave to dry between each coat. Just paint the edges as the drawer fronts and top of the unit will be covered by the maps. Build the chest to the pack instructions except for the drawers.
- Lay the drawer fronts the right way up. Cut the maps into postcard-size pieces and lay out on the drawer fronts until you’re happy with it.
- Use wallpaper paste to stick the maps in place. Leave to dry. Repeat for the top of the chest. Paint over the maps with varnish and leave to dry.
- Rub the edges and knobs with rough glass paper for a shabby chic look. Wax the painted surfaces and fix the drawers in place.

Esme is Future's resident craft expert, working across titles such as GoodTo, Woman&Home, Woman’s Weekly, Woman, Woman’s Own, Chat, Now, Pick Me Up and The Craft Network. Successfully turning her sewing hobby into a career, she's adept in a number of crafts, including sewing, papercraft, calligraphy, embroidery and printing.