How to make your own picnic bag


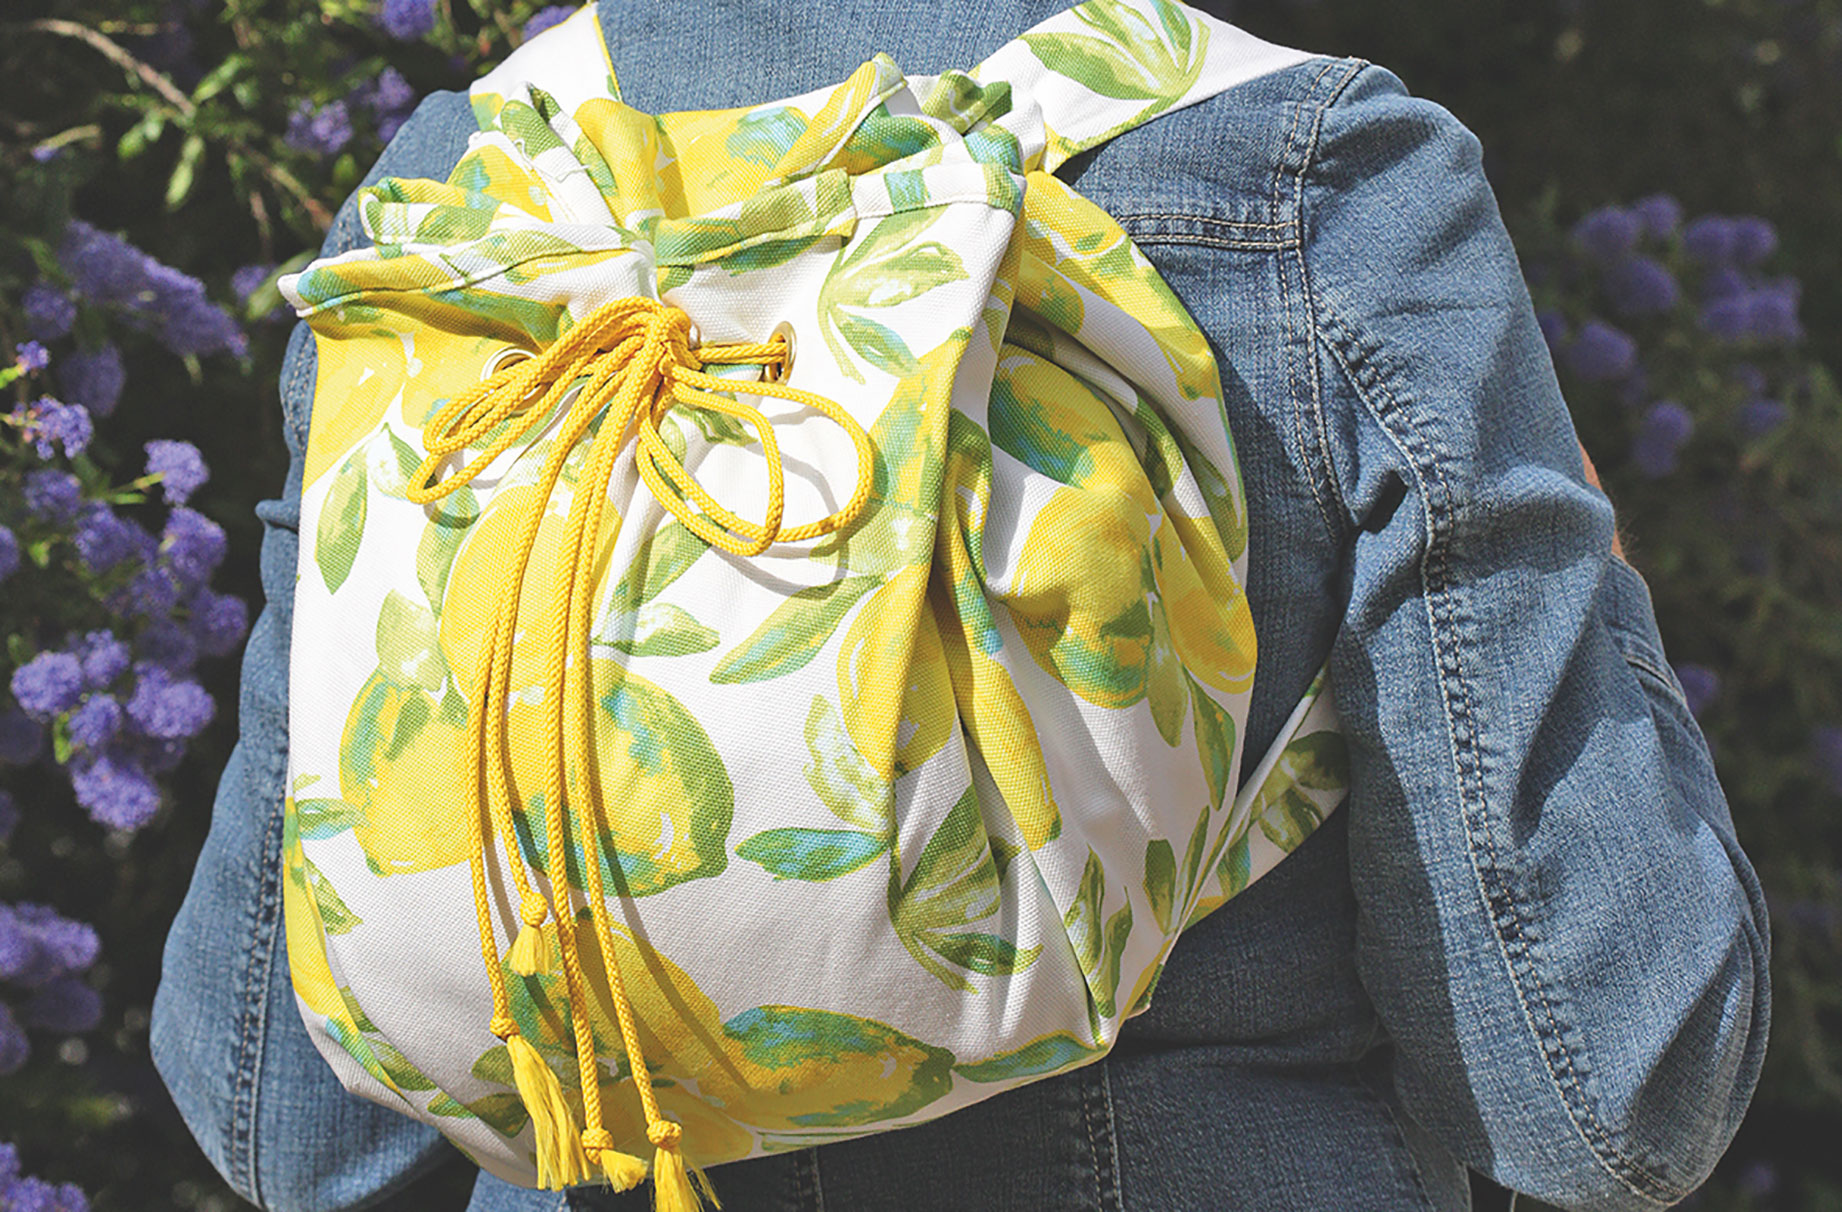
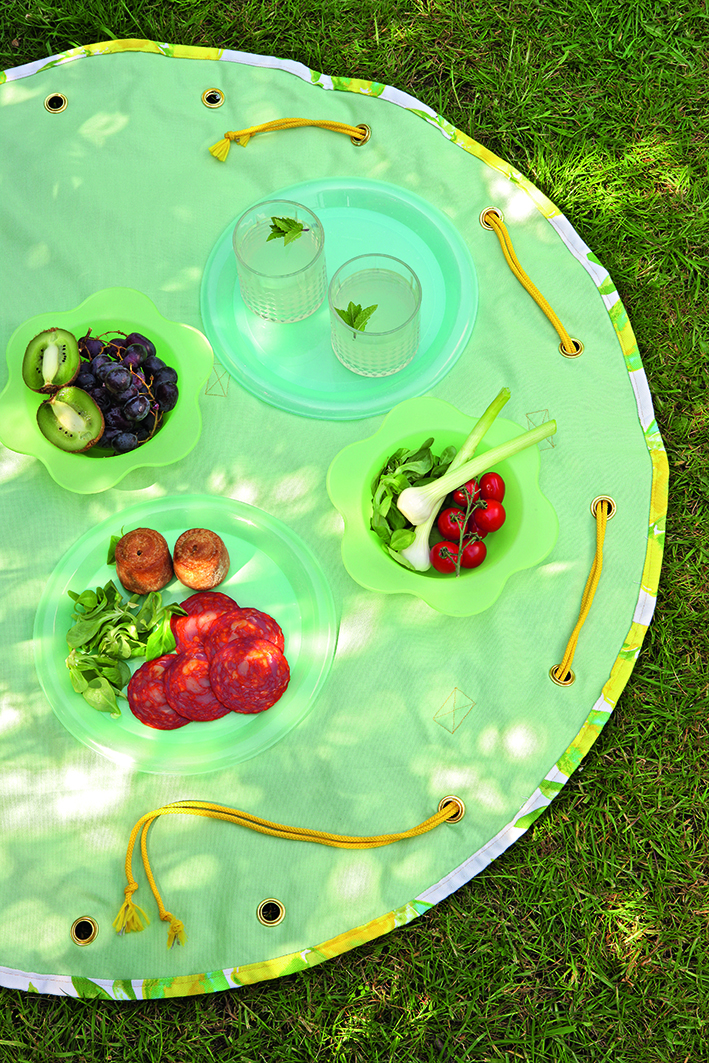
Summers spent outdoors will be all the easier with this backpack that opens out into a practical picnic mat.
We all love a summer picnic but carrying a huge heavy hamper to the perfect spot in the park is often more trouble than it's worth. However, our simple picnic bag transforms from a carryall backpack to a picnic rug, making your picnics a seamless day of fun and food.
When the picnic is done, pull on the drawstrings to enclose all your tupperwares and wrappers inside. So it's easy to take all your waste away with you too, it's the quickest clean-up that leaves the park spotless too.

Why not turn your garden into the perfect picnic paradise? You could start with a selection of gardening crafts to give it a spruce before setting the mood with some outdoor candles. Or if the kids are involved, maybe complement your picnic with a bounce on the trampoline - they'll probably like that more!
How to make your own picnic bag
You will need:
- 115cm of 147cm-wide lemon canvas fabric
- 115cm of 152cm plain mint canvas fabric
- 25mm bias tape maker
- 16 x 14mm-wide gold metal eyelets
- 6m yellow polyester cord
- Fusible medium-weight batting
- Drawing pin and pins
- Pencil, string and ruler
- Scissors
- Hammer
- Matching thread
- Sewing machine
Cutting out the picnic bag fabrics:

1. Draw a circle with a radius of 50cm on the reverse of both fabrics. We used a drawing pin and piece of string tied around a pencil to create a makeshift compass. Then cut out both circles.
2. From the lemon fabric, cut a couple of 5cm-wide strips. Join the strips together at the short ends, with a 1cm seam allowance, to create one long strip that measures approx 320cm long.
How to make your own picnic bag:
3. Run the strip through the bias tape maker and press to make the binding.
GoodtoKnow Newsletter
Parenting advice, hot topics, best buys and family finance tips delivered straight to your inbox.
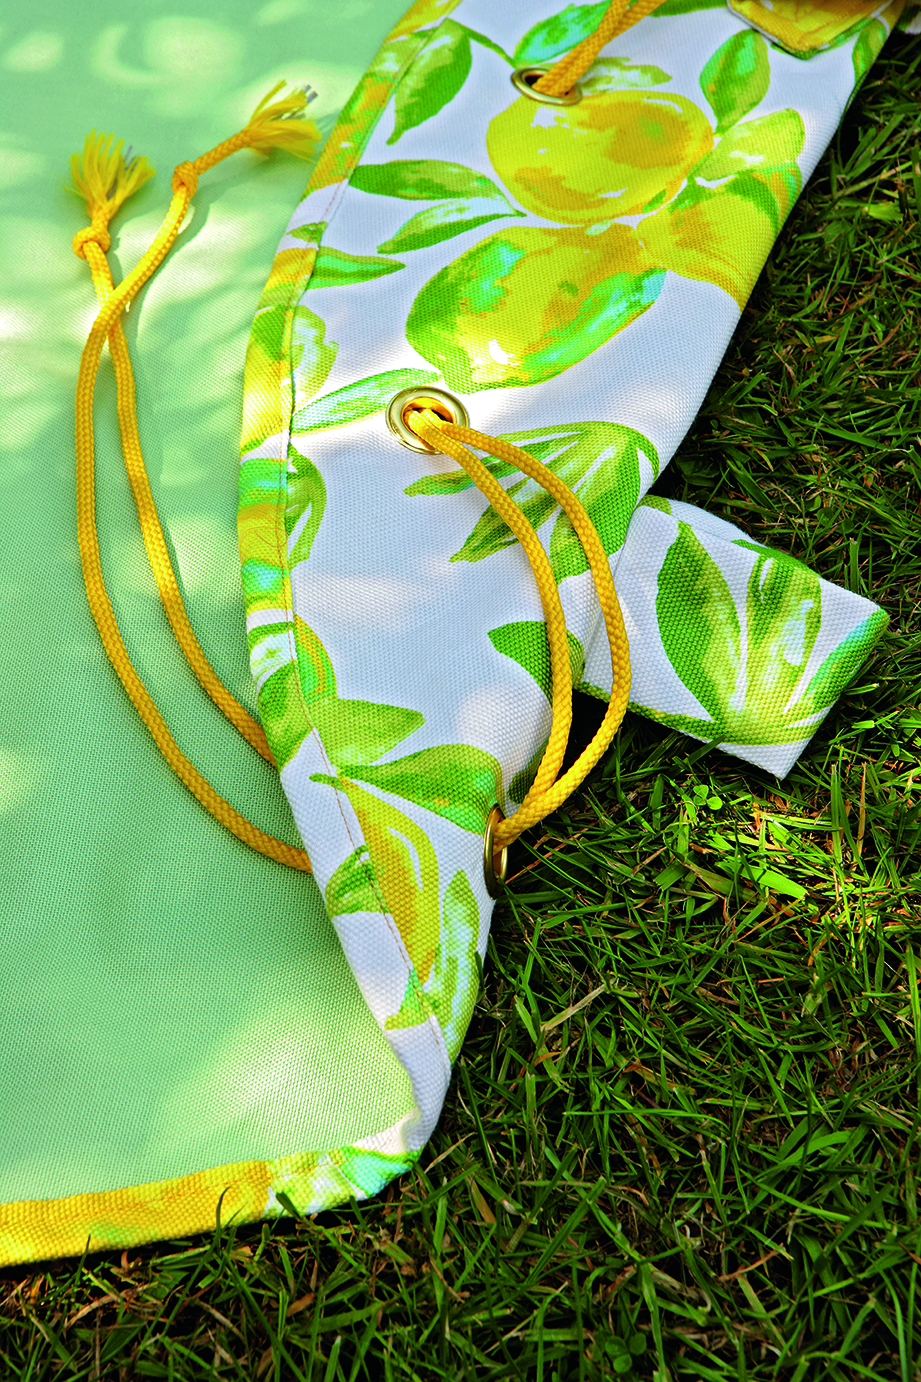
4. Place the two circles together with wrong sides together and pin the layers together. Sandwich the raw edges into the binding and topstitch to secure. Then stitch the binding all the way around the edge, turning under the binding’s raw end and slip stitch in place.
5. Using a ruler and pencil, mark 16 equal dots around the edges at 5cm in from the edge as a guide for the eyelets. Following the manufacturer’s instructions and using a hammer, position and fasten the eyelets to the fabric.
6. To create the bag handles, cut two 12 x 70cm strips from the lemon fabric and two 5 x 68cm strips from the batting (you might wish to adjust this length if you’d like the backpack to sit lower).
7. Fold the strips of fabric in half lengthways and press. Fuse the batting to one side of the strip along the folded edge. Sew the strips together along the raw edge with a 1cm seam allowance. Turn right sides out and press.
8. Then, turn the raw ends inside the straps by 1cm, press and topstitch closed. Position the straps on one side of the bag, baste in place and then try on the bag to check they’re in the correct position for you. Machine stitch in place with a crossed square to secure.
9. Run the yellow cord through the eyelets, doubling up for strength, and tie in a bow ready to fill with your picnic.
And just like that, you've got a perfect summer accessory for days in the park!

Esme is Future's resident craft expert, working across titles such as GoodTo, Woman&Home, Woman’s Weekly, Woman, Woman’s Own, Chat, Now, Pick Me Up and The Craft Network. Successfully turning her sewing hobby into a career, she's adept in a number of crafts, including sewing, papercraft, calligraphy, embroidery and printing.