How to make a Mother's Day card for Mother's Day 2021
Show your mum that you really care with this beautiful handmade flower card this Mother's Day, using materials you already have around the house.


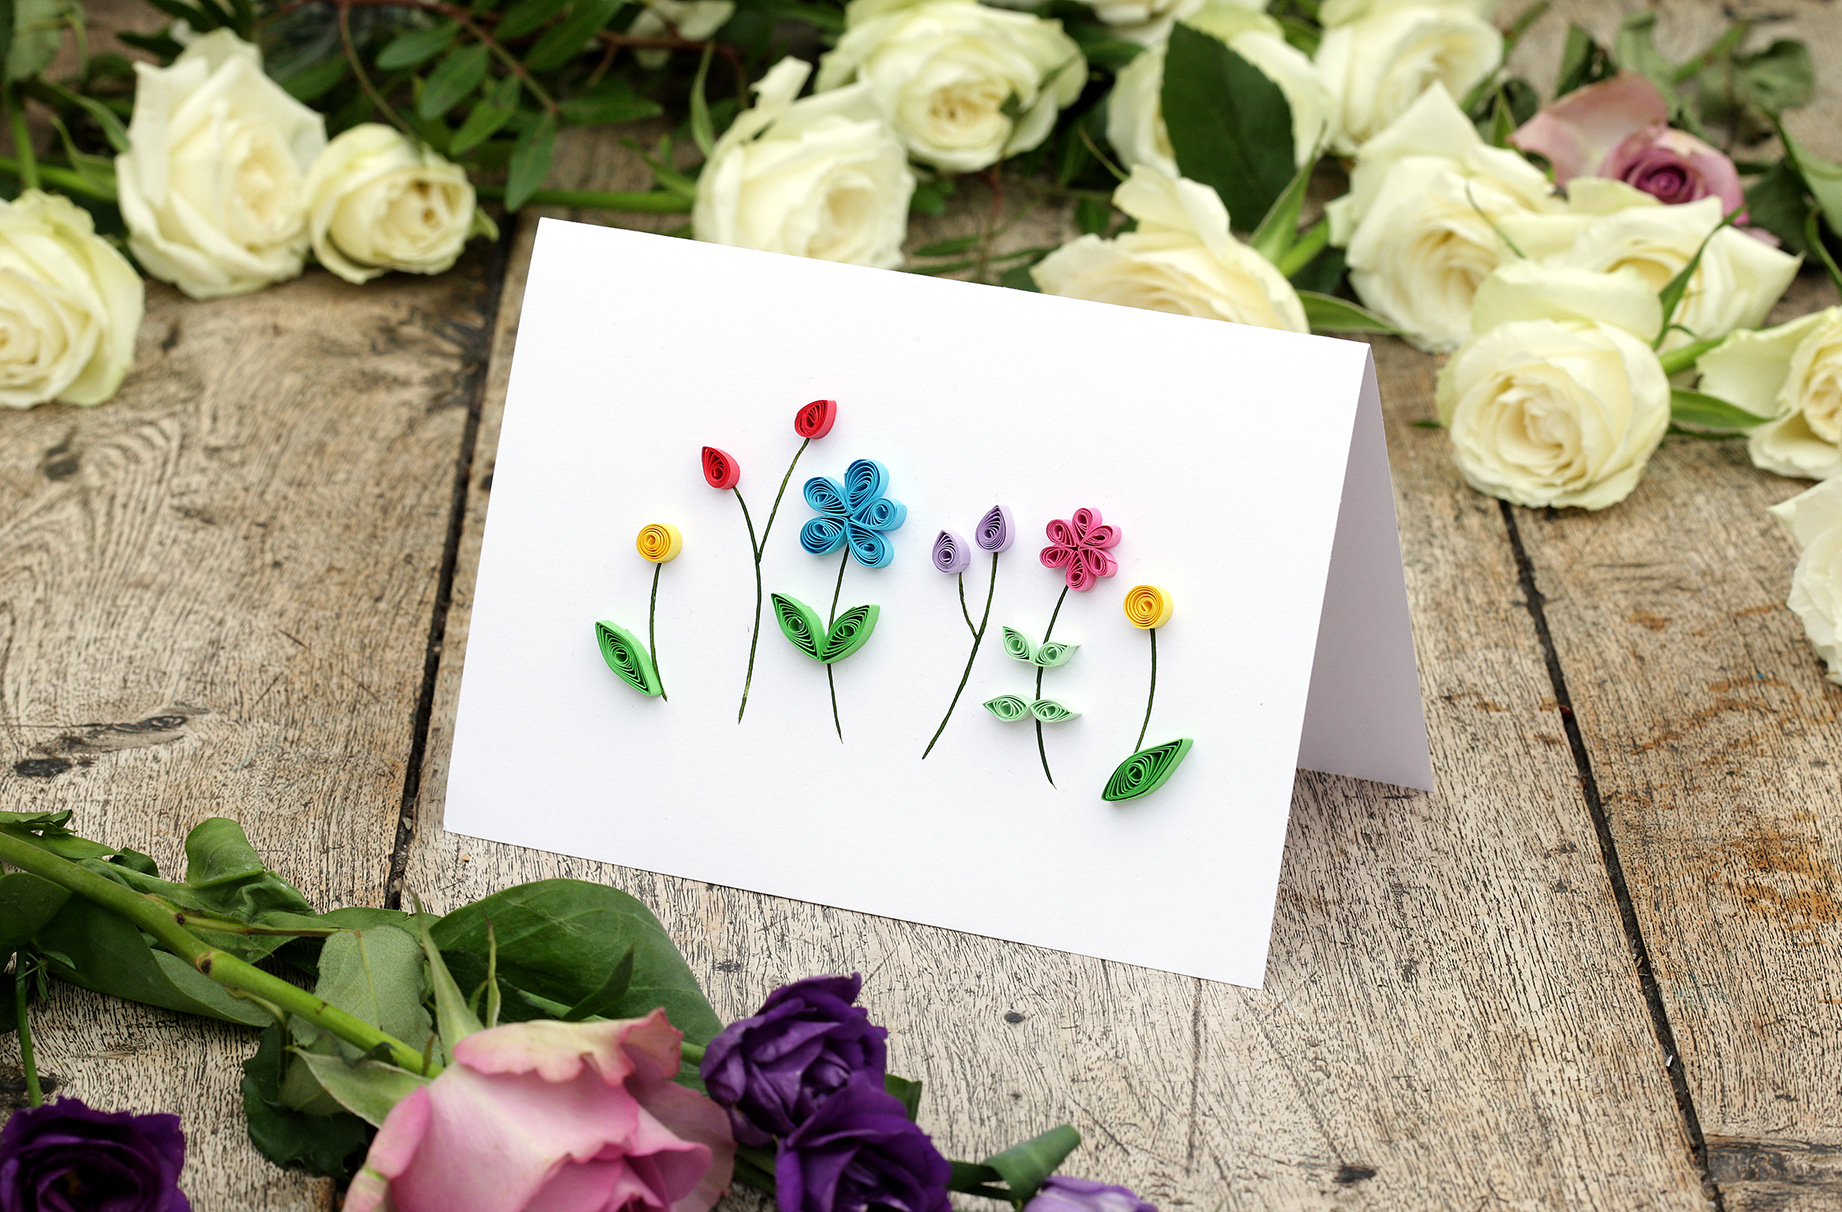
Make this floral Mother's Day greetings card for a special lady in your life.
Learn how to make a Mother's Day card with a quilling paper craft project that's easier to achieve than it looks with twisted strips of coloured paper, for a perfect DIY Mother's Day gift.
A homemade Mother's Day card is the perfect way to mark this special date. As lockdown will mean that Mother's Day celebrations will look a little different this year, send some love through the post with a gorgeous handmade card.
This papercraft version is created using a quilling technique where small strips of coloured paper are coiled and then pressed into shapes. It's the perfect way to create 3D petals and leaves. This craft is perfect for older children and adults, but we've also got loads of Mother's Day crafts for kids here too. So there are plenty of things to do with the kids to keep them engaged while doing something special for mum at the same time, including giving her a bit of peace and quiet while the little ones are crafting. This can help and avoid making her first Mother's Day a disaster like Goodto.com's Family Editor Stephanie Lowe had to experience.
How to make a Mother's Day card
To make a Mother's Day card you will need:
- Green ink pen
- Card blank
- Slotted quilling tool
- 5mm x 54cm quilling paper strips in light green, green, pink, purple, yellow, red, and blue
- Cocktail stick
- PVA glue
For craft supplies, check out Wilko

How to make a Mother's Day card:
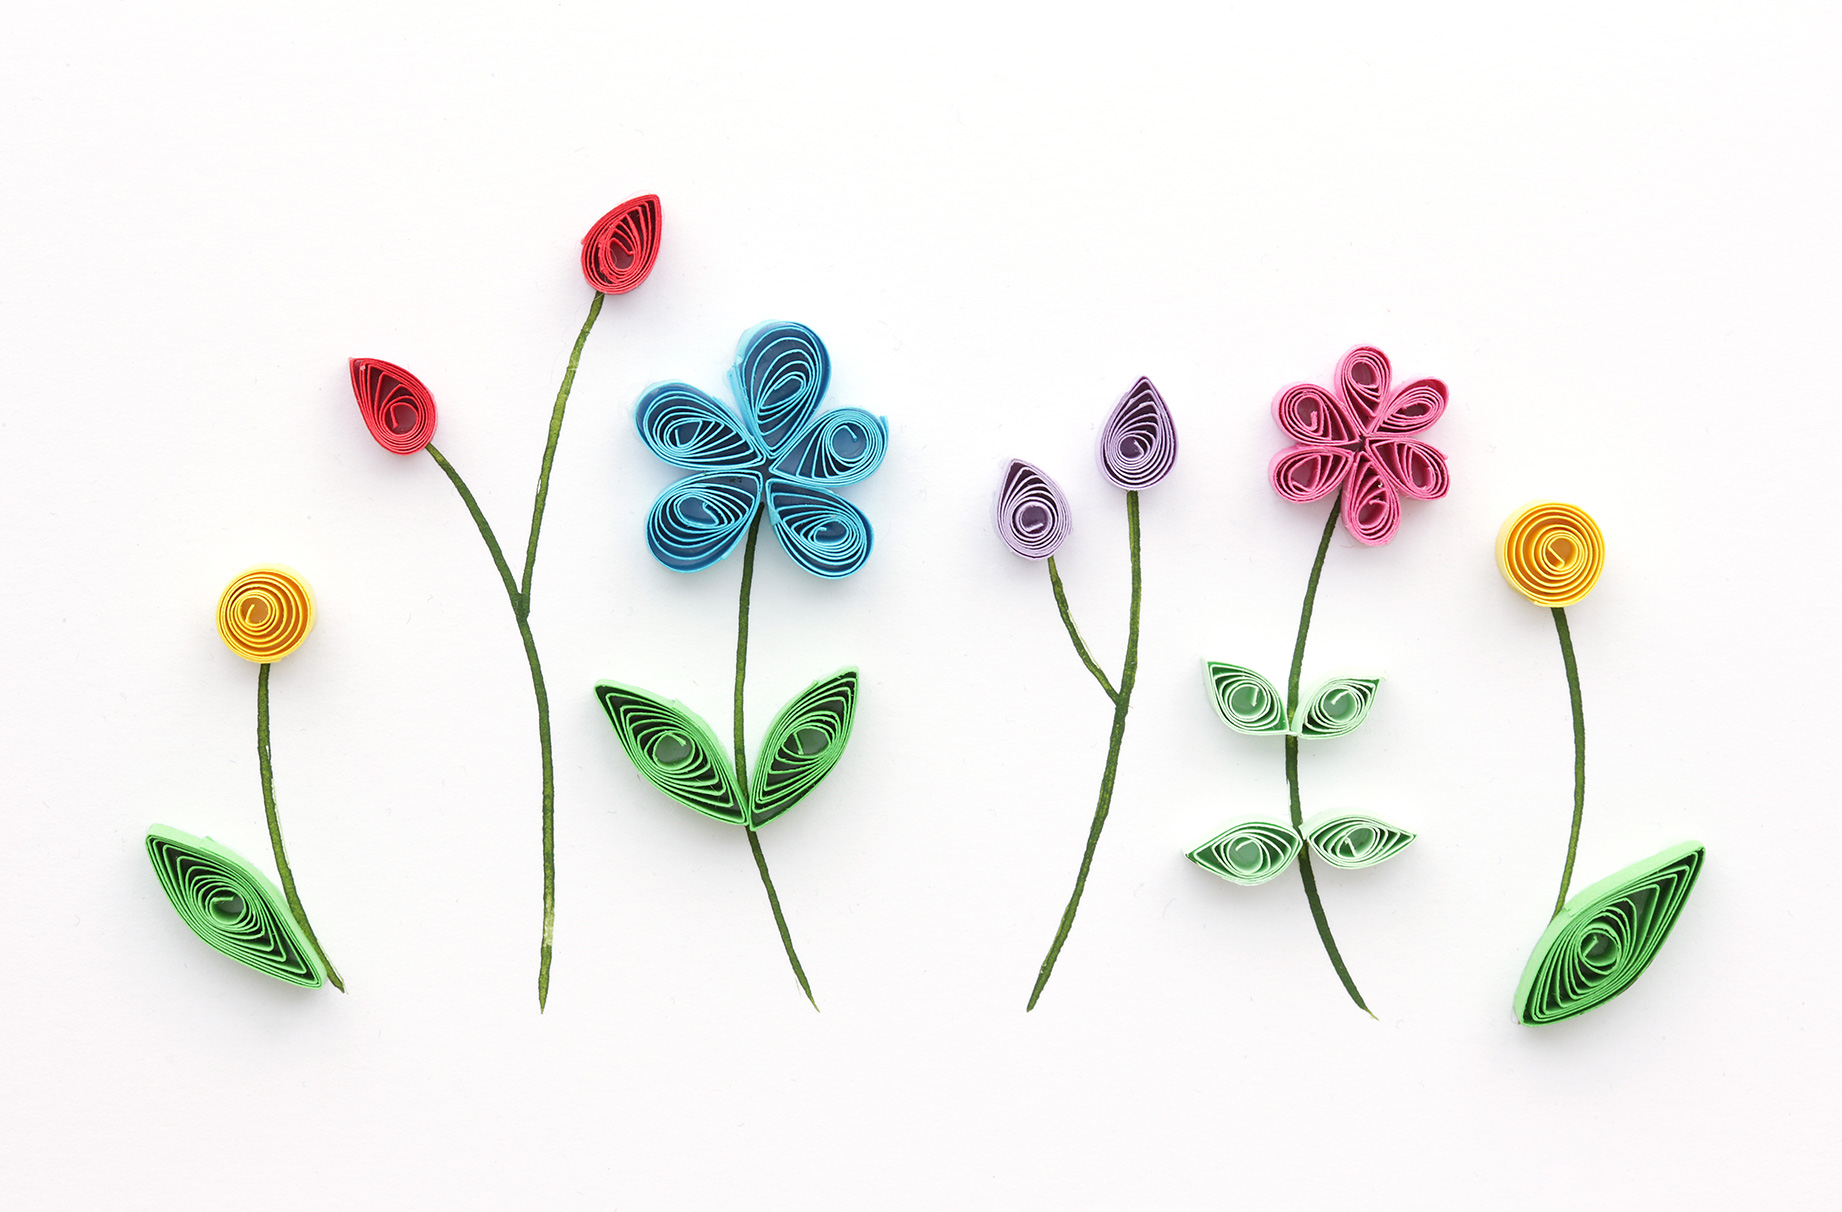
- Start by quilling the green papers into leaves. Cut two green papers into 20cm lengths and one light green paper into 12cm lengths. Take each paper, place the end into the slotted tool, and twist it around into a coil.
- Coil the entire length of paper and then release it from the tool. Allow it to unfurl slightly before squeezing into a leaf shape between your thumbs and forefingers. Apply glue to the loose end of the paper with the cocktail stick and glue in place. Allow to dry.
- Cut two blue strips into five 18cm lengths, one pink strip into 9cm lengths, one purple, yellow and red strip into 15cm lengths. Repeat the quilling process to coil the papers. Leave the yellow coils round and shape the rest into teardrops between your fingers. Glue to secure.
- On the card blank, use a green ink pen to draw a line of stems at varying heights. Arrange the quilled petals at the top to form flowers and place the leaves partway down the stem.
- Apply glue to the underside of the quilled papers and push down onto the card. Allow to dry completely.
GoodtoKnow Newsletter
Parenting advice, hot topics, best buys and family finance tips delivered straight to your inbox.

Esme is Future's resident craft expert, working across titles such as GoodTo, Woman&Home, Woman’s Weekly, Woman, Woman’s Own, Chat, Now, Pick Me Up and The Craft Network. Successfully turning her sewing hobby into a career, she's adept in a number of crafts, including sewing, papercraft, calligraphy, embroidery and printing.