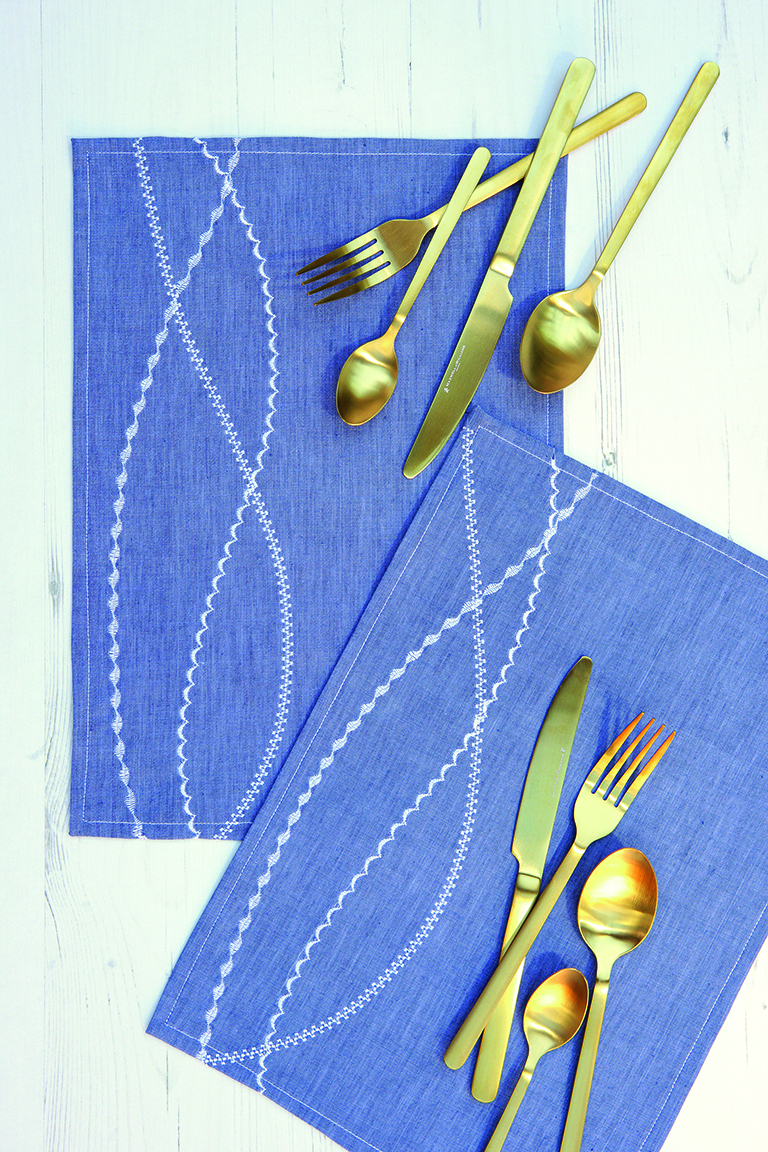
How to stitch your own placemats
Looking to spice up your dining room or side table? Here's how to stitch your own placemats and add a creative flair to any space.


Looking to spice up your dining room or side table? Here's how to stitch your own placemats and add a creative flair to any space.
Style up a simple dinner table with these striking placemats. You can even make your own coasters to match!
Most placemats you can buy are a bit boring or practical, but our version caters for the trend-conscious. Ditch the dull and embrace colour and pattern. Stitch up these placemat styles in your favourite colours, opt for our denim blue example or go even bolder with bright and warm shades.
If your sewing machine doesn't have embroidery stitches, you can stick to the simpler straight or zigzag stitches that all sewing machines have.
To stitch your own placemats you will need:
• 56 x 40cm rectangle blue cotton fabric
• Light weight iron-on interfacing
• White pen or vanishing fabric marker
GoodtoKnow Newsletter
Parenting advice, hot topics, best buys and family finance tips delivered straight to your inbox.
• White sewing thread
• Sewing machine
• Scissors
• Iron

How to stitch your own placemats:
- Cut the blue cotton fabric into two rectangle pieces measuring 28x40cm.
- Fuse the interfacing to the wrong side of one of the blue cotton pieces, making sure to follow the manufacturer’s instructions for your iron’s heat settings.
- Using a white pen or vanishing fabric marker, draw three wavy lines across the lower half of the fabric.
- Look through the stitches on your sewing machine and select three of the most decorative options. This works really well if your sewing machine has embroidery stitches. We’ve used a selection of satin stitches.
- Following the drawn on guidelines, stitch over the top in matching white thread and your stitch of choice.
- Turn the edges of both fabric pieces under by 1.5cm and press. Pin the two pieces together with wrong sides facing and topstitch all the way around the edge to secure. Stitch at about 1cm from the turned edge.
- Press out any creases with a warm iron and then you're ready to lay your table for a fancy brunch, lunch or dinner.

Esme is Future's resident craft expert, working across titles such as GoodTo, Woman&Home, Woman’s Weekly, Woman, Woman’s Own, Chat, Now, Pick Me Up and The Craft Network. Successfully turning her sewing hobby into a career, she's adept in a number of crafts, including sewing, papercraft, calligraphy, embroidery and printing.