How to make a tote bag
Making a handy tote is great idea for your next shopping spree – it’s also a great way of using up your favourite leftover fabric remnants.


Making a handy tote is great idea for your next shopping spree – it’s also a great way of using up your favourite leftover fabric remnants.
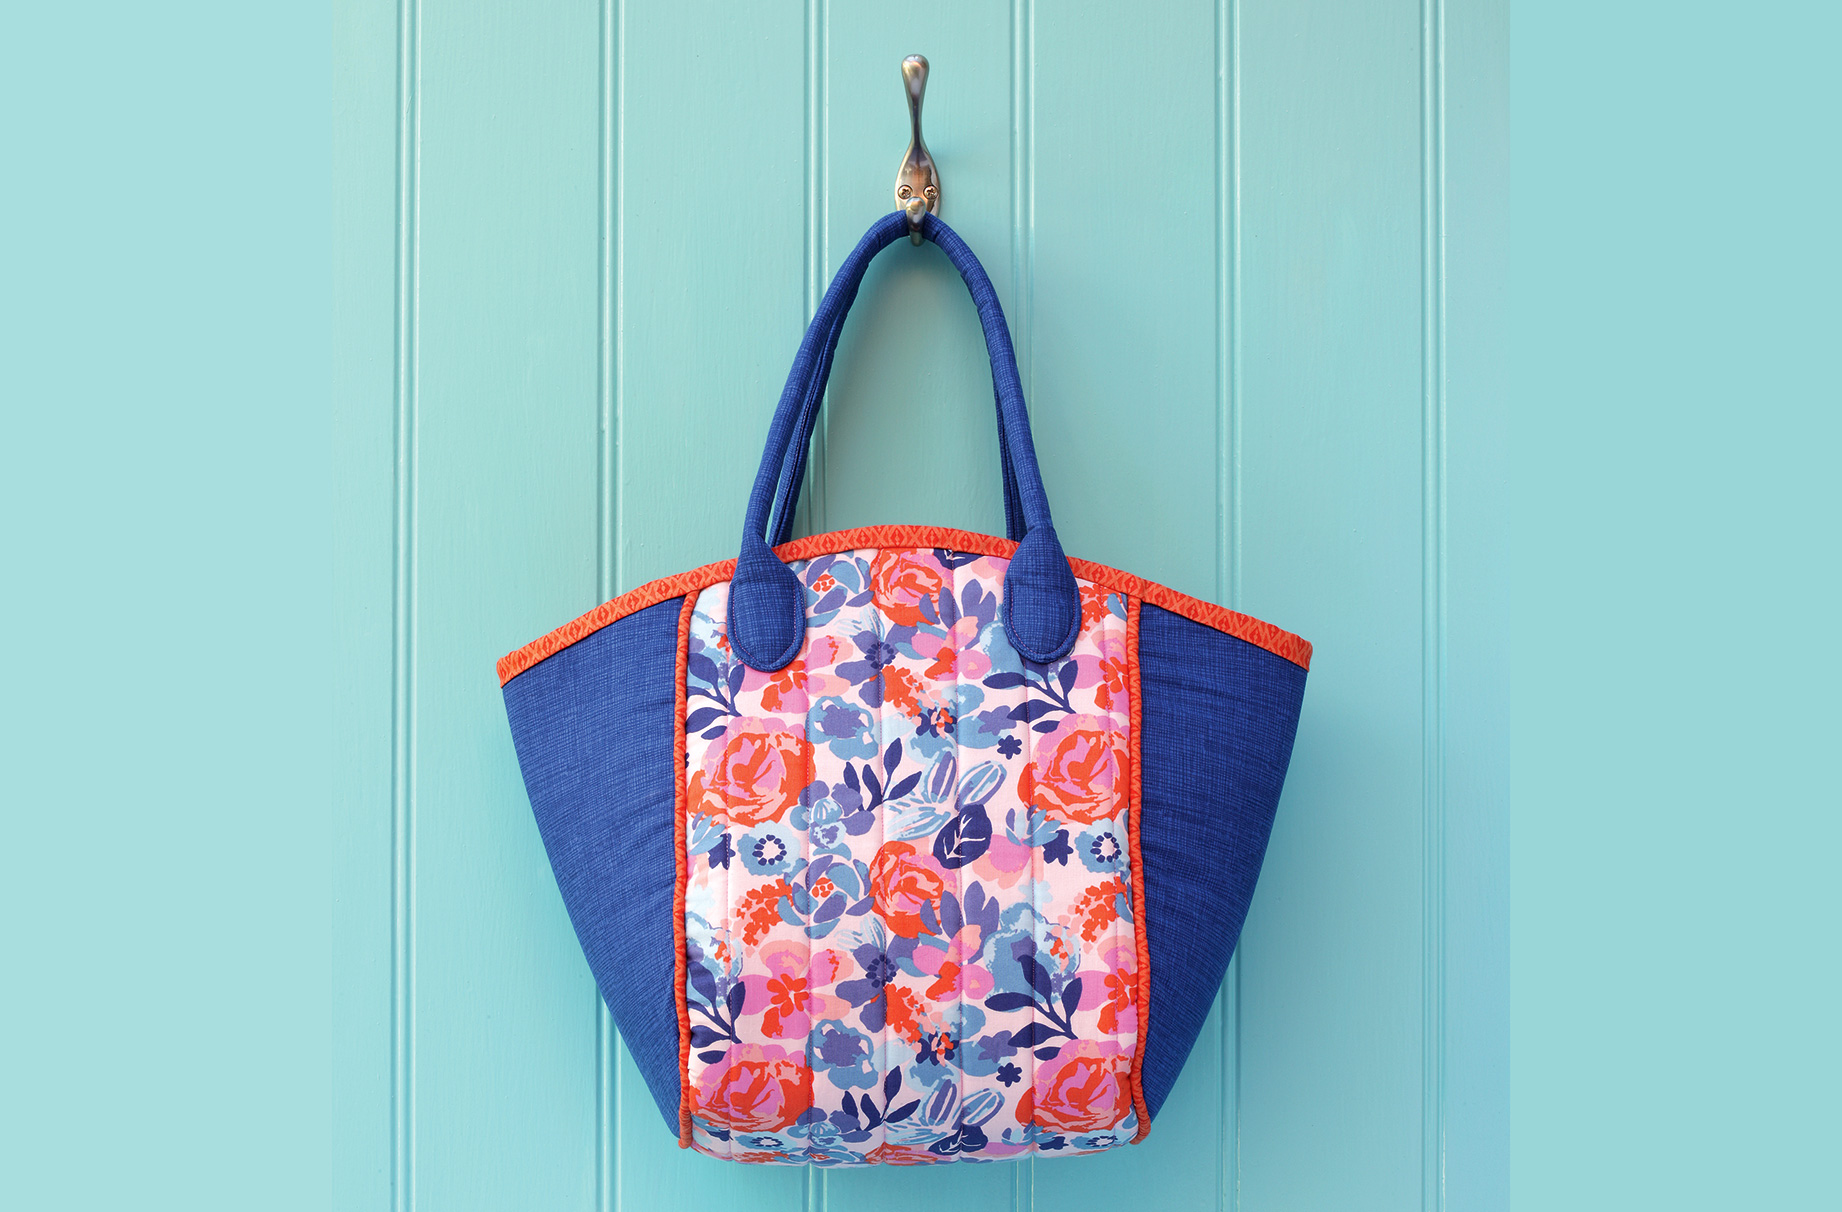
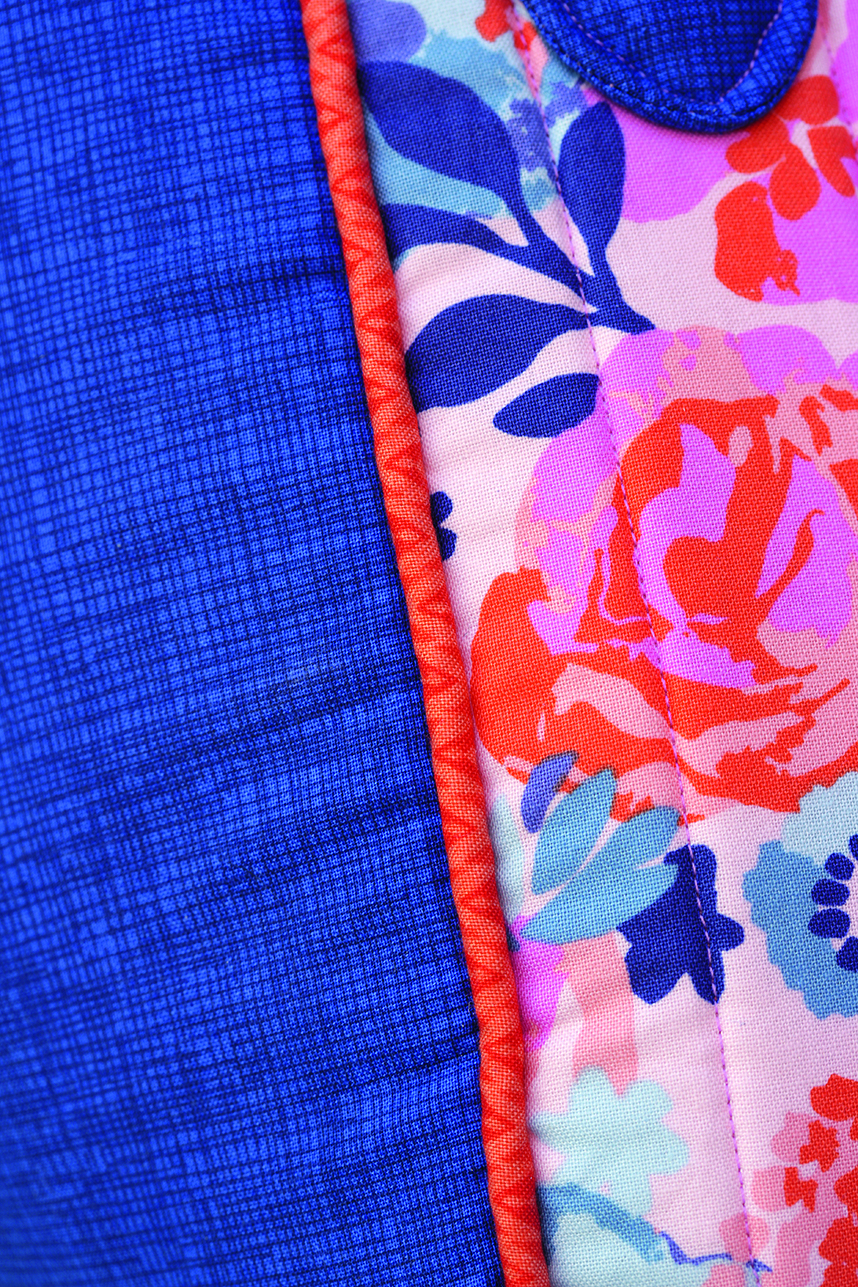
Start up your sewing machine to stitch this fun tote bag design. Made in a colourful array of fabric remnants, it's sure to stand out from the crowd with its bold panel pieces and contrast piping.
Run out of fabric? No worries! Try out this pillowcase bag how-to instead.
Add your own finishing touches to the bag with a couple of tassels on the handles or some hand stitched designs on the panels. Take inspiration from our how to make an embroidered tote bag tutorial.
If you're not a confident stitcher try out this no-sew tote bag, turning an old t-shirt into a handy shopper.
To make the tote bag you will need:
- 40 x 50cm floral fabric
- 50 x 55cm blue fabric
- 20 x 80cm orange fabric
- 40 x 100cm lining fabric
- 50 x 100cm non-fusible foam
- 160cm of 6mm thick piping cord
- Binding tape maker
- Sewing machine
- Piping foot
- Matching thread
- Scissors
- Pins
- Hand-sewing needle (optional)
- Template enlarged to 300% -Download the PDF
For sewing supplies, check out John Lewis
Note: Use 1cm seams throughout, press open unless otherwise stated.
GoodtoKnow Newsletter
Parenting advice, hot topics, best buys and family finance tips delivered straight to your inbox.

Cutting out the tote bag pieces:
For the tote bag: From the floral fabric and foam, cut two bag centres on the fold using the enlarged template . From the blue fabric and foam, cut two bag sides on the fold using the enlarged template.
For the tote bag handles: From the blue fabric, cut four strips measuring 5 x 55cm. From the foam, cut two strips measuring 5 x 55cm.
For the tote bag lining: From your lining fabric, cut two bag sides on the fold and two bag centres on the fold.
For the tote bag binding: From the orange fabric, cut two 5 x 50cm pieces. Join together at one short end to create one long strip.
For the tote bag piping: From the orange fabric, cut two 4 x 80cm pieces. From the piping cord, cut two lengths measuring 80cm.
To sew the lining:
1. Pin and sew the bag centres together along the bottom edge with right sides together.
2. Pin and sew the two bag side pieces on either side of the centre piece, right sides together.
Remember, you can use fabric scraps for the lining as these won't be on show.
To make the handles:
1.First pin two of the handle strips together with right sides facing and a foam strip placed on top. Round off the short ends with a pair of scissors.
2. Then with a 5mm seam allowance, stitch all the way around the edge, leaving a 10cm gap in the centre.
3. Clip into the curved ends and turn the handle right-sides out. Give the handle a good press.
4. Trim the foam at the open edge by 5mm and turn the fabric under by 5mm. Pin together and stitch closed.
5. Fold the handle in half, so the side seams are aligned and pin together. Then top stitch all the way down the handle, about 3mm from the edge, making sure to stop stitching 8cm from each end. Repeat to create a second handle.

To sew the tote bag:
1. Pin and sew the floral bag centres together along the bottom edge with right sides together. Repeat for the foam, trimming away the seam allowance to help it lie flat.
2. Scatter-pin the bag centres and foam piece together with right sides facing out and zig-zag stitch all the way around the edge. Repeat for the bag side fabric and foam pieces.
3. Quilt the bag centre with a series of straight lines at 4cm apart. Draw the lines with a vanishing marker if you need some guidance.
4. Sandwich the piping cord inside the fabric piping strips, with right sides out and, using a piping foot on your sewing machine, stitch the fabric as close to the cord as you can.
5. Pin the piping to the edge of the side pieces and stitch in place. Then pin and sew the bag side and bag centre pieces together, still using the piping foot. Turn right-sides out.
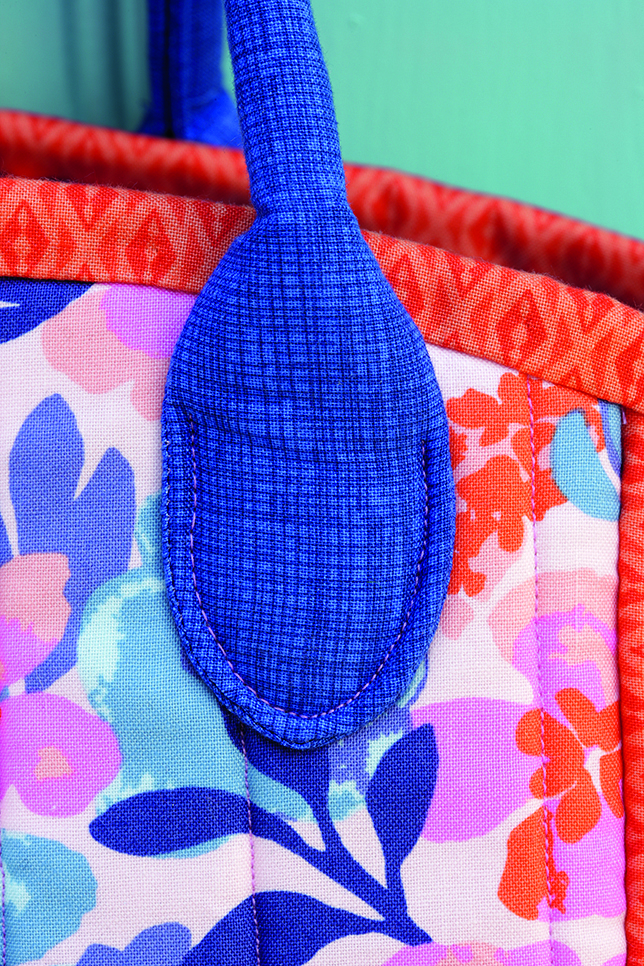
6. Position the handles about 8cm from the top edge of the bag and 3cm in from the piping. Stitch in place by following the curve of the handle base.
7. Next place the lining inside the bag. Pin and sew along the top edge to secure.
8. Run the binding fabric through a binding-tape maker and press. Wrap the binding around the top edge of the bag and topstitch or slipstitch in place.

Esme is Future's resident craft expert, working across titles such as GoodTo, Woman&Home, Woman’s Weekly, Woman, Woman’s Own, Chat, Now, Pick Me Up and The Craft Network. Successfully turning her sewing hobby into a career, she's adept in a number of crafts, including sewing, papercraft, calligraphy, embroidery and printing.