How to make laundry bags
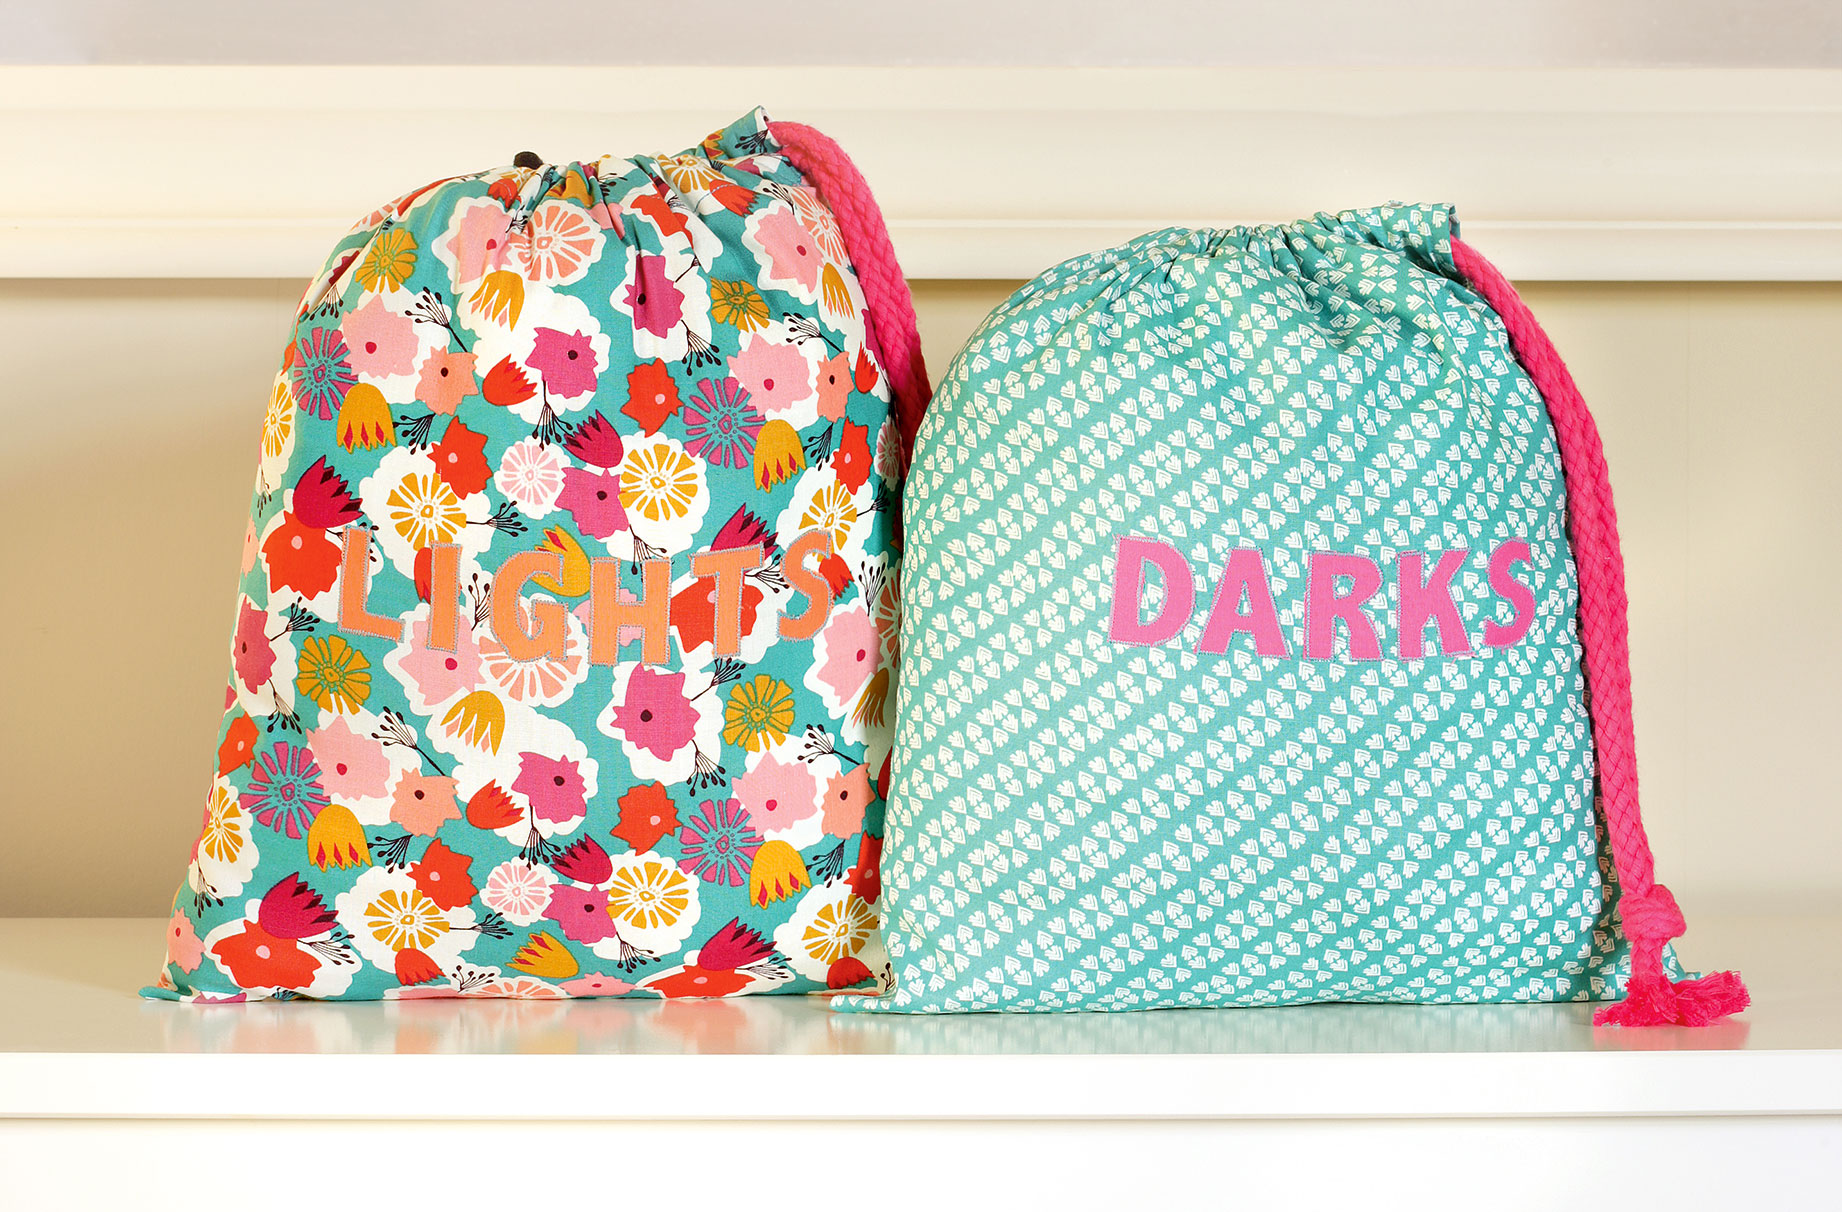
Make these pretty appliqué laundry bags to organise your light and dark loads


Make these pretty appliqué laundry bags to organise your light and dark loads
Make your next wash day a doddle with these pre-organised laundry bags to sew. Simply chuck in your laundry throughout the week so it's ready to be washed without needing to be sorted first.
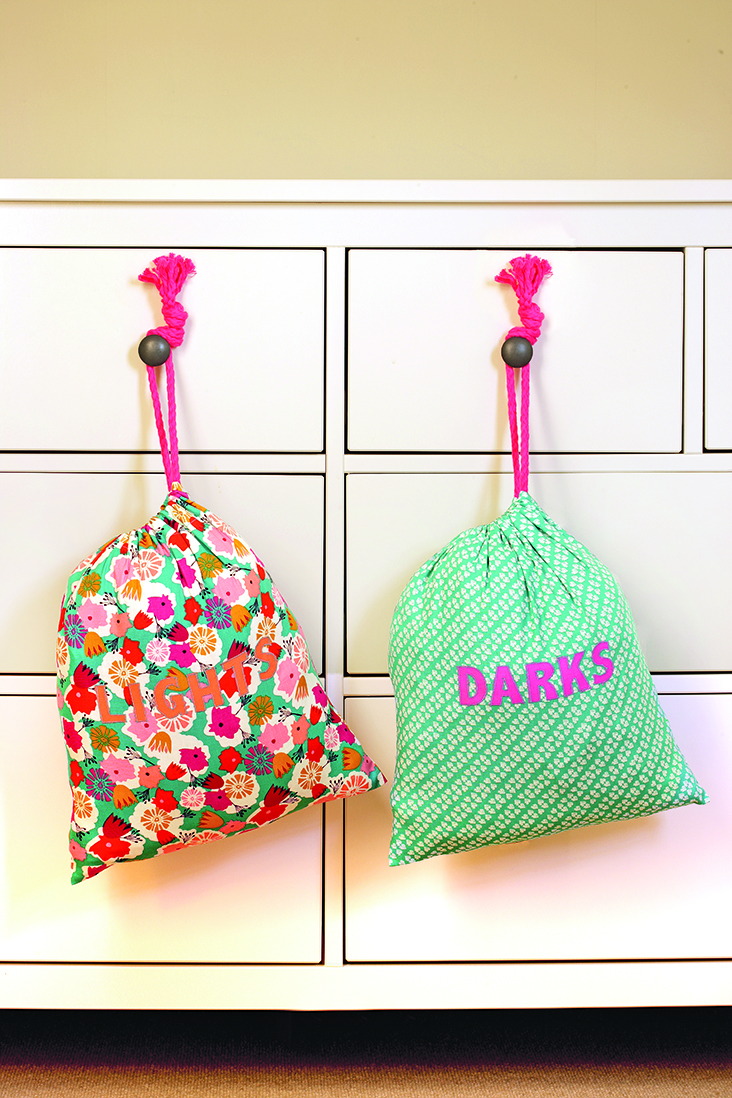
Plus, the drawstring close on these laundry bags makes them great for hanging up on the back of a door or on the end of a bed.
This is a great project for beginner sewers. For more like this one, check out our glasses case tutorial, travel bags to sew, and how to make a sewing machine cover.
You will need:
- 20cm x 25cm Bondaweb
- 10cm x 25cm plain pink cotton fabric
- 10cm x 25cm plain peach cotton fabric
- 45cm x 70cm teal patterned fabric
- 45cm x 70cm floral patterned fabric
- Contrasting sewing thread
- 2m braided cotton cord
- Bodkin or large safety pin

How to make laundry bags:
1. Fuse the Bondaweb to the reverse of the plain cotton fabric by following the manufacturer’s instructions.
2. Print or draw out the words ‘light’ and ‘dark’ in block capitals; transfer the templates to the paper backing on the Bondaweb.
3. Cut out each letter and arrange it on the patterned fabric. Position the words about 9cm from the right edge and 18cm from the bottom edge of both patterned fabric pieces.
GoodtoKnow Newsletter
Parenting advice, hot topics, best buys and family finance tips delivered straight to your inbox.
4. Peel off the paper backing and carefully replace the appliqués in position on the fabric. Using a warm iron, fuse the letters in place. Using a small zigzag stitch in a contrasting thread, sew all the way around the letters to secure.
5. Taking the two patterned rectangles, turn over the top long sides by 8cm with the wrong sides together and press. Along the short edges, turn under the sides by 1.5cm for the top 10cm. Pin and topstitch in place. Fold over the long edge again, this time by 4cm. Pin and topstitch in place along the folded edge to create a channel.
6. Turn the rectangle right sides together so the two short sides meet and pin all the raw edges apart from the channel opening. Stitch all the raw edges with a 1.5cm seam allowance. Turn right sides out, making sure to push out the bottom corners, and press.
7. Cut the cotton cord into two 1m lengths. Using a bodkin or large safety pin threaded with the braided cotton cord, push the cord around the channel. Leaving an extra bit of cord at each channel end, knot the two together and use as a drawstring to seal the bag.

Esme is Future's resident craft expert, working across titles such as GoodTo, Woman&Home, Woman’s Weekly, Woman, Woman’s Own, Chat, Now, Pick Me Up and The Craft Network. Successfully turning her sewing hobby into a career, she's adept in a number of crafts, including sewing, papercraft, calligraphy, embroidery and printing.