How to make hair scrunchies
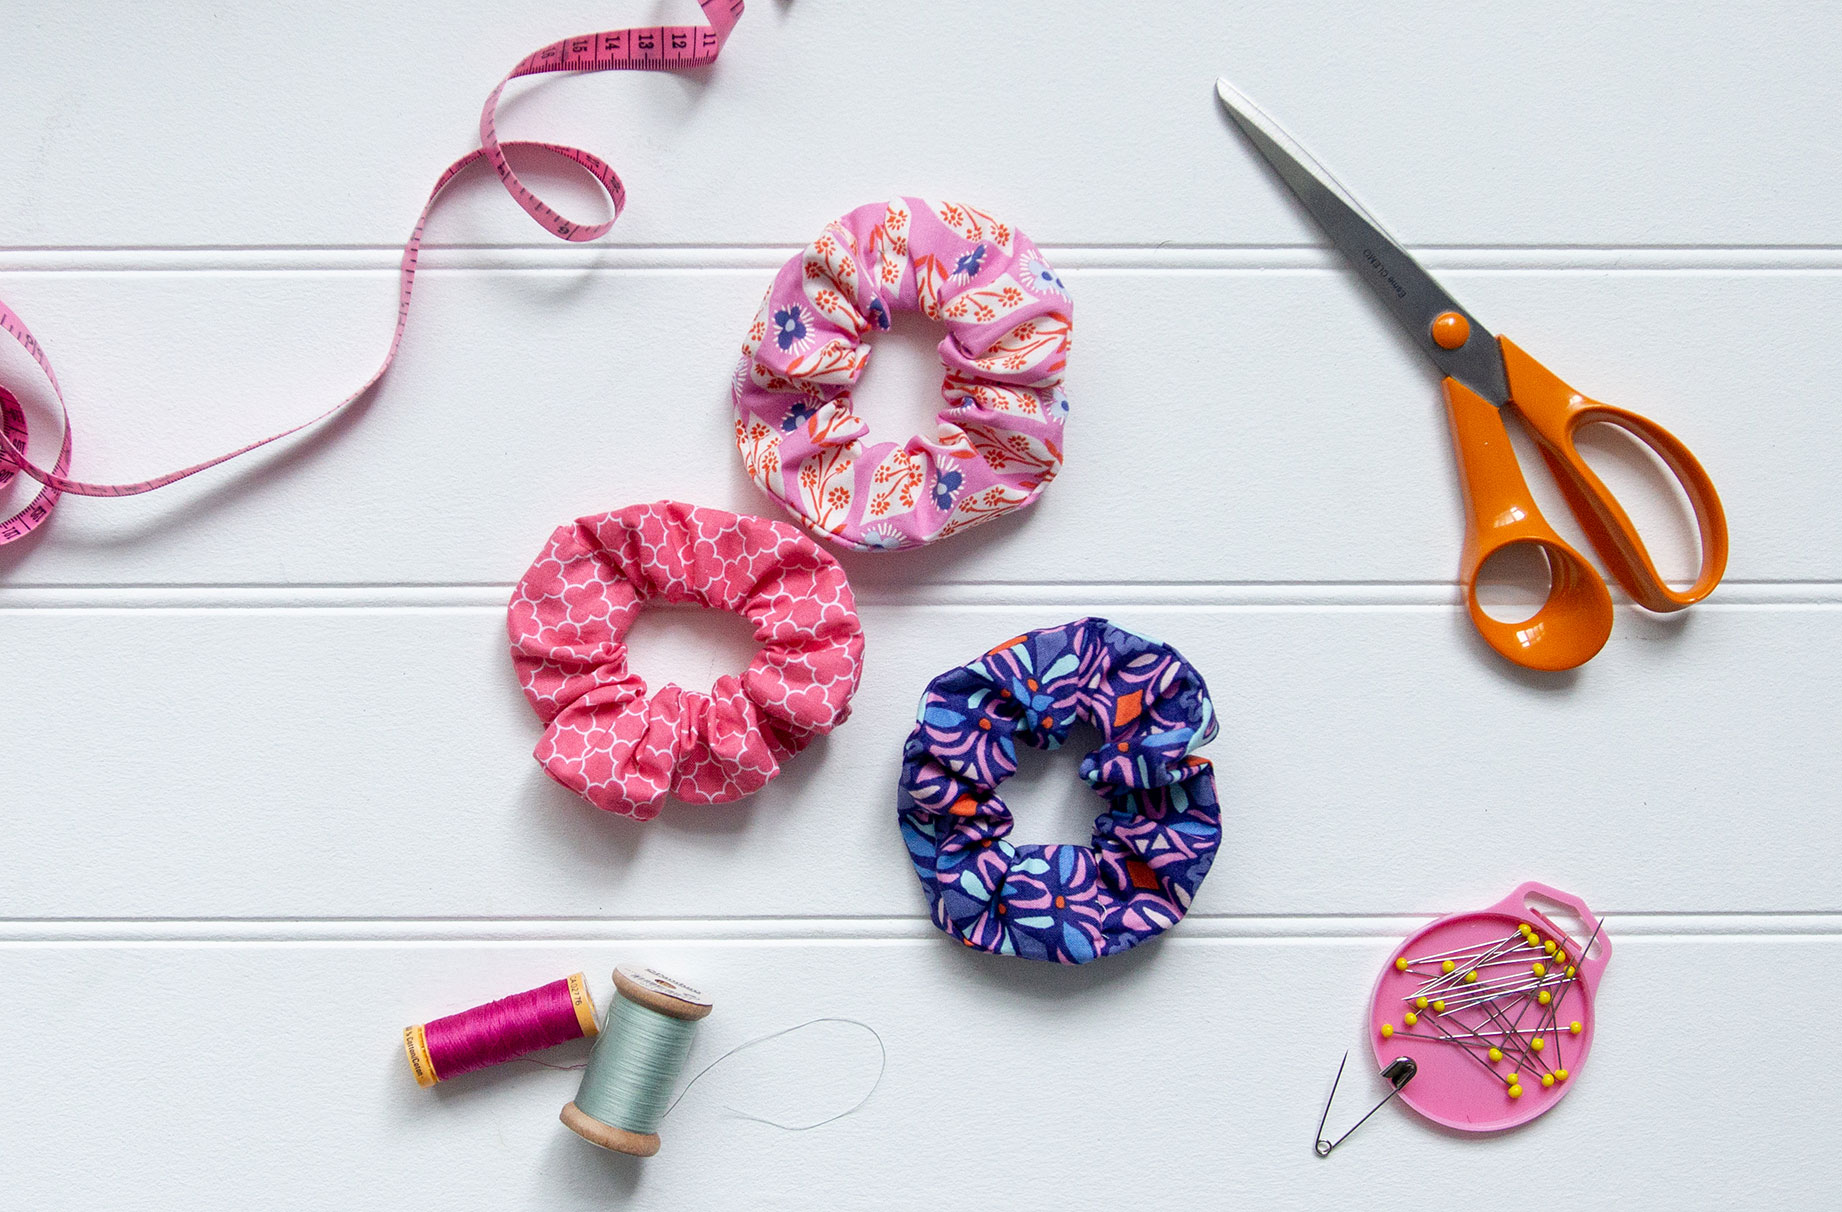

It’s so easy to make your own DIY hair scrunchies, all you need is some fabric and a piece of elastic.
Make your own stylish set of scrunchies from whatever fabric you have.
We’ve made ours with plain and patterned cottons, but for something a little swankier, how about stitching yours in silk or velvet?
Whatever fabric you make your scrunchies from, they’re sure to add a fun and chic look to your hairstyle. Jazz up a ponytail or add the finishing touch to your topknot with this simple sewing tutorial.
This is a great beginner project if you’ve just started using a sewing machine or want to teach little ones how to use one. Kids will love creating their own accessories and sharing their latest creations with friends and family. If you like to be experimental with your hair, take a look at our fun guide on how to dye hair with tissue paper. And for more fun inspiration, see our pick of the best hair accessories for girls, or boys!
To make hair scrunchies you will need:
- A piece of plain or patterned fabric, cotton fabric is the easiest to sew
- 6mm wide piece of elastic
- Matching sewing thread
- Scissors
- Pins
- Safety pin
How to make hair scrunchies:
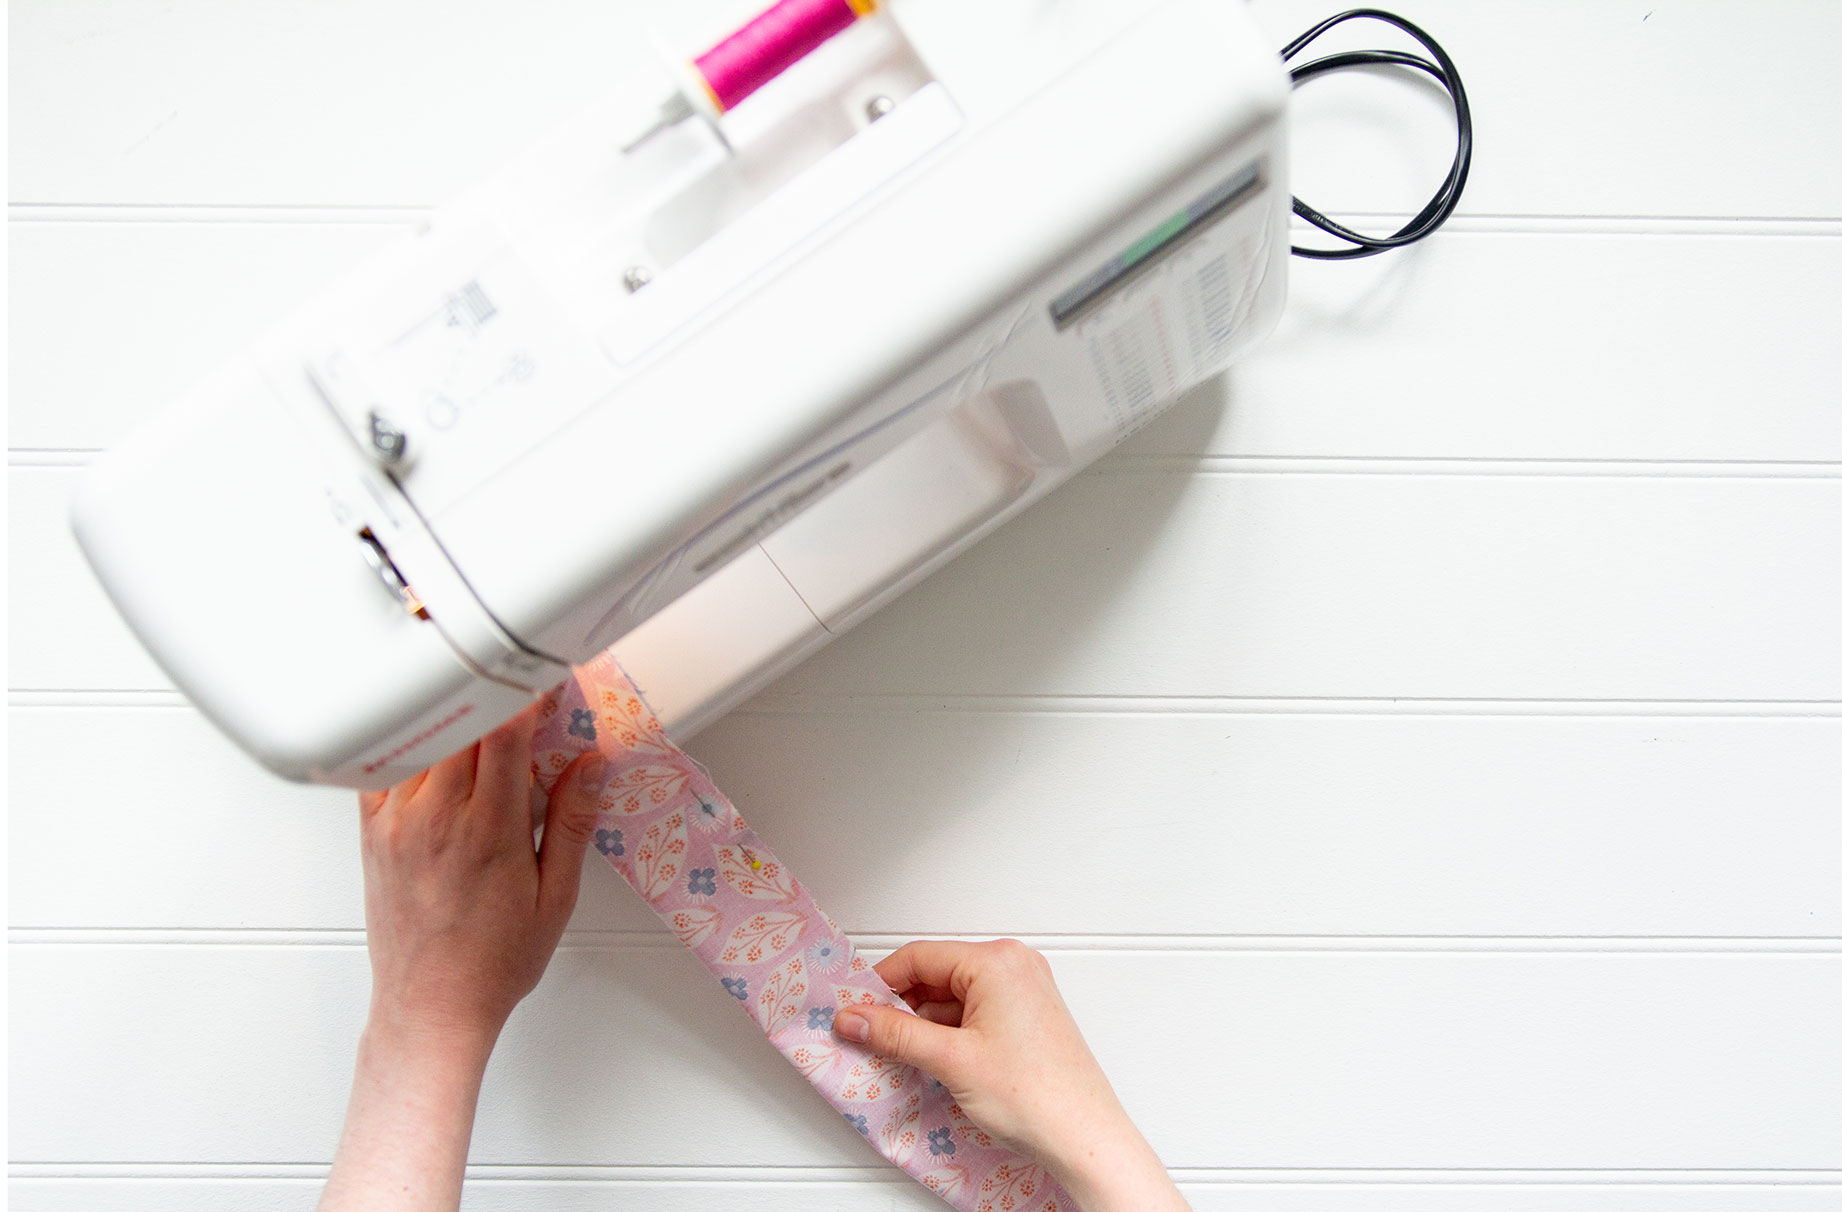
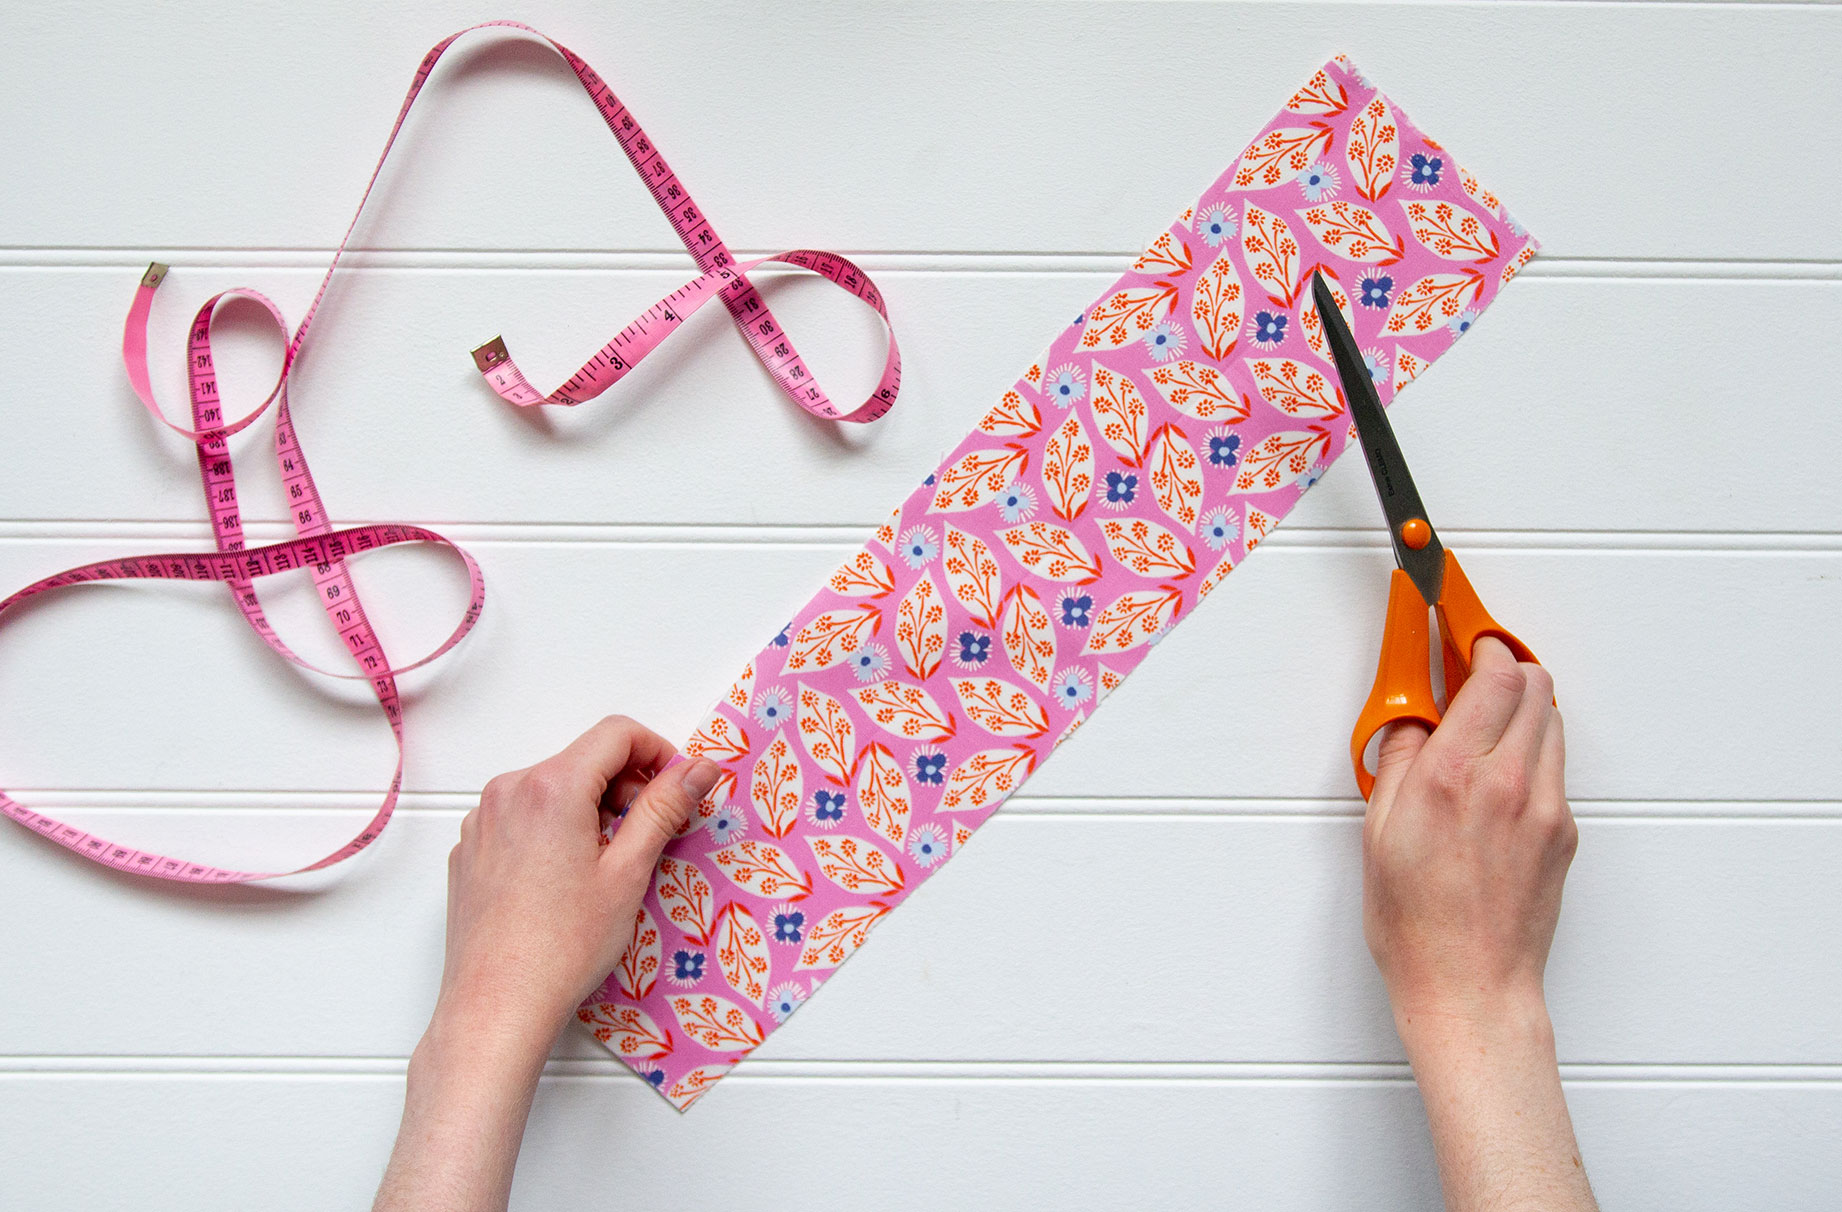
1. Make sure to press your fabric before beginning the project. First, cut a 10x50cm strip from the fabric. If you’re making a batch of hair scrunchies, cut out more than one strip of fabric.
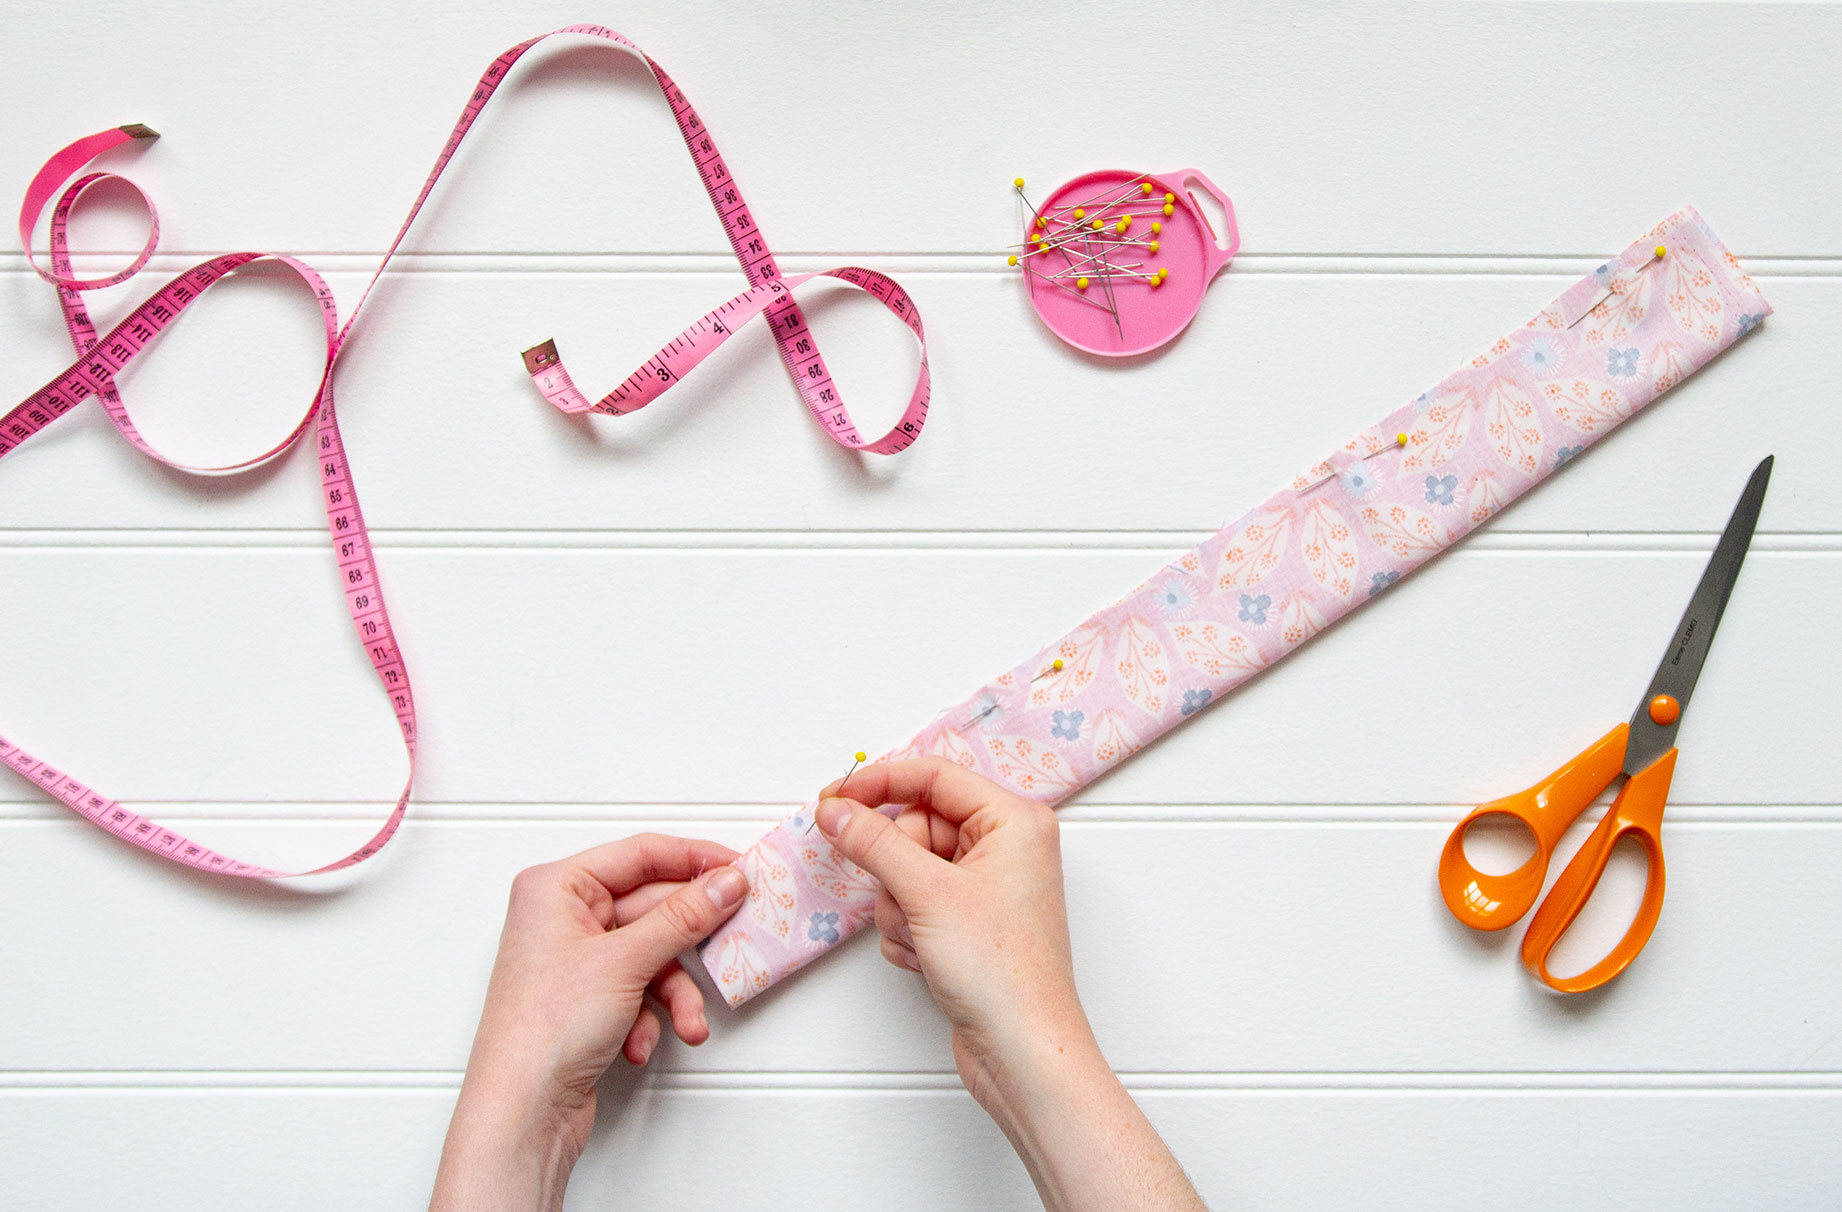
2. Then fold the fabric in half lengthwise with right sides facing. Pin and sew along the raw edge with a 1cm seam allowance. Turn the tube of fabric right sides out.
GoodtoKnow Newsletter
Parenting advice, hot topics, best buys and family finance tips delivered straight to your inbox.
3. Cut a 20cm piece of elastic and attach a safety pin to one end.
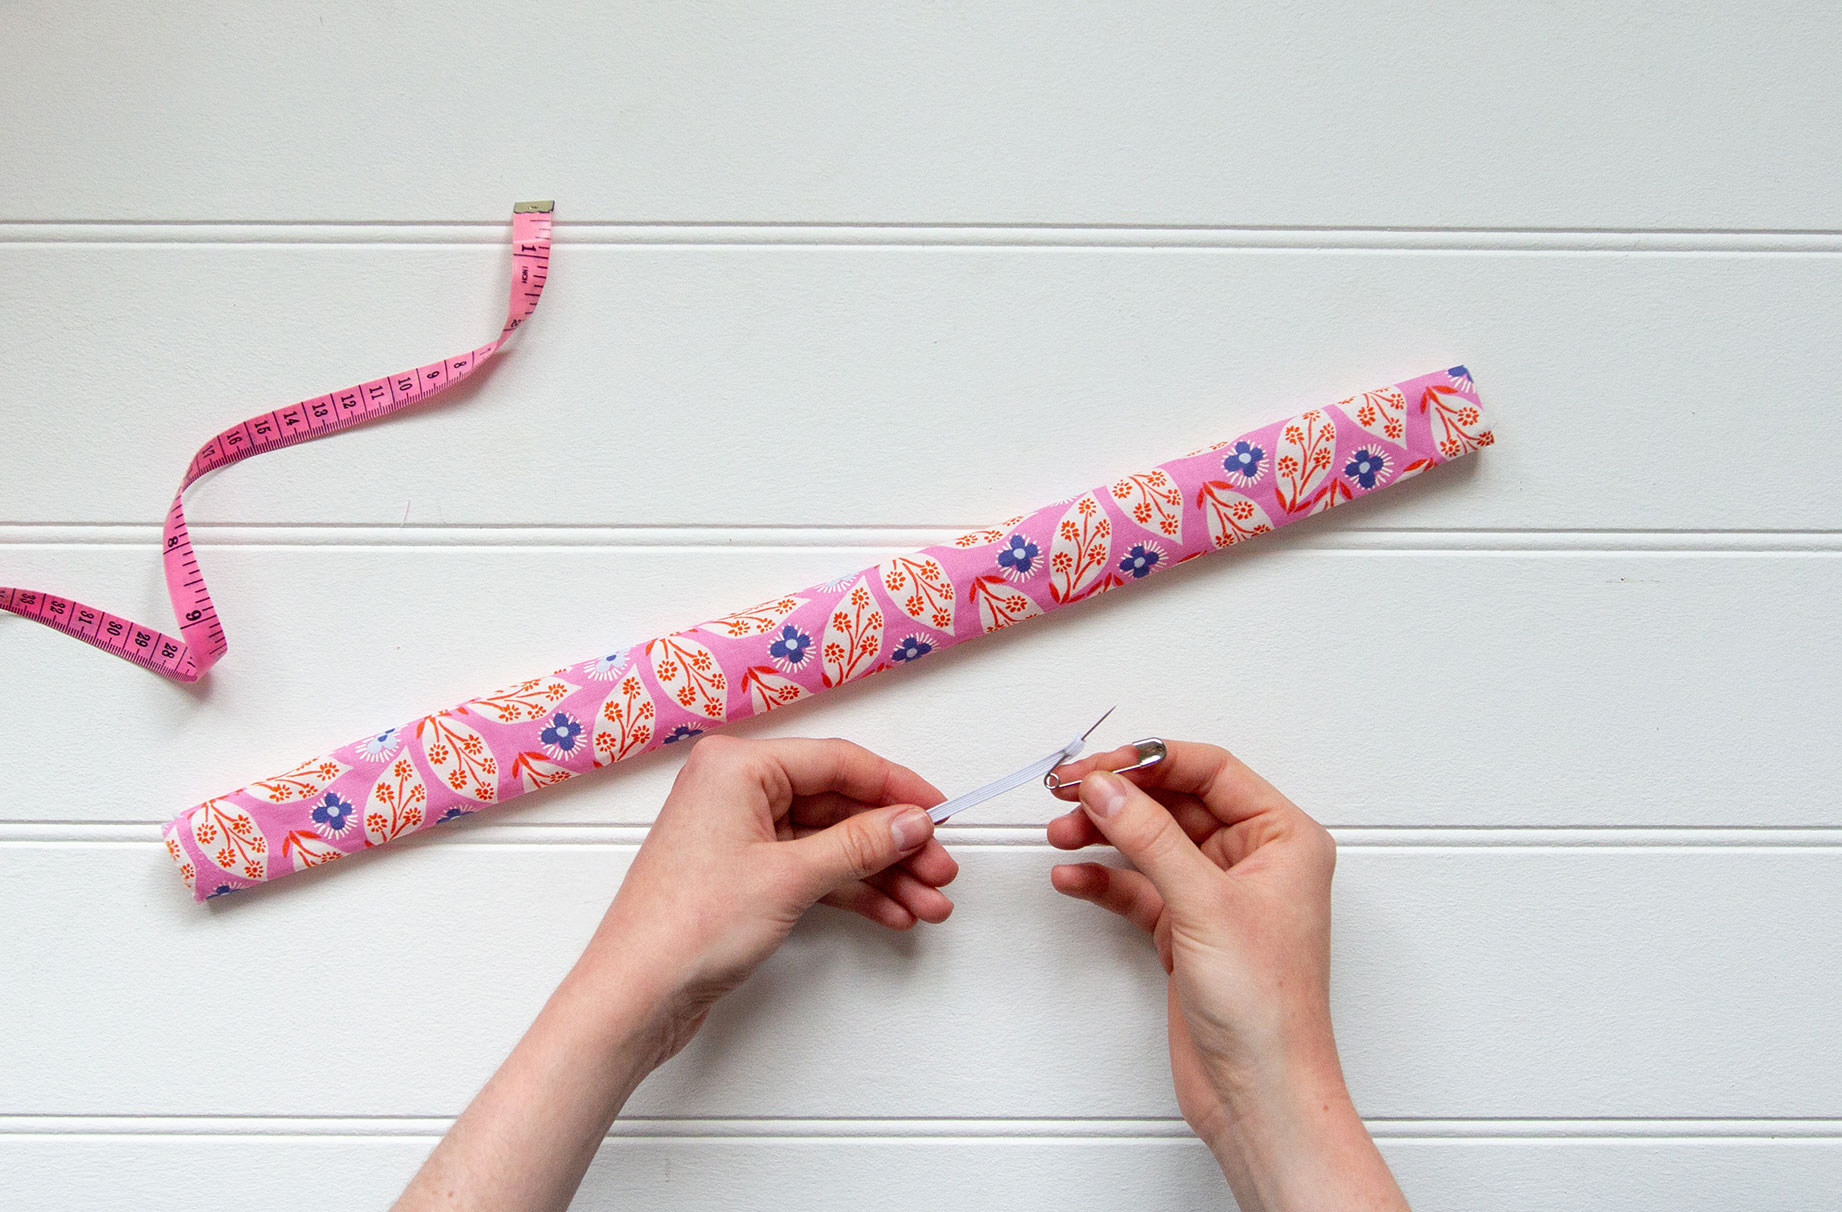
4. Thread the elastic through the fabric tube and tie the ends of the elastic into a knot to secure.
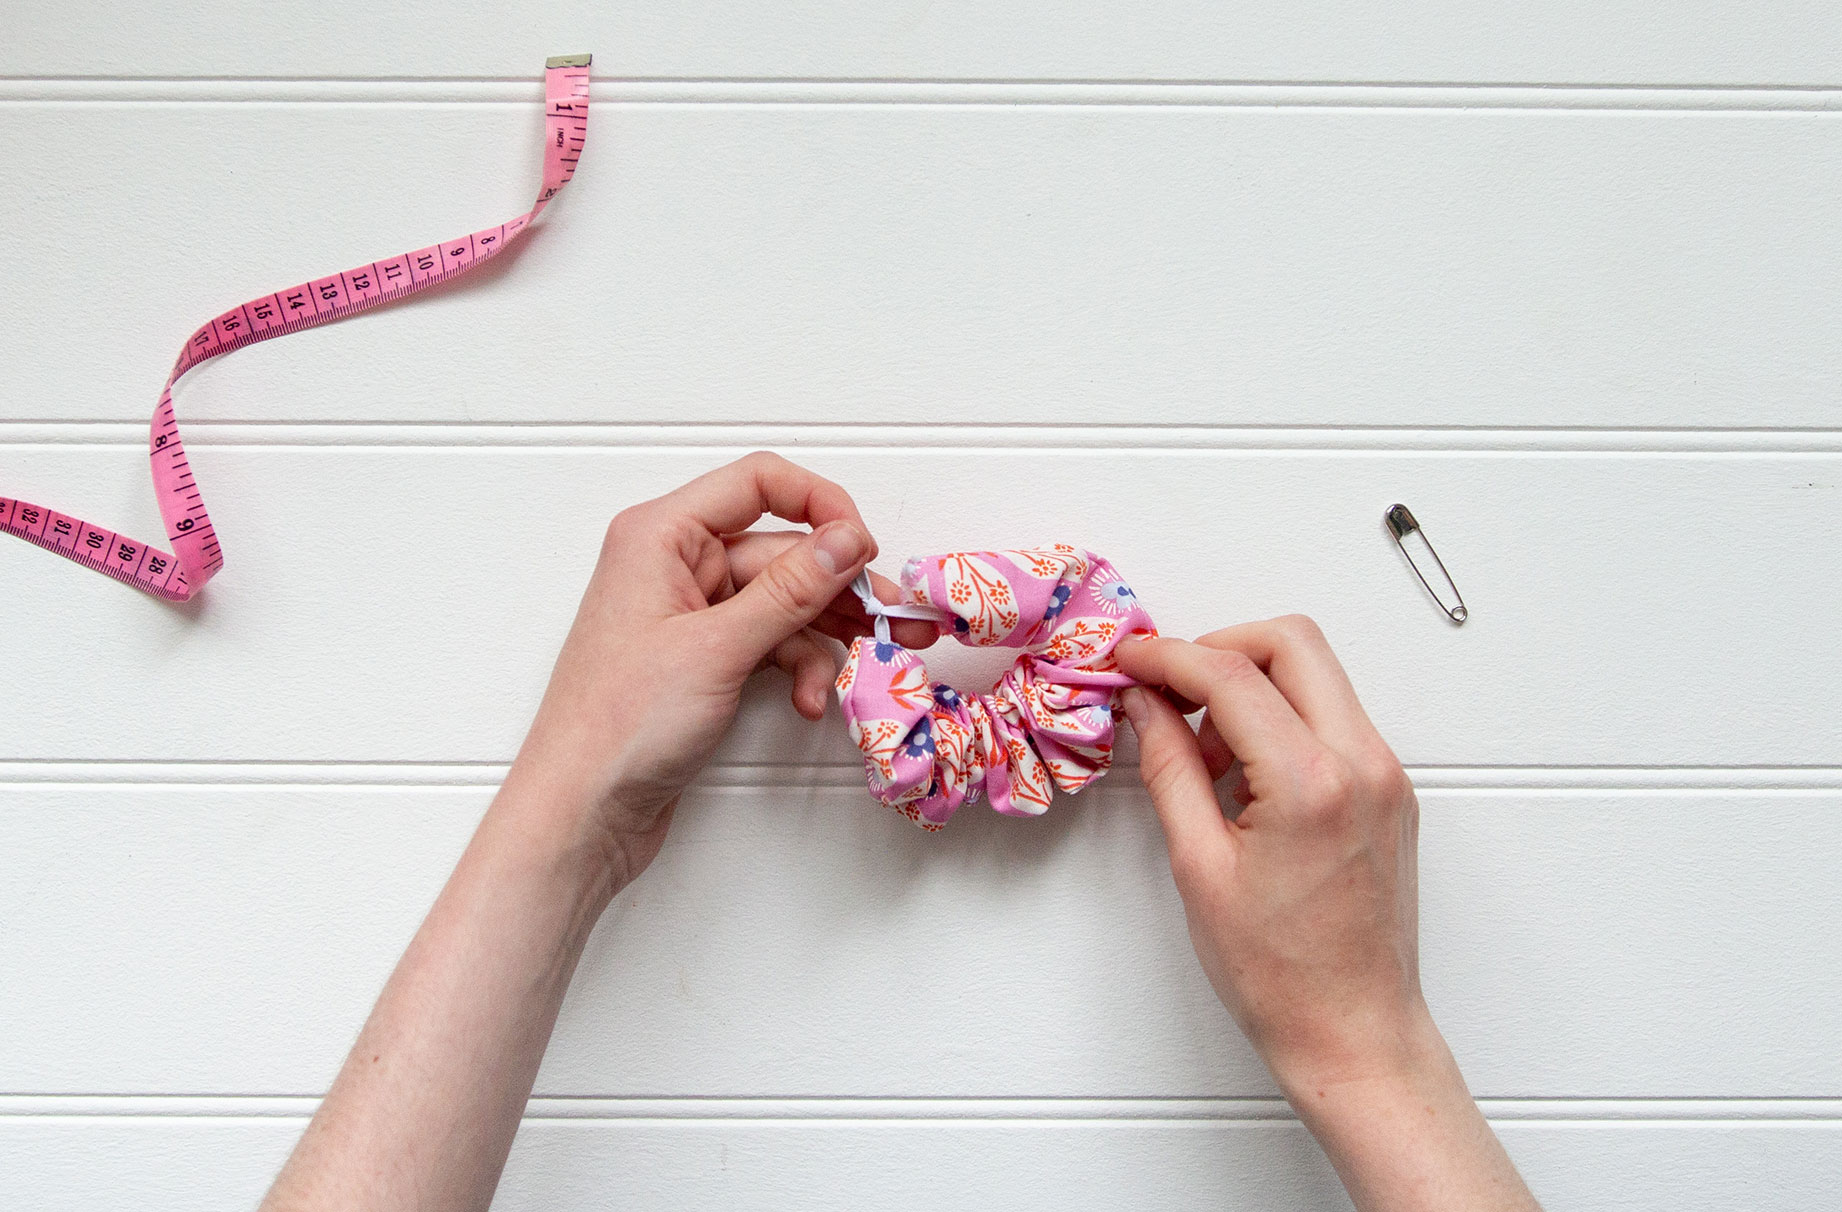
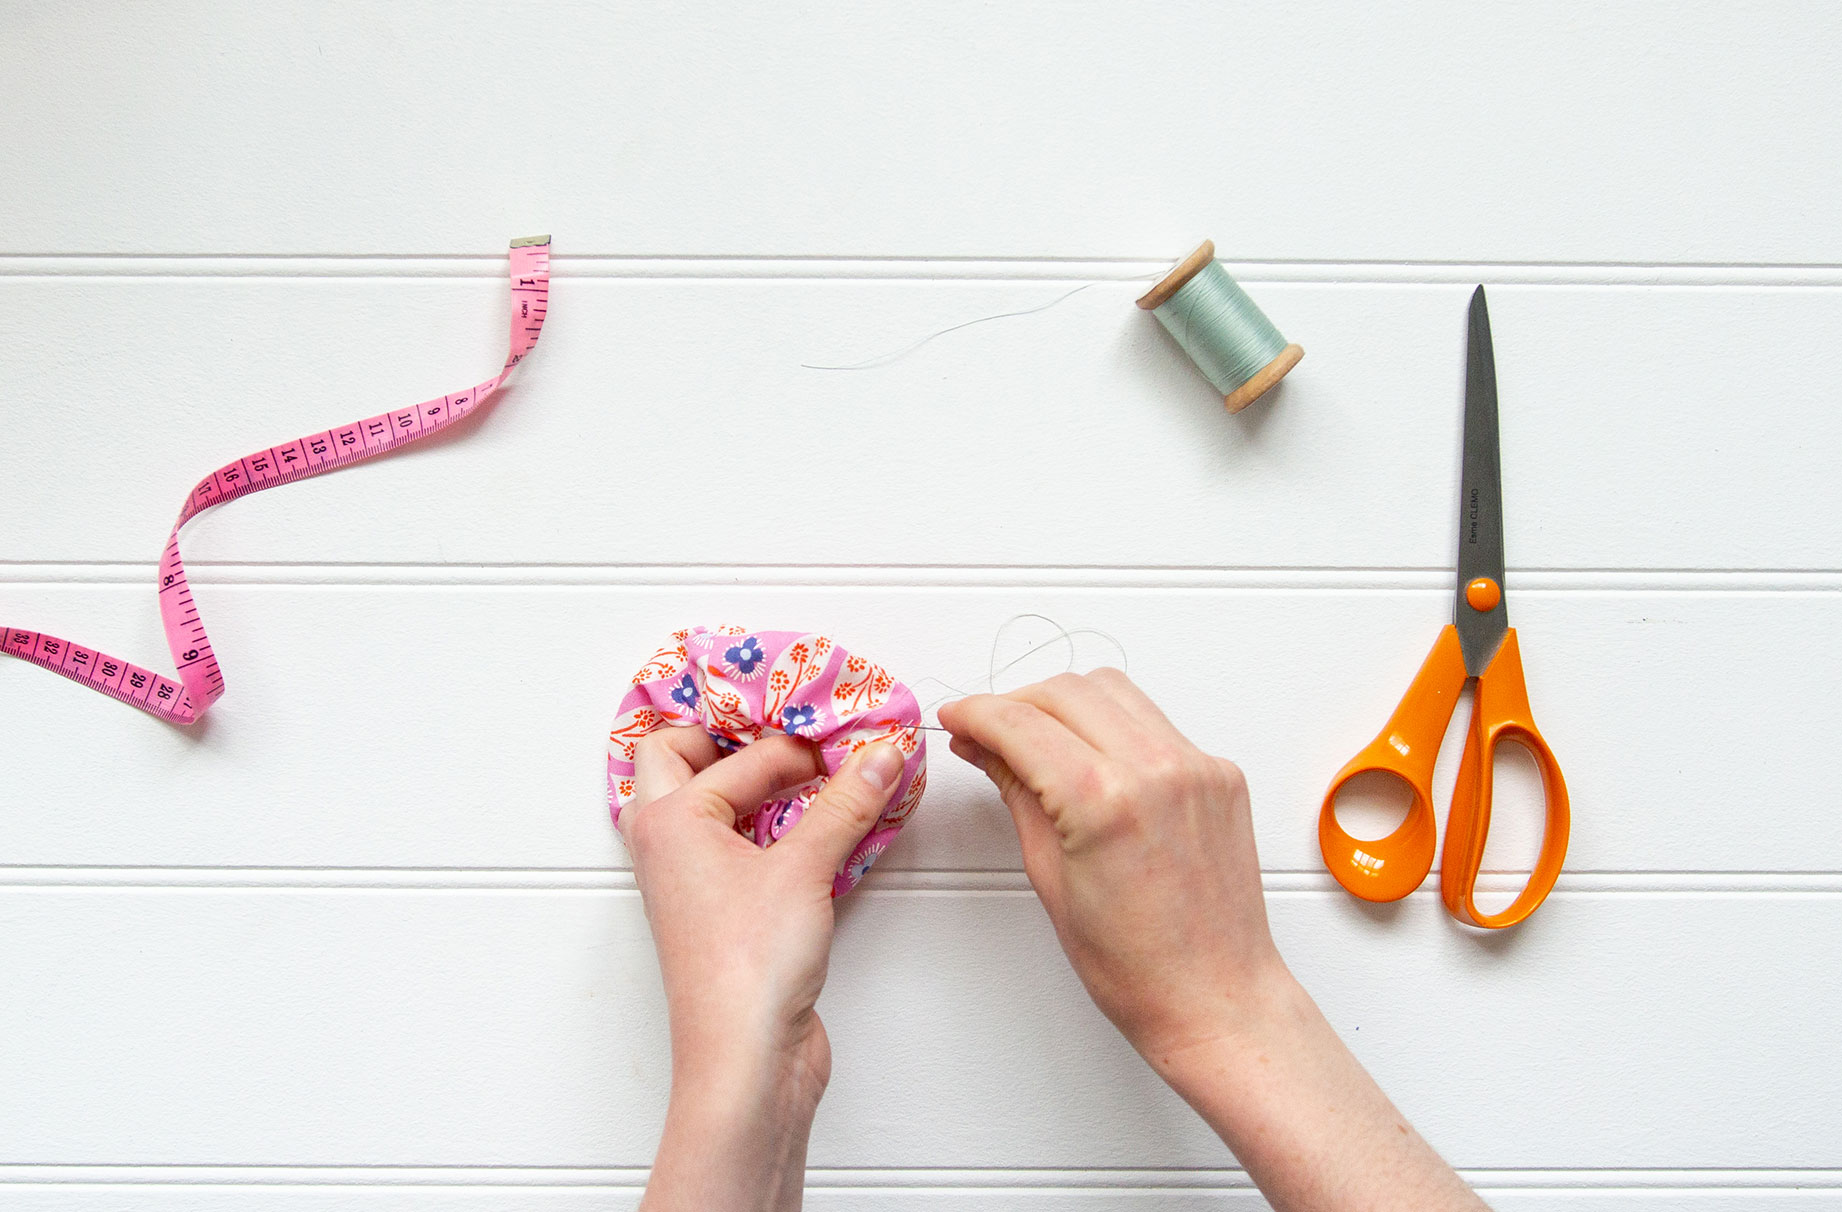
5. Fold one end of the fabric tube under by 1cm. Tuck the other end of fabric inside and pin the layers together. You can either machine stitch across the seam to secure or, for a neater finish, hand stitch along the turned edge for an almost invisible seam. For this you'll need a hand sewing needle and some matching sewing thread.

Esme is Future's resident craft expert, working across titles such as GoodTo, Woman&Home, Woman’s Weekly, Woman, Woman’s Own, Chat, Now, Pick Me Up and The Craft Network. Successfully turning her sewing hobby into a career, she's adept in a number of crafts, including sewing, papercraft, calligraphy, embroidery and printing.
-
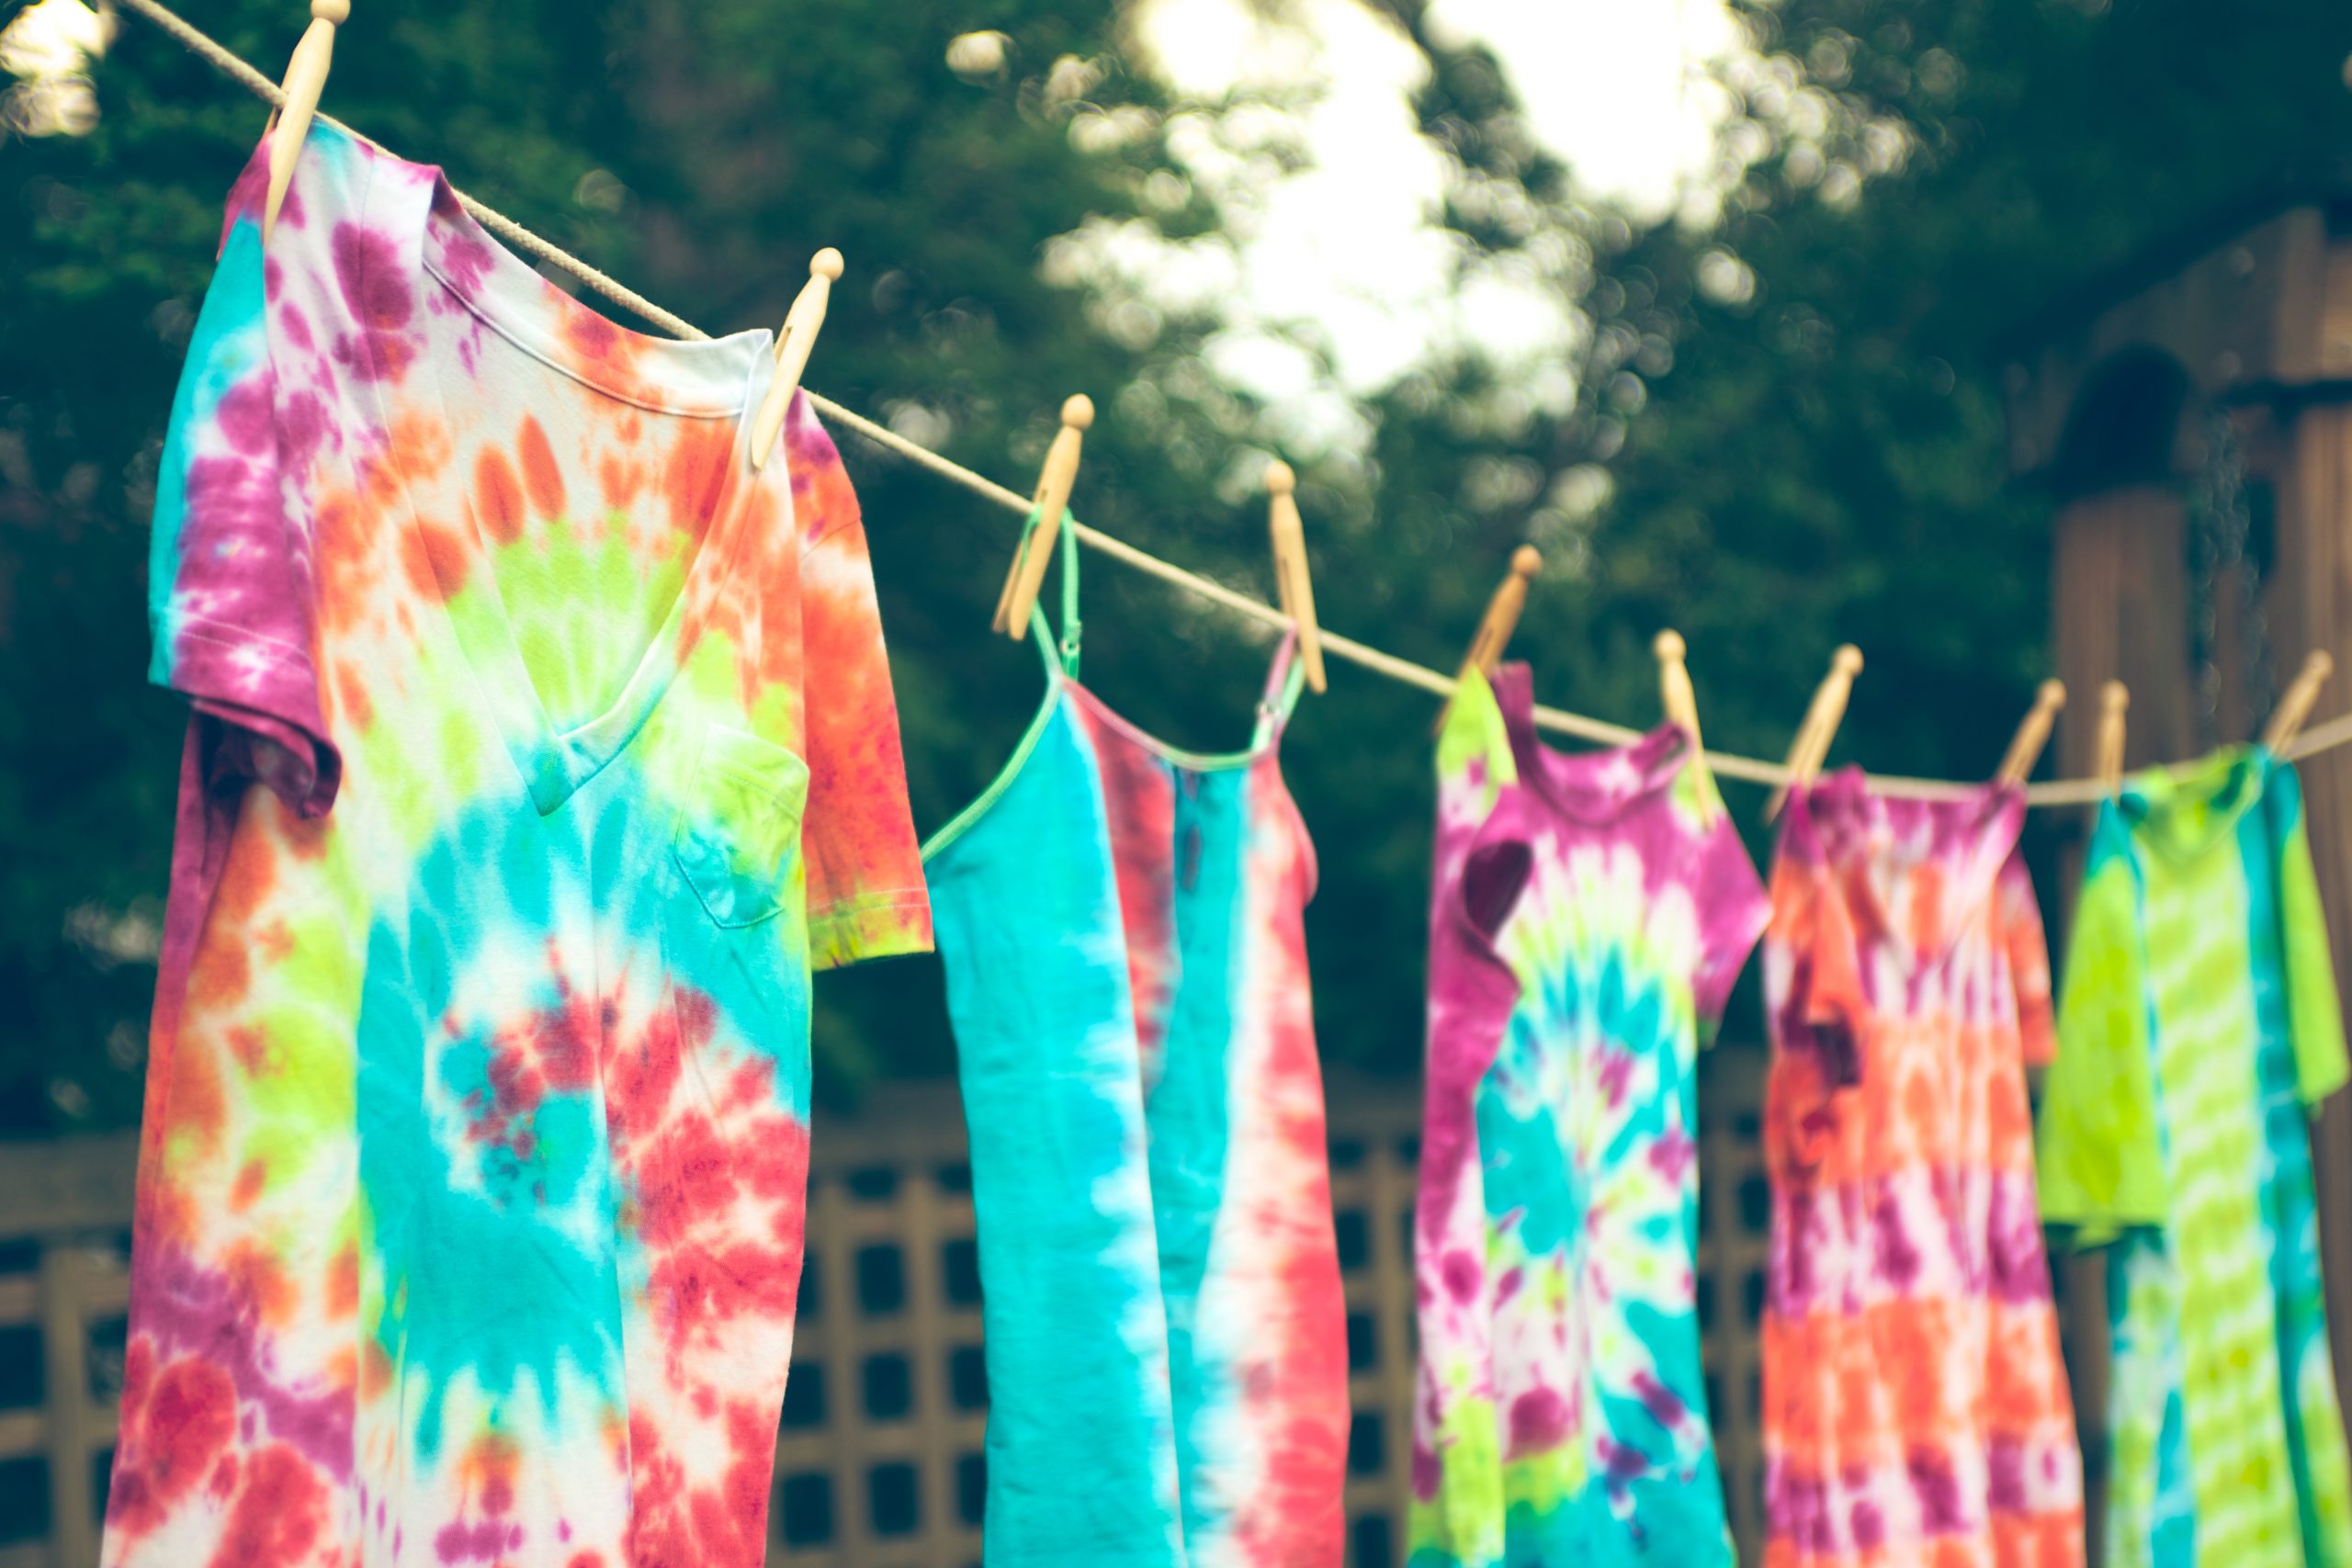 How to tie dye t-shirts: Step-by-step instructions on how to tie dye
By Esme Clemo
-
 How to make the three kings from toilet roll
Create your very own homemade nativity, including these festive three kings from leftover toilet rolls
By Esme Clemo
-
 How to make under the sea crafts
Kids will love learning how to make these under the sea craft projects from paper plates, yarn, shells, pipe cleaners, and some googly eyes
By Esme Clemo
-
 How to draw a crab
Learning how to draw crabs is so easy when you know how
By Esme Clemo
-
 How to draw an elephant
Drawing an elephant is made easy for kids with just a couple of simple shapes
By Esme Clemo
-
 How to draw a dog
Drawing dogs and other animals is easy with our step-by-step picture guide
By Esme Clemo
-
 How to draw a butterfly
Use these simple techniques to help kids to draw butterflies
By Esme Clemo
-
 How to make edible slime
Mix up a batch of this delicious edible slime that’s fun to play with and a treat to eat
By Esme Clemo