How to make bunny ears: DIY bunny headband for Easter
Get crafting in time for the Easter weekend with this cute pair of bunny ears, made with a hairband, some felt and fabric scraps
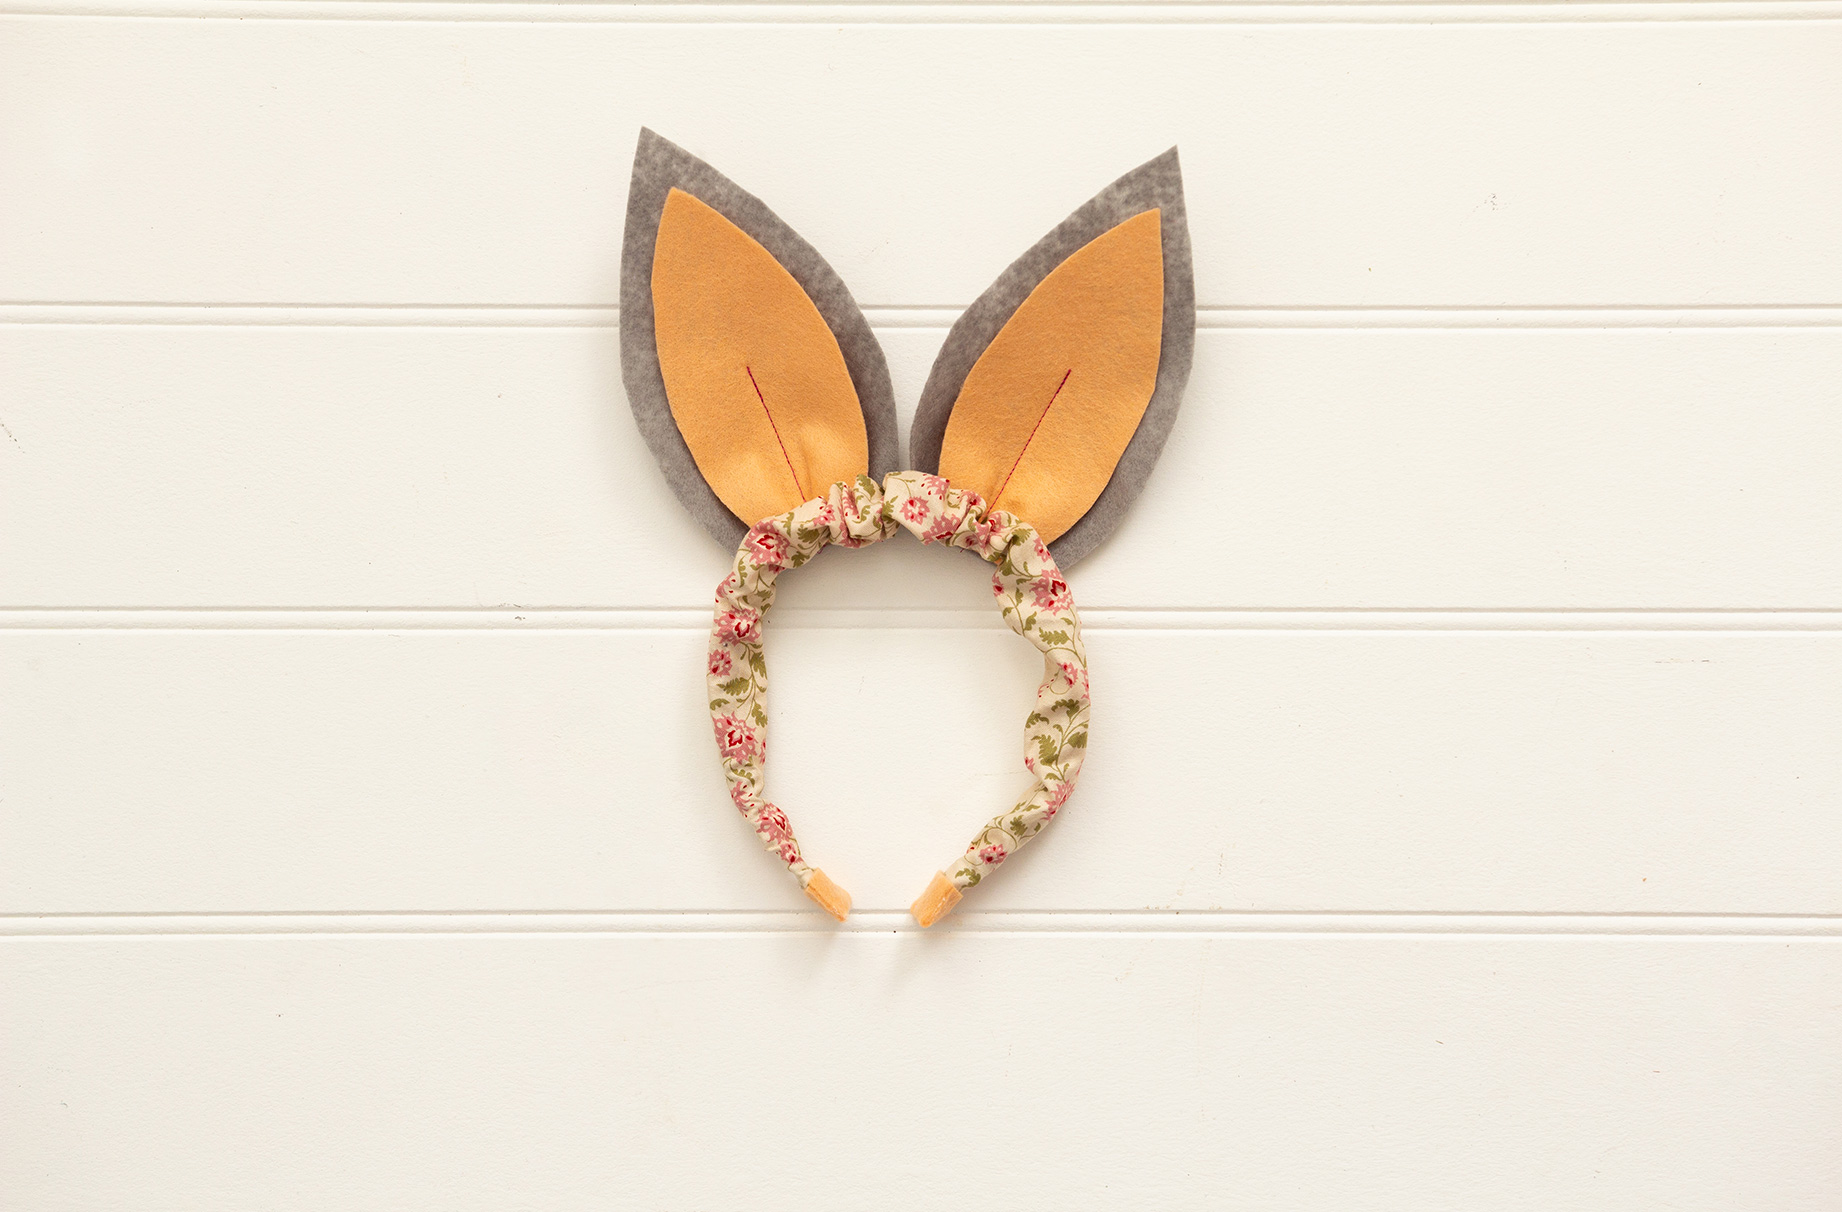

This easy step-by-step guide shows you how to make bunny ears at home for Easter using a hairband, some felt and fabric scraps.
Stitch up this pair of Easter bunny ears for your little one. Made from a hairband and pretty fabric, it's a thrifty project that's quick to make in time for an Easter weekend filled with egg hunts.
An Easter craft idea for older kids, this simple technique for how to make bunny ears is a great Easter activity to keep kids busy over the Easter holidays. Plus, the result is so cute!
If you're looking for things to do with little children, you can get them involved with the gluing and sticking fun too. Or why not get them to help you make Easter cards or a lovely Easter basket. Both of these crafts are simple to make and can be used to gather up sweet treats during the highly anticipated Easter egg hunt!
How to make bunny ears
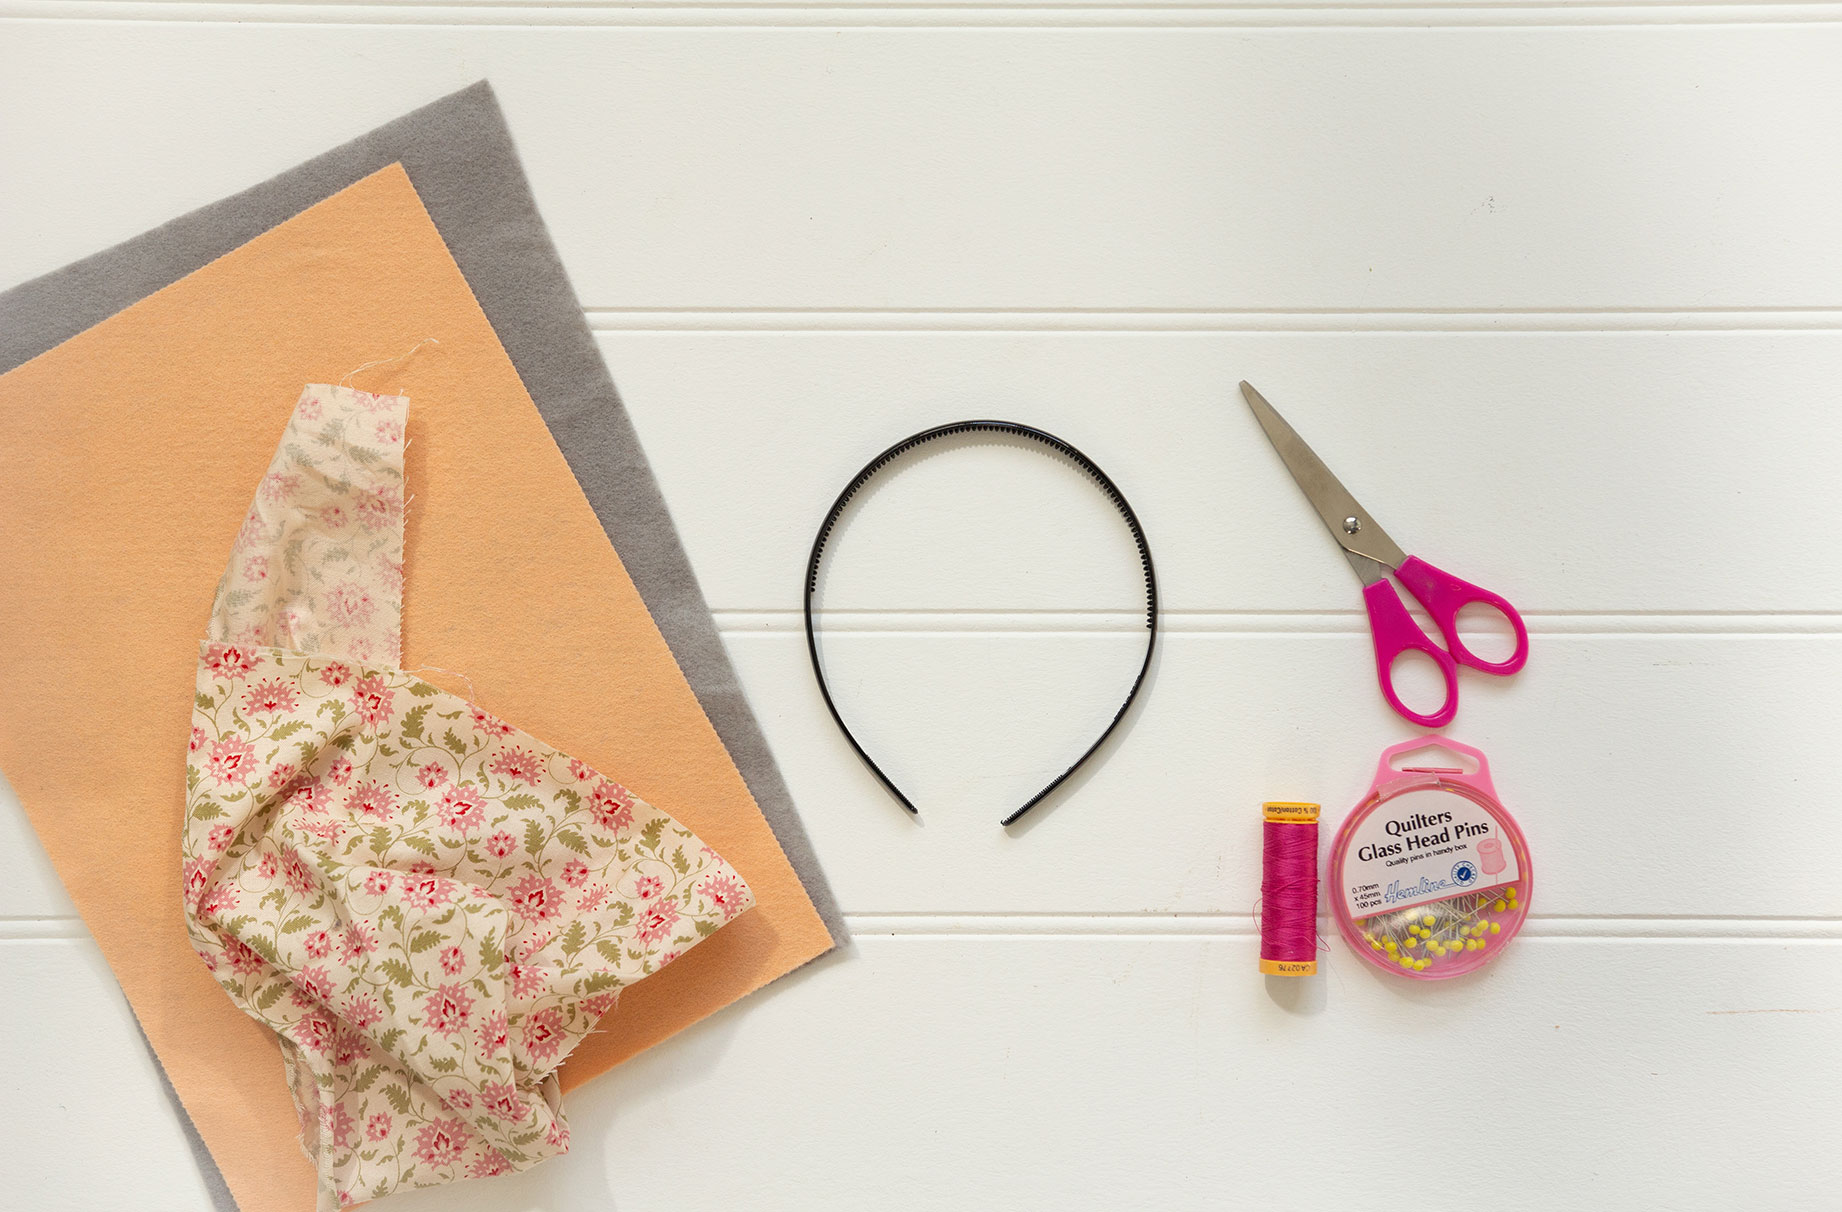
To make bunny ears at home you will need:
- A plastic hairband
- 5 x 20cm piece of floral cotton fabric
- Felt in peach or pink and grey or white
- Pins
- Sewing thread
- Hand sewing needle
- Scissors
- Sewing machine
- Hot glue gun
For sewing supplies, check out John Lewis & Partners
How to make a pair of Easter bunny ears:
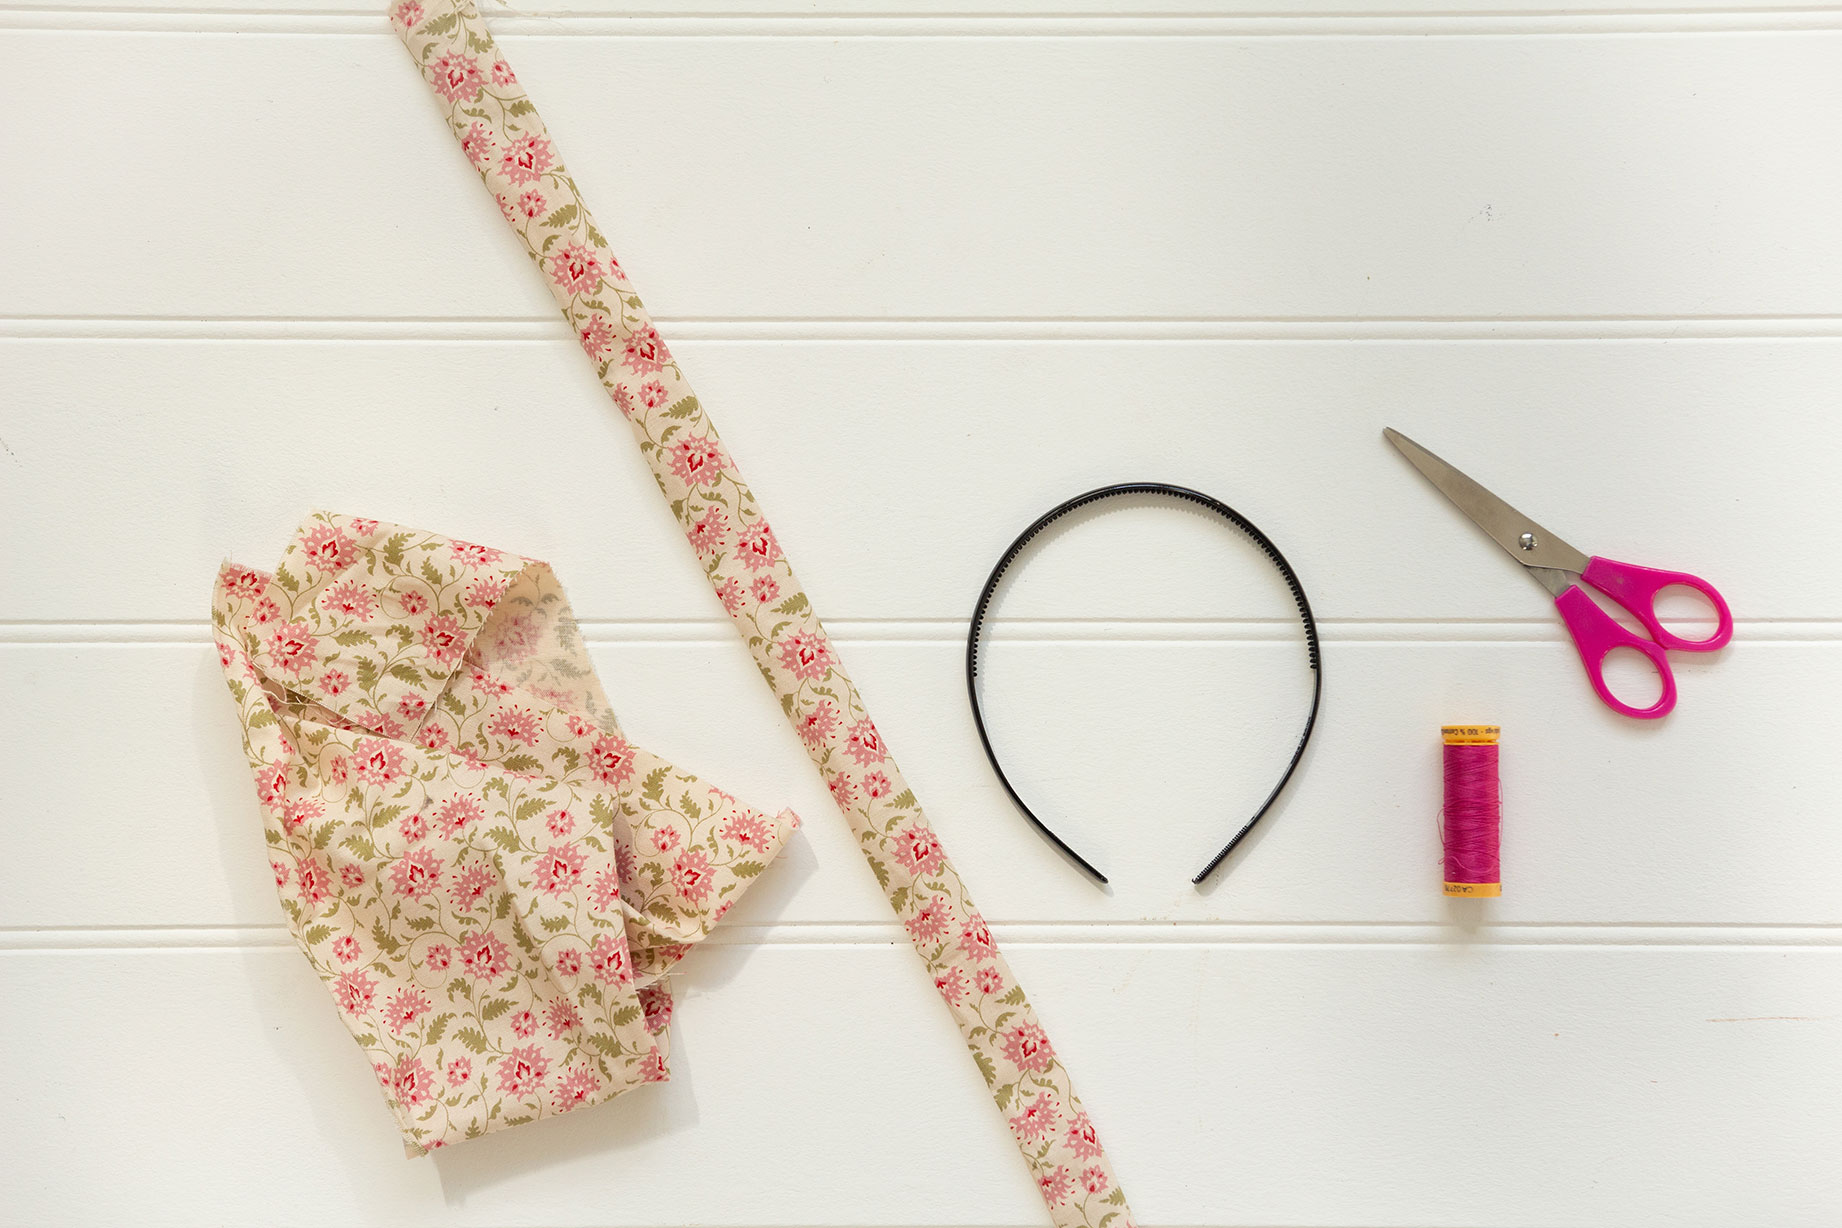
- Begin by folding the strip of floral cotton in half lengthways and with right sides together. Stitch close to the raw edges in a matching thread, turn right sides out, and then press.
2. Thread the floral cotton sleeve onto the plastic hairband until it's completely covered in fabric. Tuck the raw ends inside the floral cotton tub by about 1cm and wrap tightly around the hairband ends. Then use a hand sewing needle and some matching thread to secure the fabric ends in place.
GoodtoKnow Newsletter
Parenting advice, hot topics, best buys and family finance tips delivered straight to your inbox.
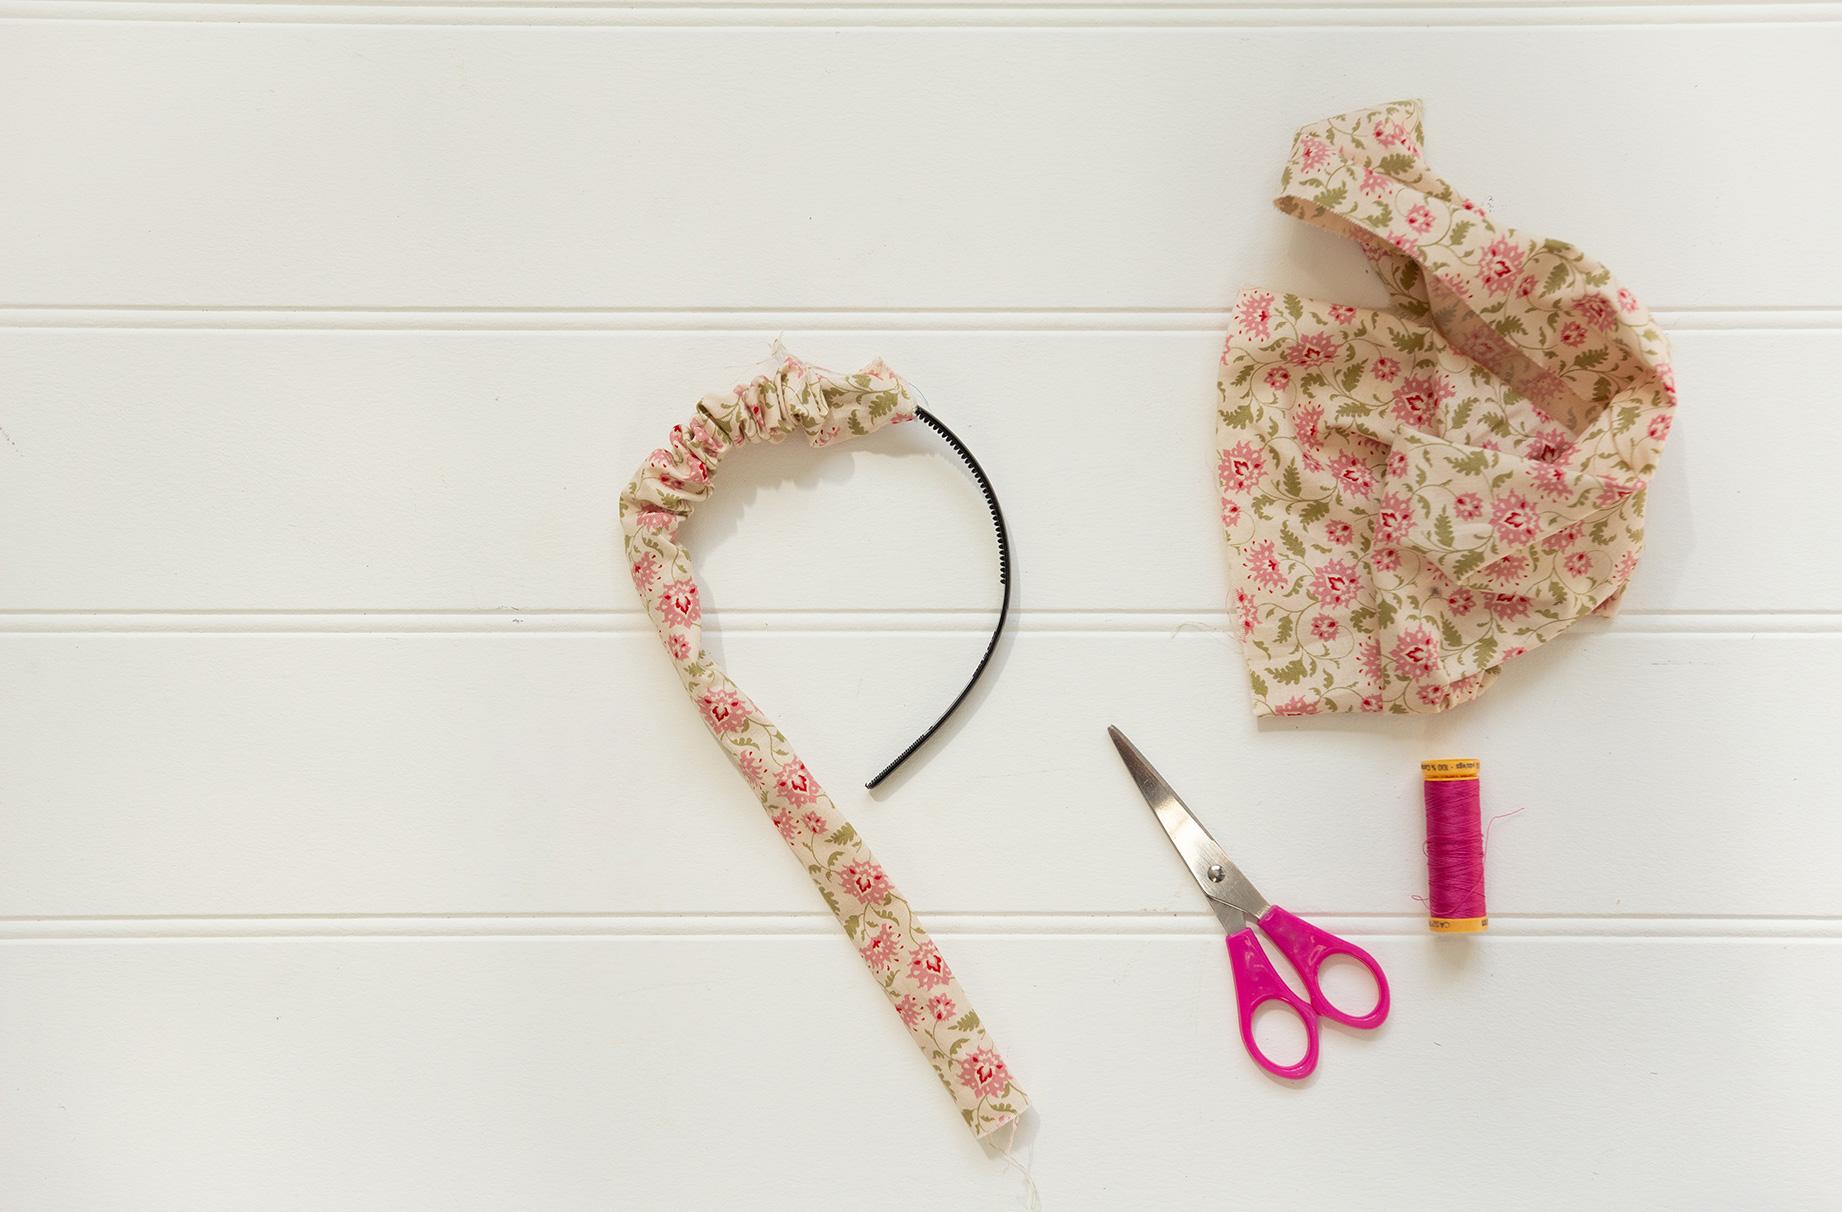
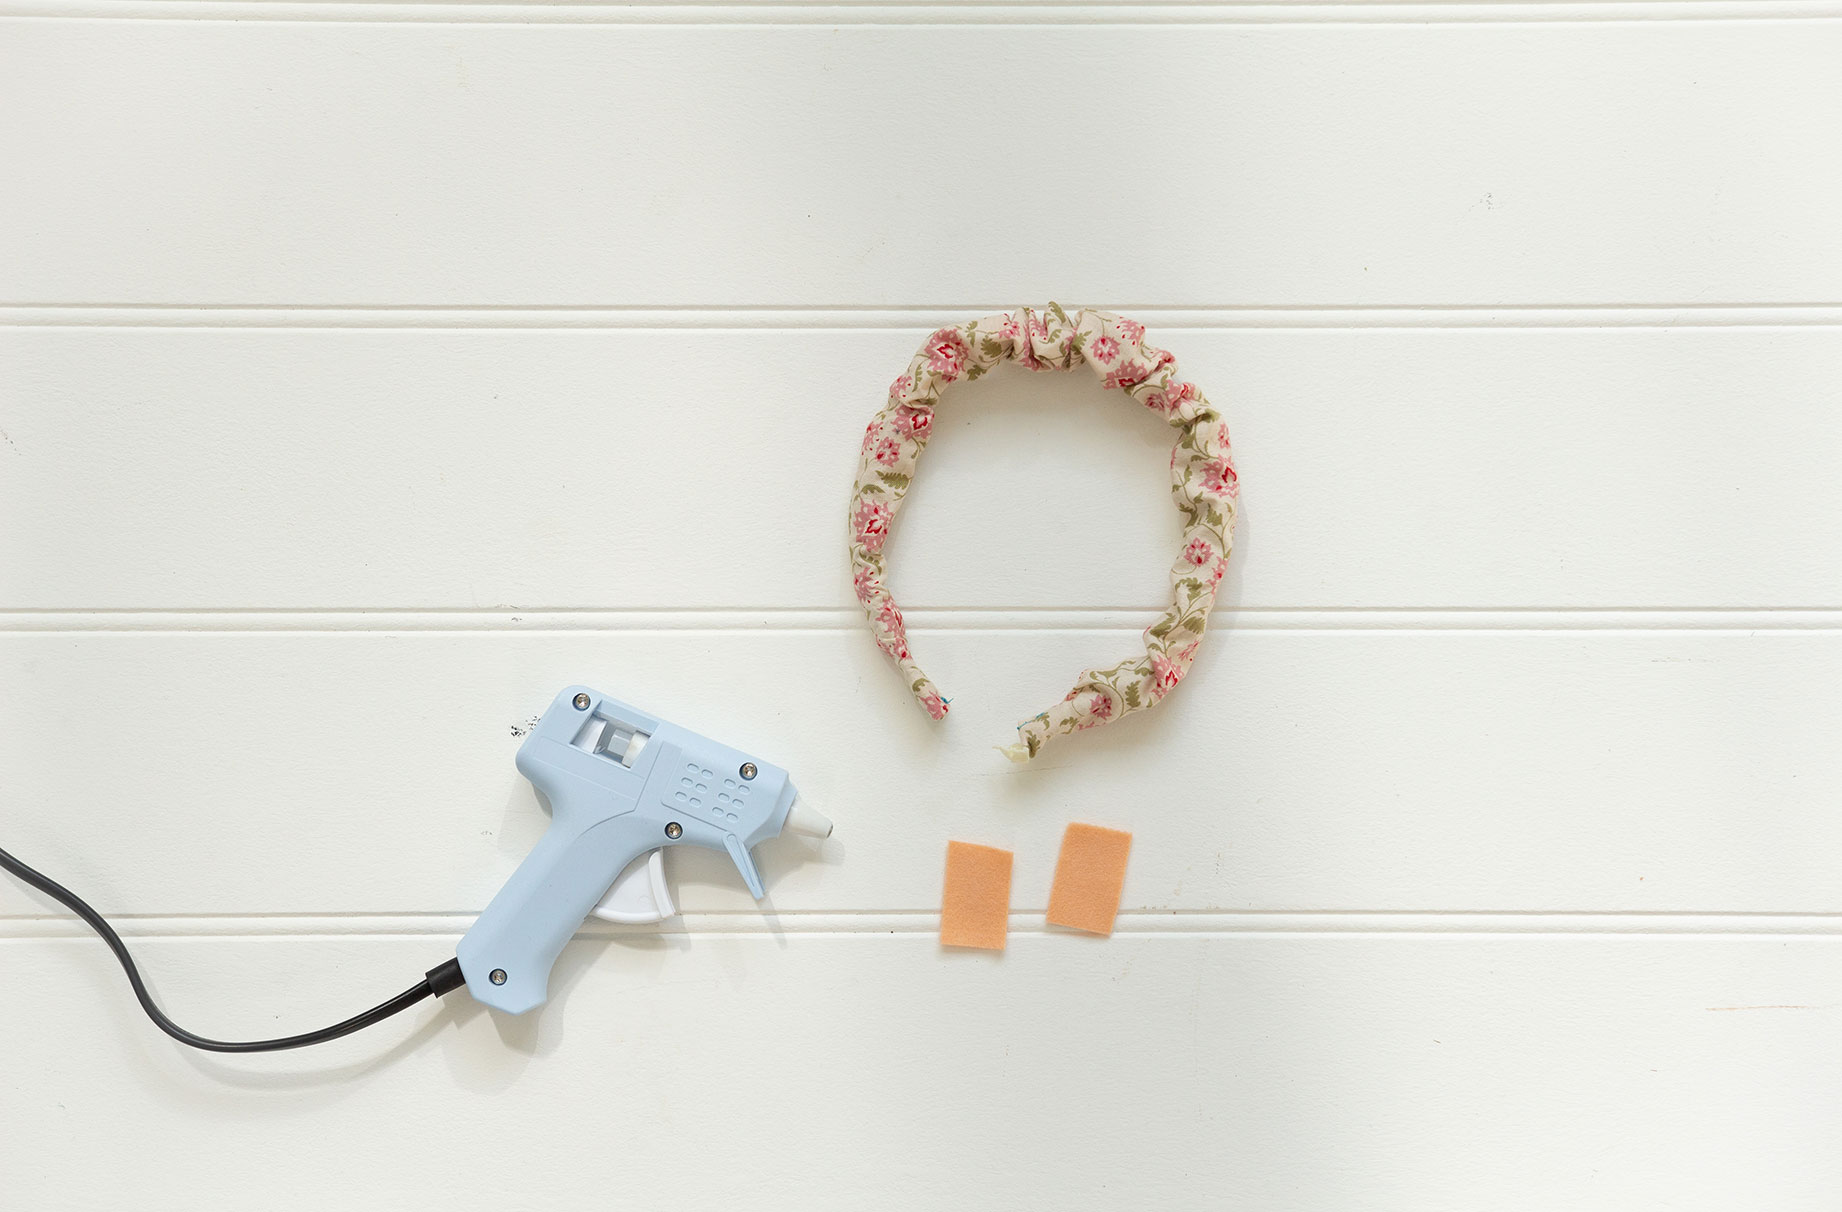
3. From the peach or pink felt, cut out two small rectangles. Heat up the glue gun and apply the glue to one side of the rectangle. Wrap around the ends of the hairband and hold together until the glue has dried.
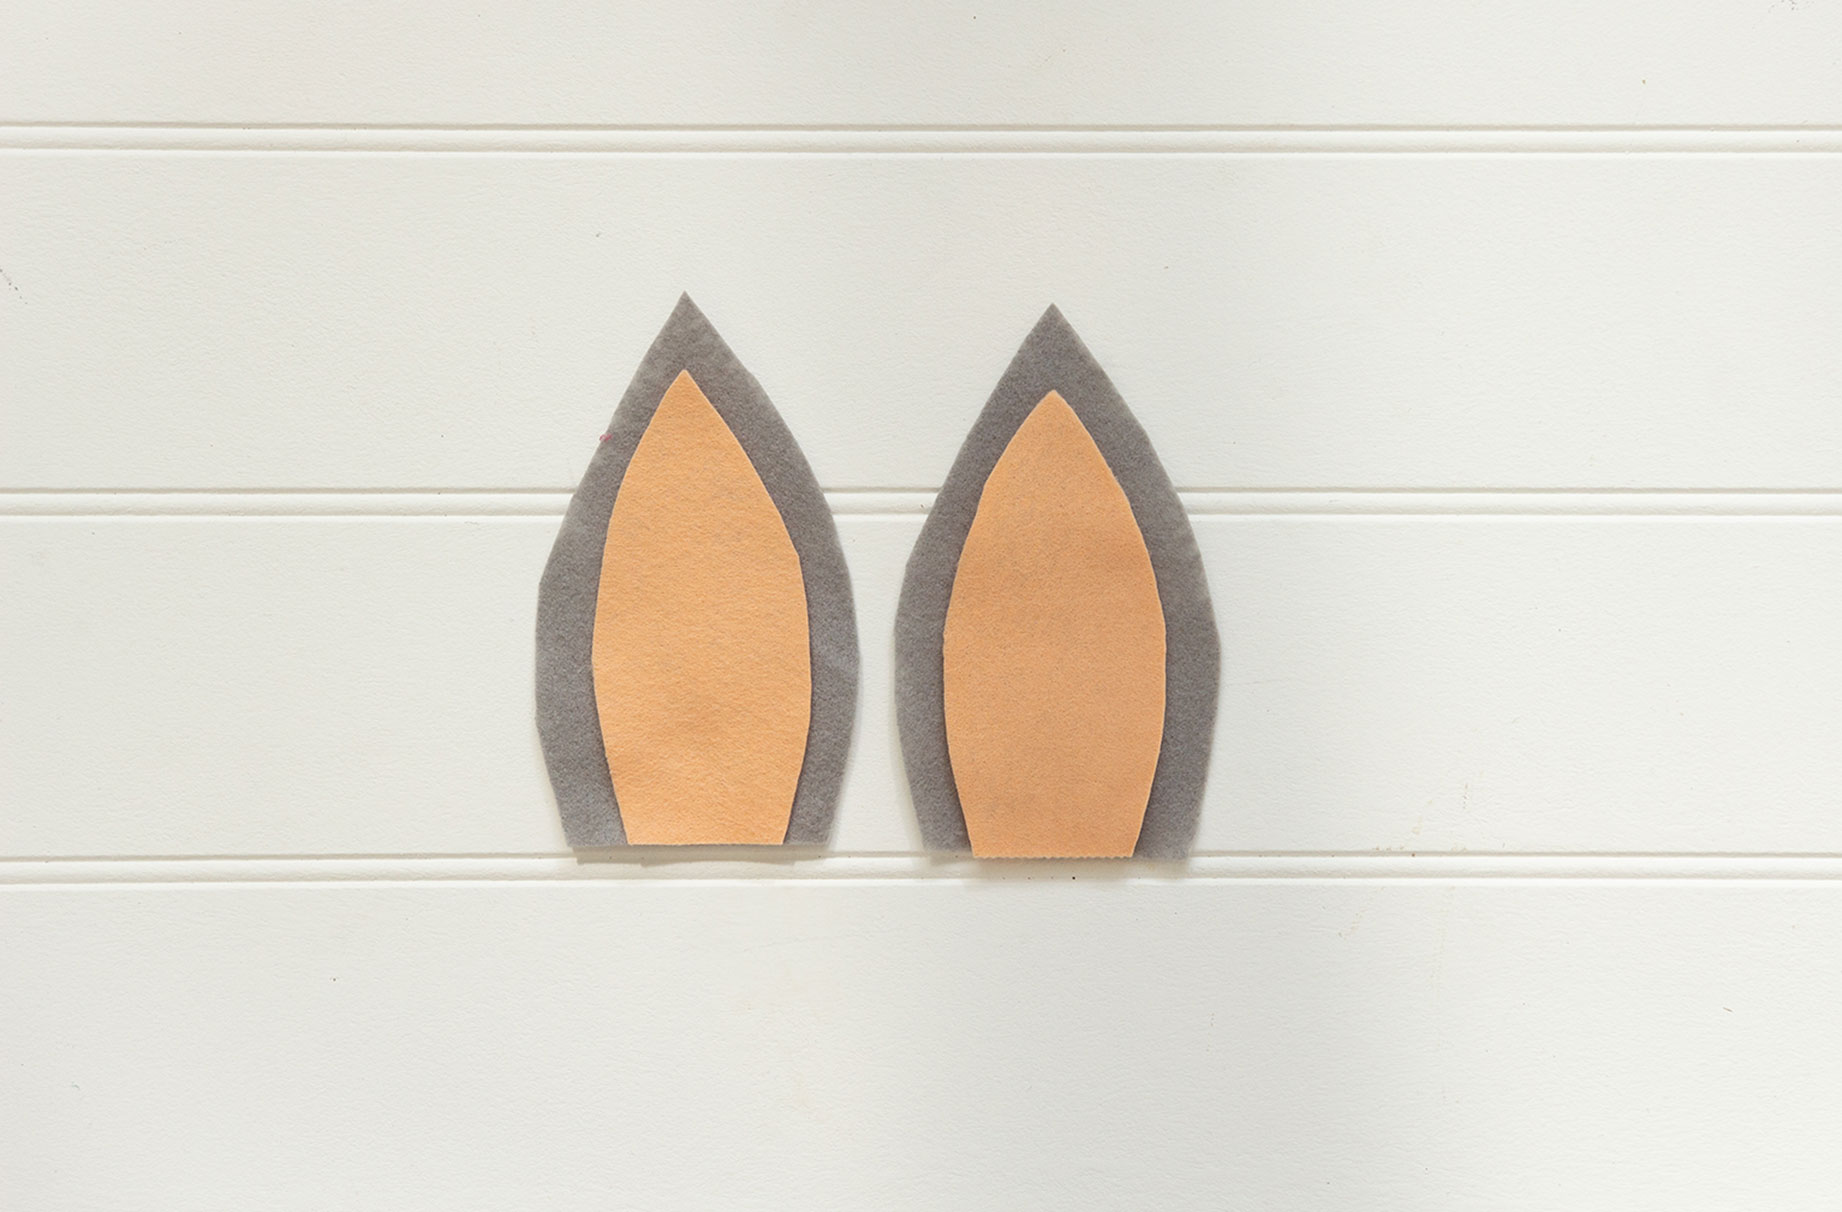
4. Cut out two large bunny ear shapes from the grey or white felt and two smaller ones from the peach or pink felt.
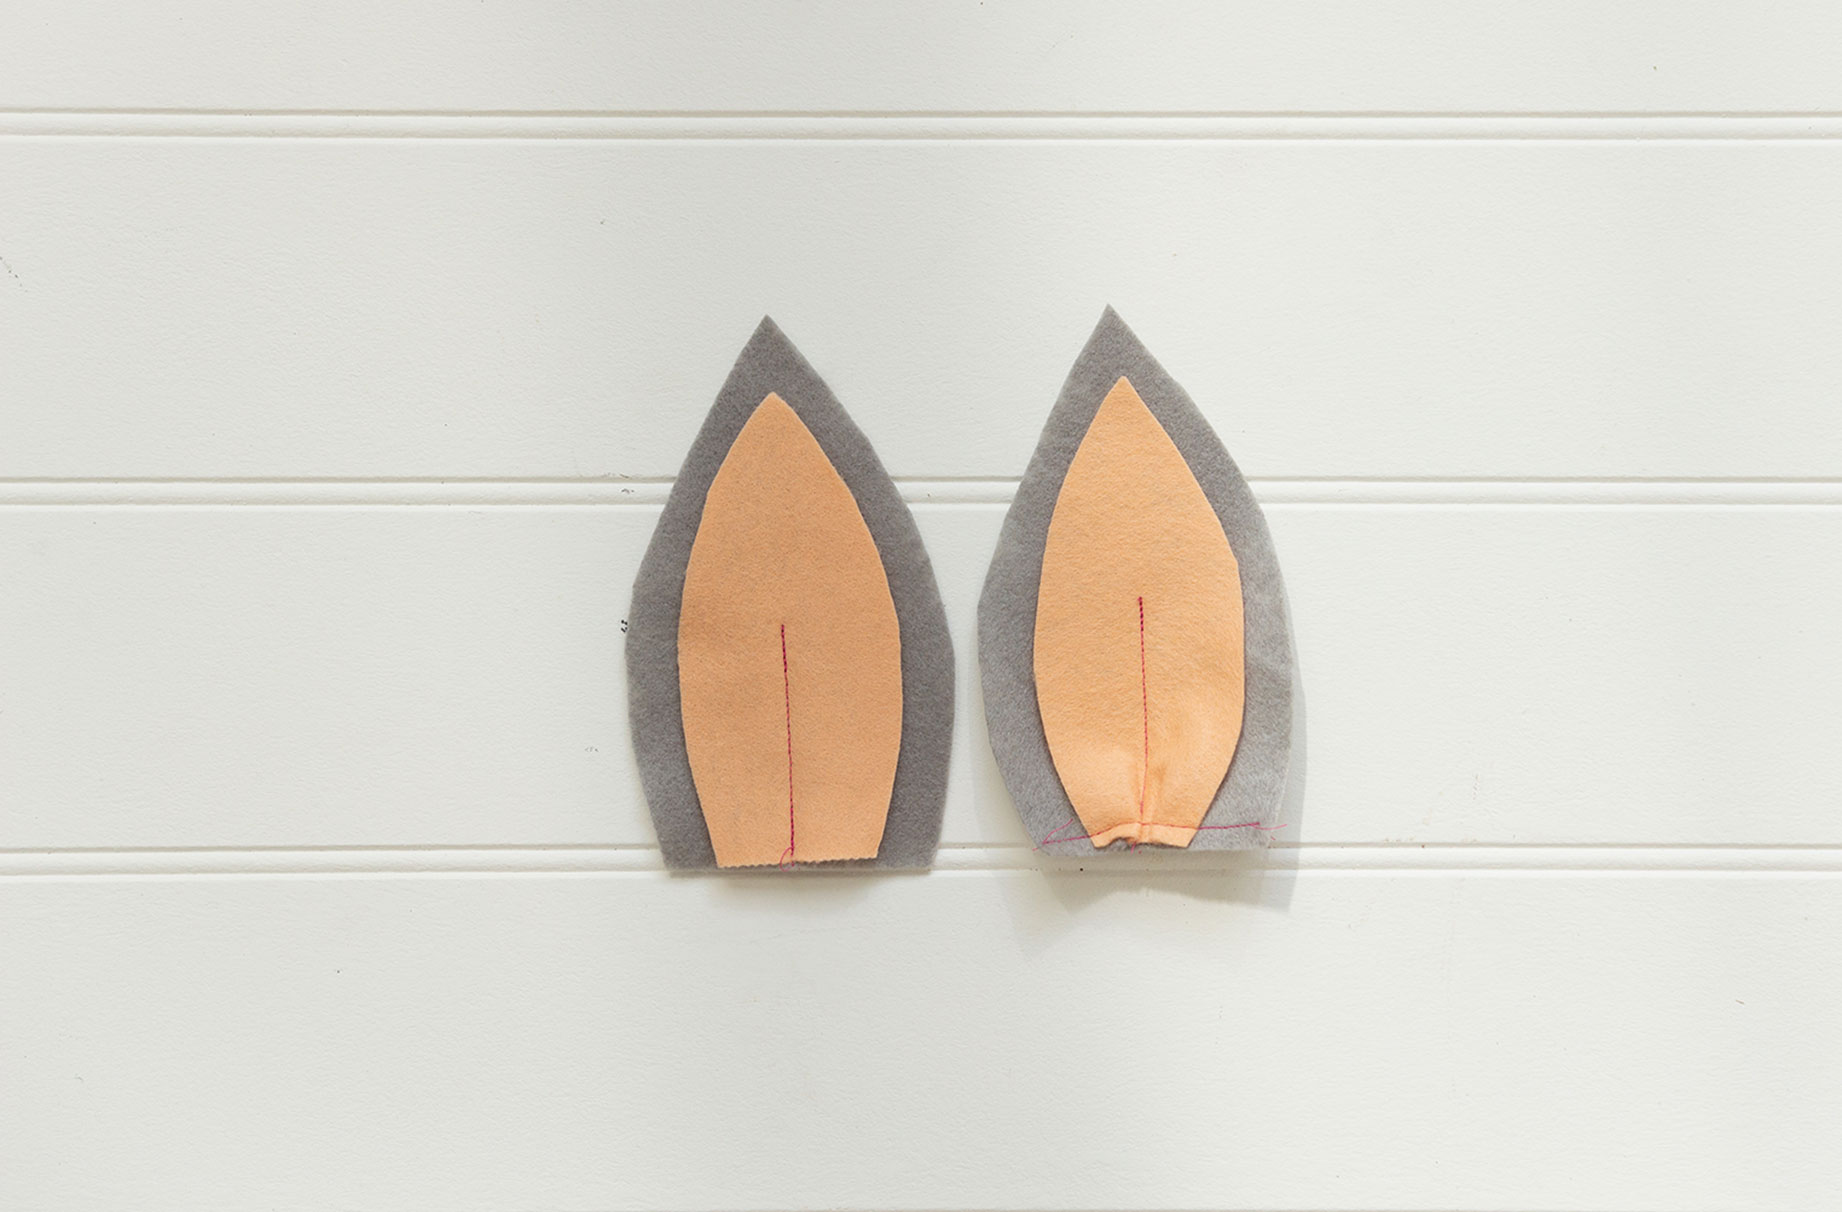
5. Using a sewing machine and some pink thread, stitch down the centres of the ears. Fold the ears along the stitch line and sew along the bottom edge to keep them in place. Making the Easter bunny ears 3D like this should help the ears to stand up and give them some character.
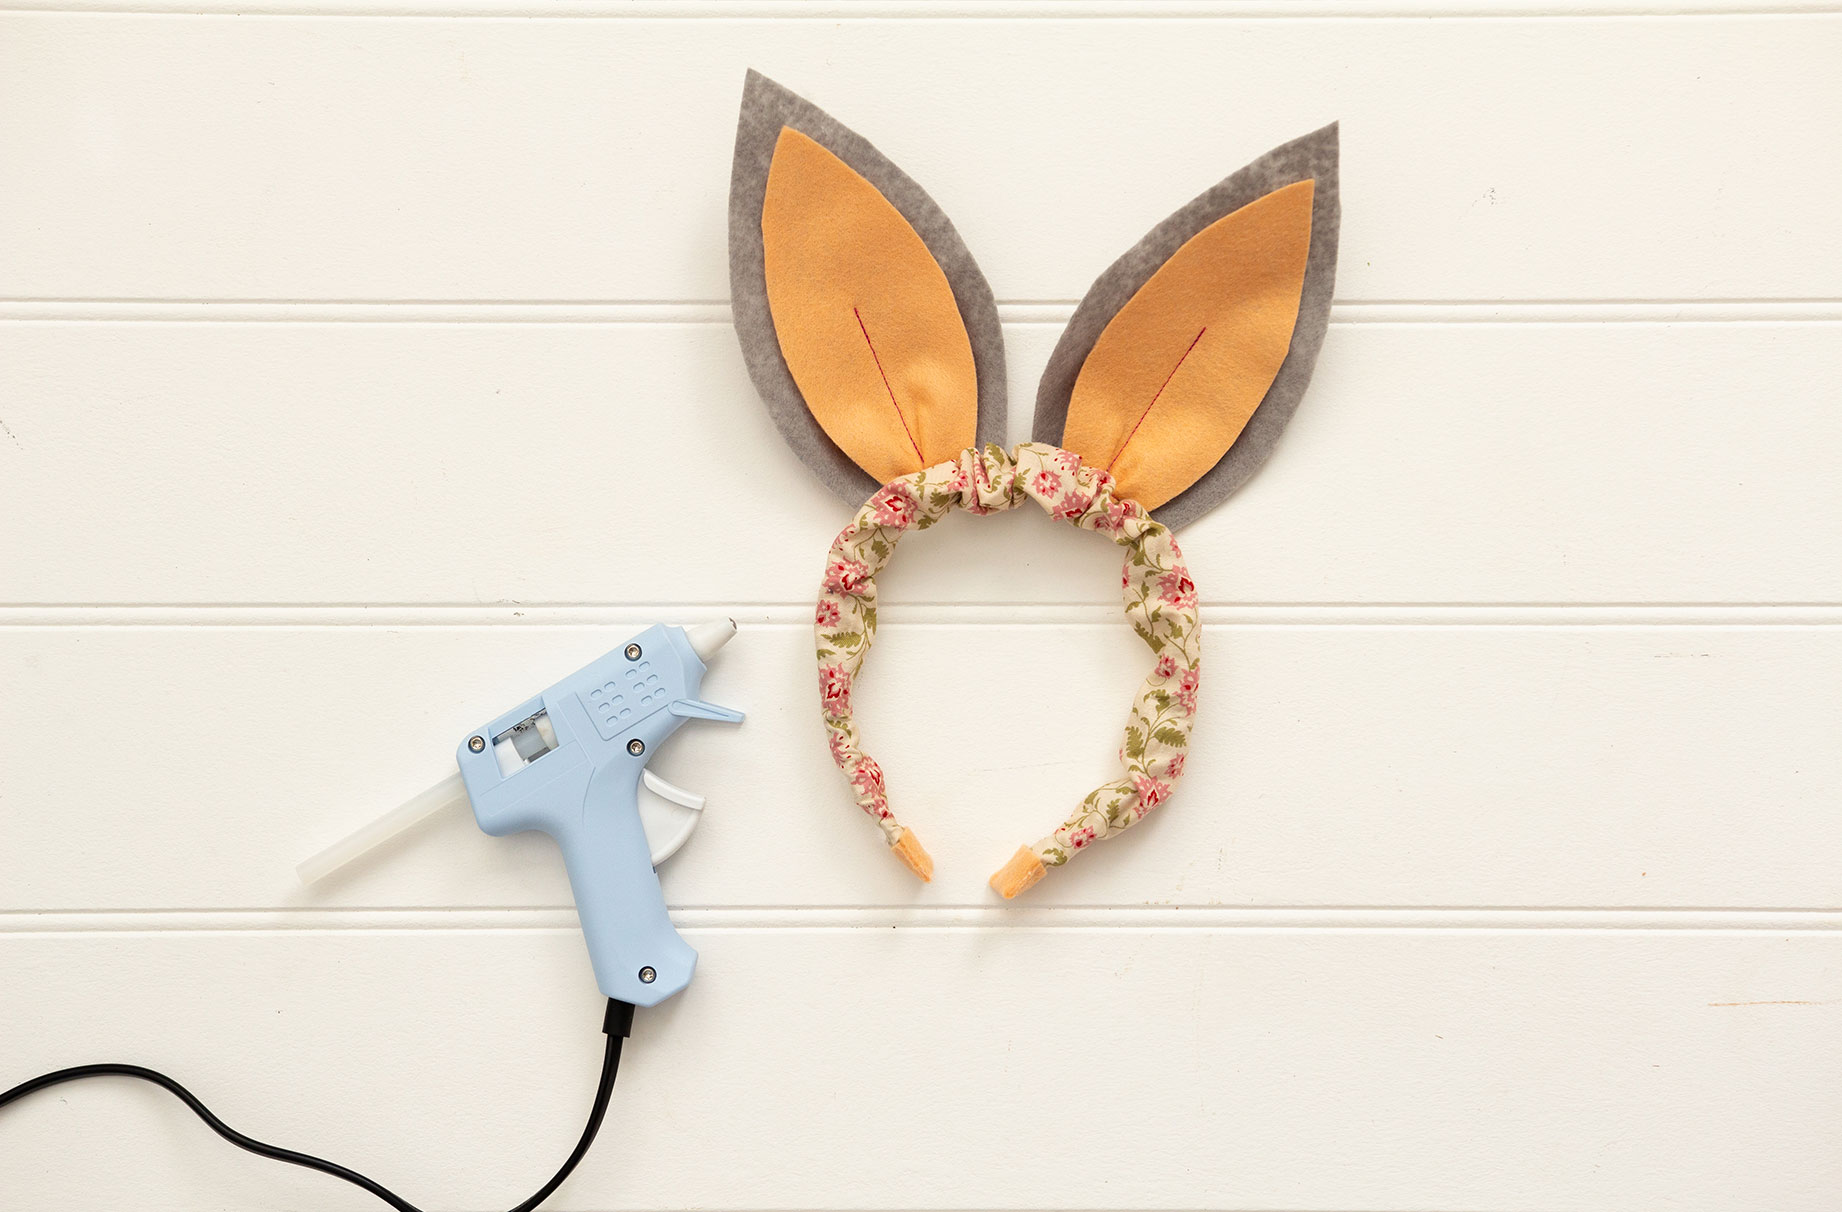
6. Use a glue gun to stick the bunny ears onto the Easter hairband. Or use a hand sewing needle and some thread to sew the bunny ears in place instead.

Esme is Future's resident craft expert, working across titles such as GoodTo, Woman&Home, Woman’s Weekly, Woman, Woman’s Own, Chat, Now, Pick Me Up and The Craft Network. Successfully turning her sewing hobby into a career, she's adept in a number of crafts, including sewing, papercraft, calligraphy, embroidery and printing.