How to do vegetable printing
Vegetable printing is lots of fun for little ones to try. All you need is potatoes, carrots and celery to make these simple but impressive crafts.
Vegetables aren't just for eating! They can be used to make beautiful paintings and crafts - think celery-print flowers, runner bean-print leaves, apple-print butterflies and a pepper-print tree.
This craft is super simple so vegetable printing is perfect for the younger ones. Chop up loads of veg, arrange all your favourite coloured paints onto paper plates and let the kids get busy (and a little bit messy) creating a veggie masterpiece. Just don't forget to make them wear their aprons first.
There's no end to vegetable art - try out mushrooms, onions, broccoli and any veg you can get your hands on.
Age group: Kids as young as three can make these crafts, although they might need adult supervision for some steps. Follow our step-by-step instructions on how to make the perfect vegetable printing masterpieces...
Potato printing
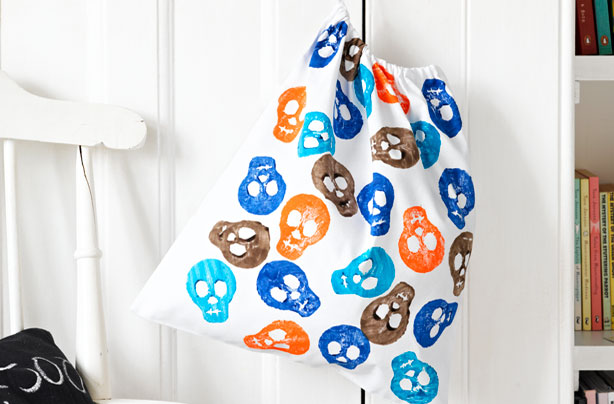
Step 1 Ask an adult helper to cut a large potato in half. Wipe off the moisture on one half with some paper towel, then position a template – we used a skull, you can download and print your own - in the centre.
Step 2 Carefully cut around the template, then cut around the sides of the potato and remove the unwanted parts, leaving a raised design, perfect for dipping in paint.
Celery printing
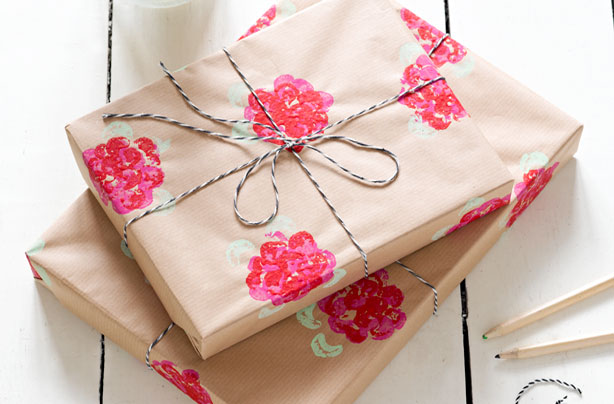
Step 1Take a bunch of celery and hold together with a piece of string. Ask an adult helper to carefully cut the ends off with a knife, then dab them with some paper towel.
GoodtoKnow Newsletter
Parenting advice, hot topics, best buys and family finance tips delivered straight to your inbox.
Step 2 Pour a little red, pink and green paint onto a plate. Starting with pink, dip the ends of the celery into the paint and print onto the brown paper. Continue printing all over the paper, then leave to dry.
Step 3 Print over each pink ‘flower' again with red paint and leave to dry. Cut a stick of celery from the bunch and print some green ‘leaves' around the flowers. This could make really pretty brown paper wrapping or gift tags.
Carrot printing
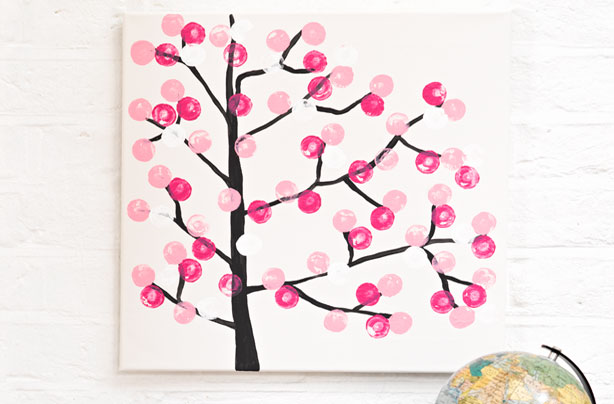
Step 1 Lightly draw a tree with branches on the paper with a pencil. When you are happy with the design, go over the pencil lines with black paint.
Step 2 Pour a little white, pale pink and dark pink paint onto a plate. Cut a carrot into thirds, and dab the ends with paper towel. Dip the end of a piece of carrot into the first colour paint and print somespots onto the tree.
Step 3 Continue with the other colours, until the tree is covered with blossom spots, and leave to dry.
Okra printing
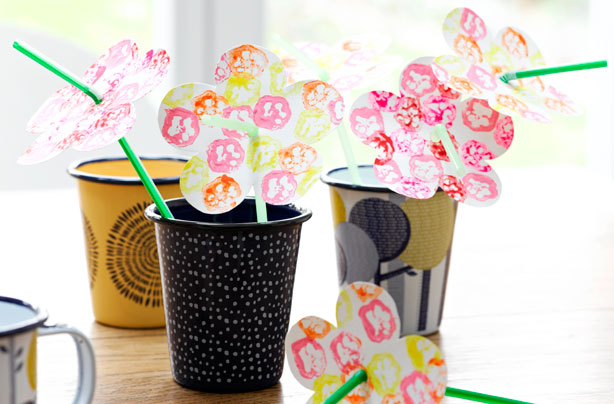
Step 1
Place the flower template on a piece of white card. Draw around and cut out.
Step 2
Ask an adult helper to cut some okra into three pieces. Dab the moist ends with some paper towel.
Step 3
Pour the paint onto a plate. Printing with one colour at a time, dip the end of the okra in the paint and stamp onto the white card flower. Continue all over the flower and leave to dry, before printing on the reverse.
Step 4
Place the flower on a blob of blue tack, and carefully make a hole in the centre with a sharp pencil. Remove the blue tack, then pop a green straw through the hole.
Okra printing
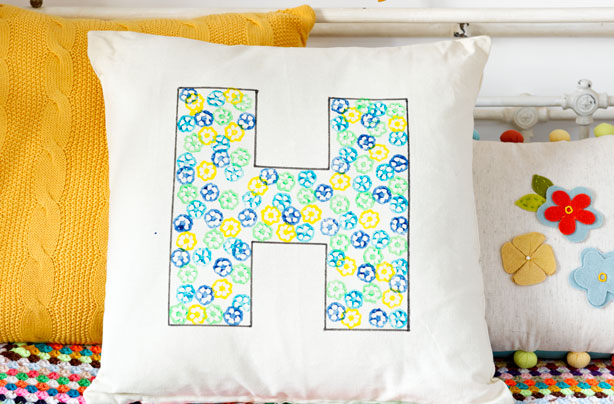
Step 1
Cut a piece of paper to fit inside a cushion cover, and lay it flat on a table ready for printing.
Step 2
Print out a large letter on some paper and cut out. Place it on the middle of the cushion cover, and draw round with a black fabric pen.
Step 3
Ask an adult helper to cut the okra into thirds. Wipe off the moist ends on some paper towel.
Step 4
Pour the different colour fabric paints onto plate. Starting with the first colour, dip a piece of okra into the paint, and stamp inside the letter on the cushion lots of times. Continue with the other colour paints, until the letter is covered with little flower prints.
Step 5
When dry, remove the paper from inside the cushion. Iron over the design to seal the paint.
Potato printing
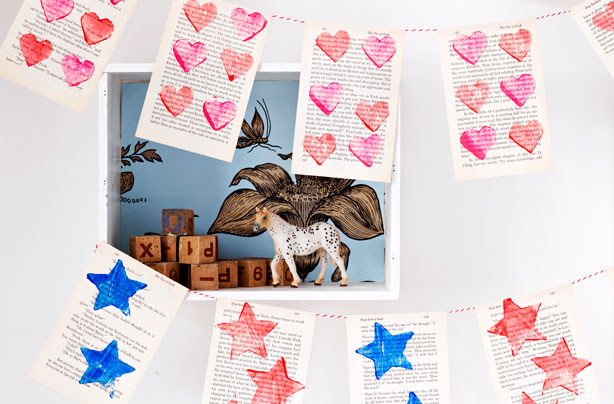
Step 1
Ask an adult helper to cut the pages from an old book with a craft knife and ruler, and lay on a flat surface ready for printing.
Step 2
Cut a large potato in half and wipe off the moisture on both halves with some paper towel. Place the heart and star templates on each half, and carefully cut around. Then cut around the sides of the potato and remove the unwanted parts, leaving a raised design.
Step 3
Pour the paint onto plate. Starting with the star, dip the potato into the red or blue paint, ensuring that the surface is evenly coated. Stamp the design onto the book pages, then wash and dry the potato ready for the next colour paint. Continue with the heart stamp, using pink and red paint.
Step 4
Score and fold a 1cm flap at the top of each page. Stick onto a length of twine, leaving a small gap between each.
Celery printing
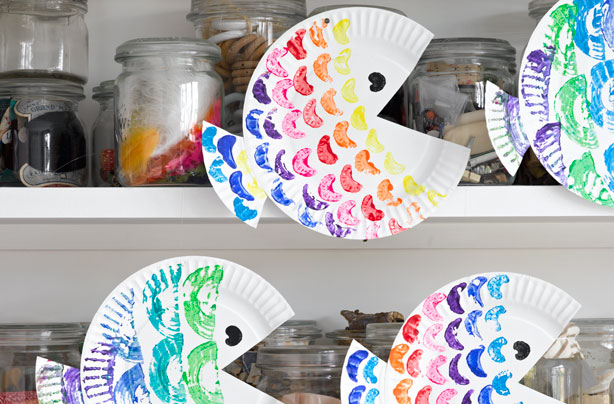
Step 1
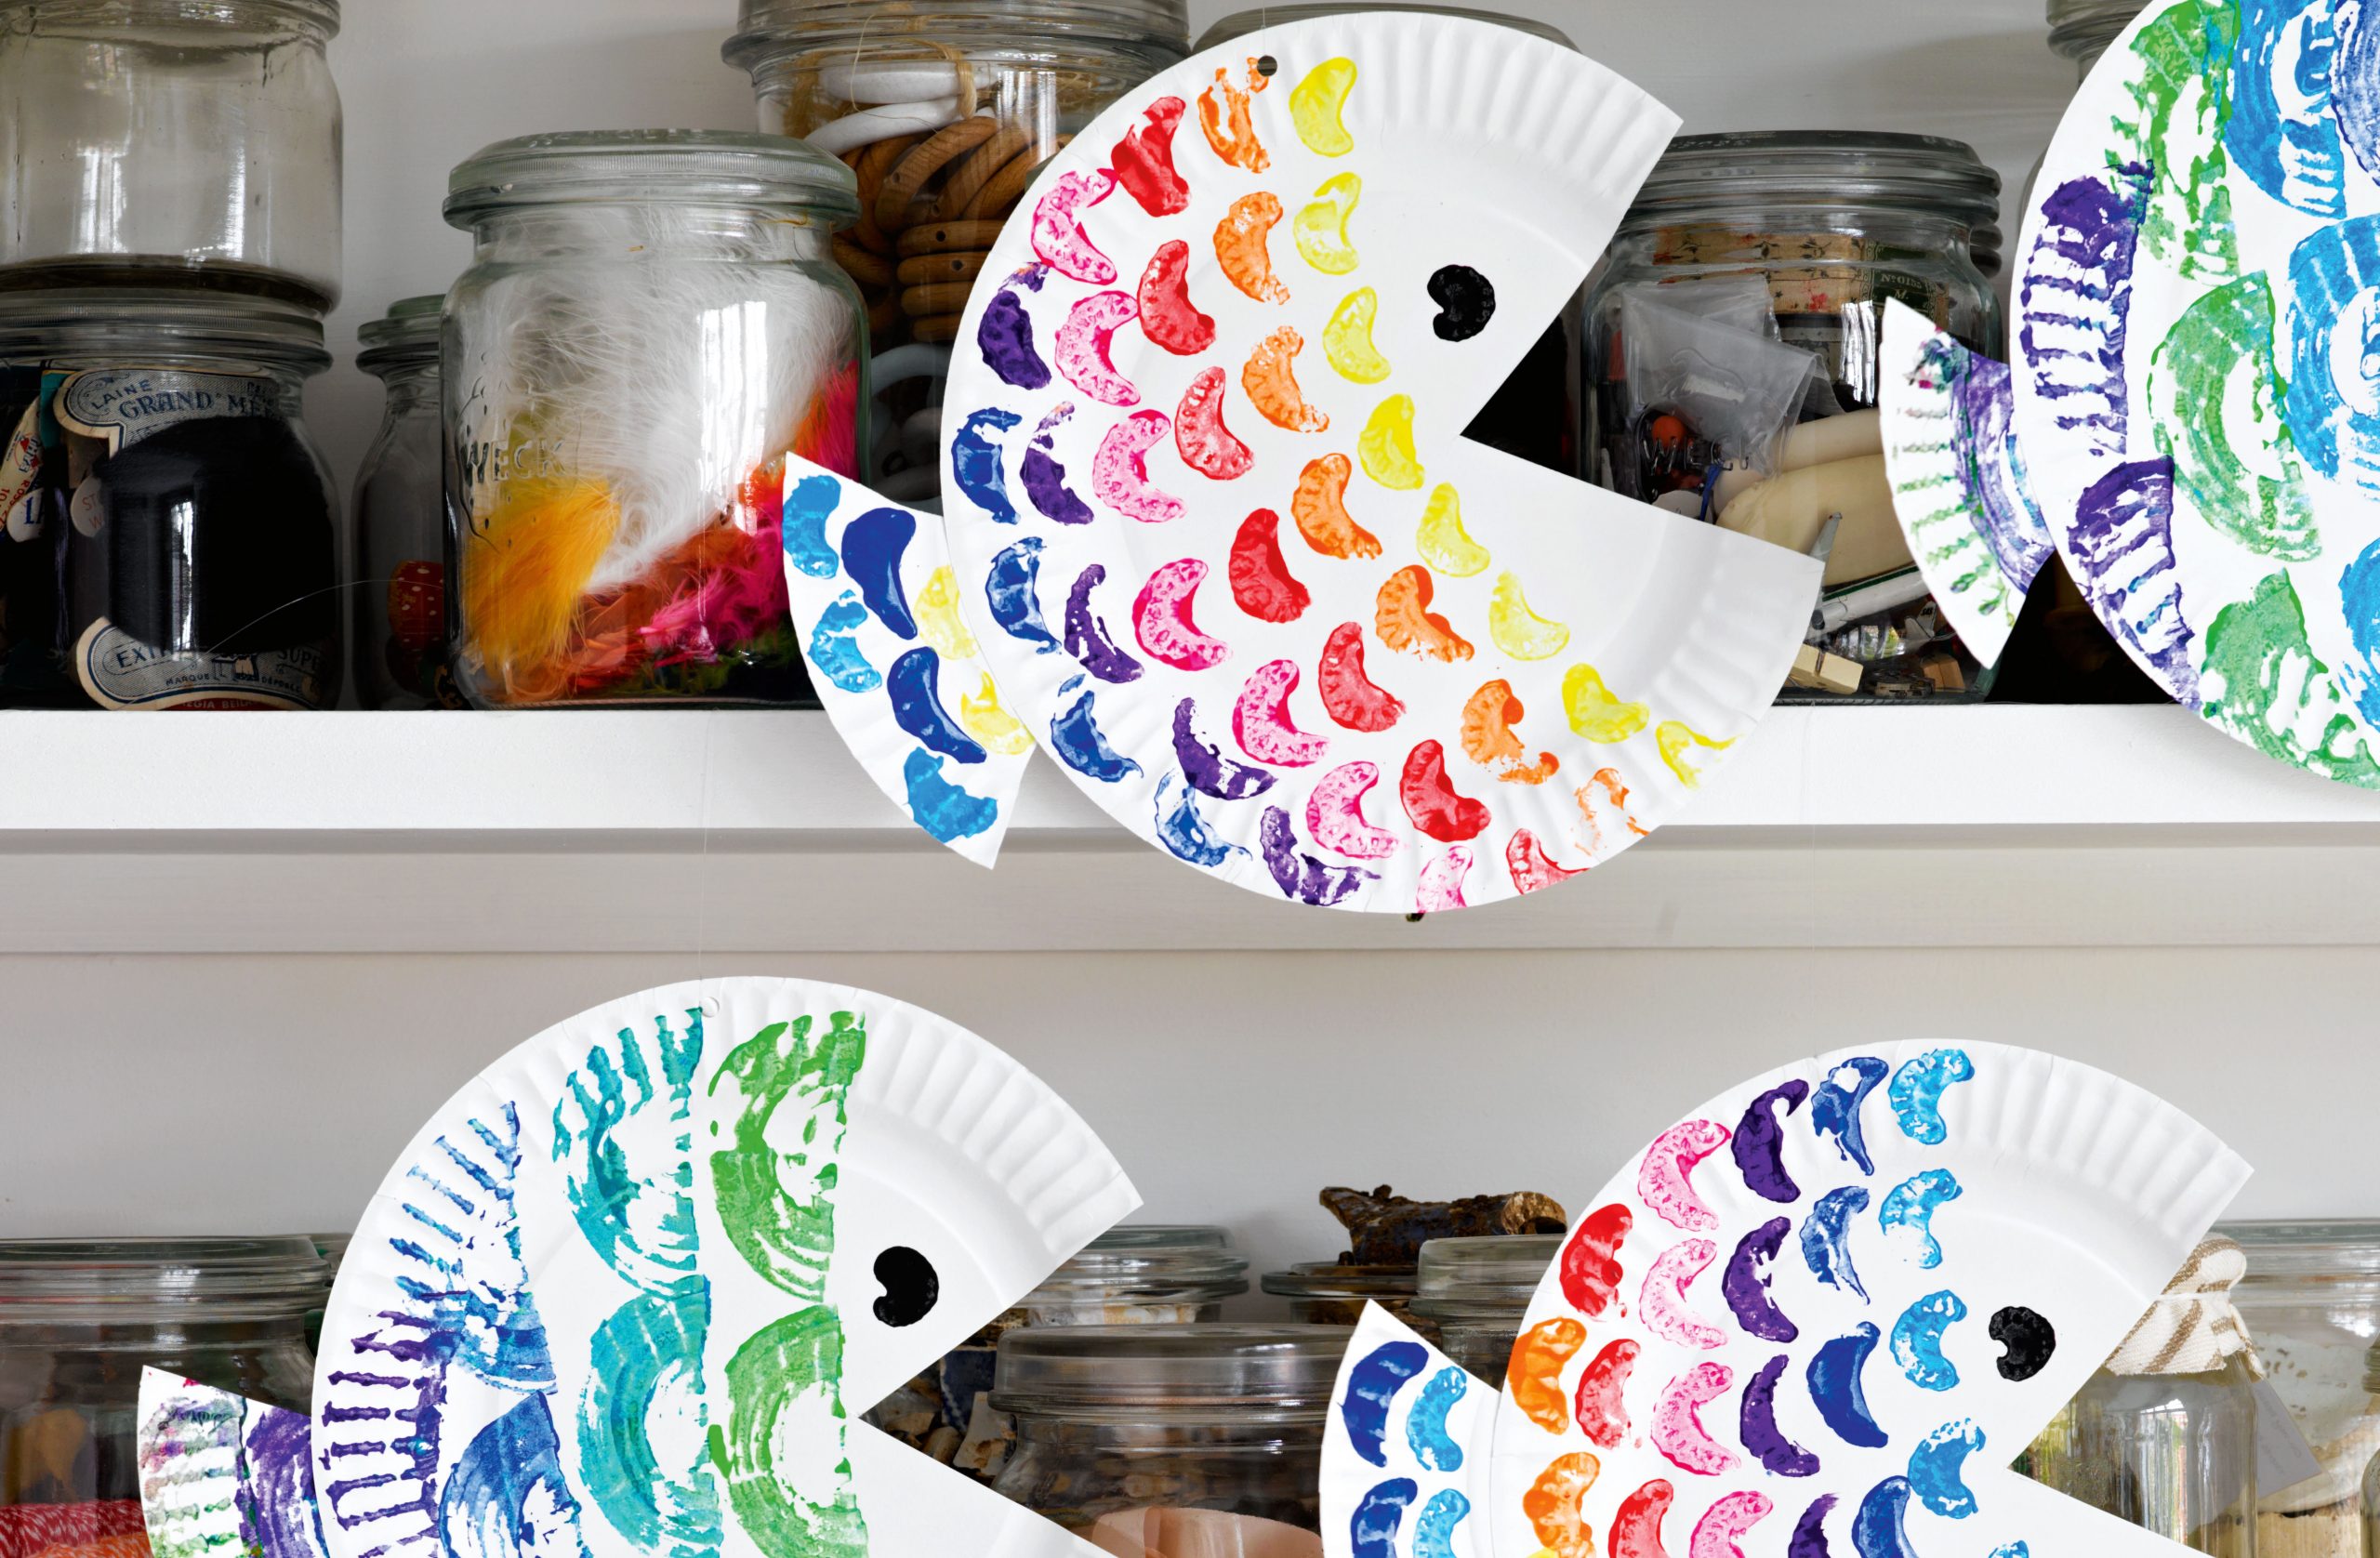
Draw a large triangle on one edge of the paper plate with a pencil and ruler, and cut out. Glue the triangular piece to the other side of the plate, creating a fish shape.
Step 2
Cut some celery sticks into 5cm lengths and blot the moist ends with some paper towel. Dip the end of one of the pieces in some black paint and print an ‘eye’ on the fish. Then use the other pieces to print lines of ‘scales’ in different colours across the body and tail of the fish.
Step 3
Alternatively use a onion cut into quarters to create larger fish scales.
Step 4
Make a small hole at the top of the fish and thread a length of clear beading string through to hang it up.
Carrot printing
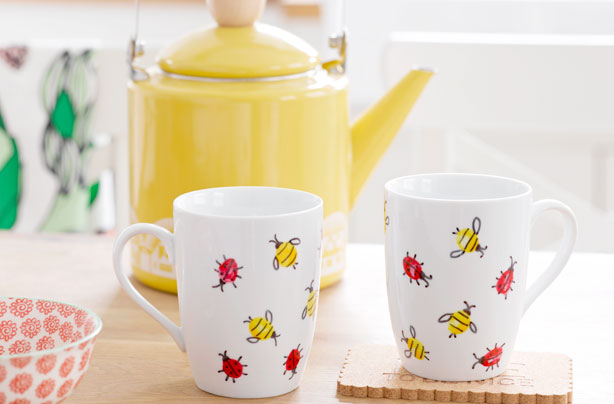
Step 1
Ask an adult helper to cut the ends off the carrots at a slight angle, creating an oval shape. Blot the ends with some paper towel.
Step 2
Lay the mug on its side and hold it in place with some scrunched up old tea towels. Stamp some red and yellow ‘bugs’ onto the mug, and leave to dry before turning and repeating on the next section of mug.
Step 3
When the mug is complately dry, add some spots, stripes, legs and antennae to the bugs with a black ceramic pen.
Top tip! Practise on a piece of scrap paper first, it's easy to overload the printer with paint making the shape tricky to work out. If you're struggling, use the paintbrush to lightly coat the vegetable in paint.
Craft: Suzie Attaway.