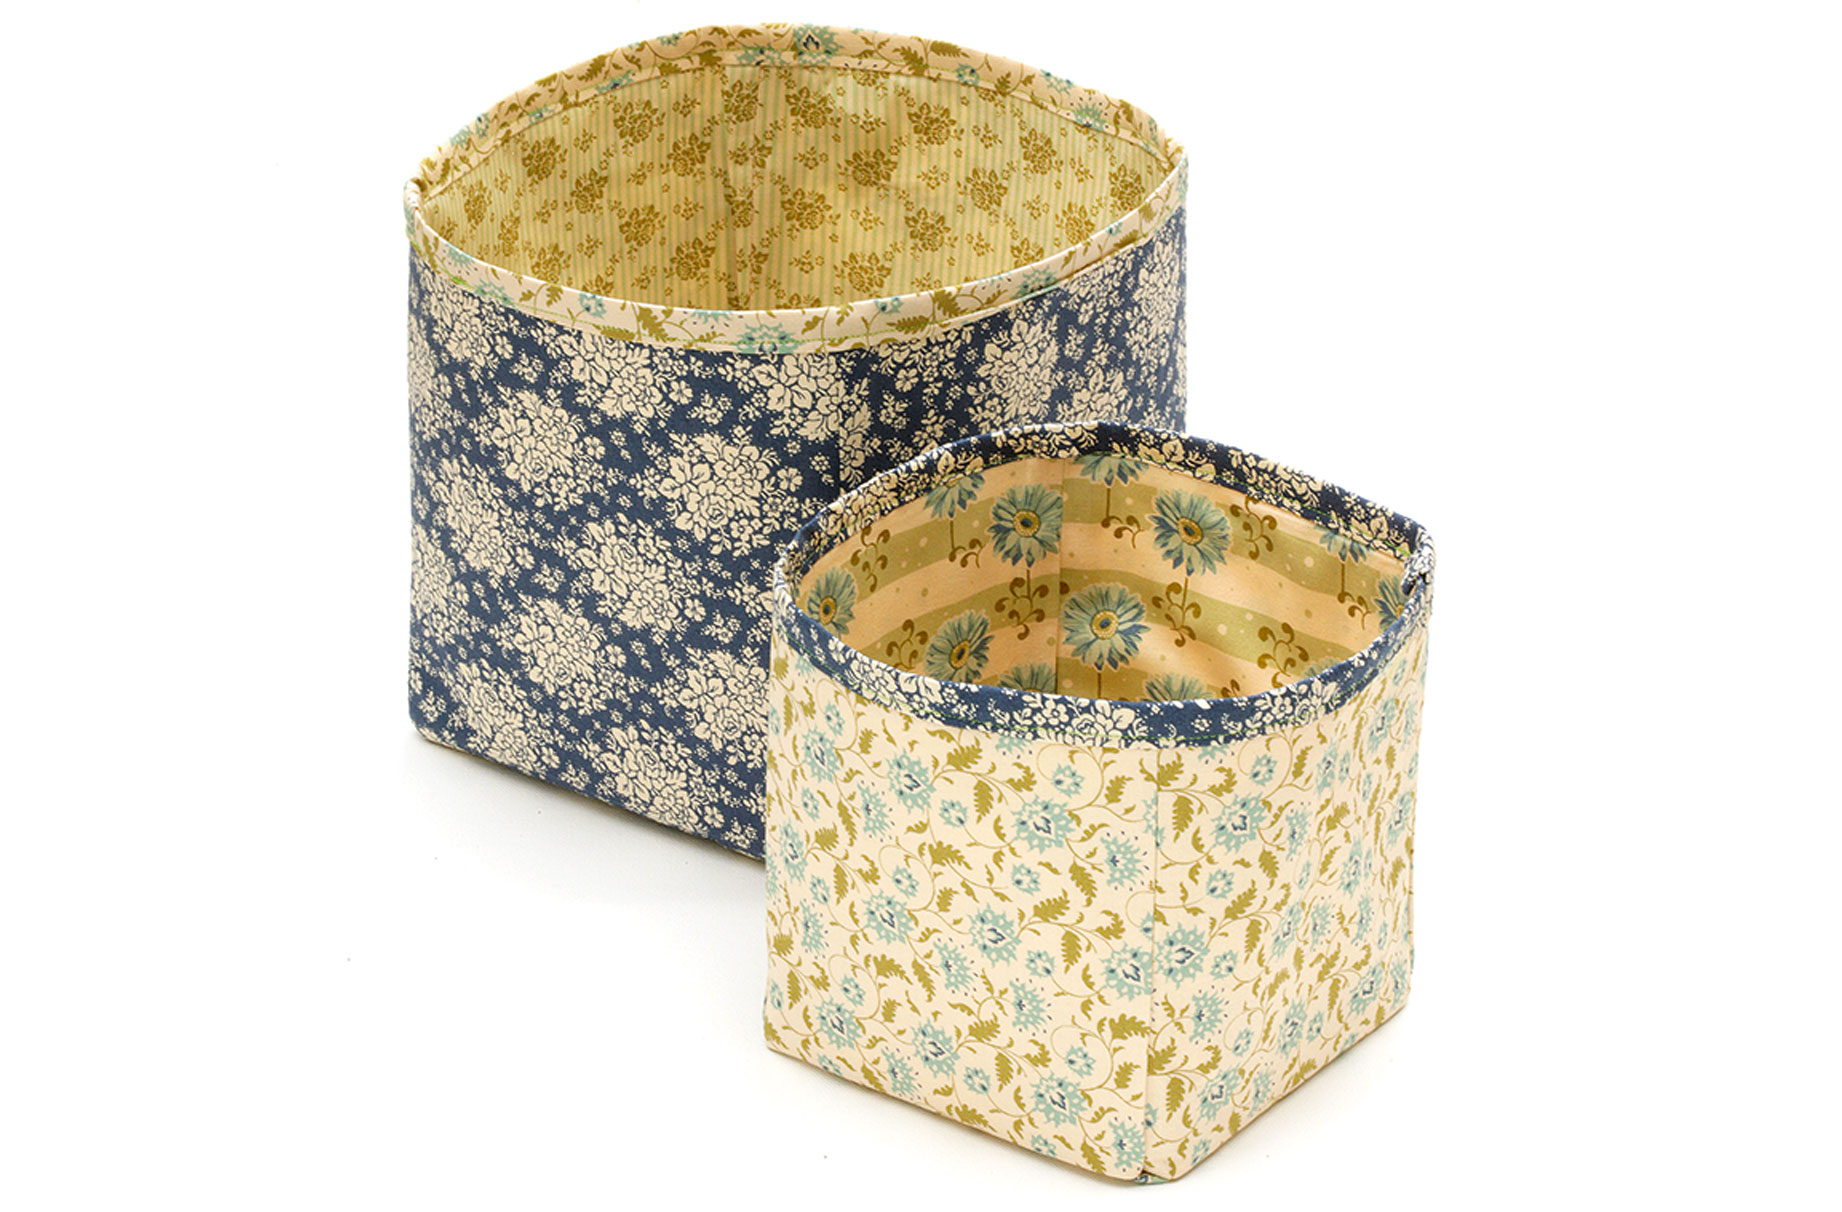
How to make a set of fabric storage baskets
If you're looking to give your storage a bit of a facelift, why not try this super simple idea? Here's how to make a set of fabric storage baskets.


If you're looking to give your storage a bit of a facelift, why not try this super simple idea? Here's how to make a set of fabric storage baskets.
We've created our storage baskets with a whimsical floral fabric, but why not try a bold geometric print in monochrome or go crazy for colour with bright solid shades. Either way, banish bland and boring boxes in favour of something fun to clear the clutter in your home.
To make these storage baskets you will need:
- Five Tilda fabric fat quarters
- Firm iron-on interlining, £4 per m, Lady Sew and Sew
- Bias binding maker
- Matching thread
- Sewing machine
- Scissors
- Ruler
- Iron
How to make these storage baskets:
- For the large box, cut out five 20cm squares from the fabric and fuse the interlining to the wrong side. Cut out another five 20cm squares from a different fabric for the lining. Repeat for the small box, cutting out 16cm squares instead.
- Pin four of the squares with interlining along each side and with right sides together to create a cube. Sew along the edges with a 1cm seam allowance; stop sewing 1cm from the bottom of each seam. Making sure to backstitch at the ends for extra durability.
- Position the cube on top of the fifth square of fabric with the fused interlining. Pin the bottom edges to the base and sew in place with a 1cm seam allowance. Turn right sides out and press the seams open.
- Repeat with the other lining squares, leaving the lining wrong sides out. Position the linings inside the baskets with top edges aligned and pin together.
- Make two strips of binding from the leftover fabric measuring 80cm in length for the large box and 65cm for the small one. You will need to join the short ends of several strips together to create long-enough pieces.
- Use the binding to sandwich the raw edges of the boxes, removing the pins from the basket as you work around and replacing them once they have binding. Topstitch the binding in place, overlapping the ends to conceal the raw edges.
GoodtoKnow Newsletter
Parenting advice, hot topics, best buys and family finance tips delivered straight to your inbox.

Esme is Future's resident craft expert, working across titles such as GoodTo, Woman&Home, Woman’s Weekly, Woman, Woman’s Own, Chat, Now, Pick Me Up and The Craft Network. Successfully turning her sewing hobby into a career, she's adept in a number of crafts, including sewing, papercraft, calligraphy, embroidery and printing.