How to make a pyrography board
Try pyrography, a wood-burning technique, that can transform a plain wooden accessory into something stylish
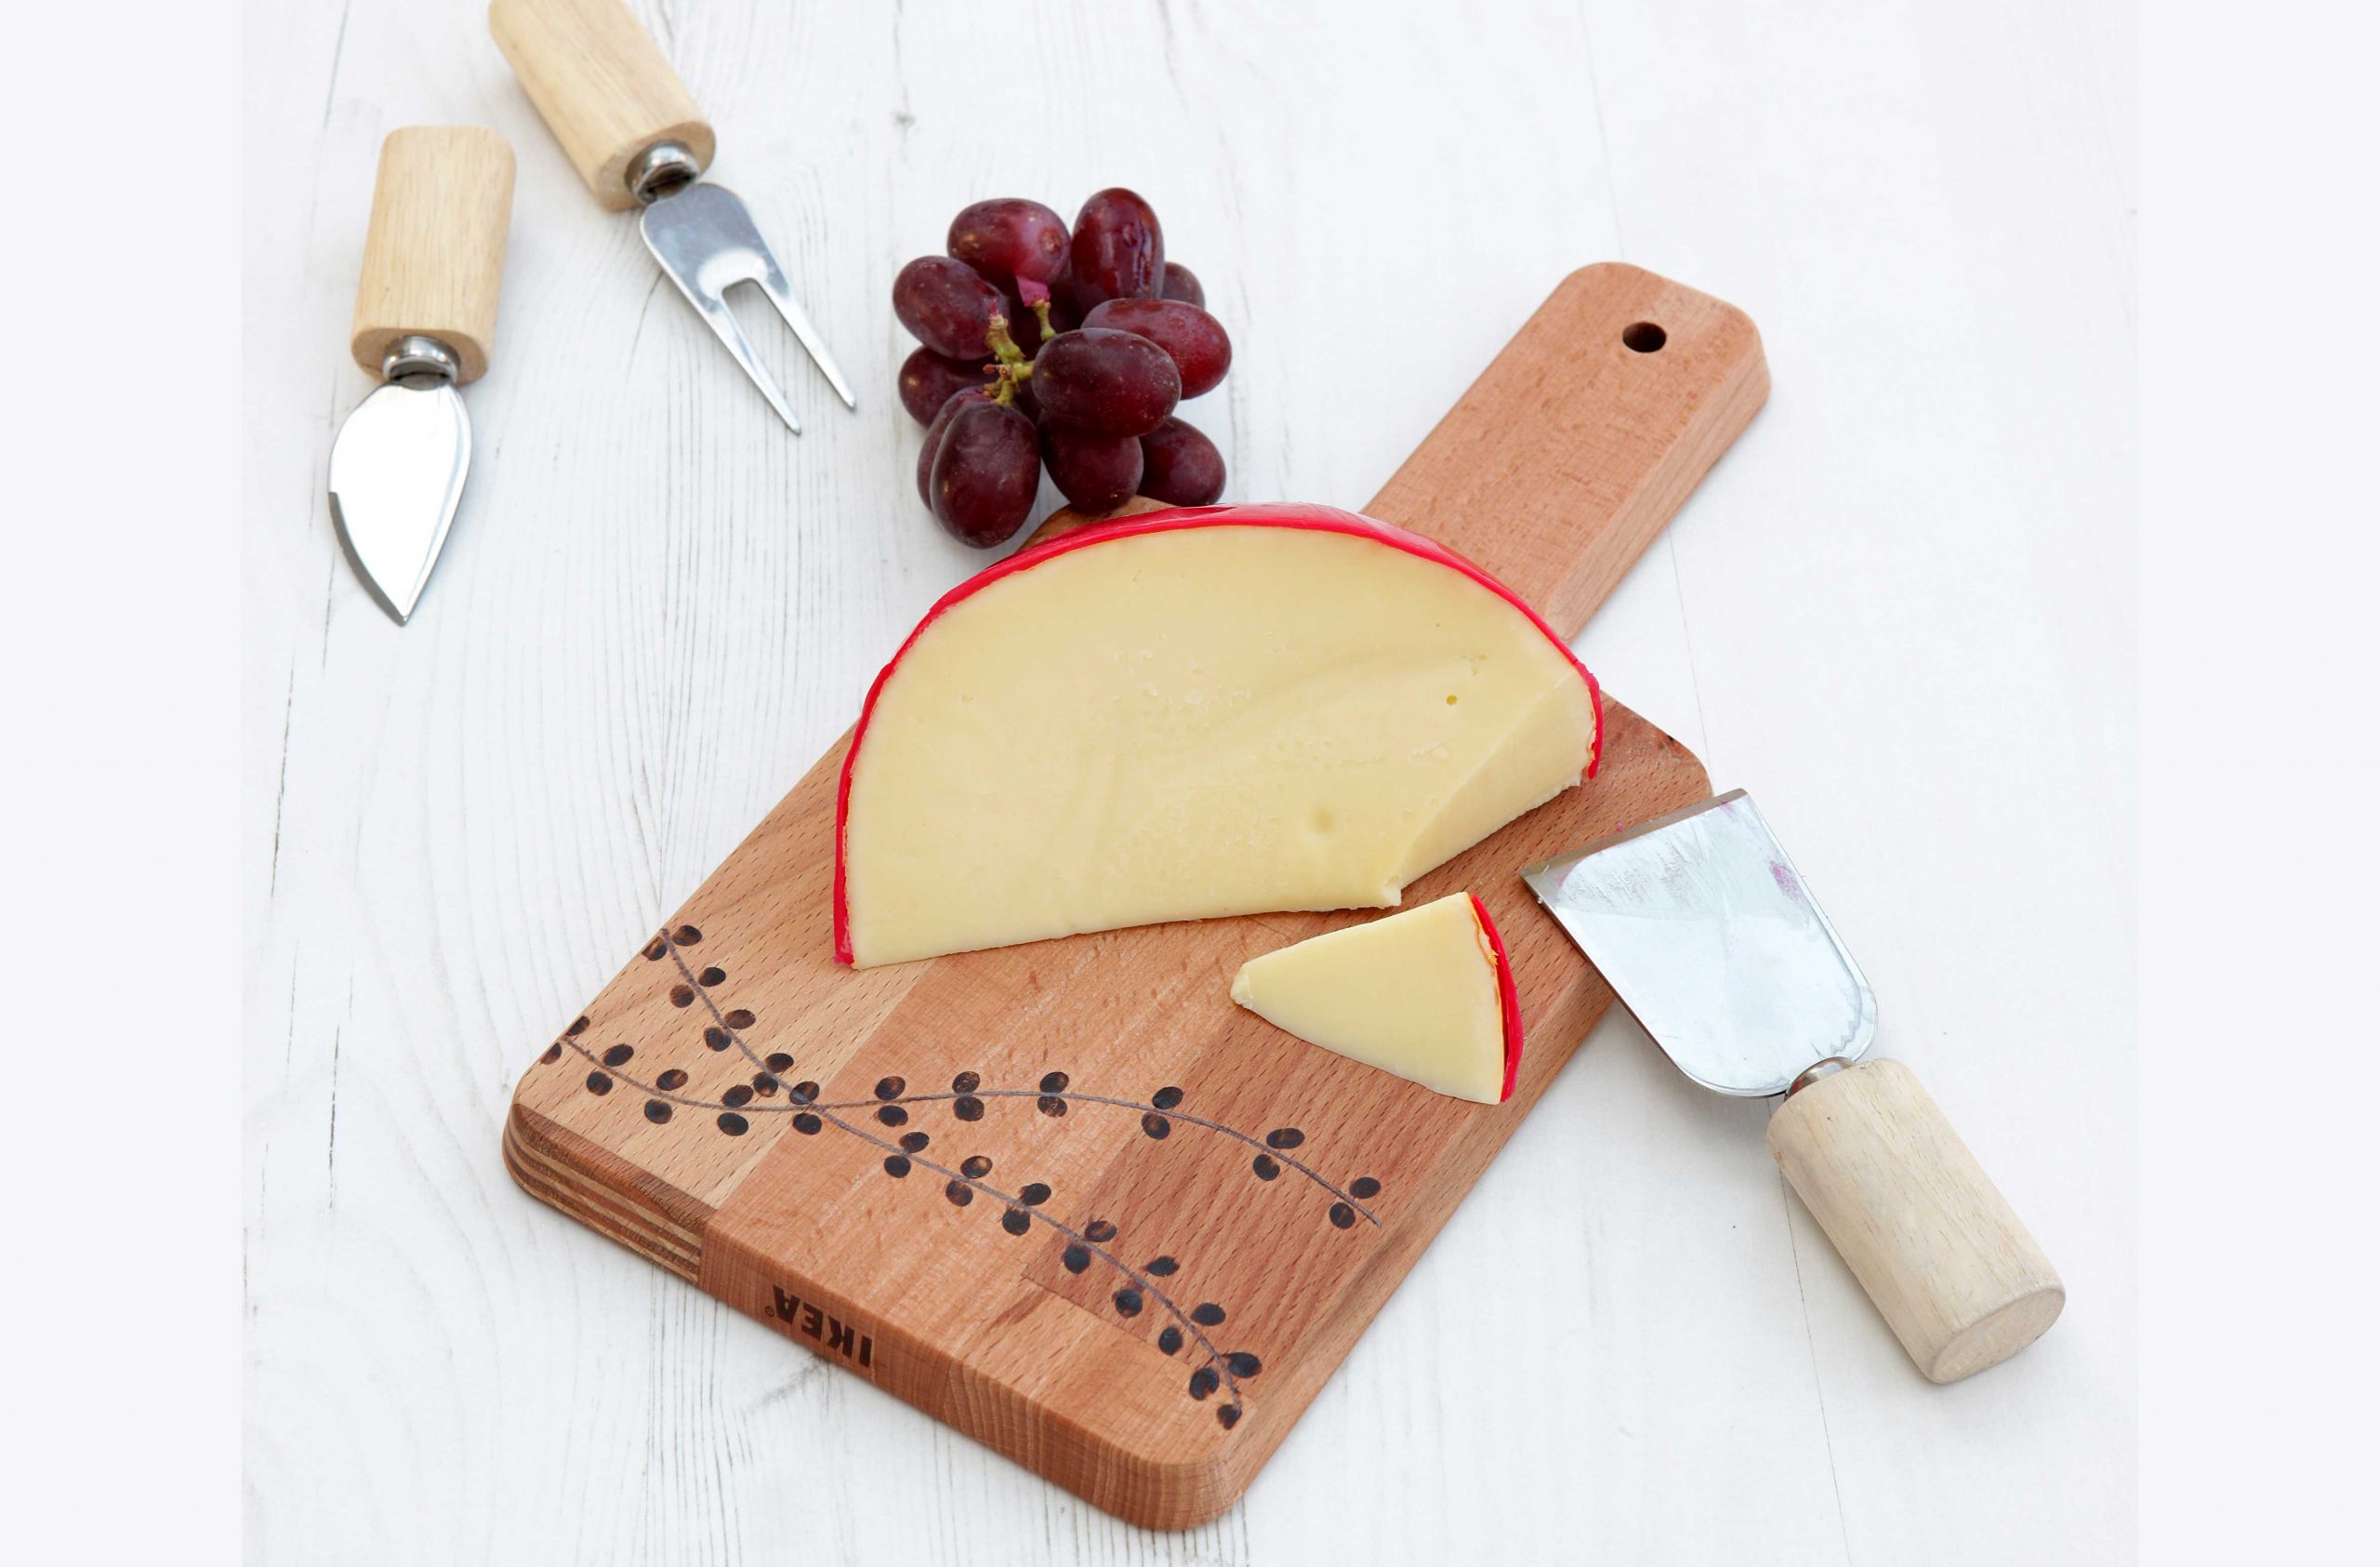

Try pyrography, a wood-burning technique, that can transform a plain wooden accessory into something stylish
Pyrography, a wood-burning technique, is a slow and therapeutic craft that you can use to create stylish designs on wooden or leather accessories. Follow our step-by-step tutorial to create your own personalised wooden creations.
You can complete this project in an afternoon, but it does take some patience to allow the tool to heat up and cool down, so try not to rush through the creative process.
Once you've perfected our simple design, try working on a pyrography alphabet until you're comfortable to wood burn entire phrases or names. You can create decorative signs for doors and hanging plaques to gift friends and loved ones.
For more kitchen craft project ideas, why not get out your sewing machine next to create a set of potholders, a coastal collection of tea towels, or make a kid's apron?
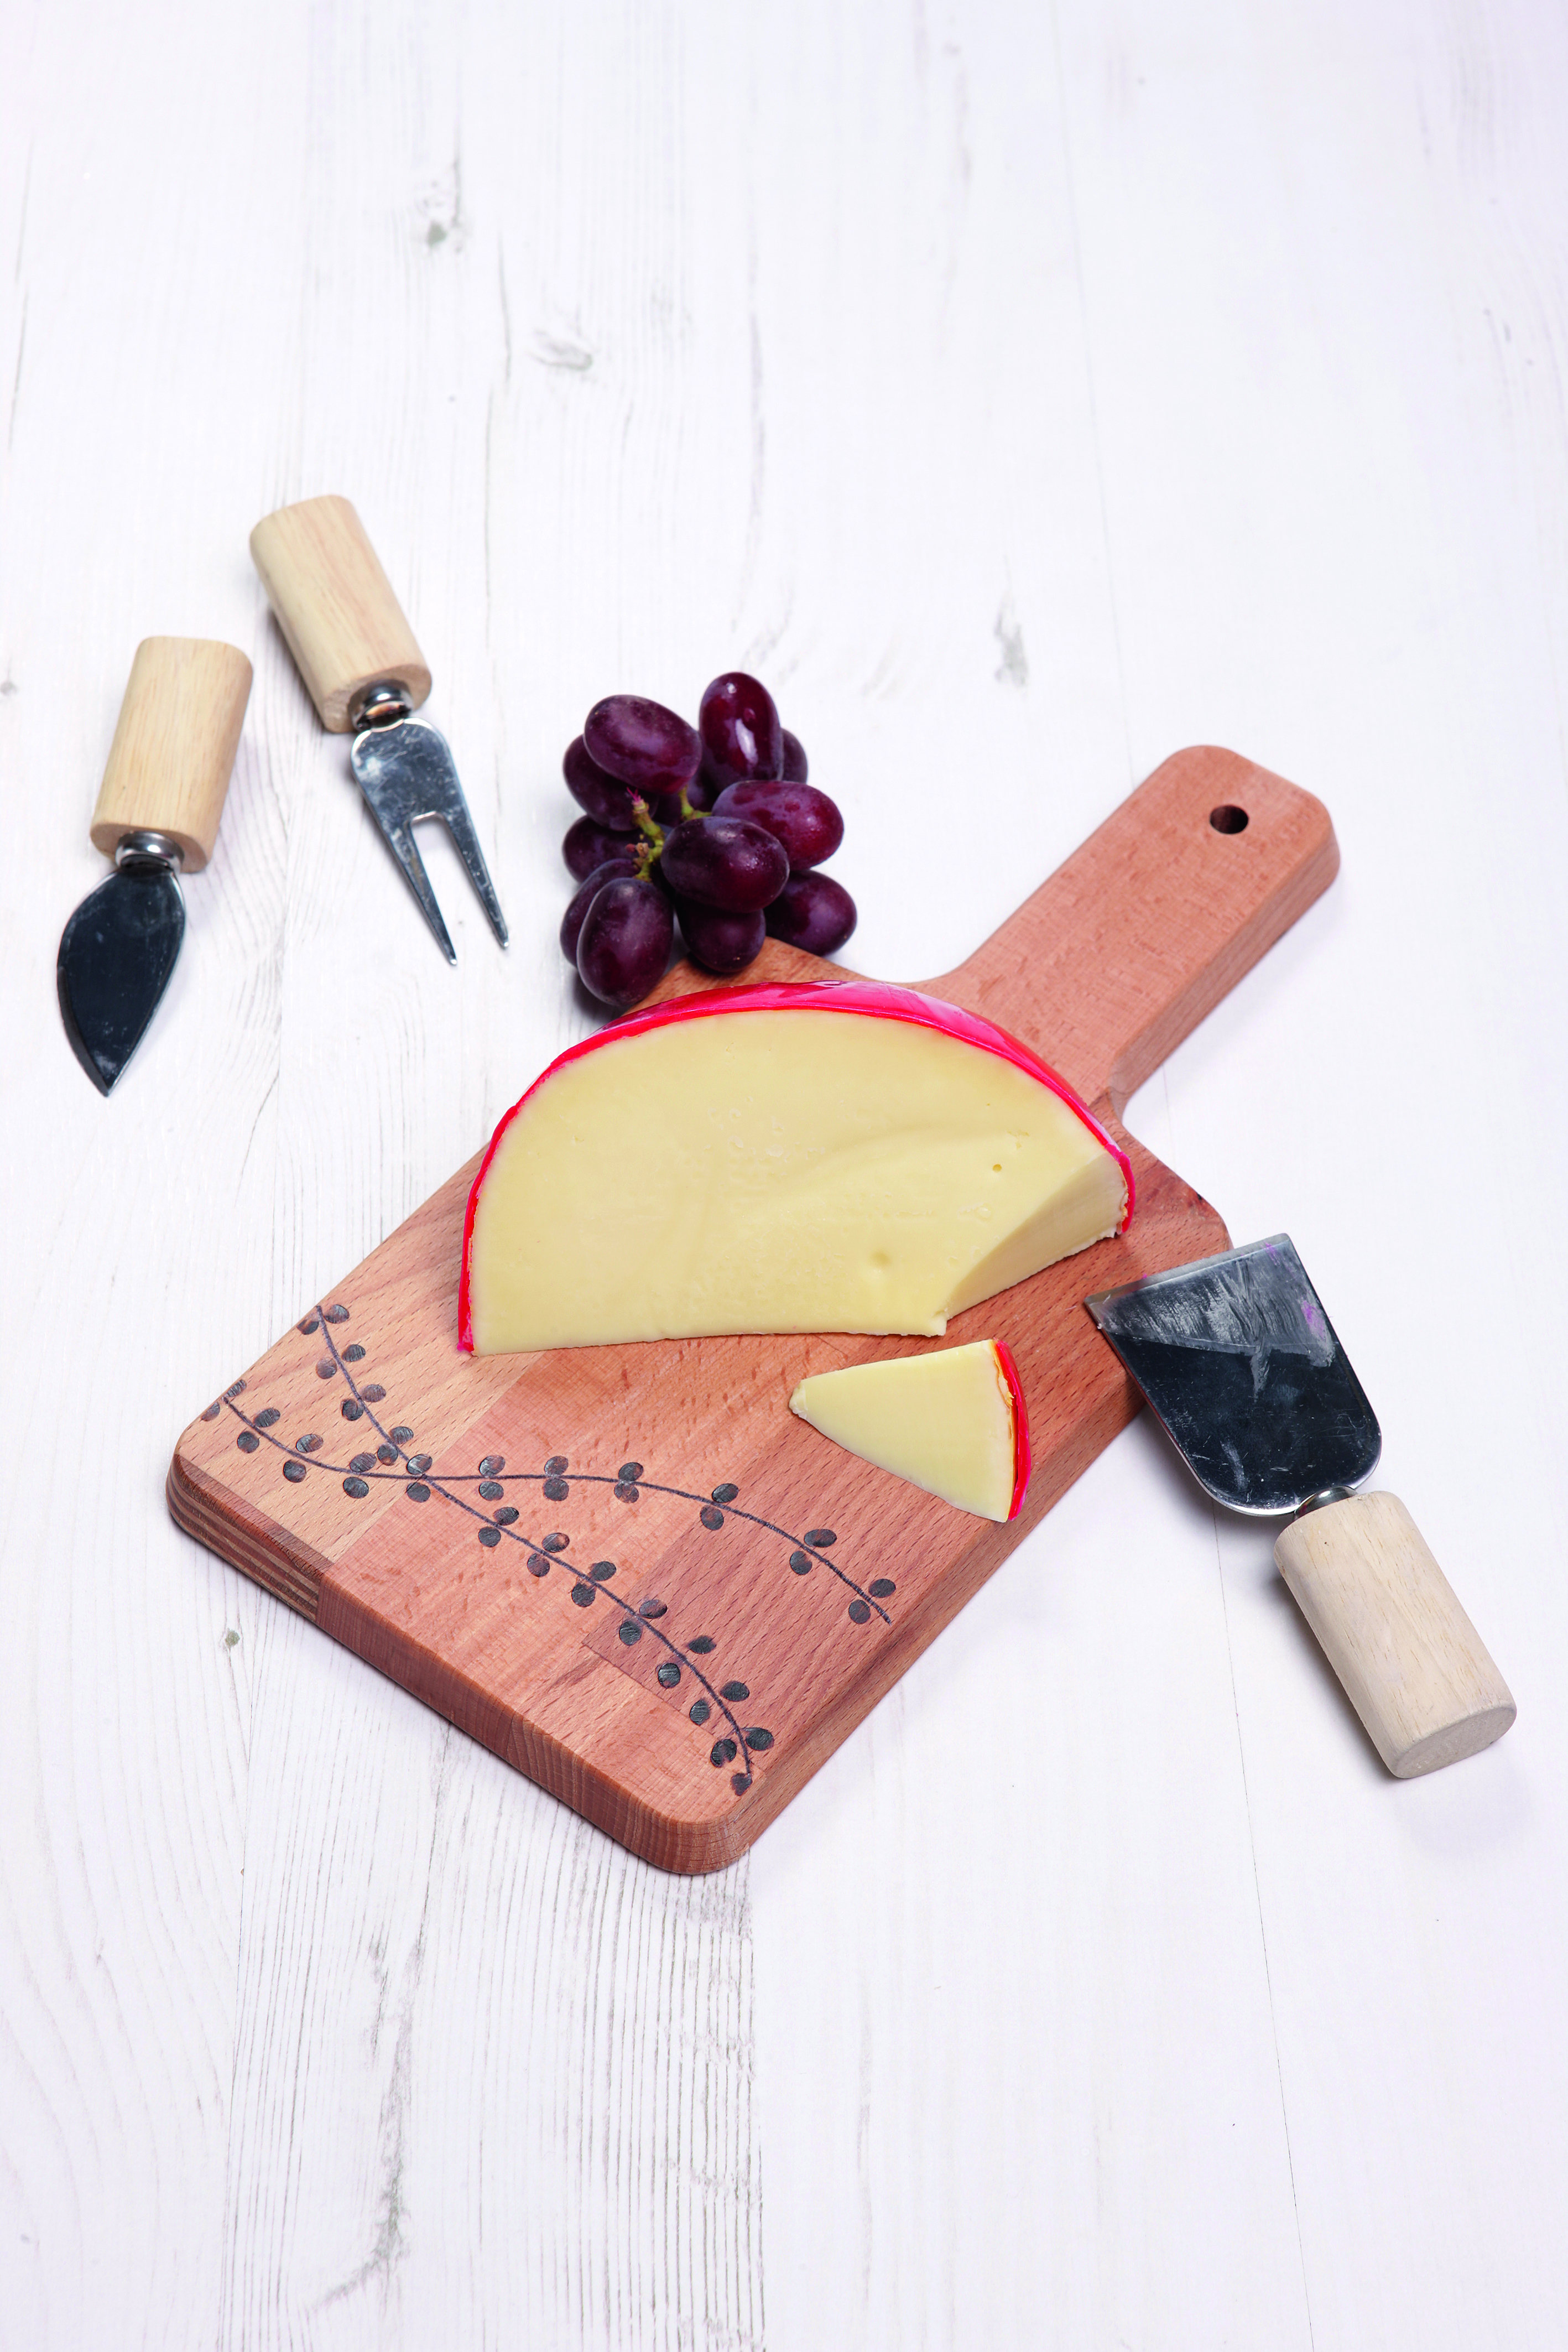
You will need:
- Wooden cheeseboard
- Wood burning tool and tips
- Pencil and tracing paper
- Eraser
- Craft knife
For craft supplies, try John Lewis & Partners
How to make a pyrography board:
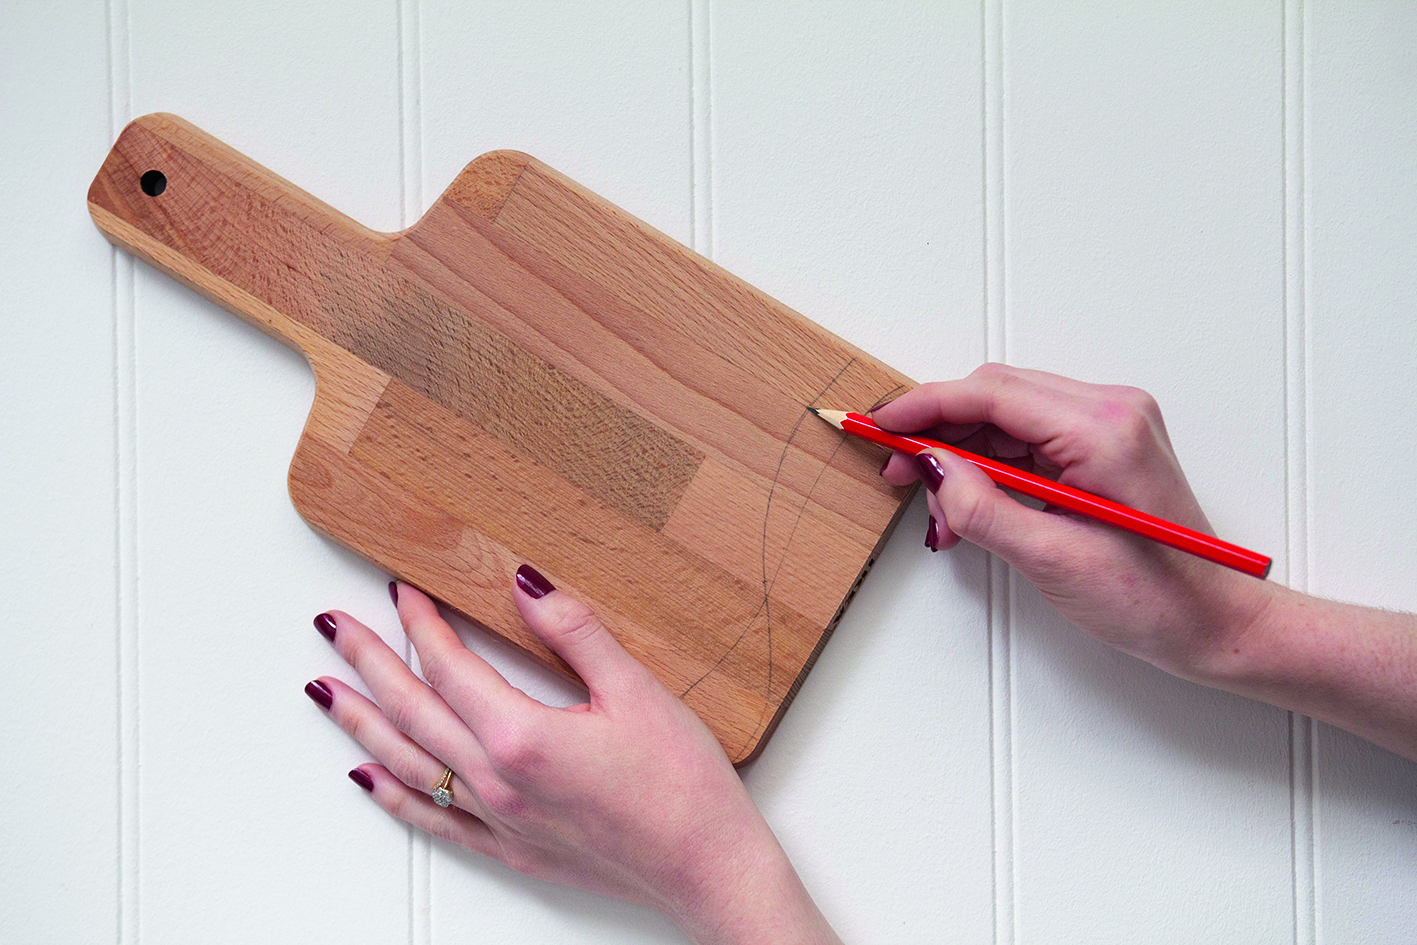
1. Draw your own design on the chopping board. We've created a very simple design with two curved lines and circular shaped leaves along these.
GoodtoKnow Newsletter
Parenting advice, hot topics, best buys and family finance tips delivered straight to your inbox.
2. Screw a pointed tip onto the end of the wood-burning tool, plug it in, and allow it to heat up for approximately five to 10 minutes.

3. Begin by testing the wood-burning tool on a spare piece of wood or the reverse of your board. Practice small dots first, then try dashes before moving on to longer lines.
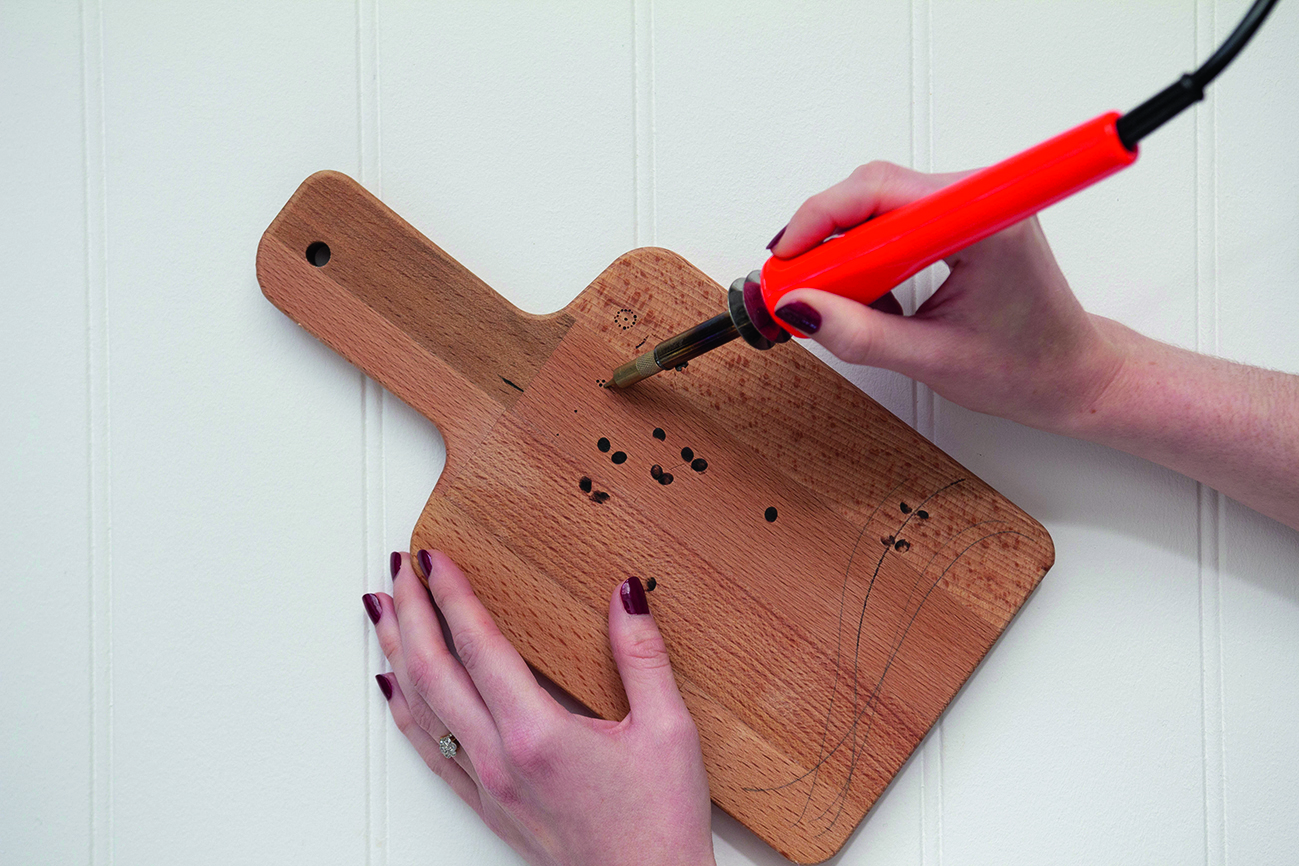
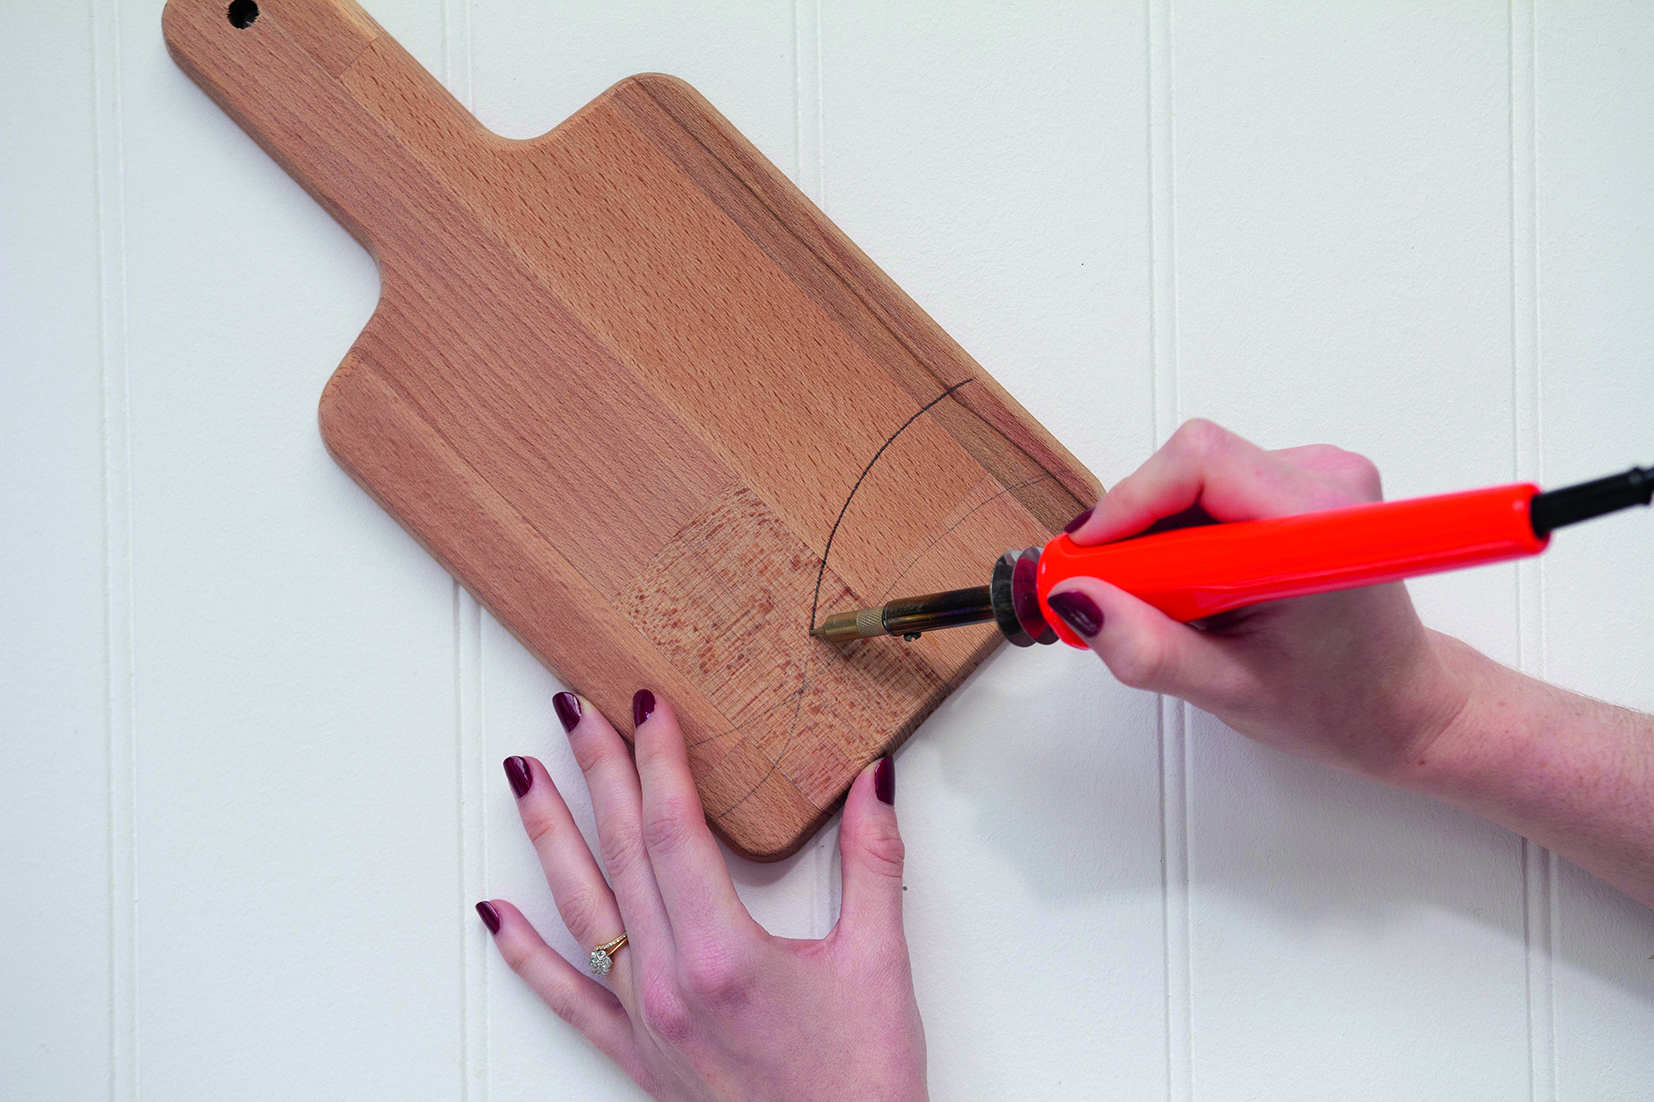
4. With the round or ballpoint tip, begin working along the first stem pencil line, slowly pushing the tip into the wood until you see a little deepening of colour, before moving onto the next section. Repeat for the second line.
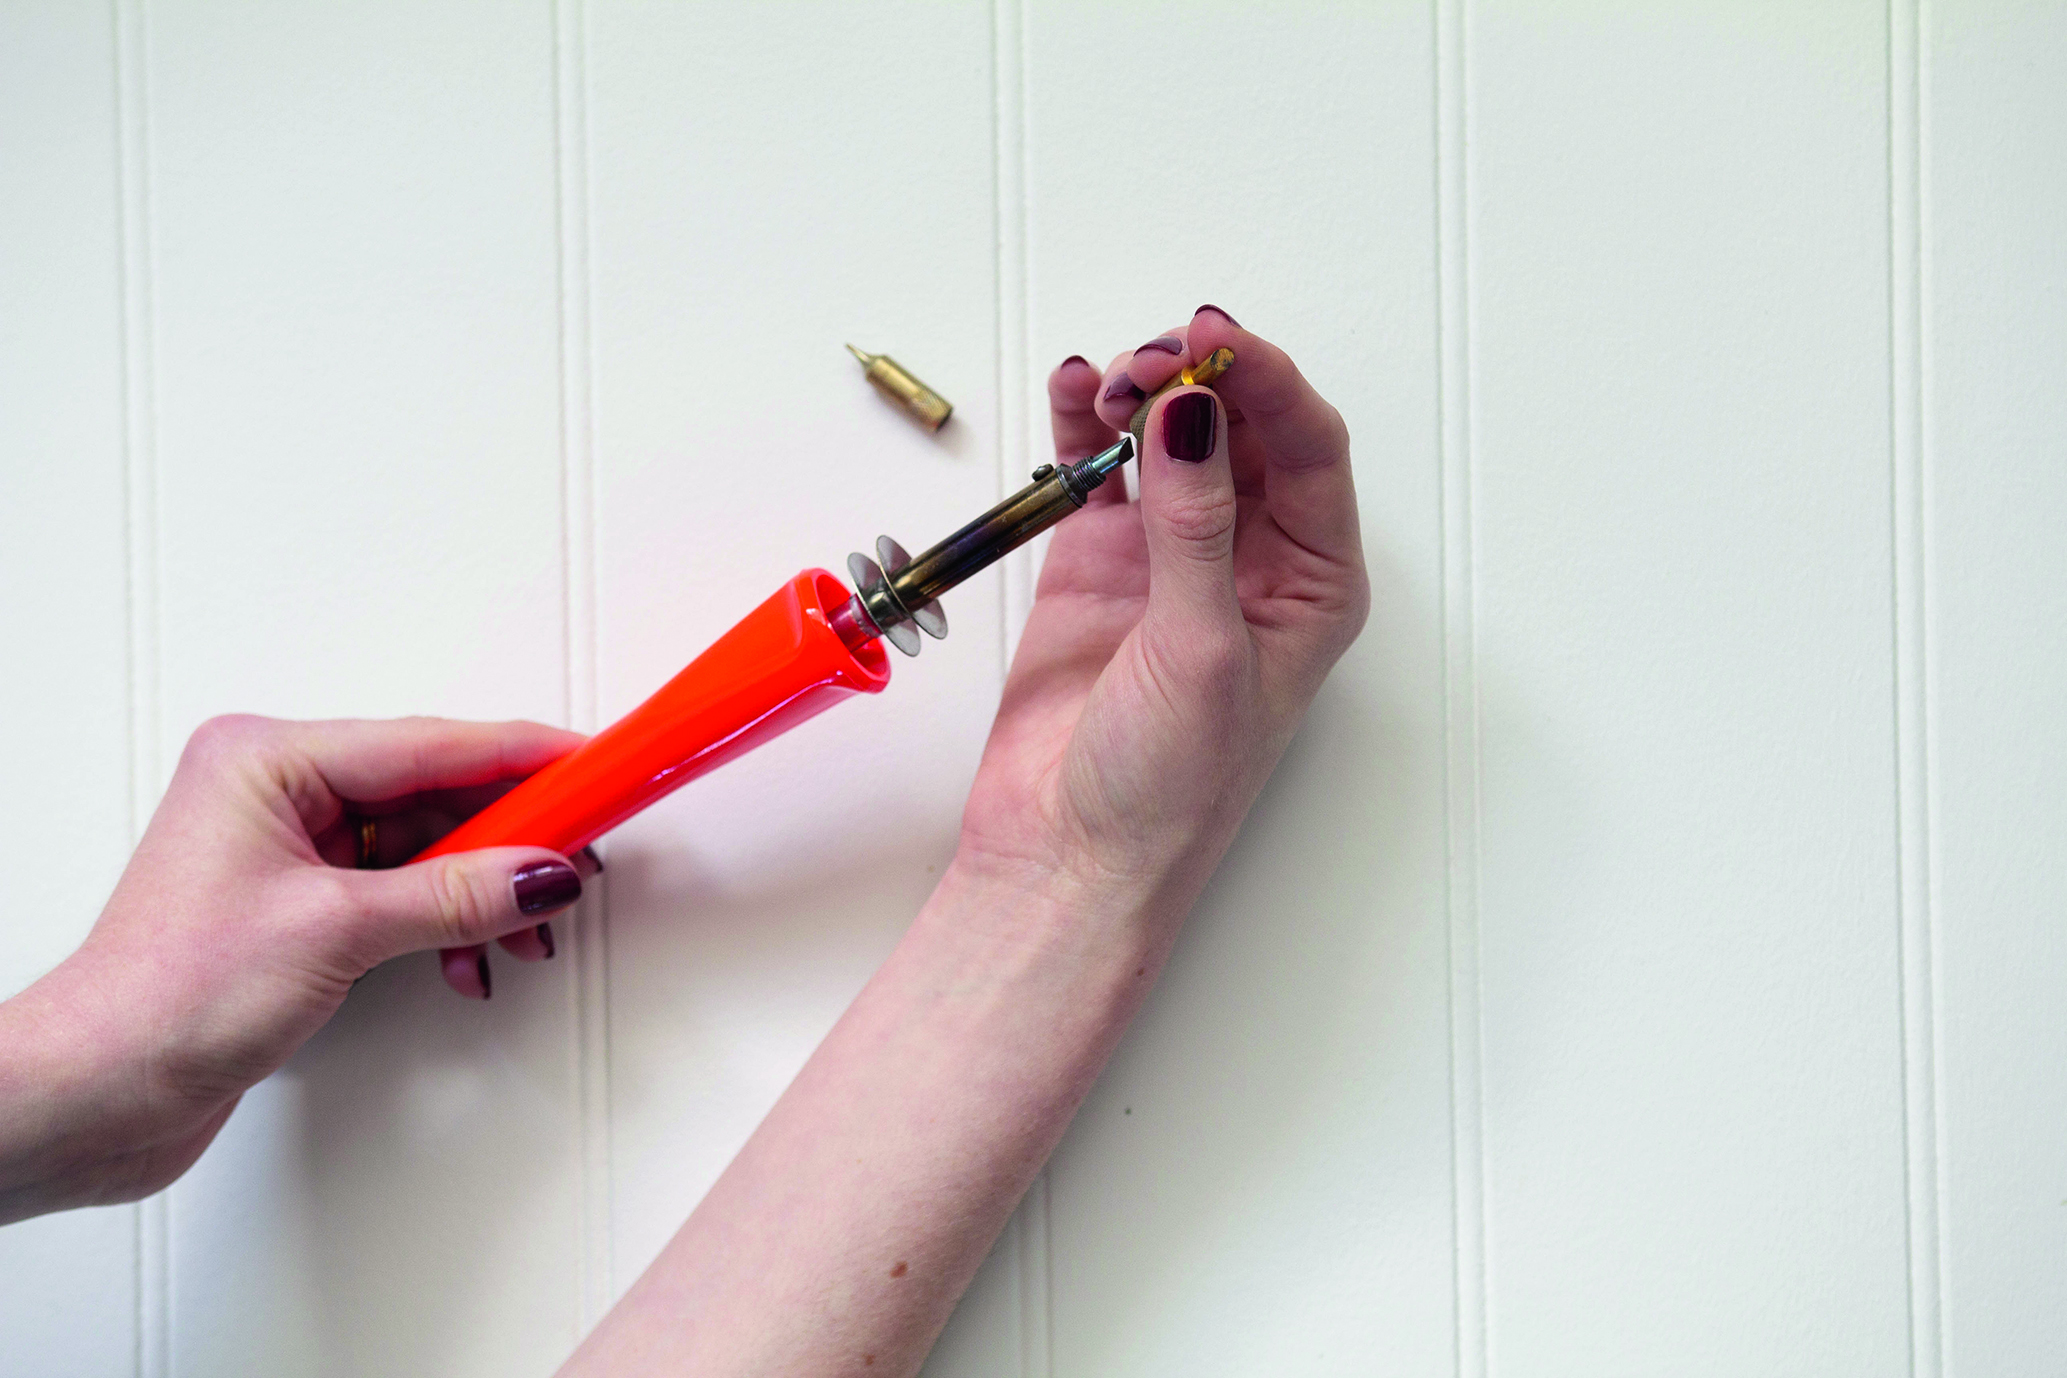
5. Allow the wood-burning tool to cool completely. Remove the pointed tip and replace it with the large circle tip or a leaf shape if you have one. Plug the tool in and allow it to heat up again.
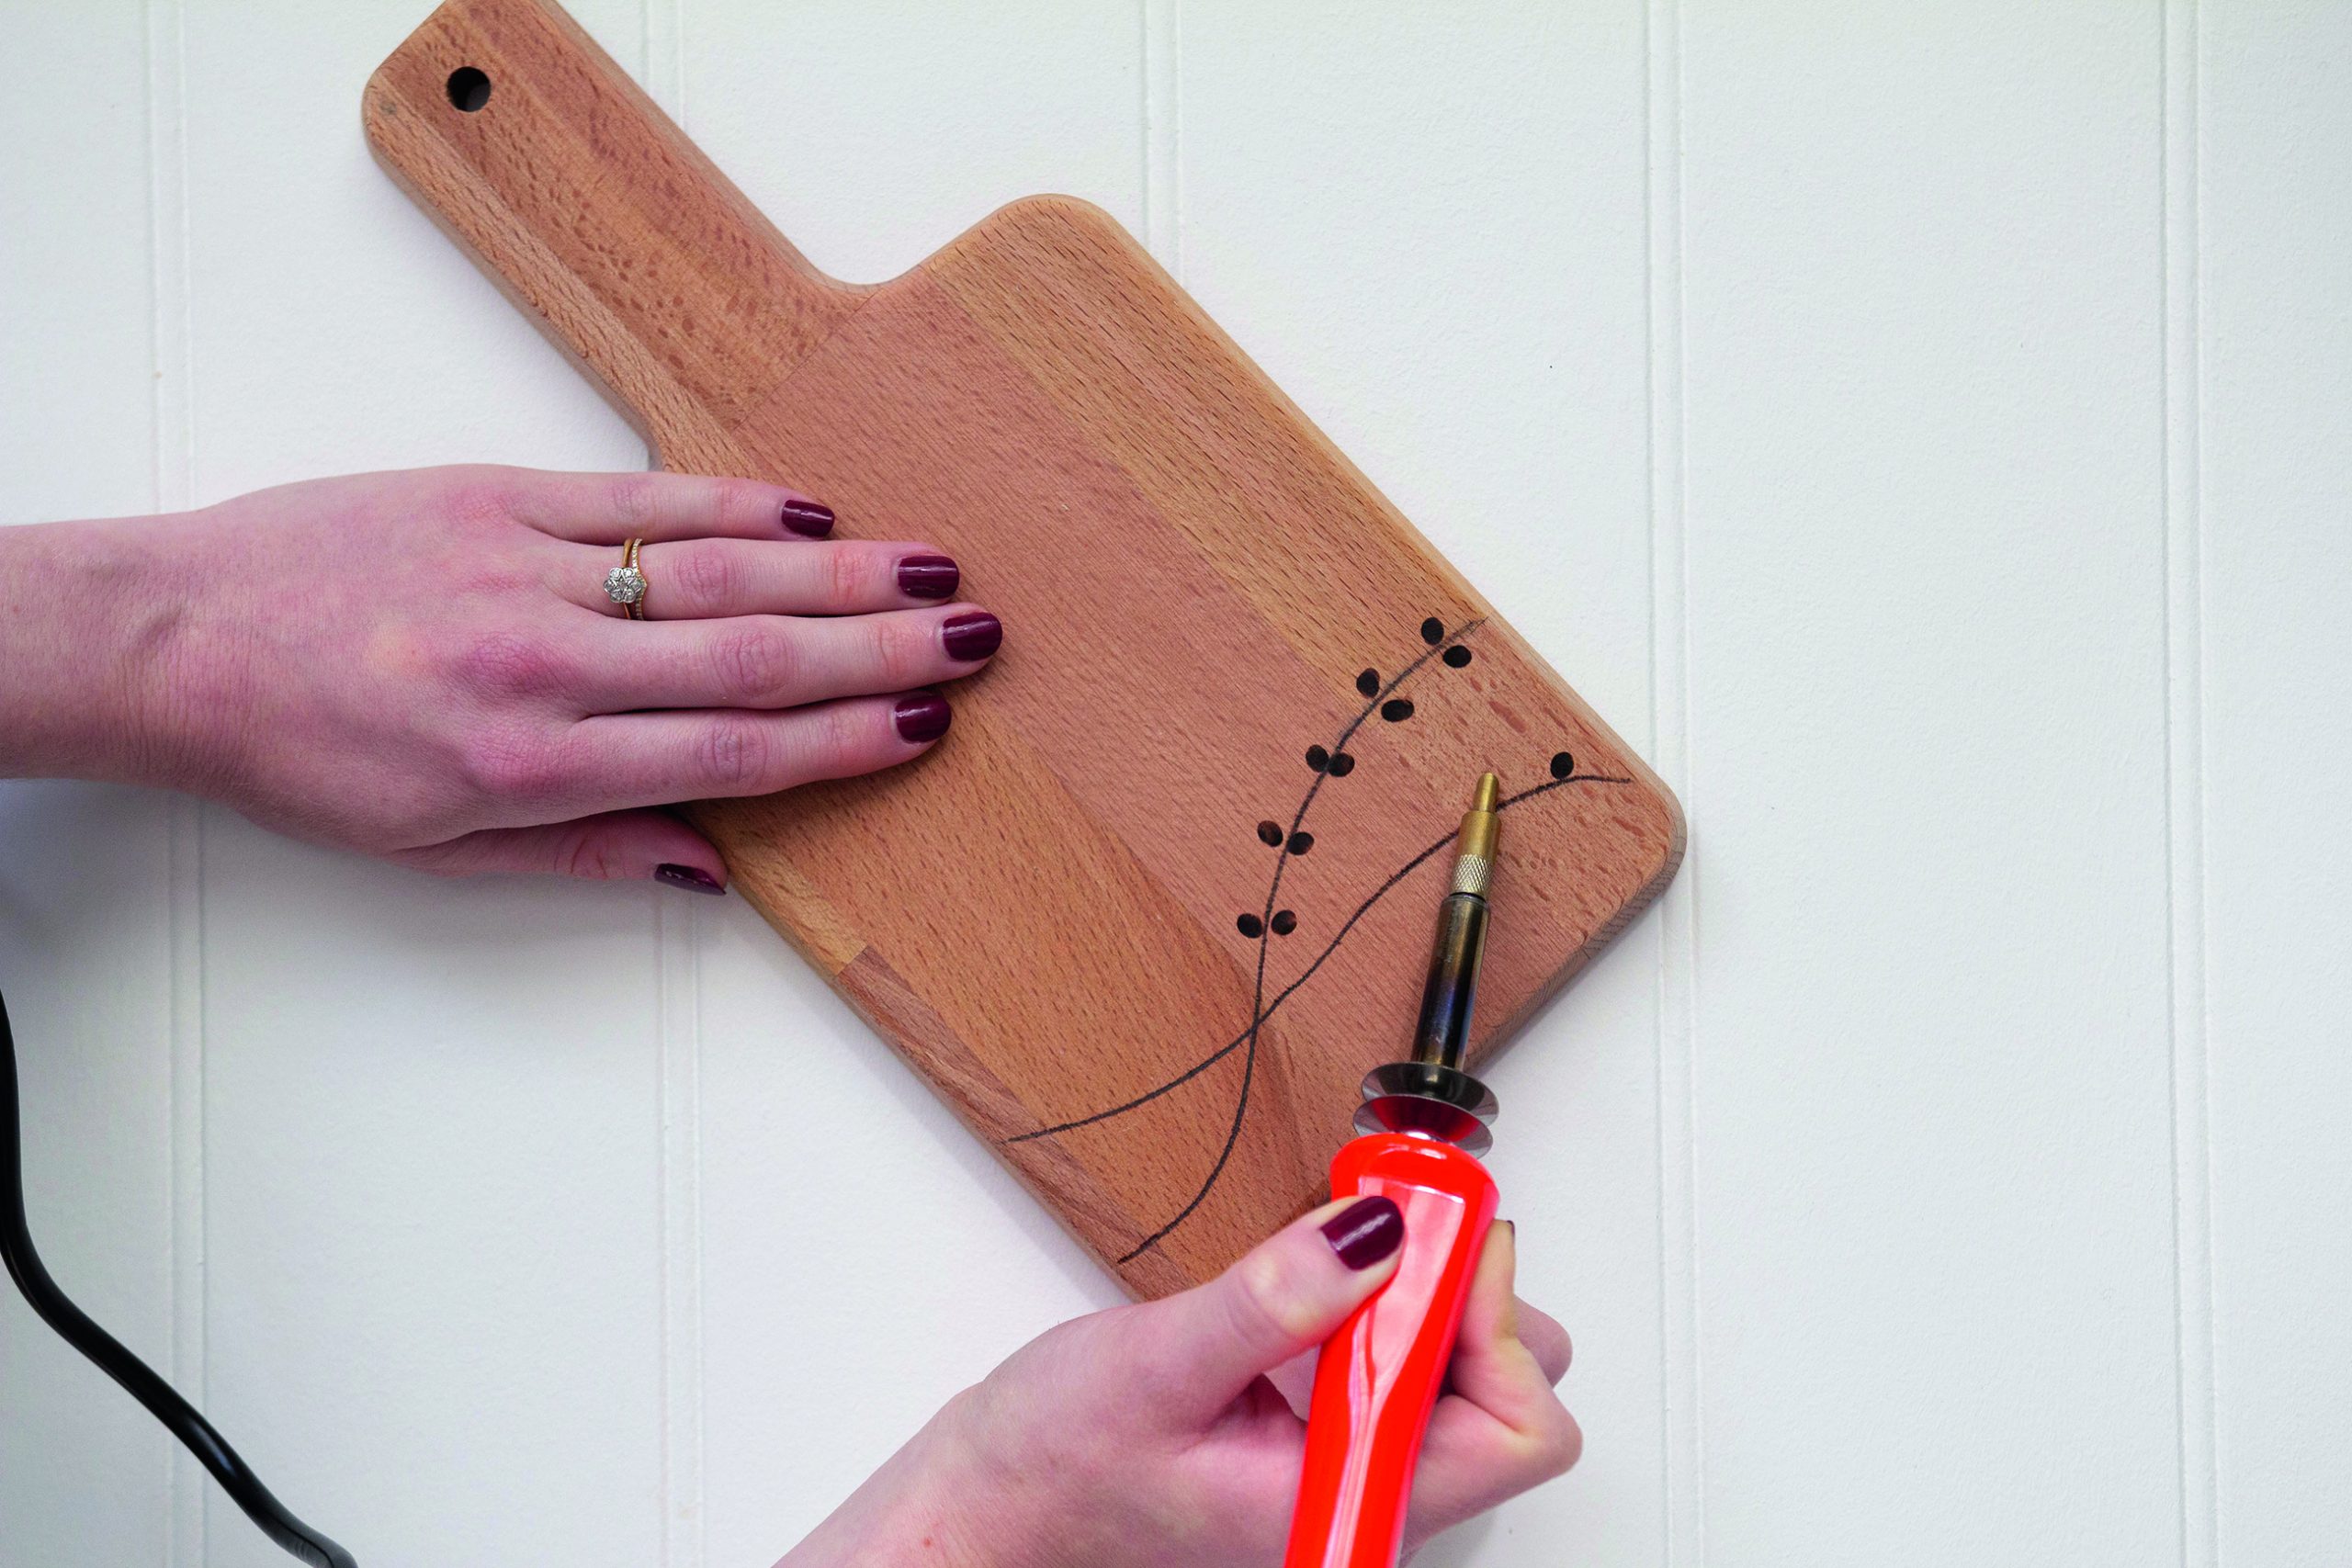
6. Press the circle/leaf tip into the surface of the wood and hold flat for about four seconds until a leaf shape has been formed. Repeat along the stem line in pairs. Allow the wood-burning tool to cool completely.
7. Use an eraser to remove any pencil lines leftover on the design.
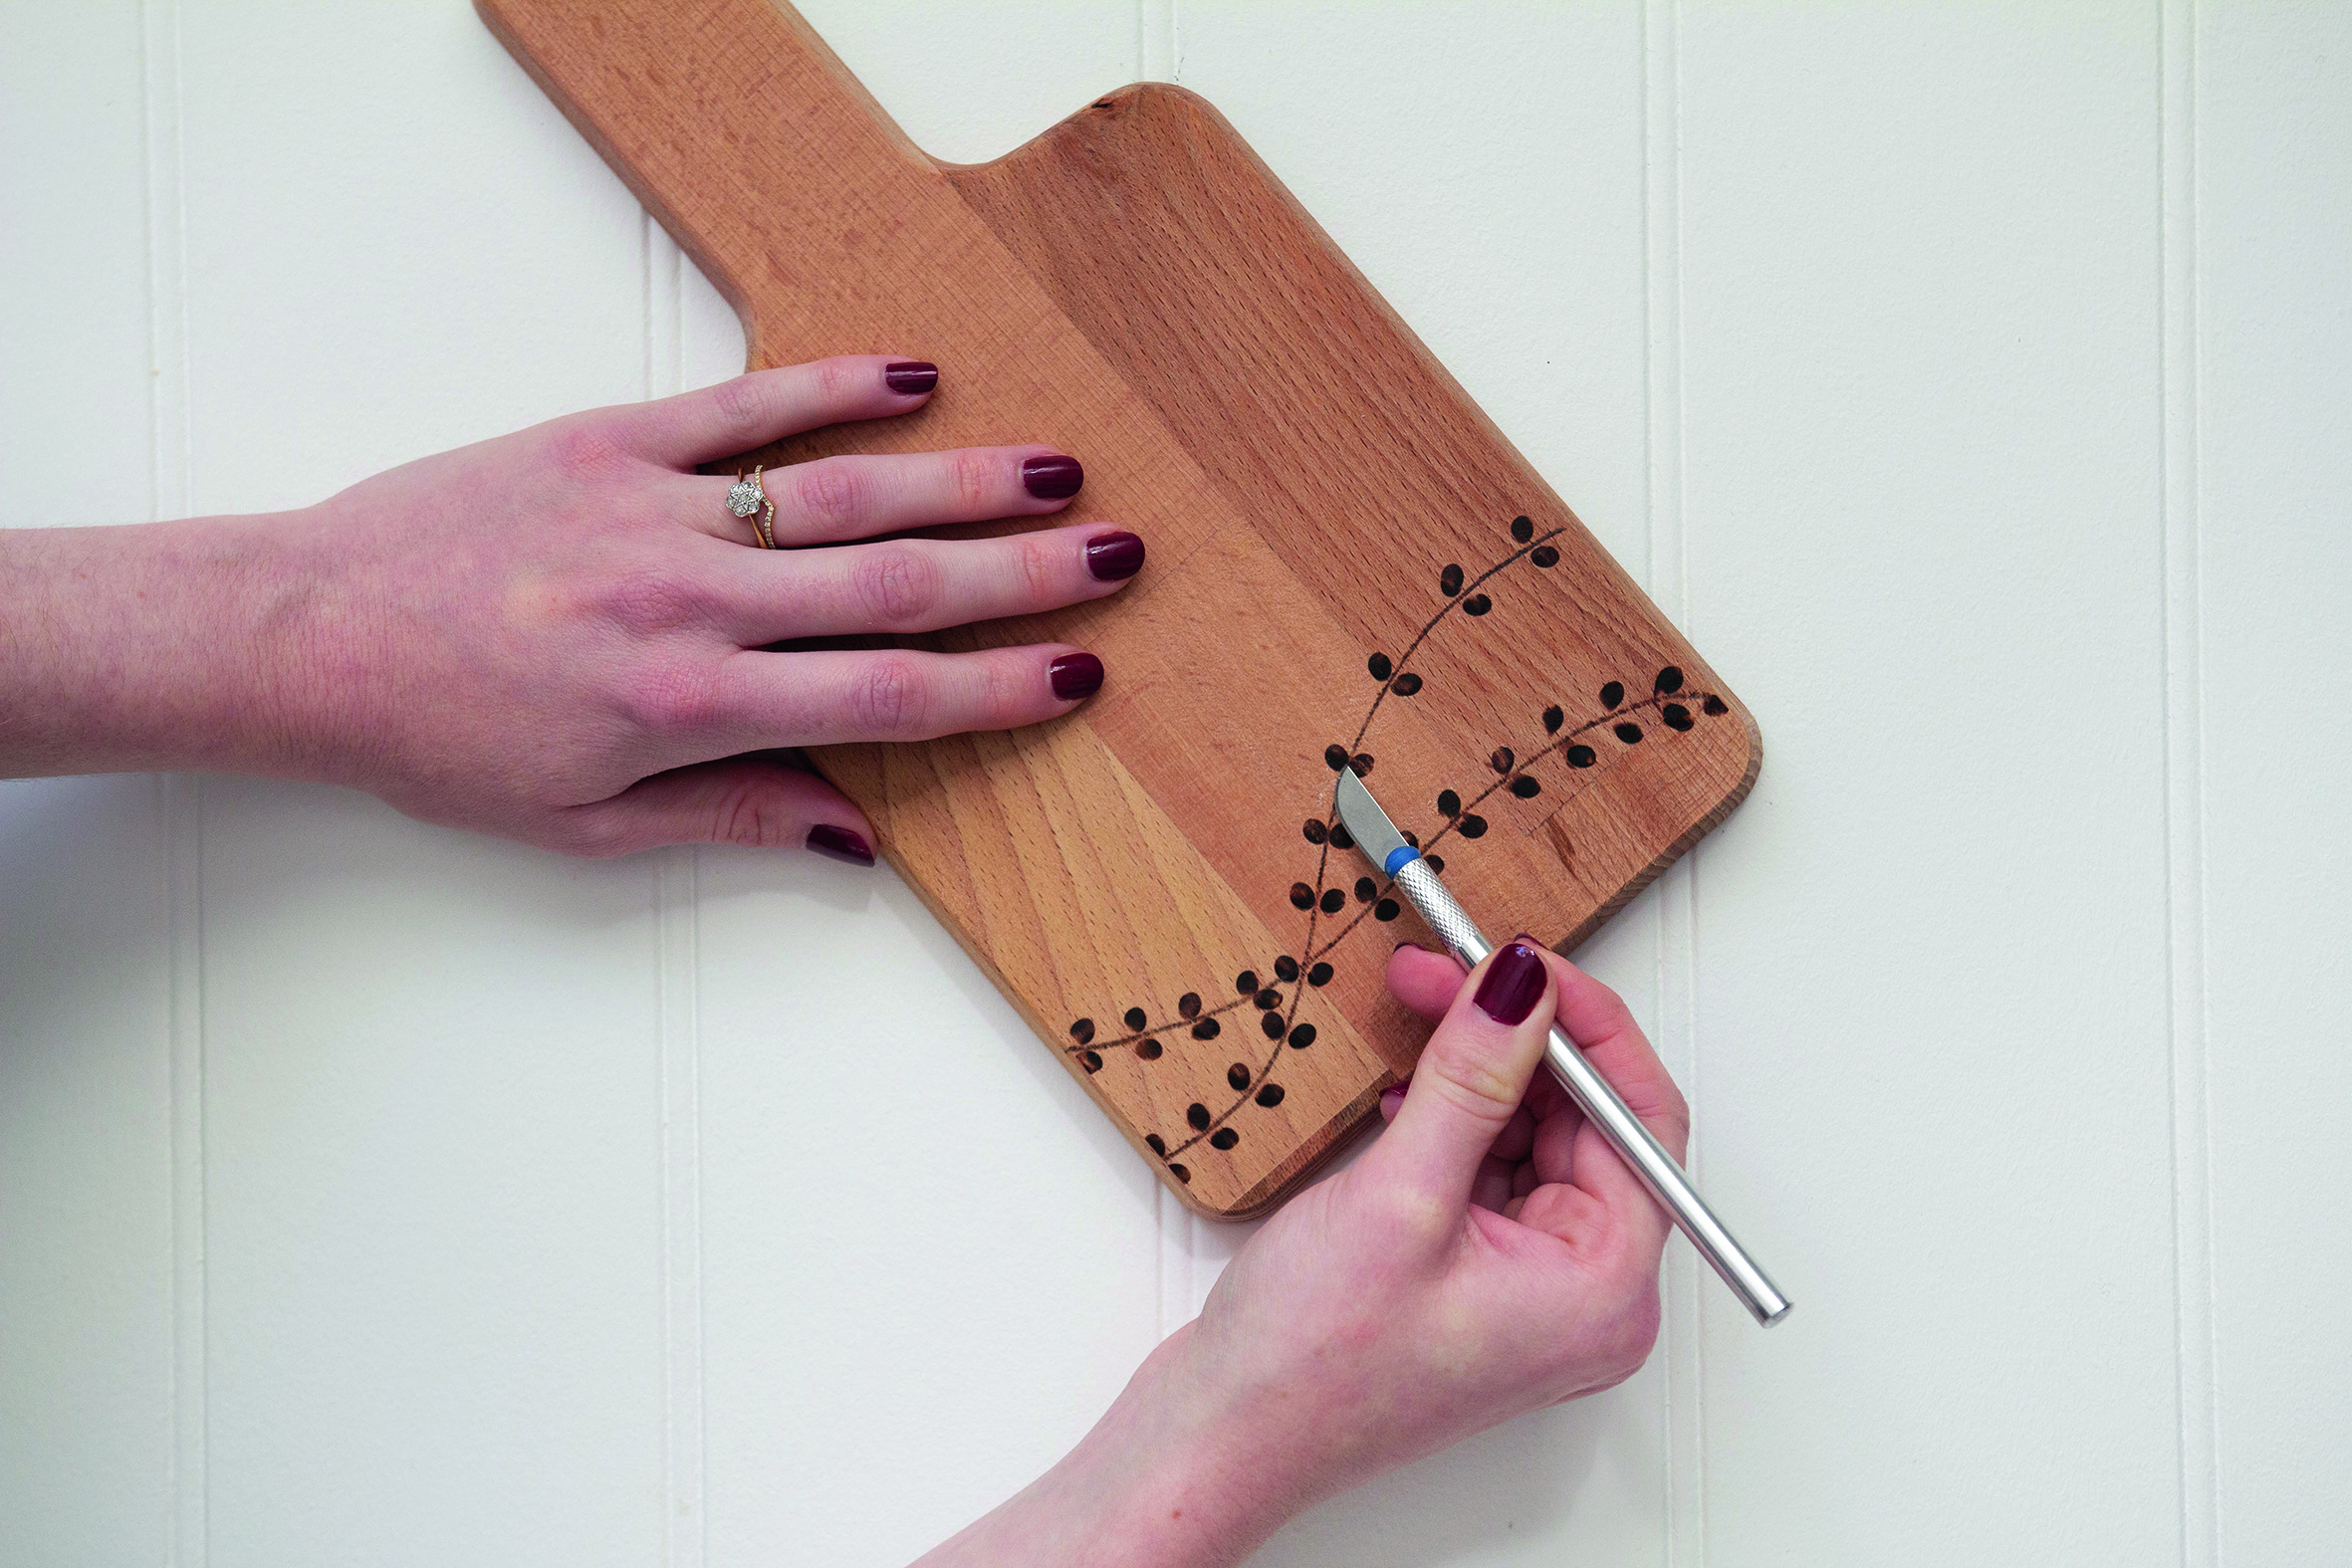
8. Don’t worry if you have pressed too hard, resulting in scorch marks on the board – a swift scratch at the surface with a craft knife will remove any mistakes.

Esme is Future's resident craft expert, working across titles such as GoodTo, Woman&Home, Woman’s Weekly, Woman, Woman’s Own, Chat, Now, Pick Me Up and The Craft Network. Successfully turning her sewing hobby into a career, she's adept in a number of crafts, including sewing, papercraft, calligraphy, embroidery and printing.