How to make a patchwork quilt
It's easy to make a fabulous patchwork quilt with this simple method of machine-stitching squares together. Just follow our step-by-step instructions
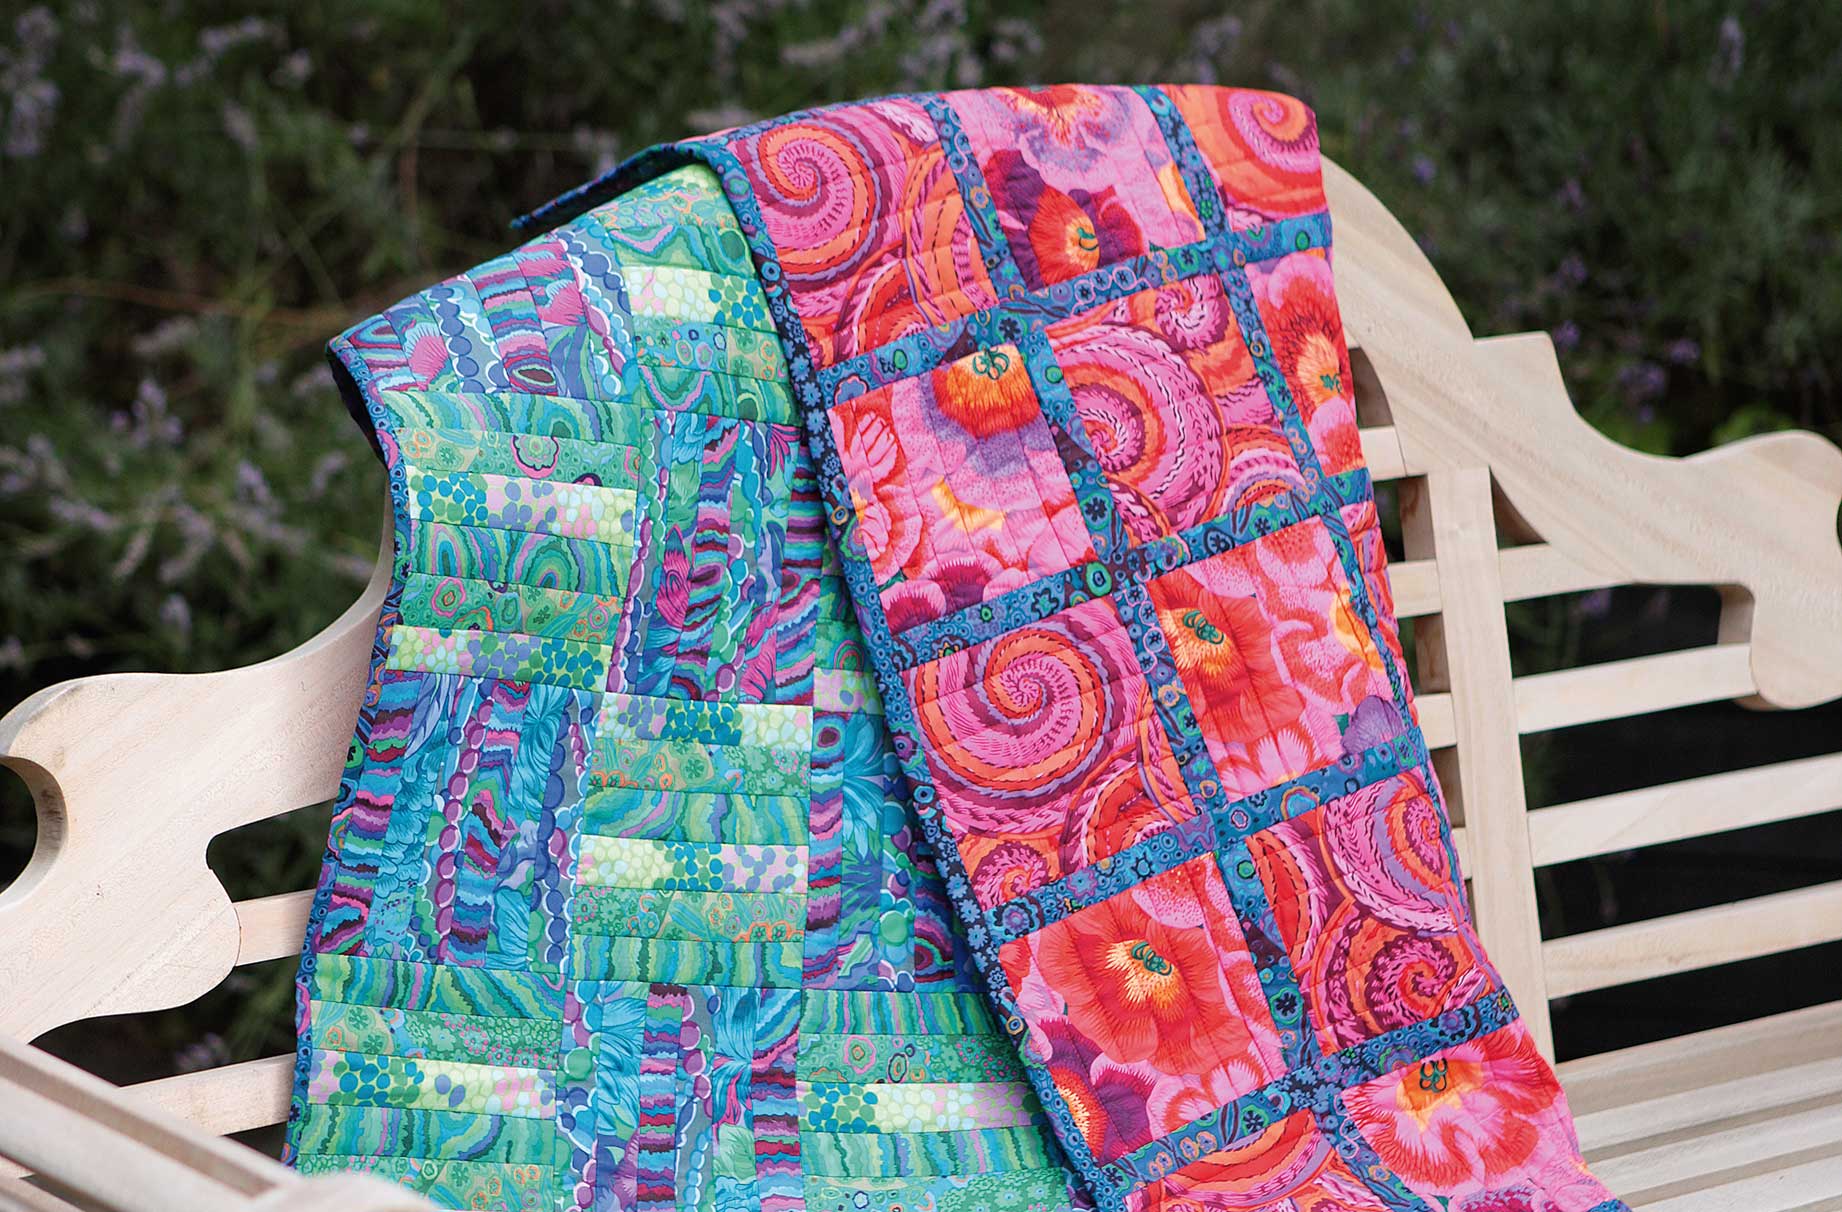

Have a go at learning how to make a patchwork quilt. It's a fun project to help stretch your sewing ability and, who knows, it could become a family keepsake for years to come.
The great thing about this quilt is that it's made with a simple strip-piecing technique that's easy to master. The strip-piecing method patchworks and quilts at the same time, meaning less stress, mess, and it won't take too long to complete
Plus, it means it's reversible too. So whether you're into brights or neutrals, you can cover all bases with a plain side and an adventurous colour-way on the back. We've created ours in complimentary teals and pinks. Once you've finished the quilt, complete your collection with a matching patchwork cushion.
Not ready to take on a mammoth quilt? Start with something smaller like our hand-pieced patchwork pincushion. Caught the patchwork bug? This pretty patchwork oven glove uses the same strip-style technique.
To make a patchwork quilt you will need:
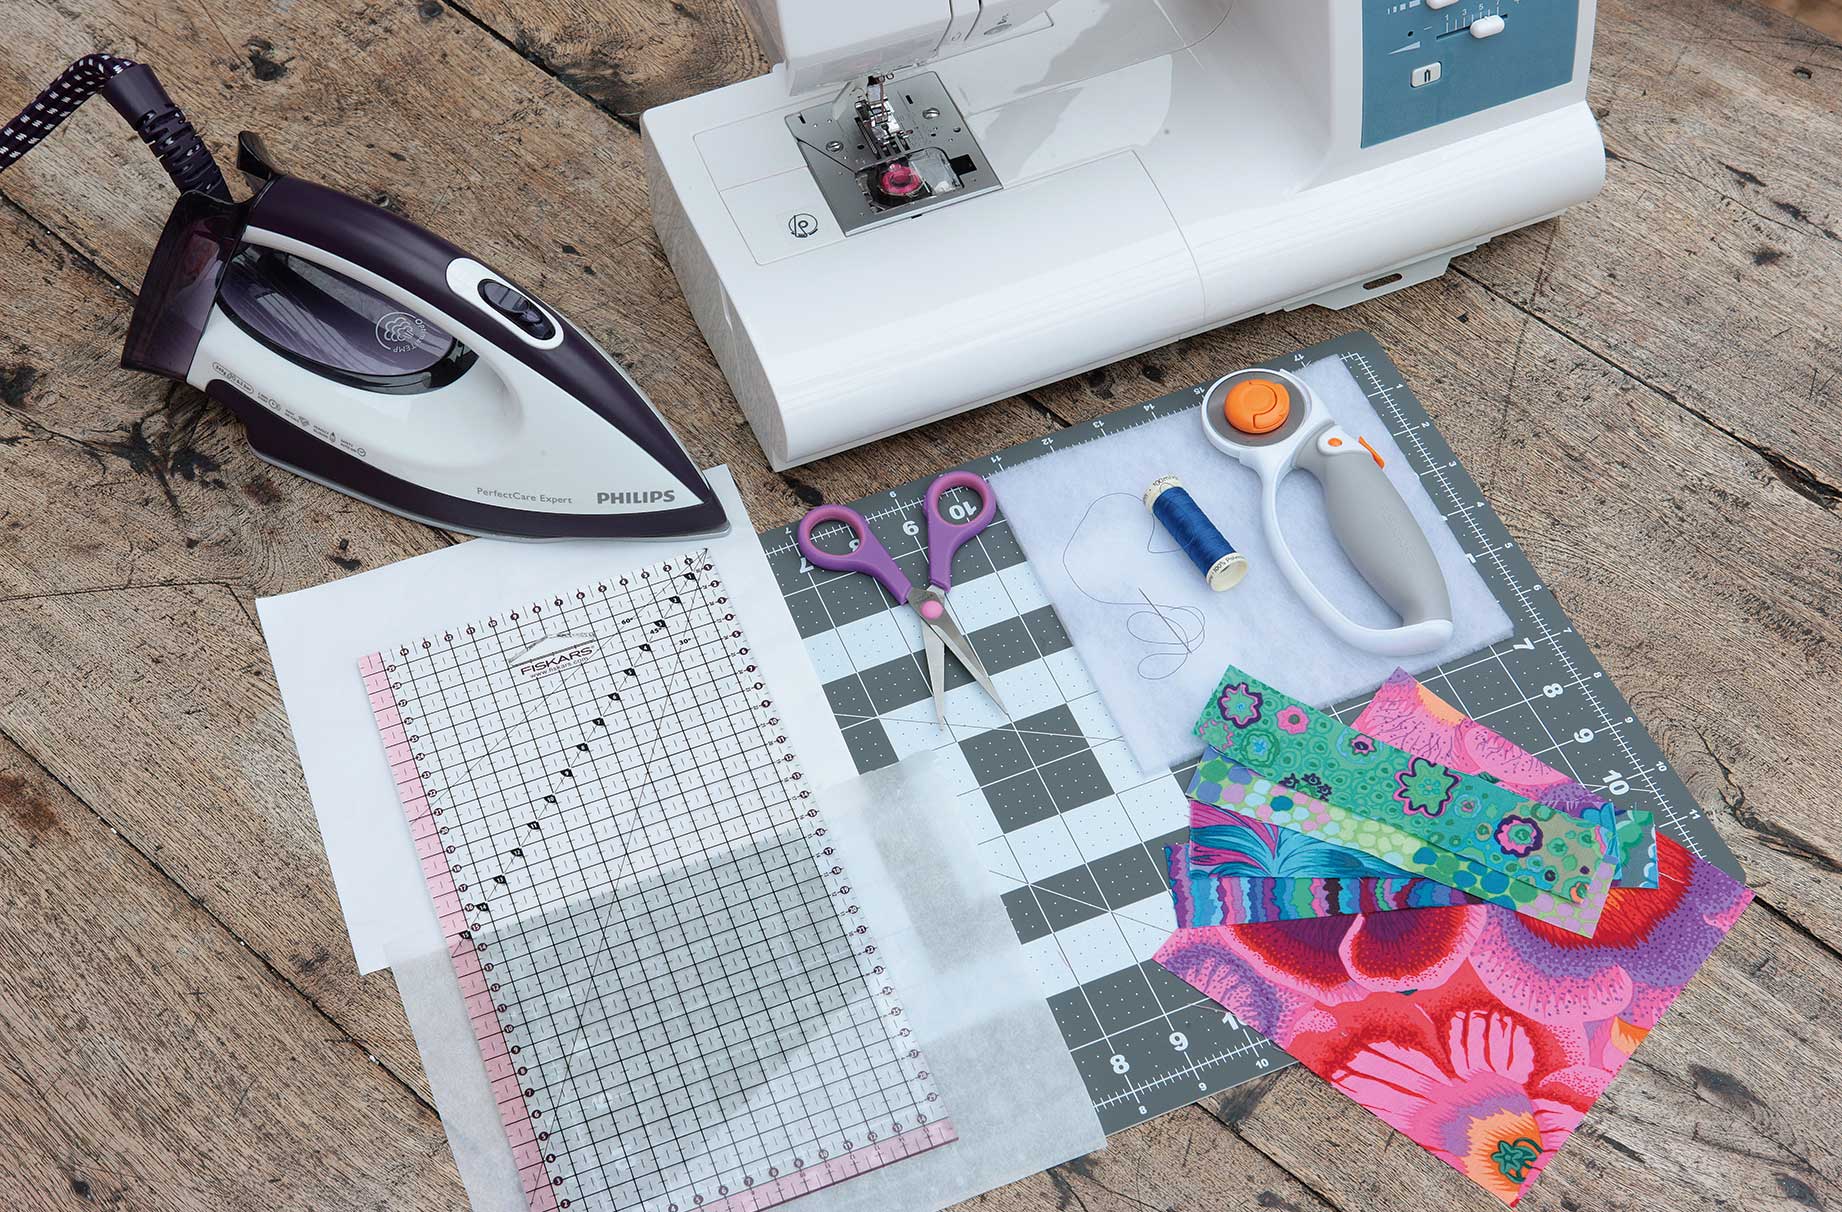
- For the strips: 3 pieces of green and 3 pieces of blue cotton fabric measuring 45 x 14in (115 x 36cm) each. We used a selection by Kaffe Fassett from Lady Sew and Sew (01491 572 528; ladysewandsew.co.uk)
- For the backing: 2 pieces of cotton fabric measuring 45 x 36in (115 x 92cm)
- For the binding: Cotton fabric measuring 45 x 27in (115 x 70cm). You will need to cut binding strips longer than your fabric by joining the strips with a bias-join.
- 49 squares of thin wadding measuring 7 x 7in (18 x 18cm)
- Bondaweb measuring 18 x 24in (45 x 60cm)
- Matching thread
- 6½in square ruler, rotary cutter, and A2 cutting mat (available from fiskars.co.uk)
- Reynolds Freezer Paper
- Needle and sewing machine
- Iron
For sewing supplies, try John Lewis & Partners.
Cutting out:
- For the strips: D Cut each of the 6 fabrics into 1½ x 7in (4 x 18cm) strips
- Backing: D Cut the fabrics into 7 x 7in (18 x 18cm) squares
- Seam binding: D Cut fabric into 6 strips of 1 x 42in (2.5 x 106.5cm)
- Edge binding: D Cut fabric into 2 strips measuring 2½ x 42in (6.5 x 106.5cm) and 2 strips measuring 2½ x 45in (6.5 x 114cm)
- Freezer paper: D Cut enough pieces of freezer paper to make a strip measuring ¾ x 42in (1.5 x 106.5cm)
- Bondaweb: D Cut 30 strips measuring ½ x 18in (2 x 44cm)
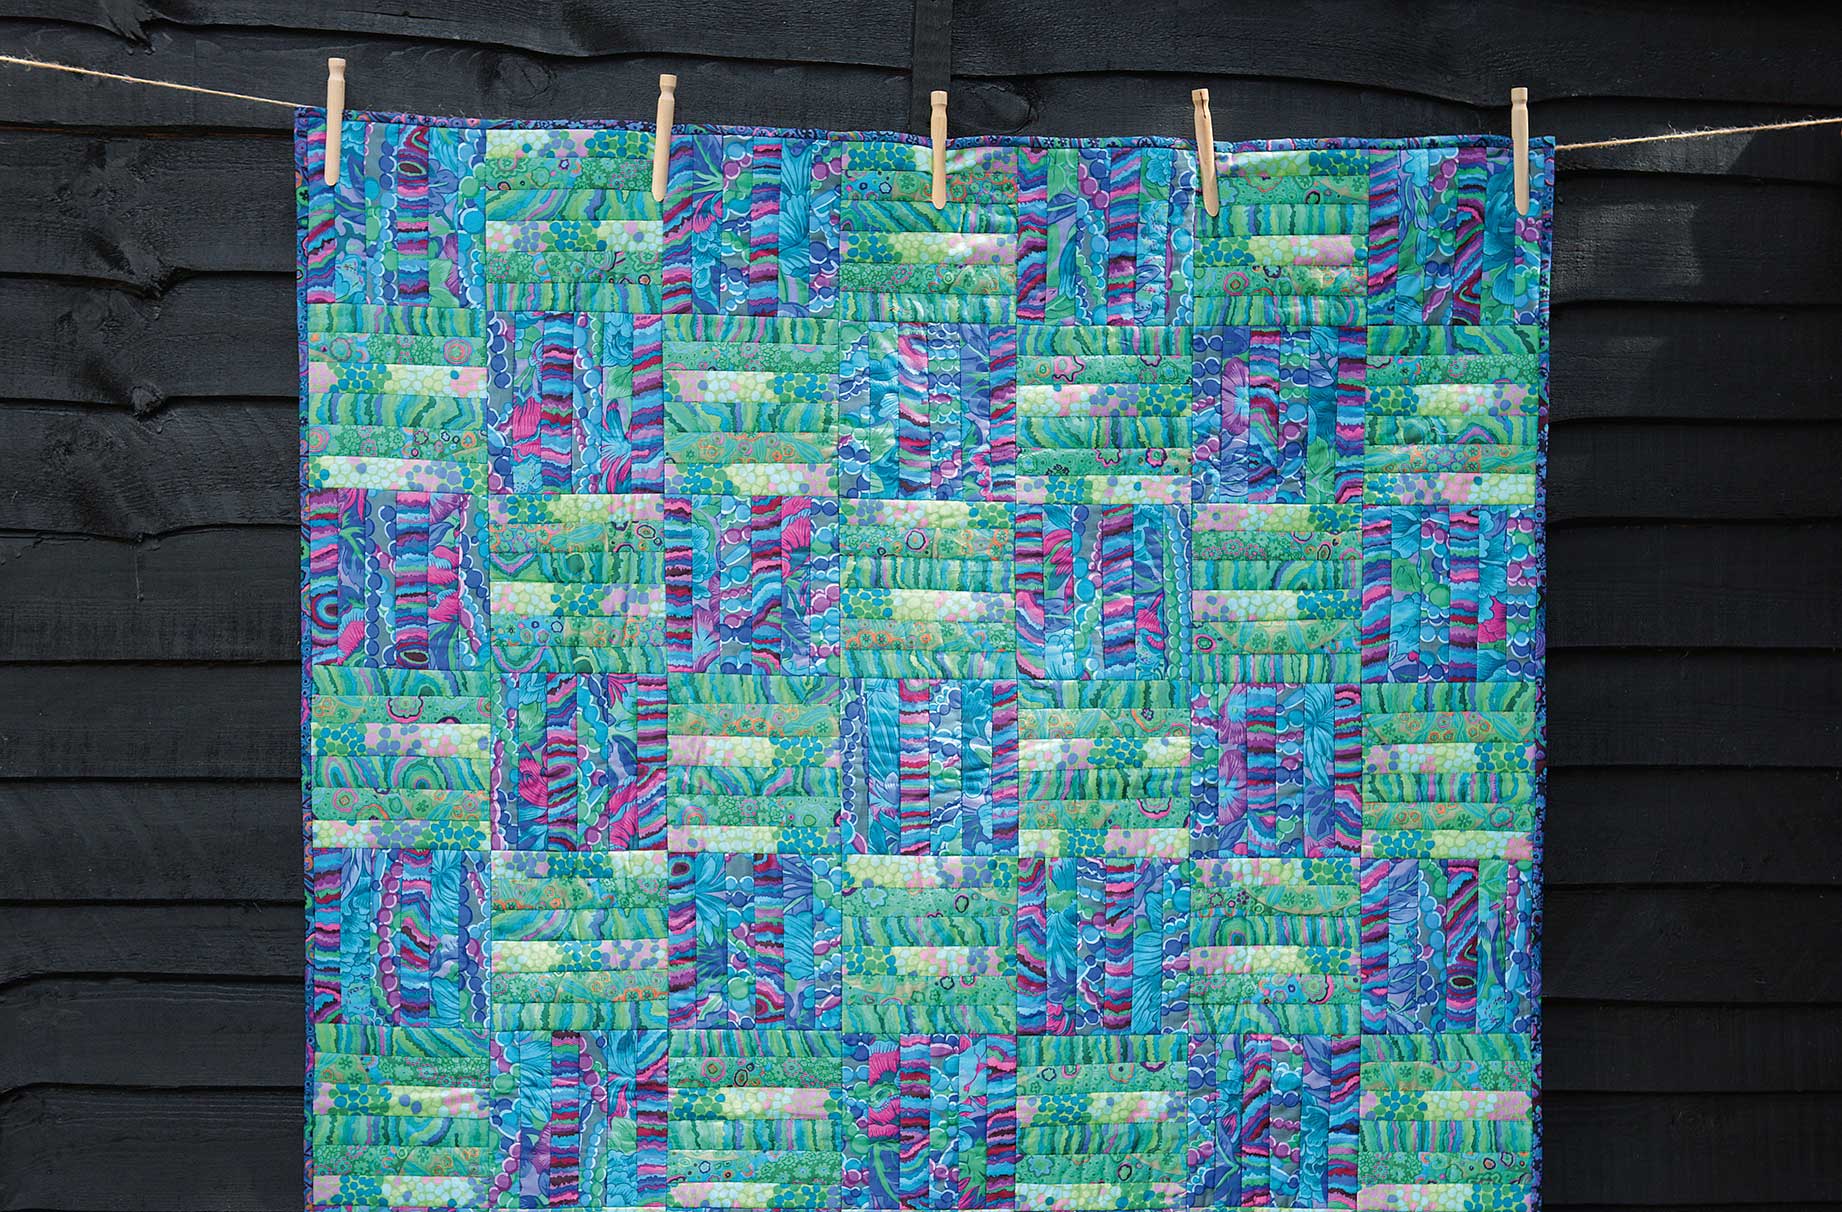
How to make a block for the patchwork quilt:
1. Take a backing fabric square wrong side up, lay a wadding square on top, then tack or pin together. Decide what order you’d like your strips to go in and lay the first one right side up on top of the wadding. Position the next strip in your sequence right side down on top and pin. Then sew the two strips together using a ¼in (6mm) seam allowance.
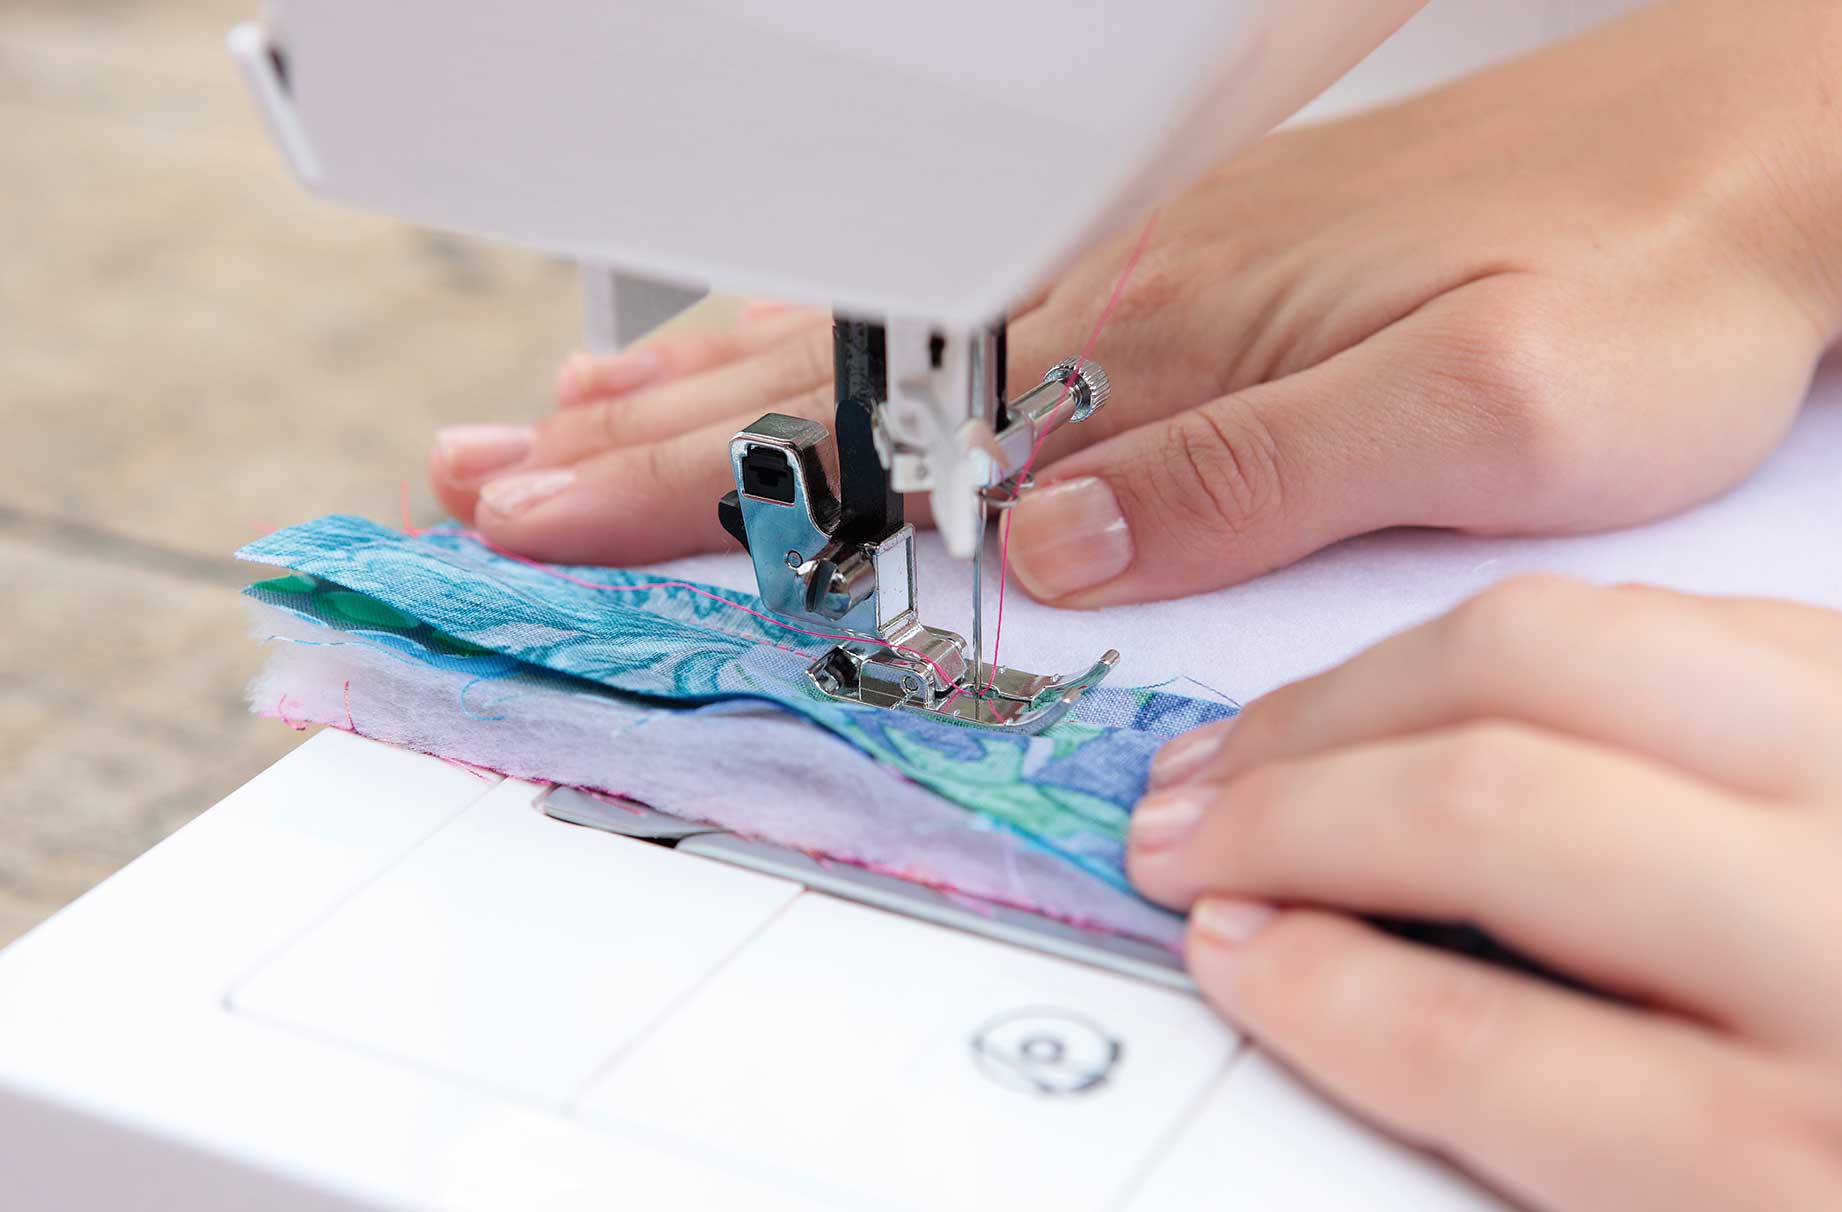
2. Flip over the second strip and finger press well. The wadding will want to ‘shrink’ the width of the strips, so make sure you finger press firmly. You can take it to the iron, however be careful if your wadding is polyester.
GoodtoKnow Newsletter
Parenting advice, hot topics, best buys and family finance tips delivered straight to your inbox.
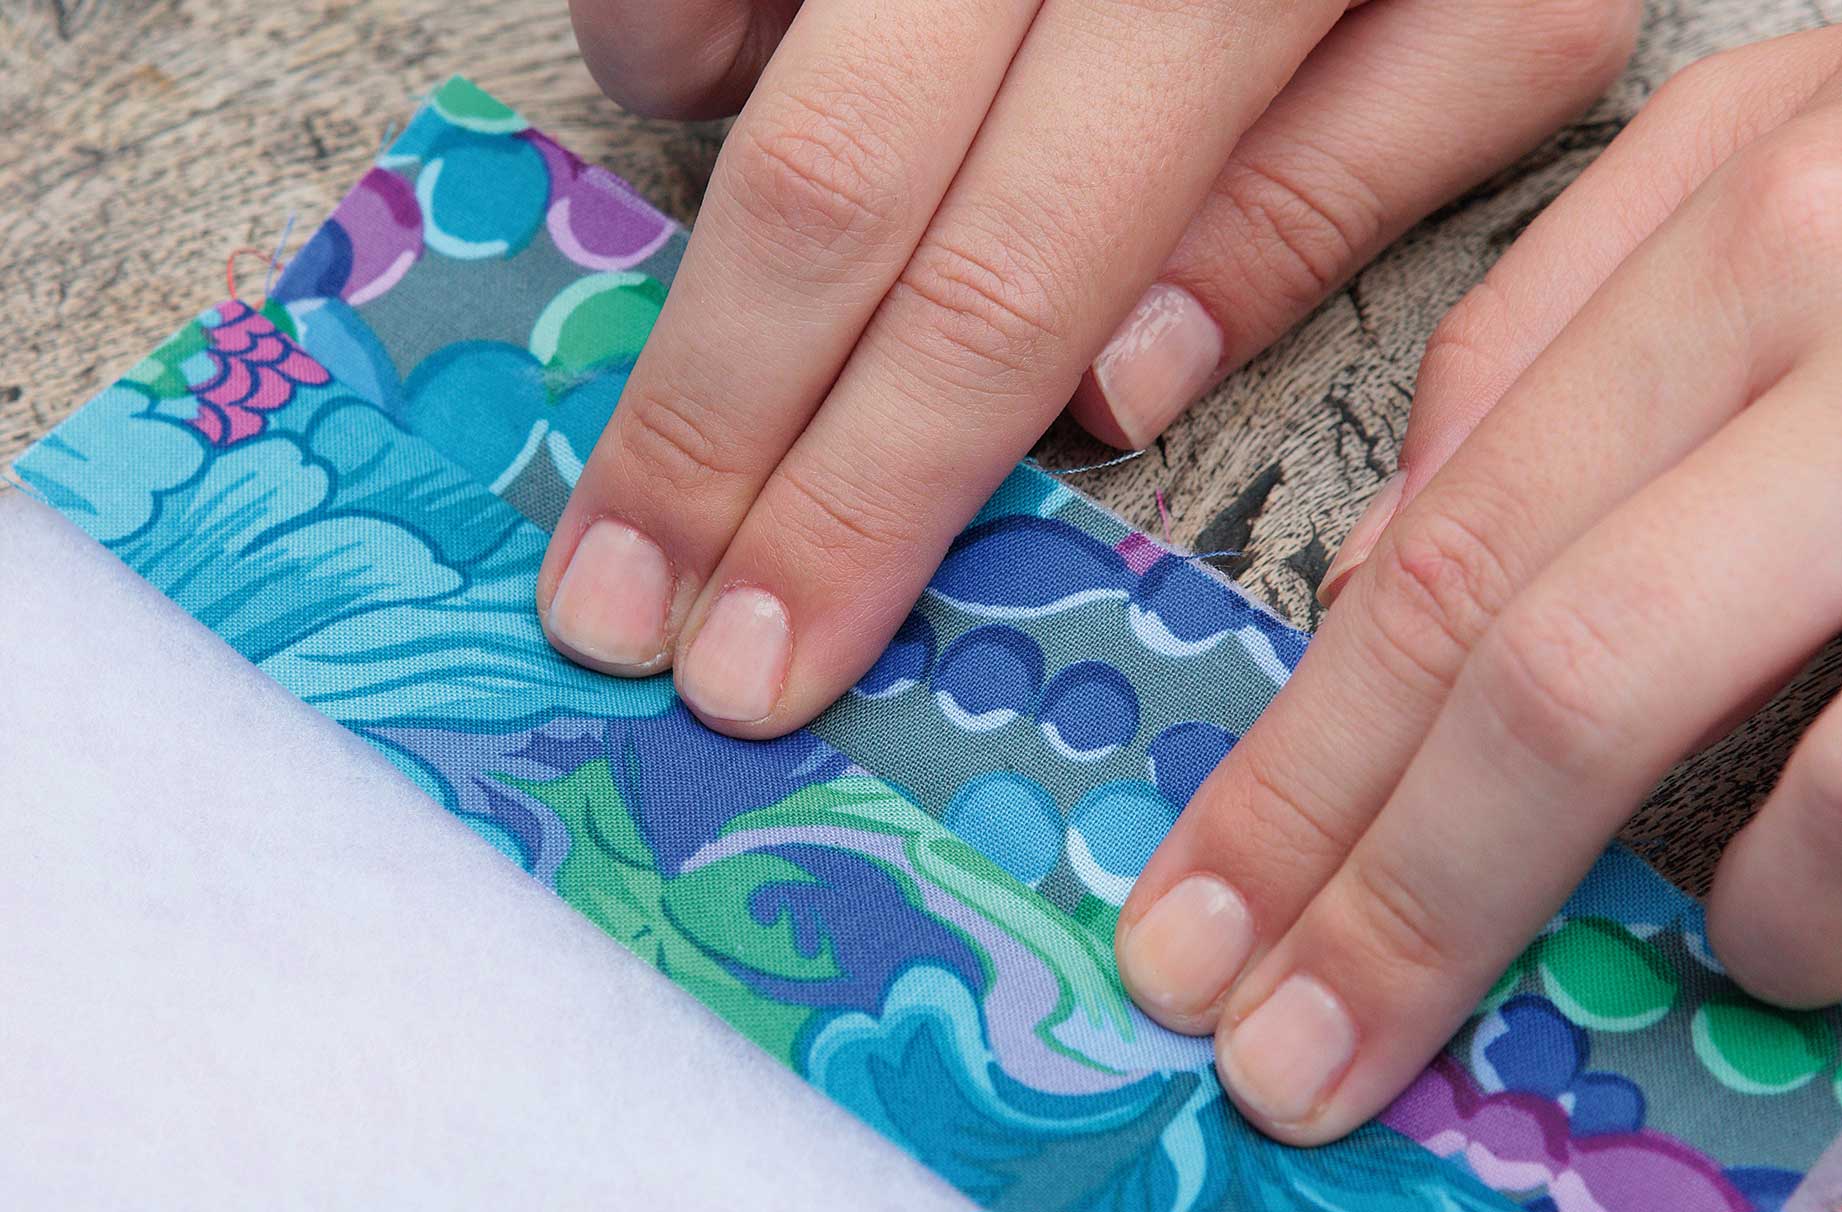
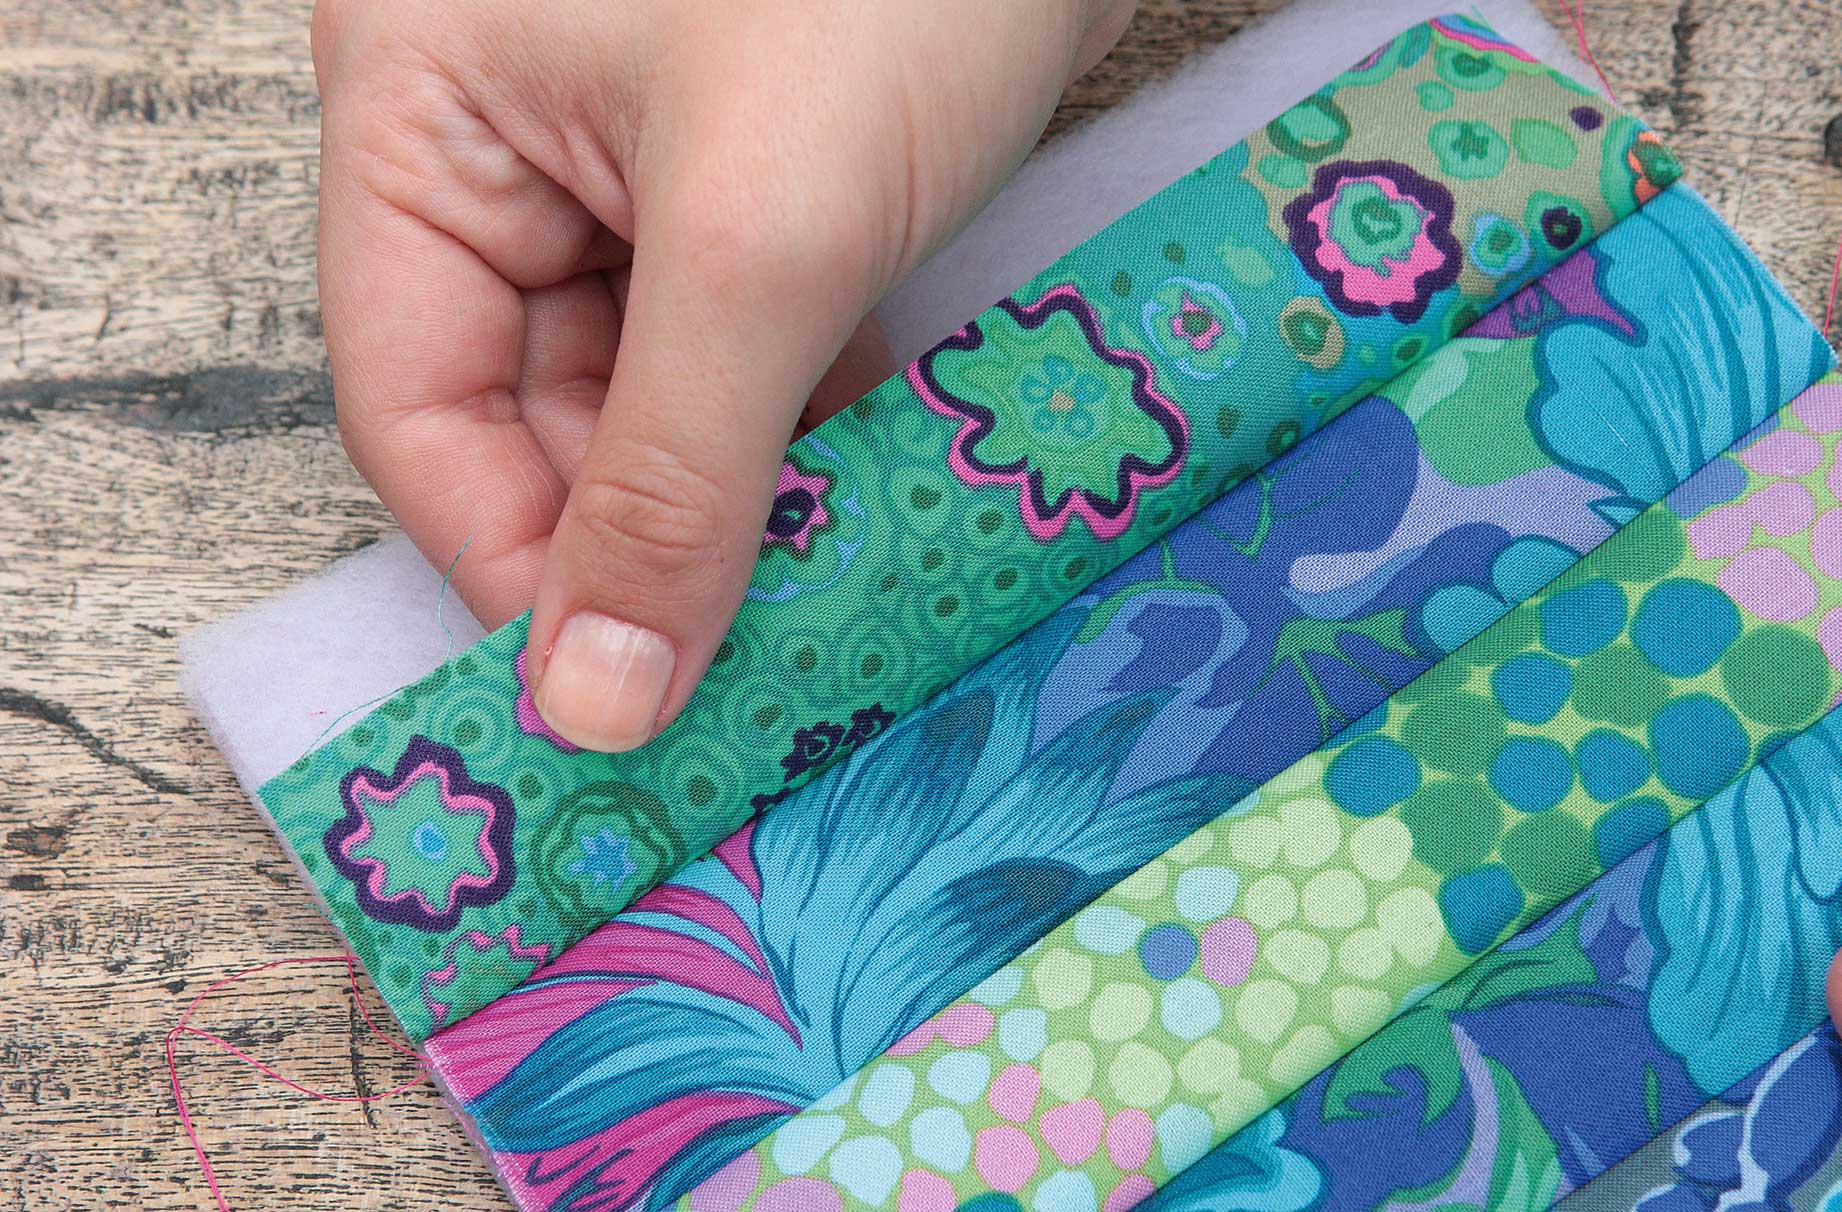
3. Lay the next strip face down on the second strip, stitch, and flip. Continue adding your strips in this way until all six have been used.
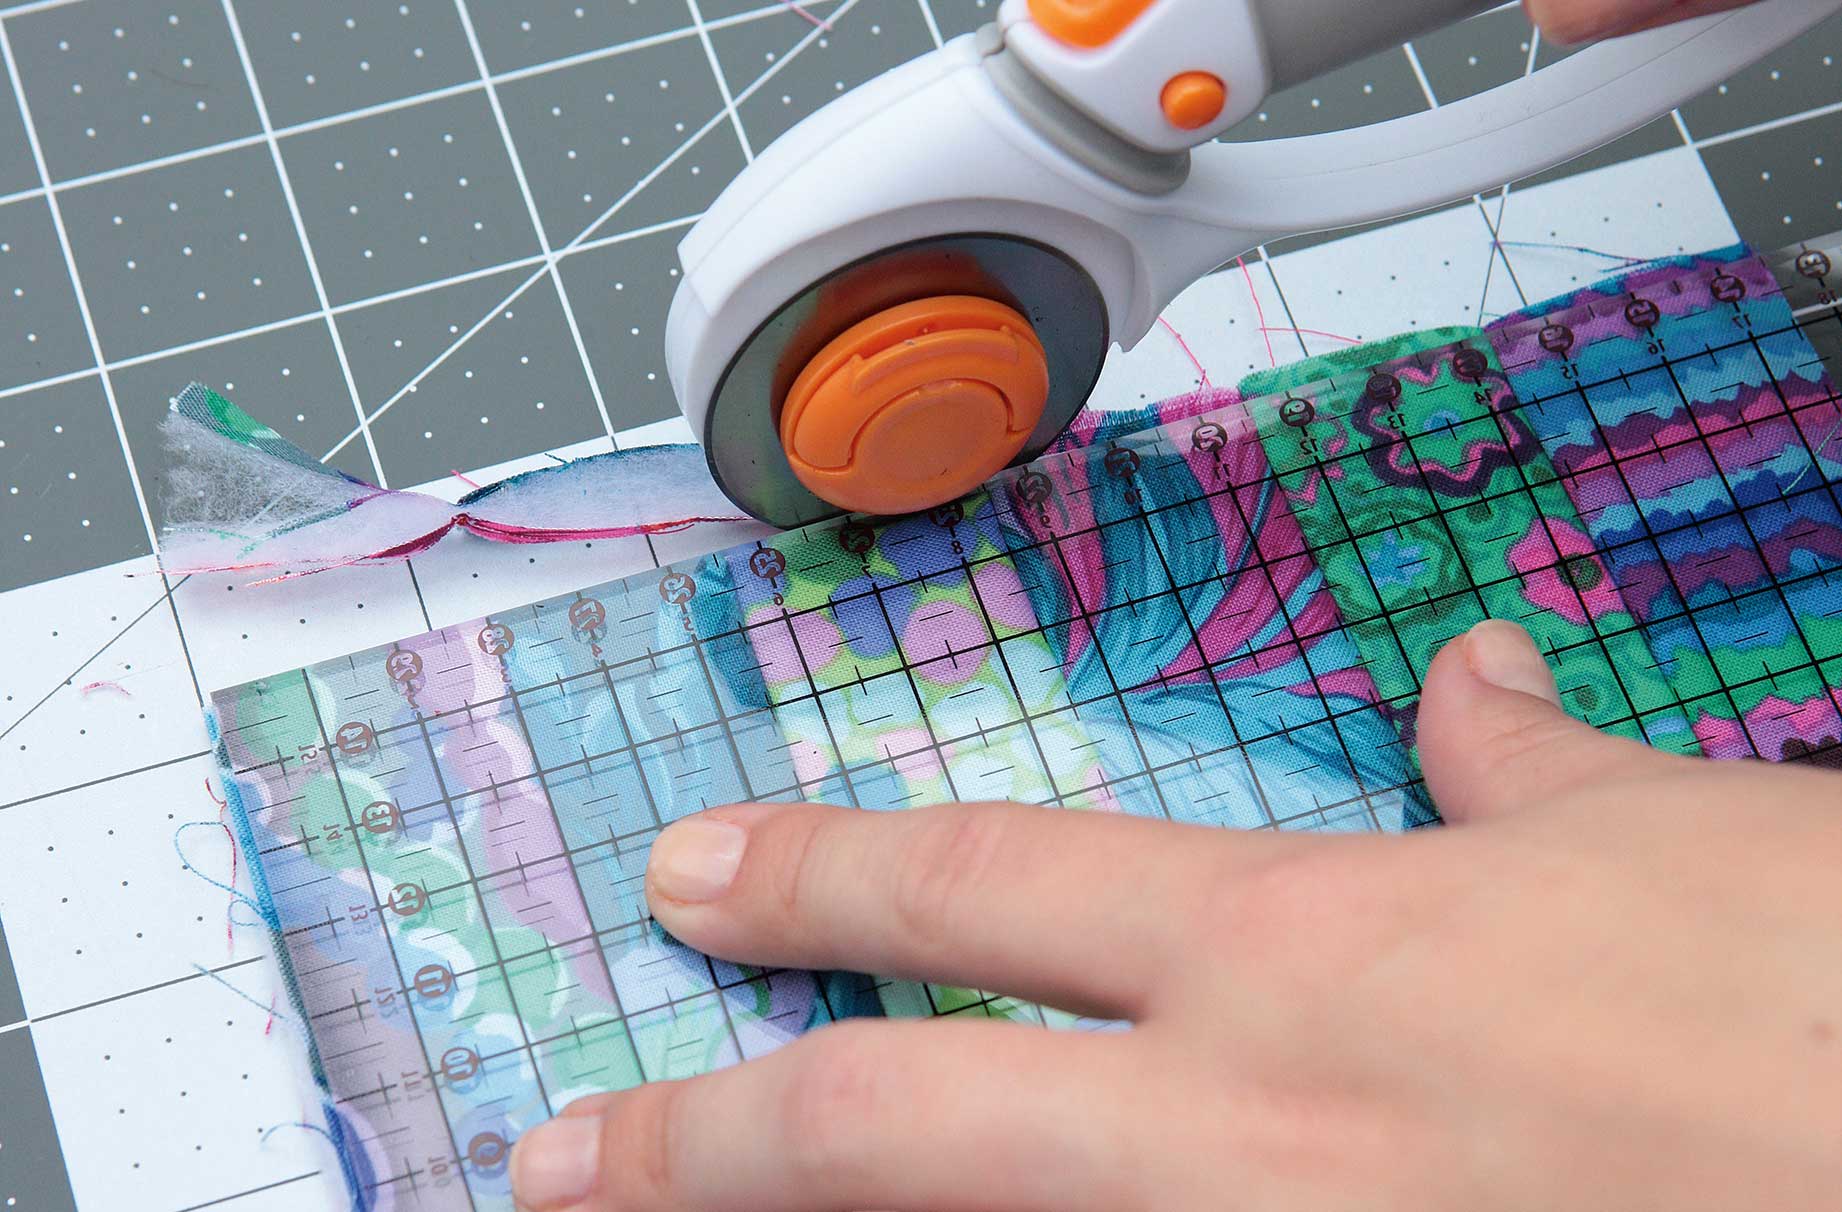
4. Using your rotary cutter, ruler, and cutting mat, trim the block to measure 6½ x 6½in (16.5 x 16.5cm).
How to make the patchwork quilt:
1. When all your blocks are complete, lay them out in rows of alternating colour and rotating pattern.
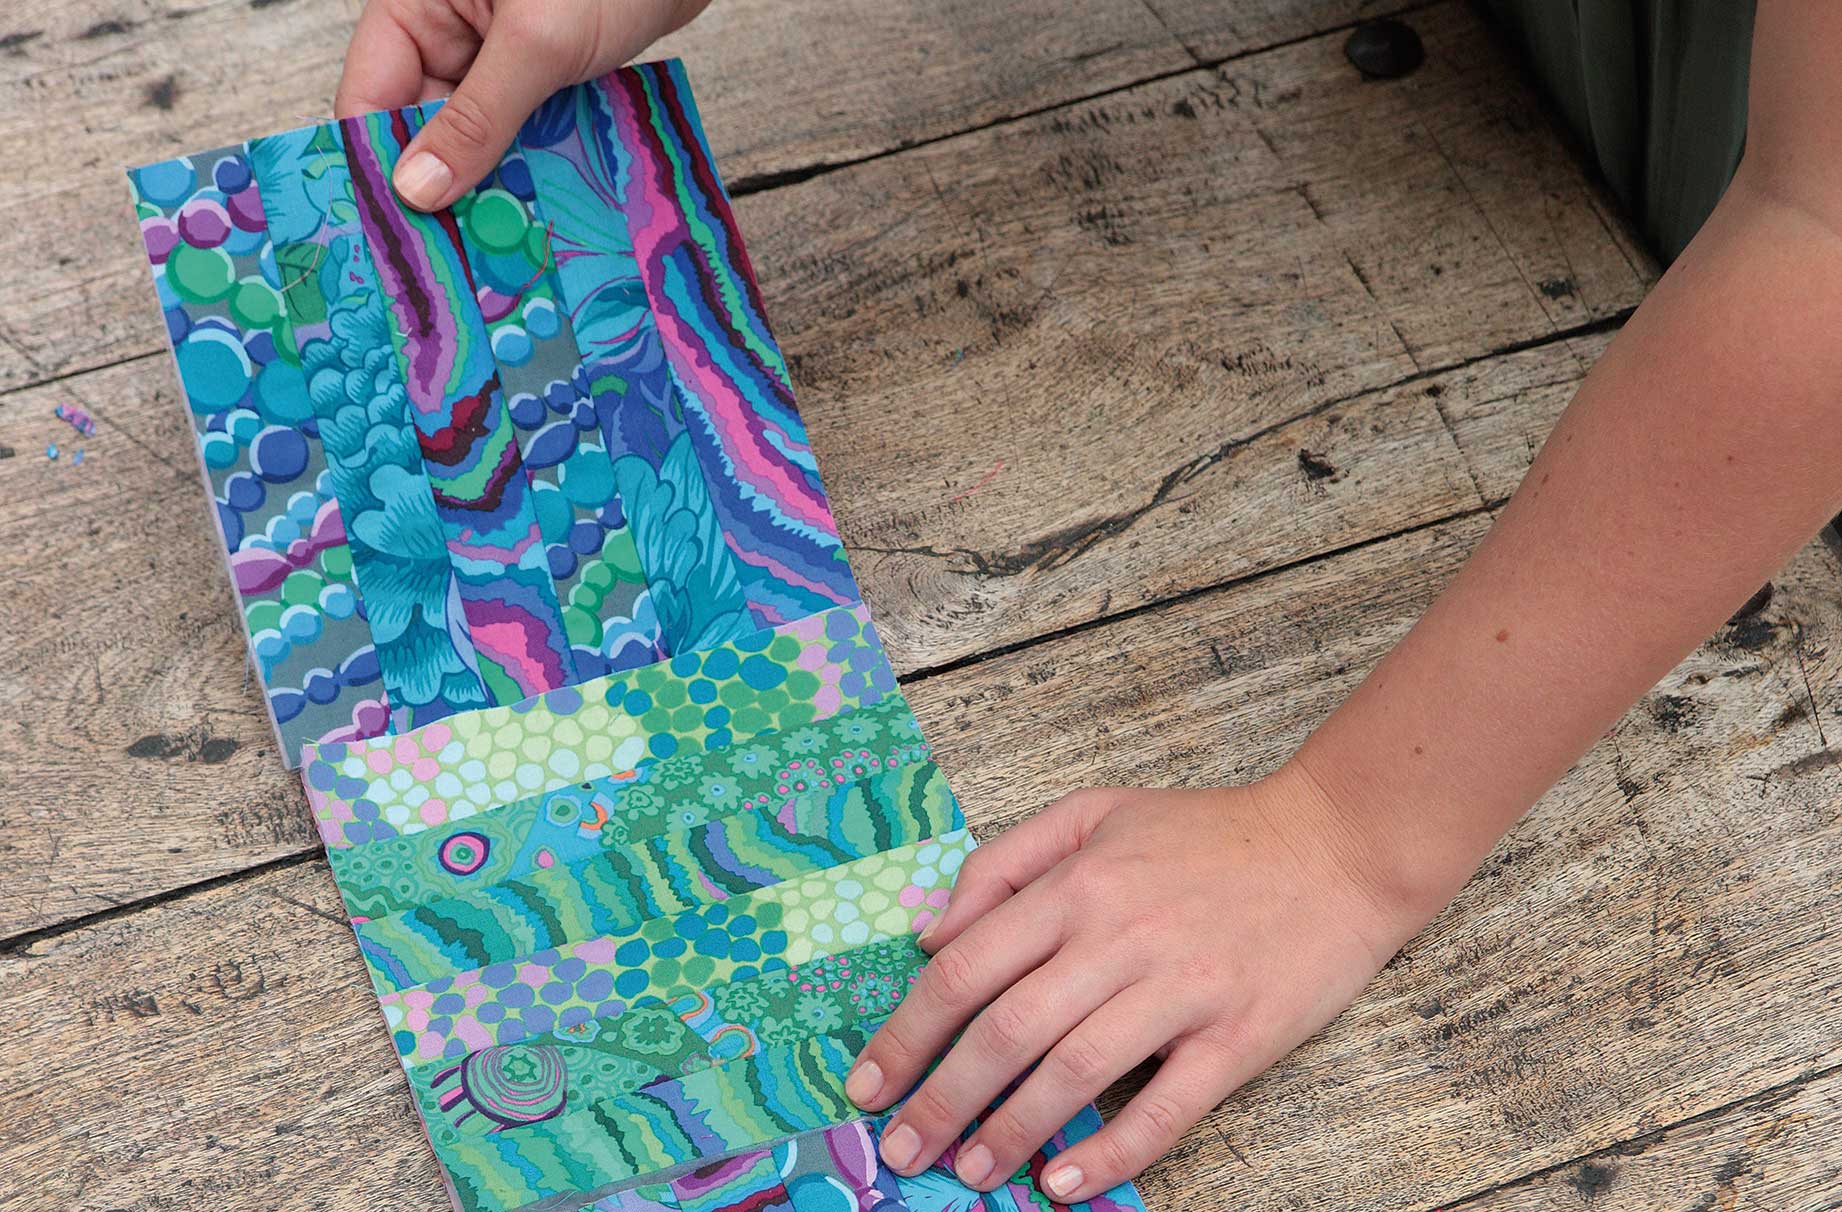
2. Take the first two blocks, right sides together, and pin along the side through all the thicknesses. Sew with a ¼in (6mm) seam allowance. Then repeat to create a row of blocks.
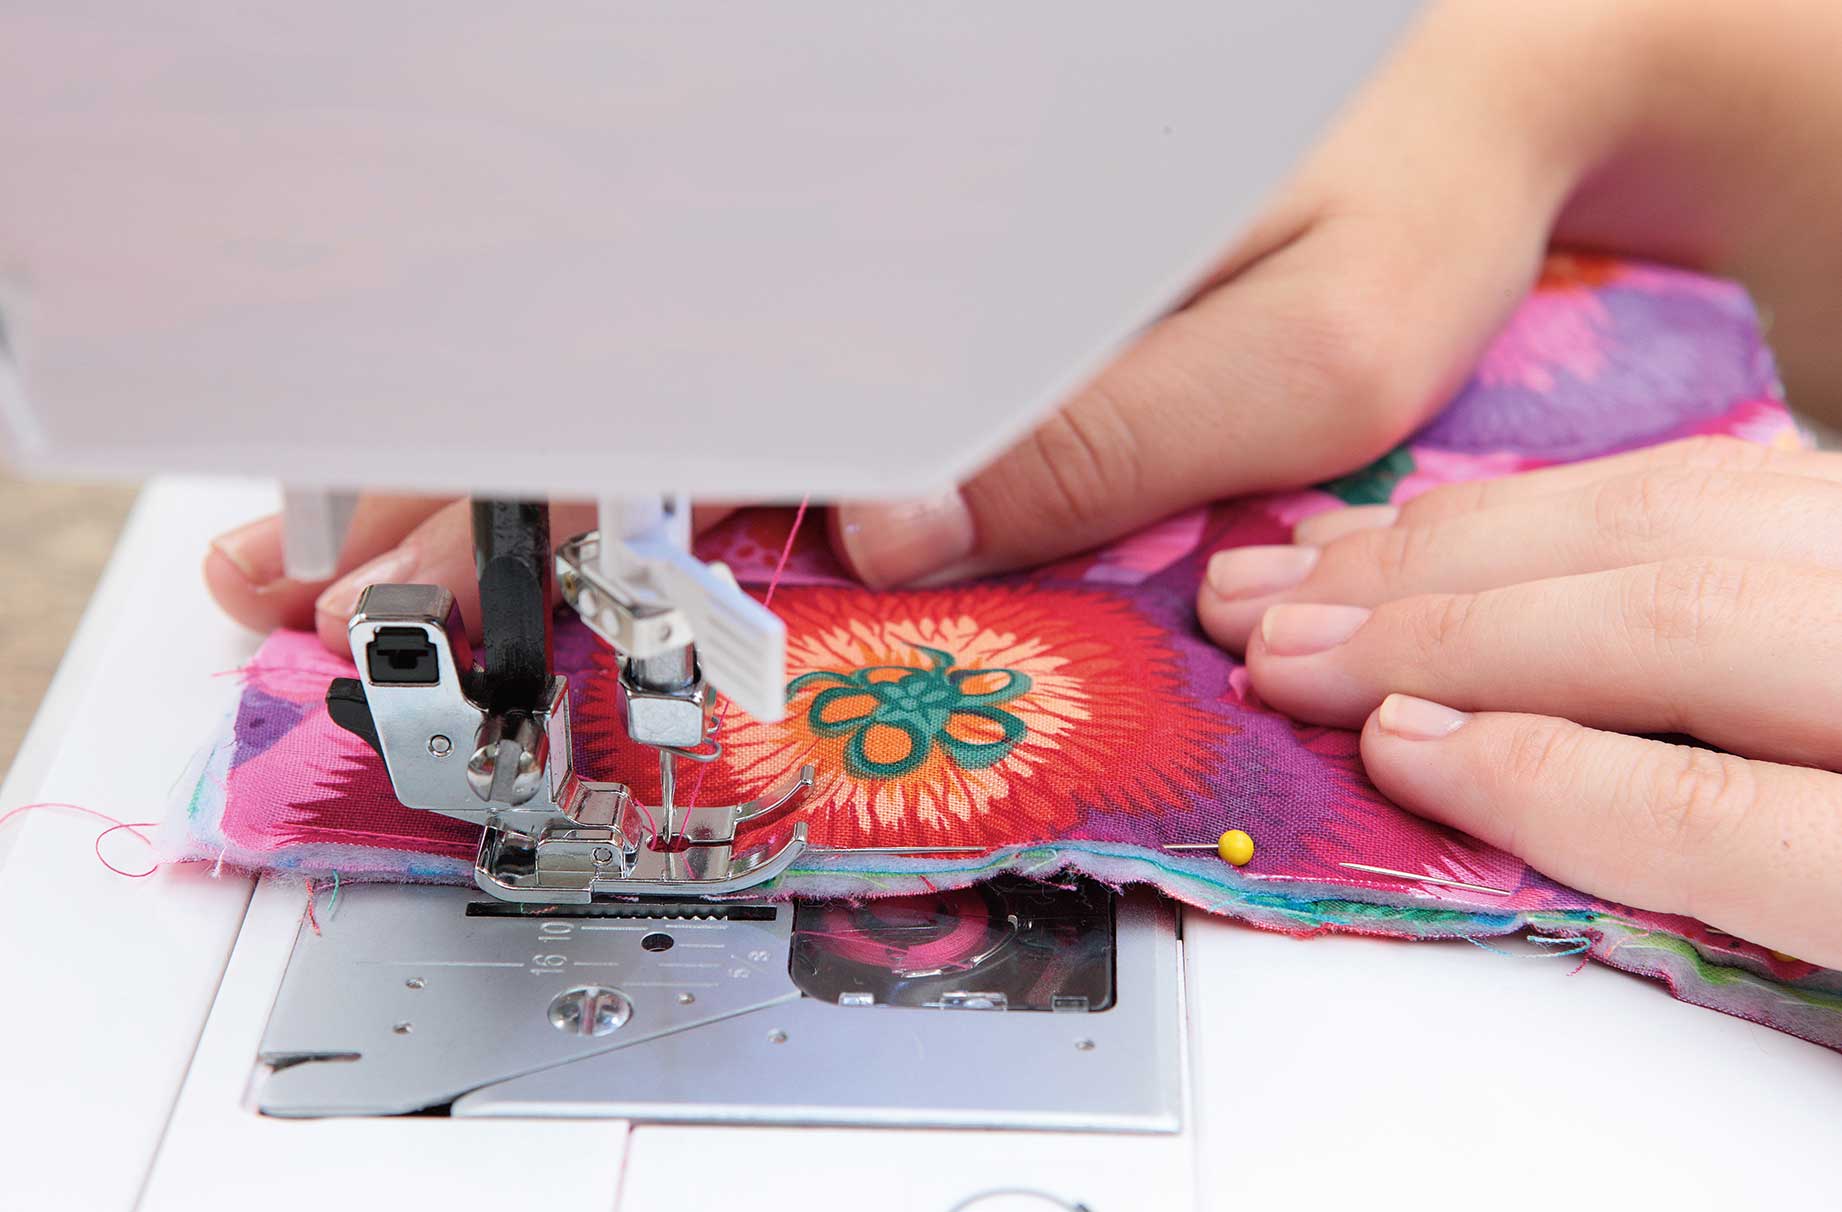
3. When all the rows are complete, press out the seams with your fingers or gently with an iron. You can trim the wadding out from the seam if you wish to reduce bulk.
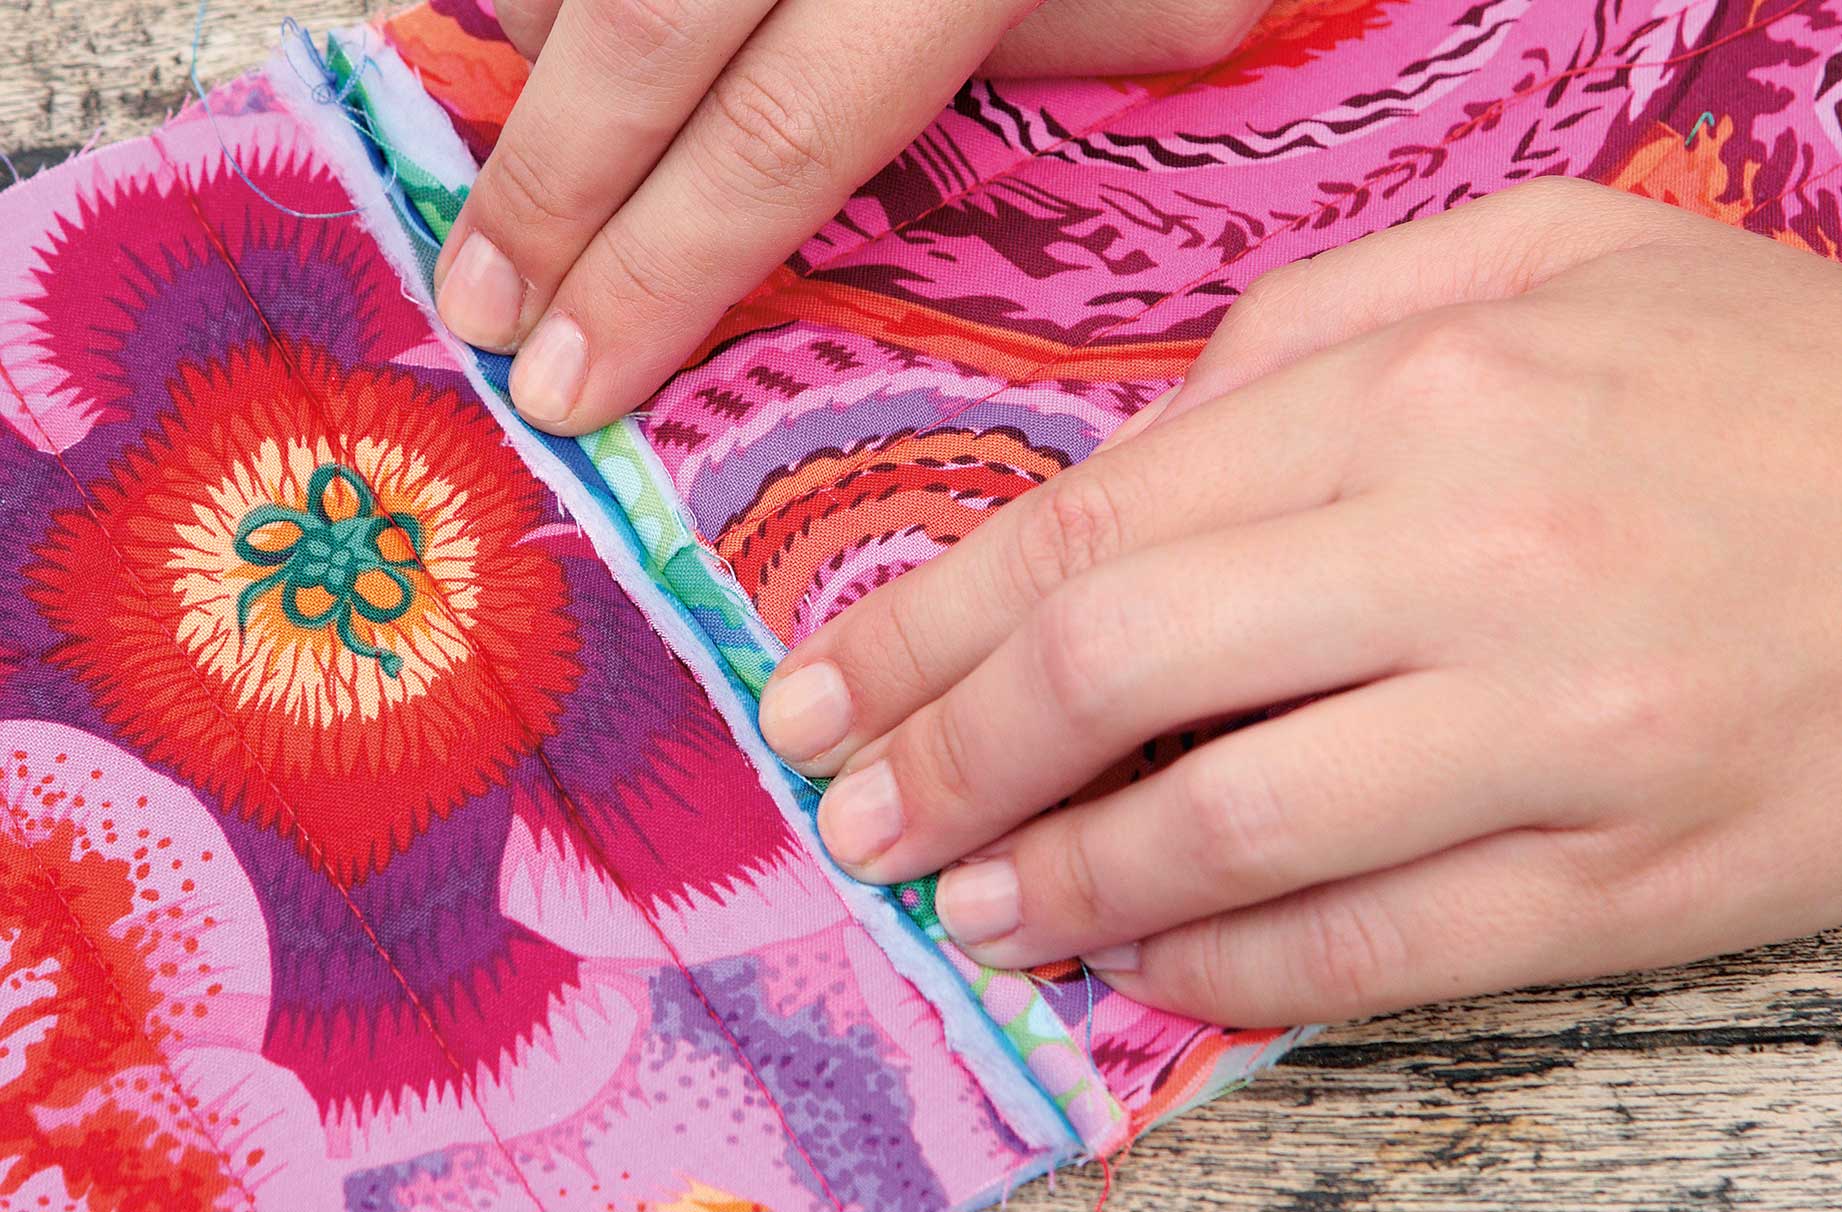
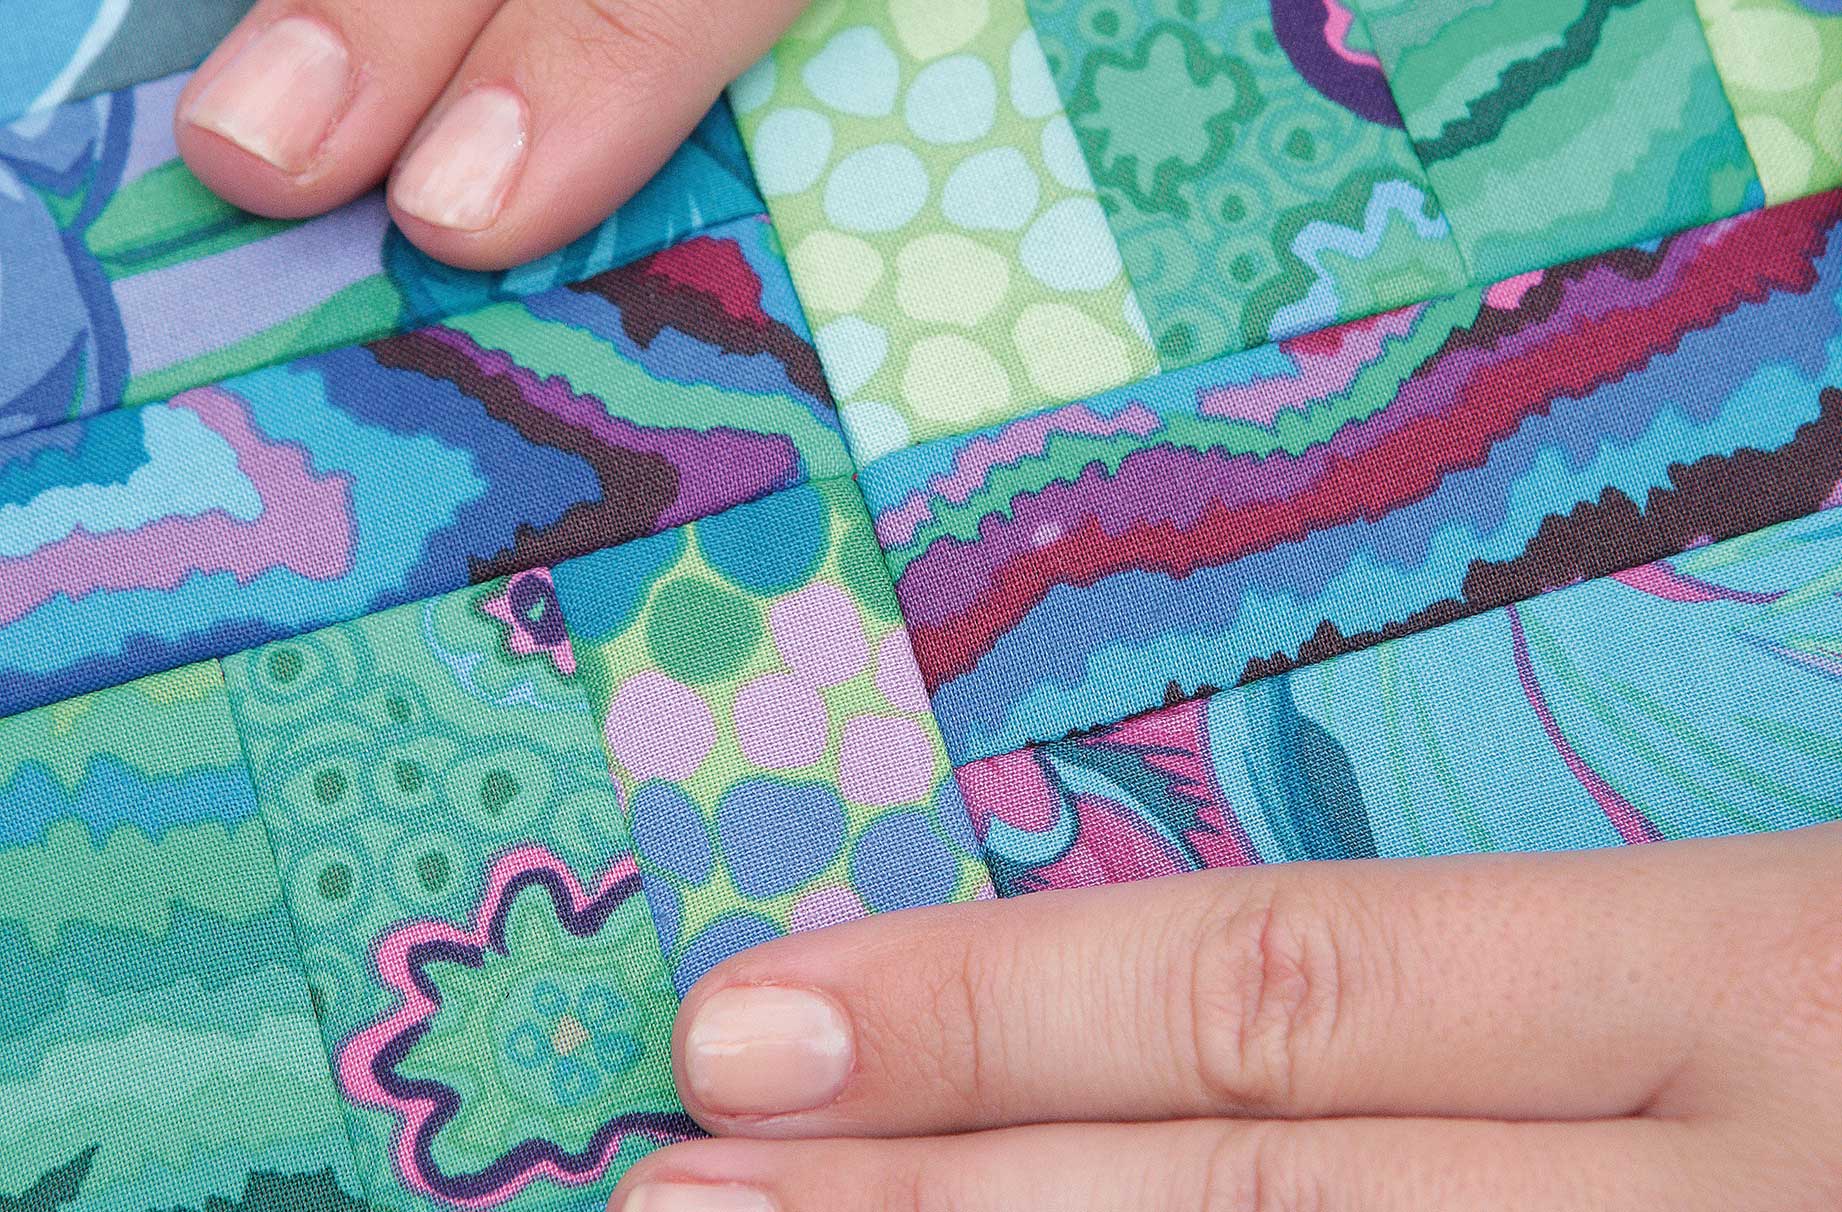
4. Once all the rows are sewn, join them all together with a ¼in (6mm) seam allowance to make one entire quilt piece. Check as you go that your seams line up at the joins.
5. Iron the freezer paper, wax-side down, to the center of the wrong side of the seam-binding strips. Them iron over the seam allowance. Remove freezer paper carefully to reuse, then re-iron to fix the seam allowance in place.
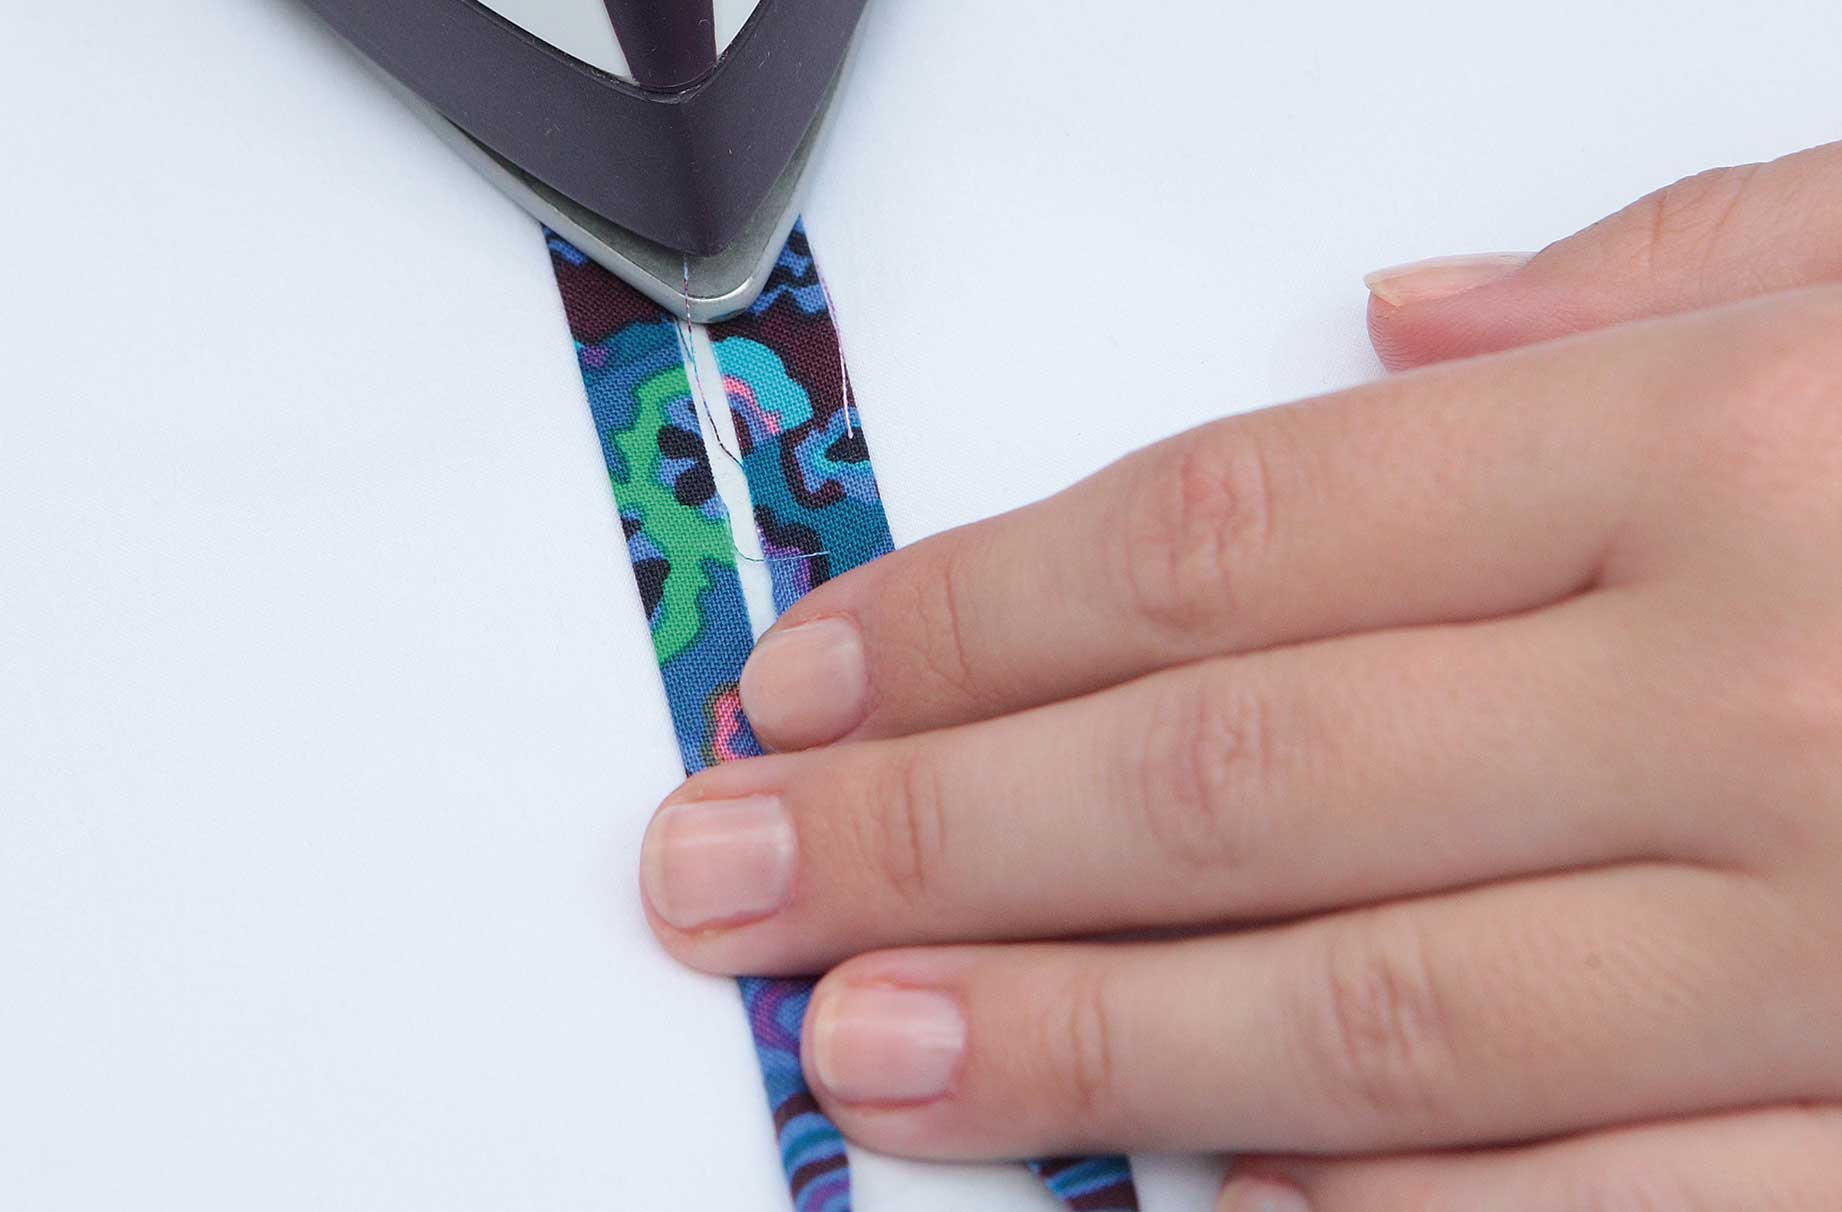
6. Then iron a Bondaweb strip, rough side down, onto the centre of the wrong side of the seam binding. Then remove the paper backing.
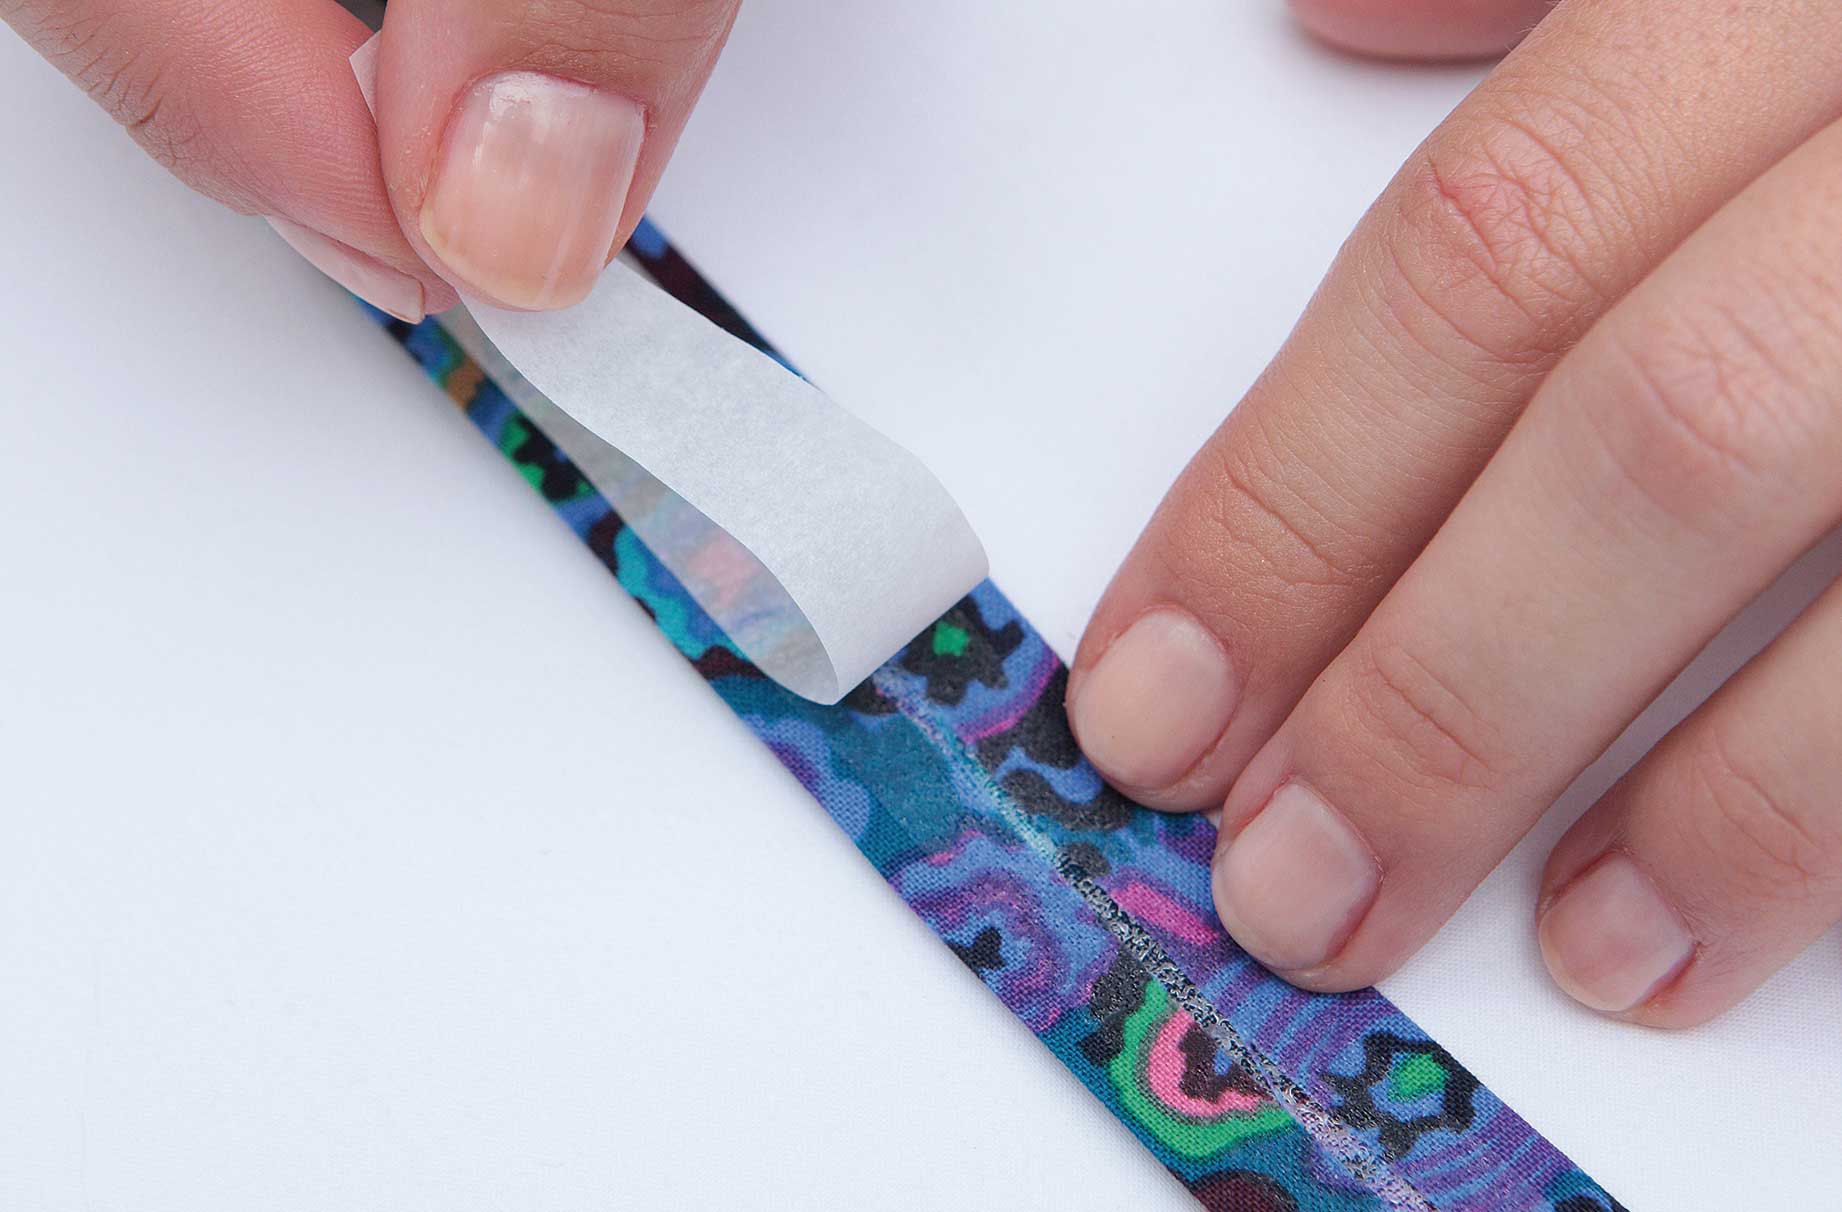
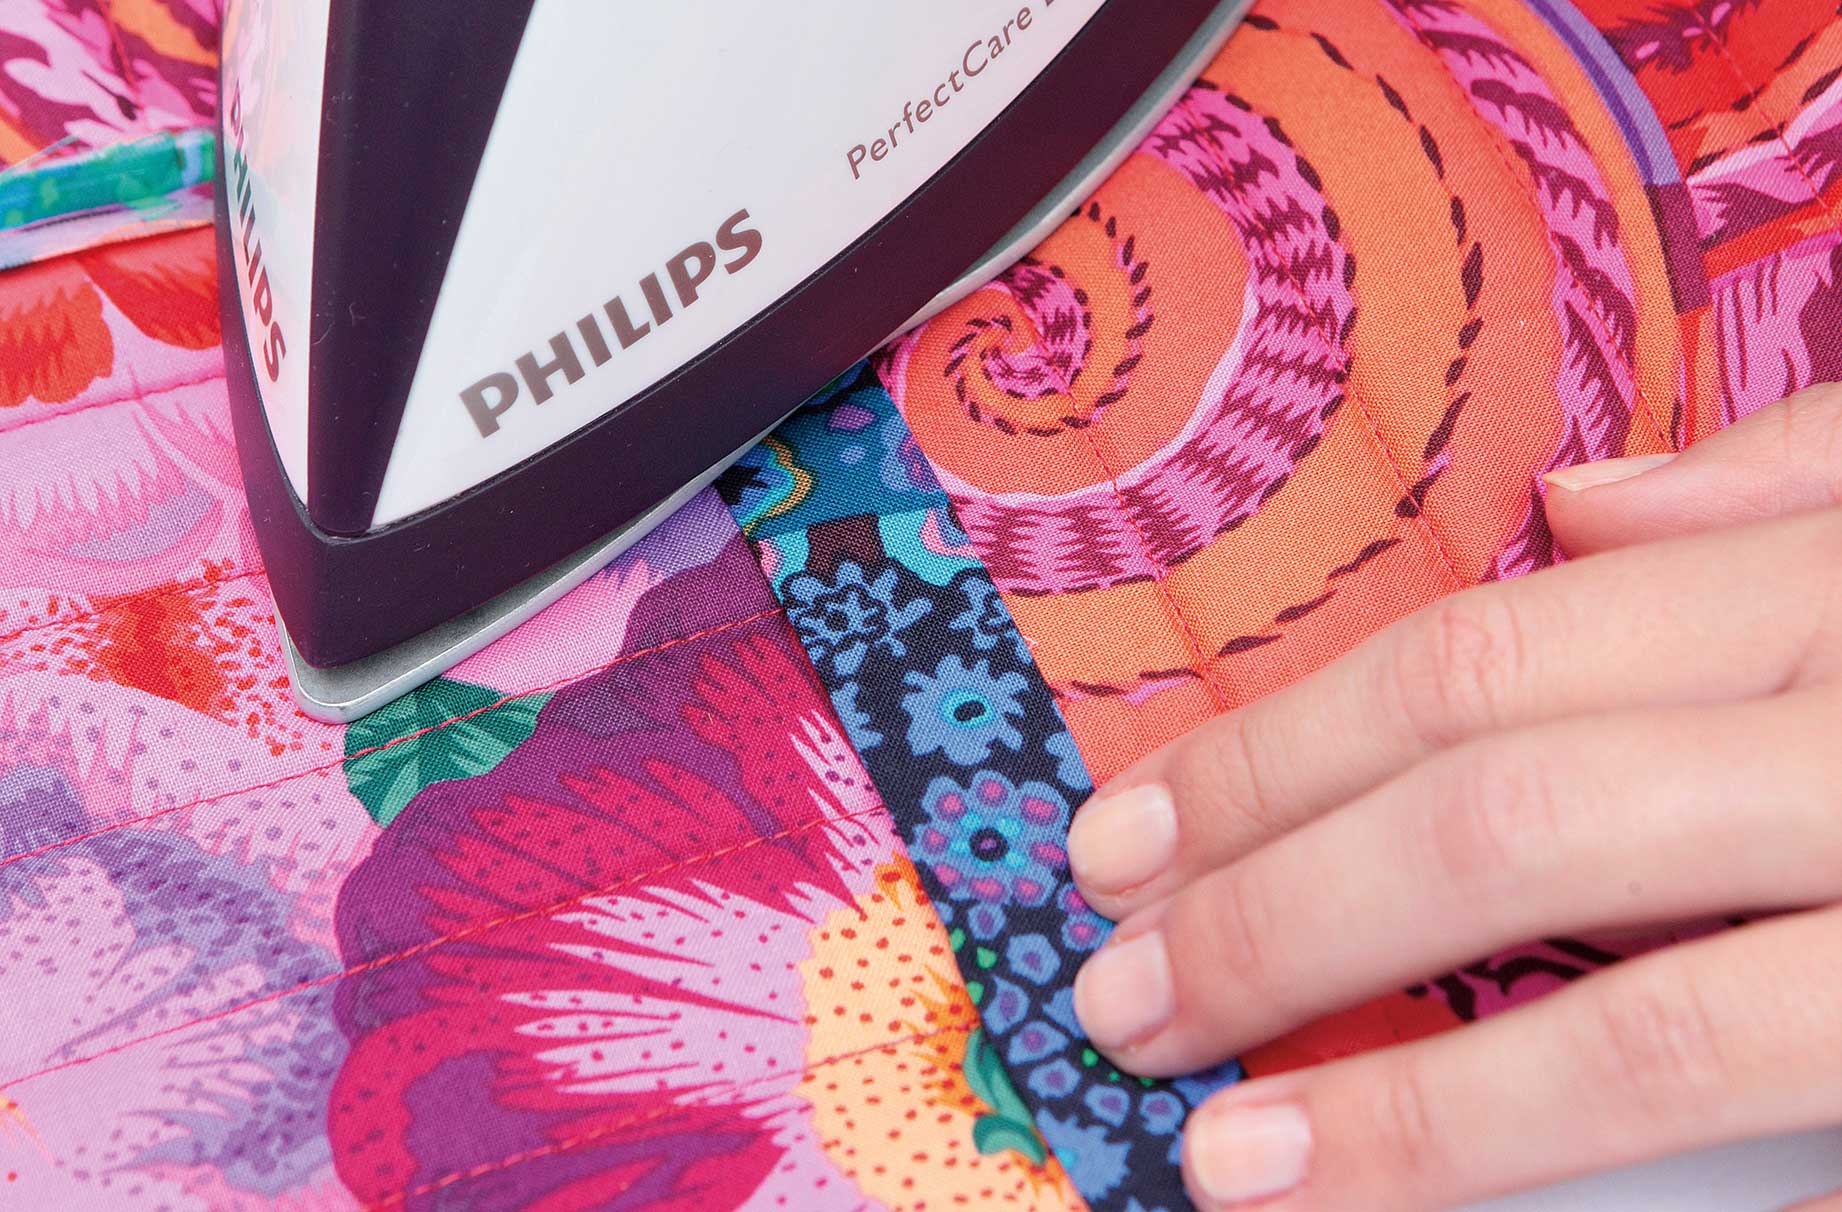
7. Iron the seam binding over an open seam on the back of the blocks – repeat in one direction first and then the other until all open seams have binding covering them.
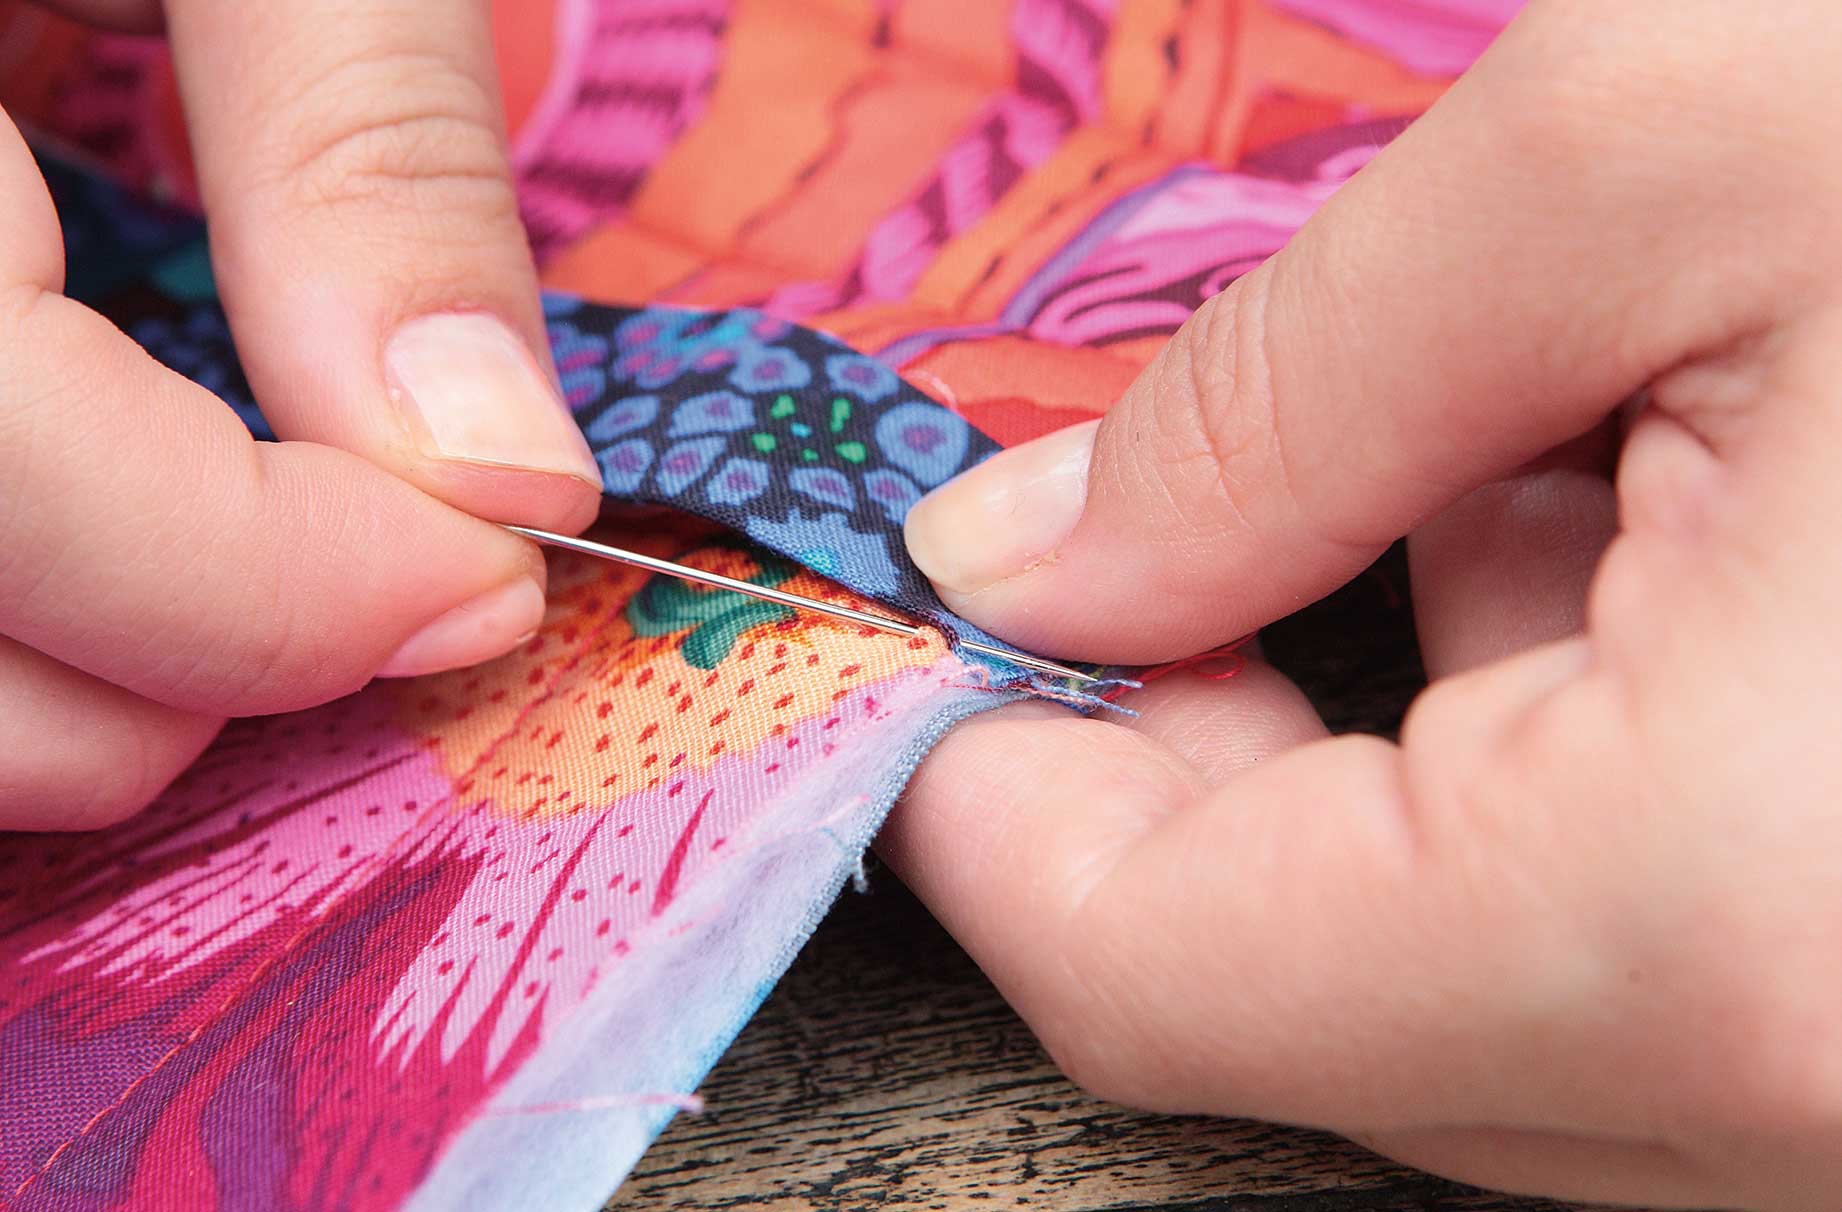
8. Hand-stitch the binding on both sides to secure in place.
How to bind the edges of a quilt:
1. First, take the two shorter edge binding pieces, fold lengthways in half, and press. Pin to opposite sides of the quilt, match the raw edges of the quilt to raw edges of the binding and sew right sides together with a ¼in (6mm) seam allowance.
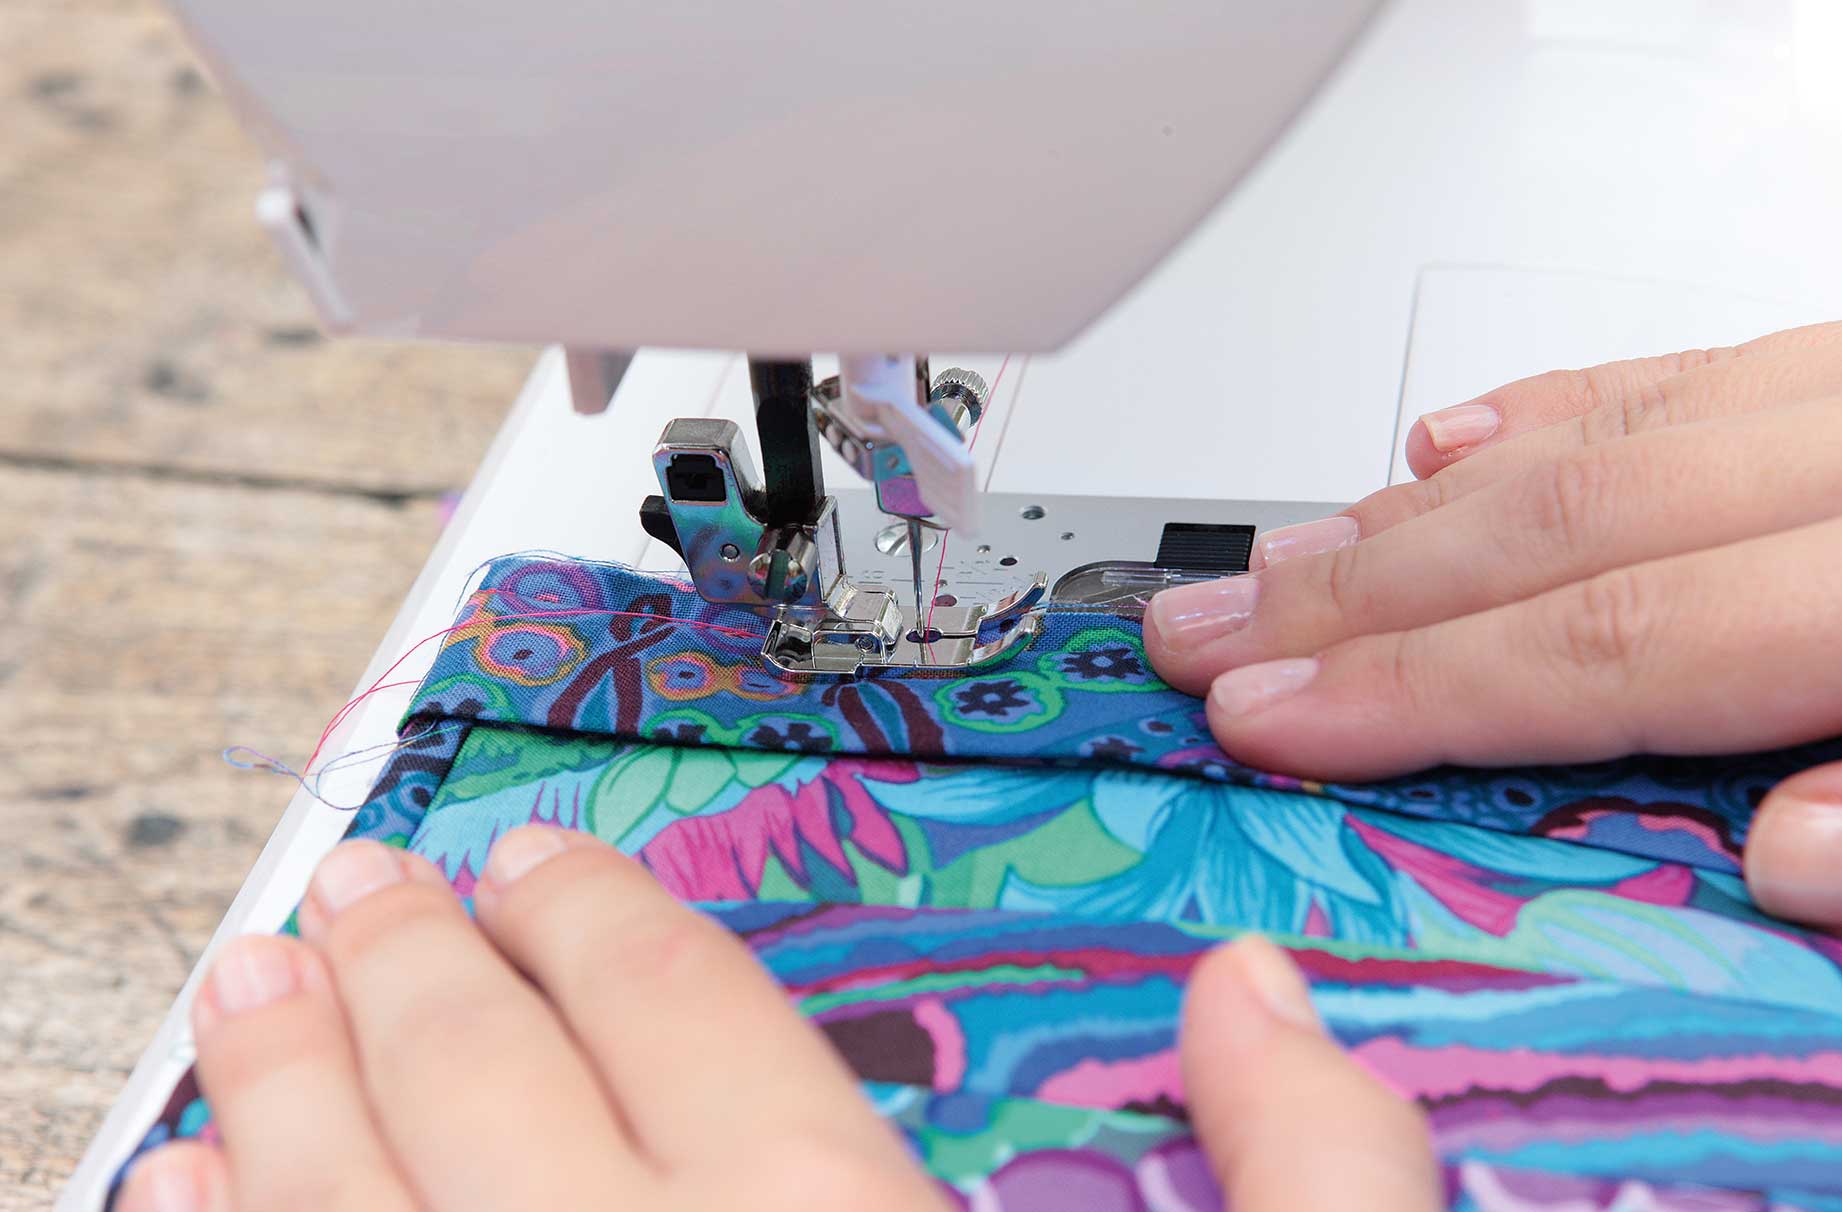
2. Turn the binding over to the reverse side of the quilt and hand-stitch in place.
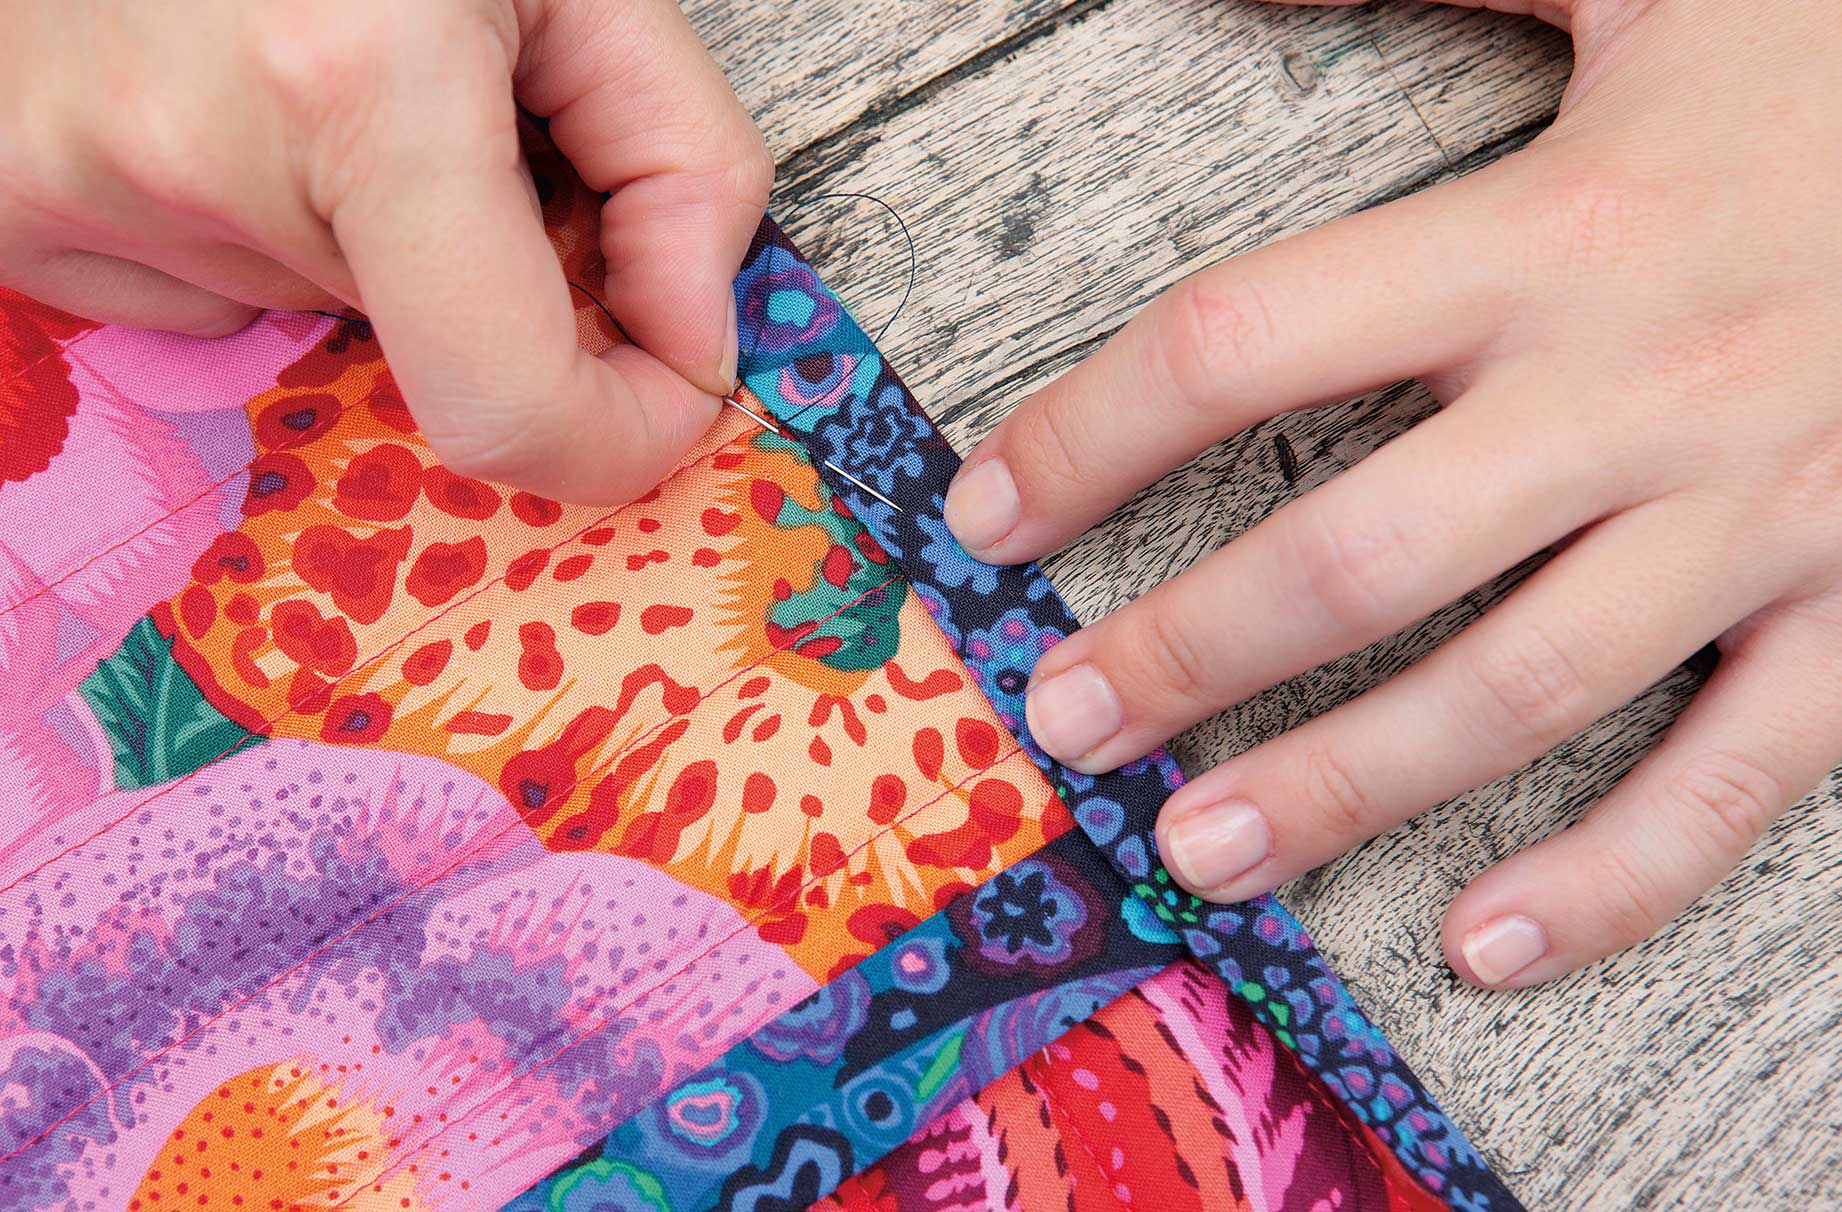
3. To bind the other two sides of the quilt, fold the 1½in (4cm) excess binding ends to the reverse side and machine-stitch as before on the right side.
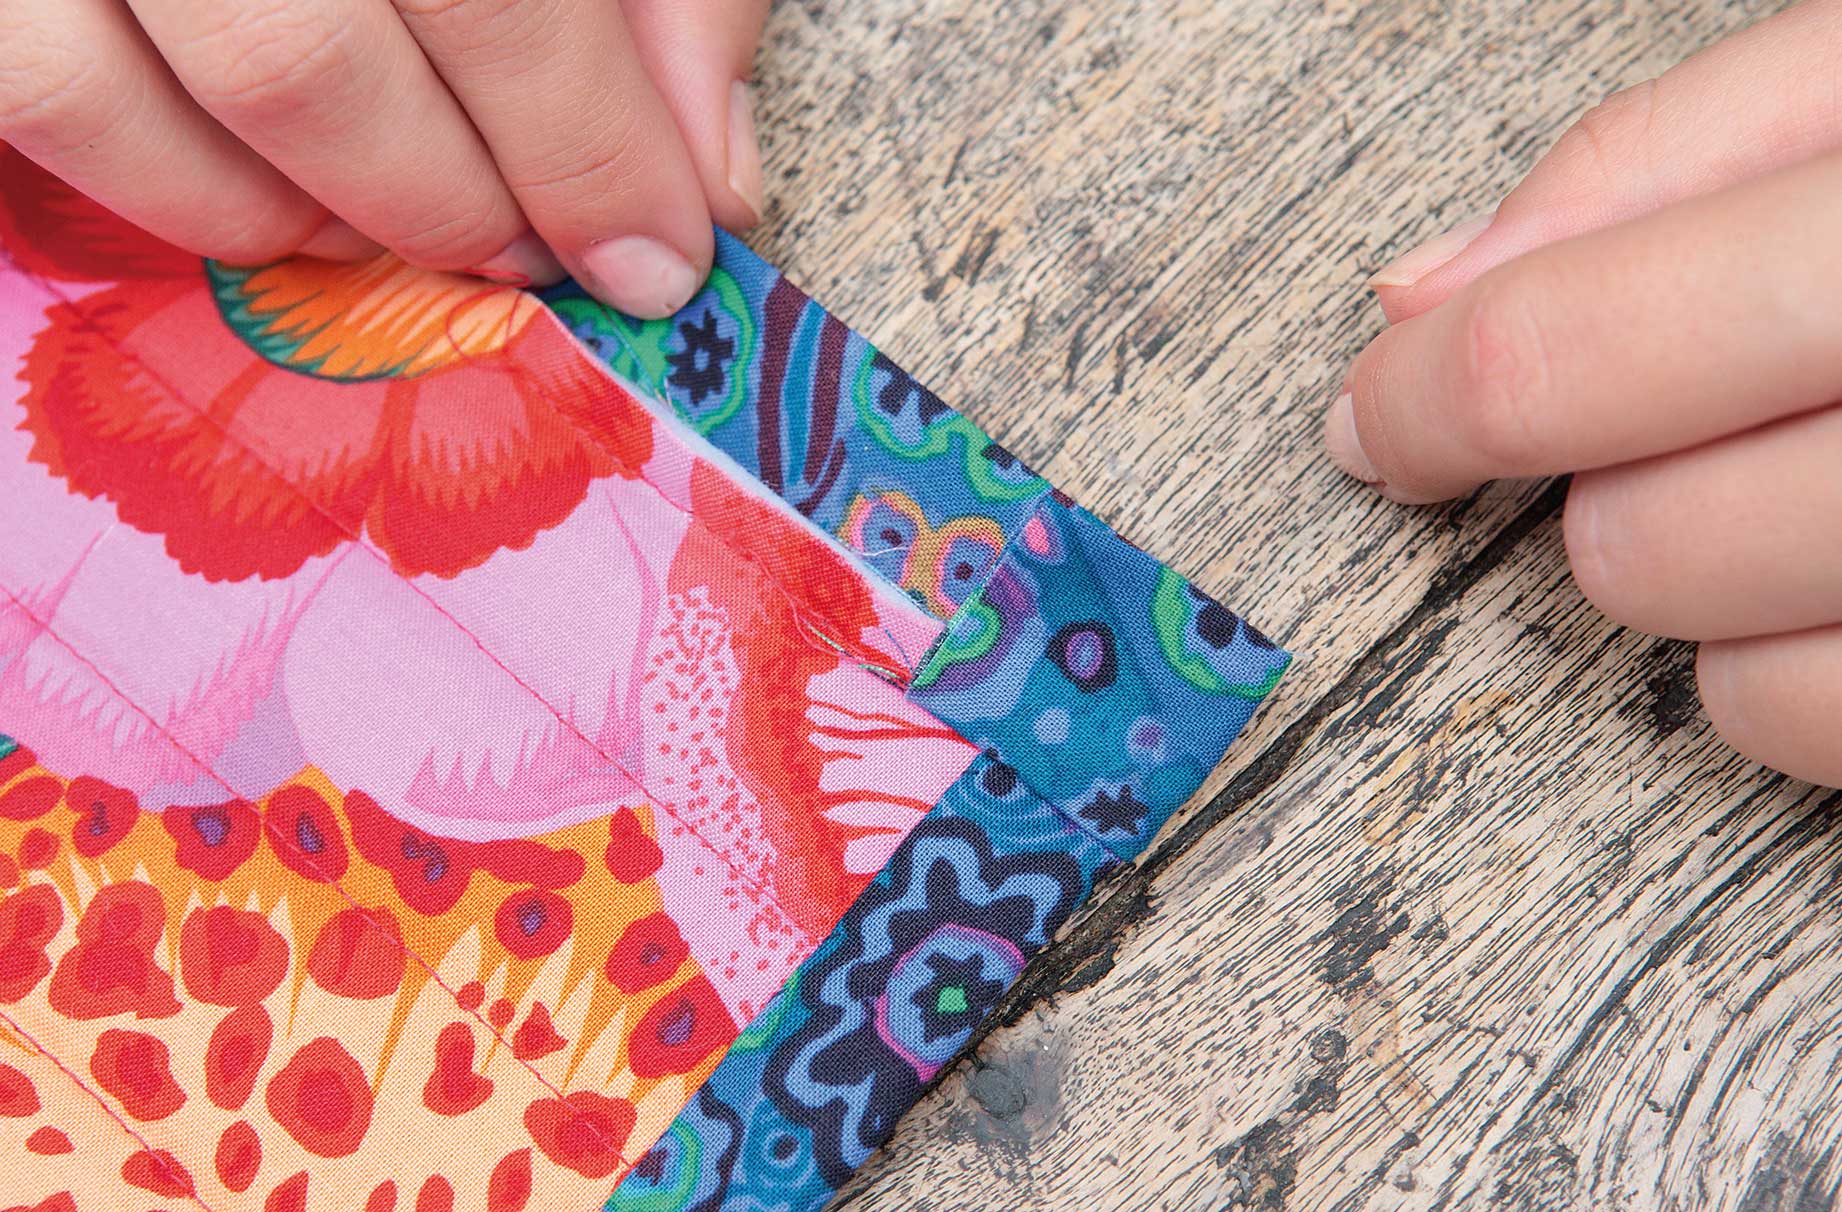
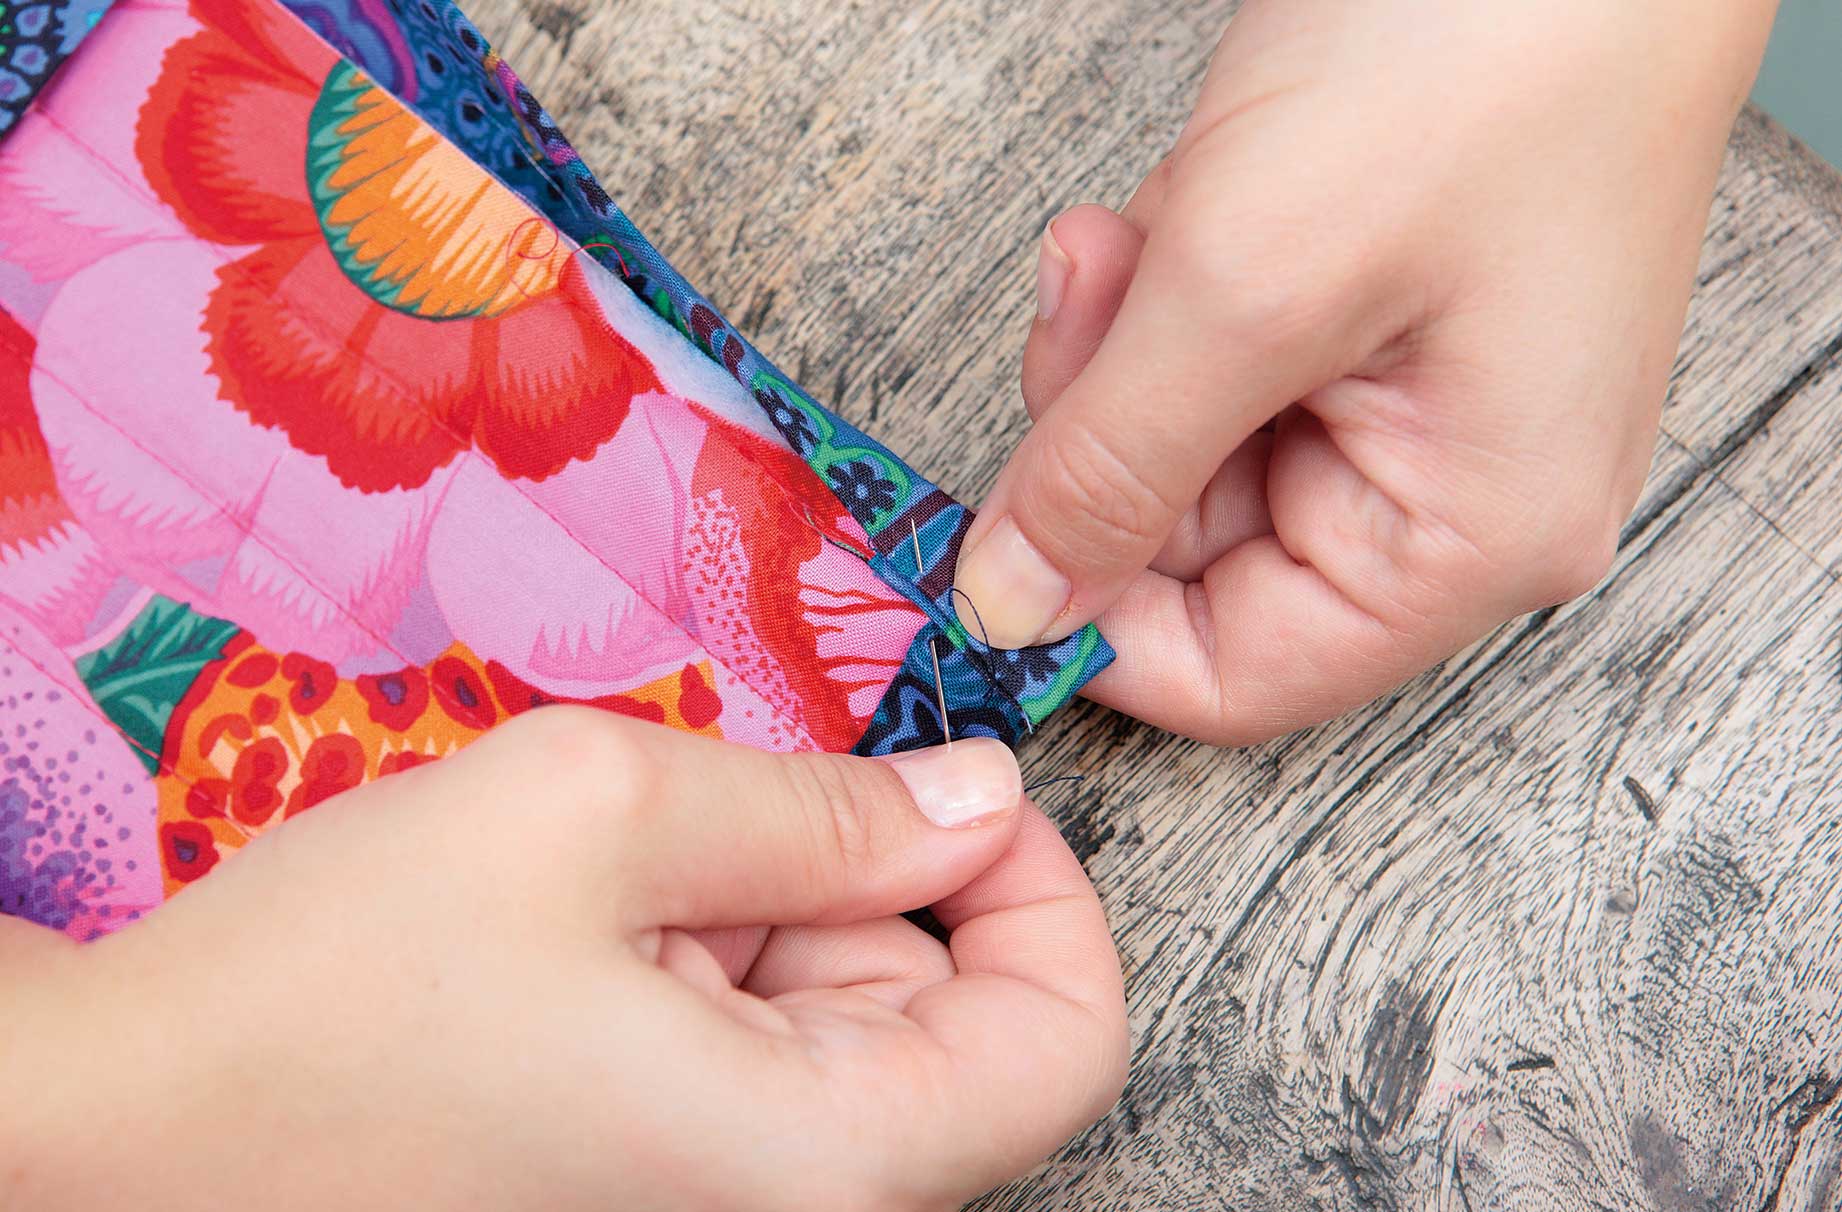
4. Turn the binding to the reverse and hand-stitch in place for a neat finish at corners.
5. To finish, make a label to attach to your quilt. The simplest way to do this is with a marker pen on to a scrap of calico or cotton. Why not give it a name, or how about mentioning where and when it was made, and who made it? In years to come, you never know where your patchwork quilt might end up!

Esme is Future's resident craft expert, working across titles such as GoodTo, Woman&Home, Woman’s Weekly, Woman, Woman’s Own, Chat, Now, Pick Me Up and The Craft Network. Successfully turning her sewing hobby into a career, she's adept in a number of crafts, including sewing, papercraft, calligraphy, embroidery and printing.